Lecture: Glitterati Gone Right! Getting an Even Distribution of Glitter and Shimmer from Powder
(Professor Sparklebottom adjusts his oversized, glitter-encrusted glasses and beams at the "students" – you, dear reader.)
Alright, my dazzling disciples of dust! Welcome, welcome to Glitterati 101: The Art & Science of Slaying with Sparkle! Today, we tackle a problem that plagues us all, a question that keeps makeup artists up at night, a challenge that separates the truly fabulous from the merely… meh. We’re talking about achieving that elusive, even distribution of glitter and shimmer from powder.
(Professor Sparklebottom dramatically throws a handful of glitter into the air. Most of it falls in a clump on the floor.)
See? Chaos! Uncontrolled sparkle! This, my friends, is exactly what we don’t want. We want a shimmering symphony, not a glitter bomb!
So, grab your brushes, your magnifying glasses, and maybe a vacuum cleaner – it’s going to get sparkly! 🧽✨
I. The Glitter/Shimmer Landscape: Knowing Your Enemy (and Your Friend!)
Before we launch into techniques, let’s understand our sparkly subjects. Not all glitter is created equal, and not all shimmer shimmers the same.
- Glitter: Larger, more reflective particles. Think disco balls, unicorns, and the unwavering belief that you can pull off those sequined pants. They come in various sizes, shapes, and materials (plastic, metallic, biodegradable).
- Pros: High impact, eye-catching, makes you feel like a mythical creature.
- Cons: Can be chunky, prone to fallout, irritating to sensitive skin (especially plastic glitter), environmentally questionable (unless biodegradable).
- Shimmer: Finer, more subtle particles. Think a gentle morning dew, the soft glow of moonlight, and the feeling you get when someone compliments your impeccable taste in socks. Typically made of mica, synthetic fluorphlogopite, or similar materials.
- Pros: More refined, easier to blend, less fallout, suitable for everyday wear.
- Cons: Can be too subtle for those craving intense sparkle, may require layering for desired effect.
(Professor Sparklebottom points to a table projected on the wall.)
| Feature | Glitter | Shimmer |
|---|---|---|
| Particle Size | Larger | Smaller |
| Reflectivity | High | Moderate |
| Intensity | High | Low to Moderate |
| Fallout | More Prone | Less Prone |
| Texture | Can be Chunky | Smooth |
| Best For | Dramatic looks, special occasions | Everyday wear, subtle highlights |
| Potential Issues | Irritation, environmental concerns (plastic) | May require layering for desired impact |
II. The Foundation is Key: Priming for Perfection
Just like you wouldn’t build a glitter-encrusted mansion on a wobbly foundation (well, you could, but it wouldn’t be pretty), you need a solid base for your glitter and shimmer.
- Hydration is Essential: Dry skin is glitter’s worst enemy. It clings to patches, looks uneven, and highlights texture. Moisturize, moisturize, moisturize! 💧
- Primer Power: Choose a primer appropriate for your skin type. A gripping primer is especially helpful for glitter, providing a sticky surface for it to adhere to.
- Setting Spray (Sometimes): For shimmer, a light mist of setting spray before application can help it melt into the skin for a more seamless finish. For glitter, avoid setting spray before application as it can create a barrier that prevents the glitter from sticking.
(Professor Sparklebottom dramatically gestures to a mannequin head with perfectly hydrated, primed skin. It sparkles faintly.)
"Behold! The canvas of champions! Ready to receive the glittery glory!"
III. The Tools of the Trade: Brushes, Blenders, and Beyond!
The right tools can make all the difference between a dazzling masterpiece and a glittery disaster.
- Brushes:
- Flat, Dense Brushes: Ideal for packing glitter onto the lid. Think eyeshadow brushes with tightly packed bristles.
- Tapered Blending Brushes: Perfect for diffusing shimmer into the crease or highlighting the inner corner.
- Fan Brushes: Great for lightly dusting shimmer onto the cheekbones or collarbones.
- Sponges:
- Damp Sponge: Use a damp sponge to press shimmer into the skin for a more intense, foiled effect.
- Fingers: Yes, your fingers! Sometimes, the warmth and pressure of your fingertip can be the best way to apply glitter or shimmer, especially for small areas. 👆
(Professor Sparklebottom pulls out a bag overflowing with brushes of all shapes and sizes.)
"My precious! Each one a weapon in the fight against uneven sparkle!"
IV. Techniques for Glitter Greatness: The Nitty-Gritty
Now for the fun part! Let’s dive into specific techniques for achieving that coveted even distribution.
- Packing Glitter (The Gentle Approach):
- Adhesive is Key: Apply a glitter adhesive (a sticky base specifically designed for glitter) to the area where you want the glitter to go. This is crucial for minimizing fallout and ensuring even distribution.
- Pick Up Glitter Sparingly: Dip your flat brush into the glitter. Tap off the excess! We want controlled sparkle, not a glitter explosion.
- Press, Don’t Swipe: Gently press the glitter onto the adhesive, working in small sections. Avoid swiping, as this can disrupt the adhesive and cause fallout.
- Layer for Intensity: If you want a more intense glitter effect, repeat steps 2 and 3.
(Professor Sparklebottom demonstrates packing glitter onto a swatch of skin, creating a perfectly even, dazzling effect.)
"See? It’s like magic! But it’s actually just science… and a lot of glitter."
- Blending Shimmer (The Subtle Art):
- Start Lightly: Dip your tapered blending brush into the shimmer. Again, tap off the excess! You can always add more, but it’s harder to take away.
- Apply to Desired Area: Start applying the shimmer to the area you want to highlight, such as the cheekbones, brow bone, or inner corner of the eye.
- Blend, Blend, Blend: Use small, circular motions to blend the shimmer into the skin. The goal is to create a seamless transition between the shimmer and your base makeup.
- Build Intensity Gradually: If you want a more intense shimmer effect, repeat steps 1-3.
(Professor Sparklebottom demonstrates blending shimmer onto a mannequin’s cheekbone, creating a soft, ethereal glow.)
"The key is patience, my friends. Blend until your arm aches! Your face will thank you."
- Foiling Shimmer (The Metallic Marvel):
- Dampen Your Brush or Sponge: Lightly dampen your brush or sponge with setting spray or water.
- Pick Up Shimmer: Dip your damp brush or sponge into the shimmer.
- Apply to Desired Area: Press the shimmer onto the skin, using a patting motion. The dampness will intensify the color and create a metallic, foiled effect.
(Professor Sparklebottom demonstrates foiling shimmer on a swatch of skin, creating a stunning, high-impact look.)
"Prepare to be blinded by beauty! This technique is not for the faint of heart."
- Glitter Placement (Strategically Sparkly):
- Eyelids: The most common place for glitter. Use a flat brush and glitter adhesive for best results.
- Inner Corner: A pop of glitter in the inner corner can brighten the eyes and make you look more awake (even if you’re running on three hours of sleep and caffeine).
- Under the Eyes: Be careful with this one! Too much glitter under the eyes can accentuate dark circles and fine lines. Use a very fine glitter and apply sparingly.
- Cheekbones: A touch of glitter on the cheekbones can add a playful, whimsical touch.
- Body Glitter: Perfect for festivals, concerts, or any occasion where you want to unleash your inner sparkle monster.
(Professor Sparklebottom points to a diagram illustrating different glitter placement options on the face.)
"Think of your face as a canvas! Where will you sprinkle your magic?"
"Think of your face as a canvas! Where will you sprinkle your magic?"
V. Troubleshooting Sparkle Snafus: When Things Go Wrong (and How to Fix Them!)
Even the most experienced glitterati encounter problems. Here are some common issues and their solutions:
- Fallout:
- Cause: Insufficient adhesive, applying too much glitter, swiping instead of pressing.
- Solution: Use a strong glitter adhesive, apply glitter in thin layers, press the glitter onto the skin, use a sticky roller or tape to pick up fallout.
- Uneven Distribution:
- Cause: Dry skin, applying glitter or shimmer to an uneven surface, not blending properly.
- Solution: Moisturize your skin thoroughly, use a primer to create a smooth surface, blend the glitter or shimmer until it’s evenly distributed.
- Irritation:
- Cause: Using low-quality glitter (especially plastic glitter), sensitive skin.
- Solution: Use high-quality, cosmetic-grade glitter (preferably biodegradable), test the glitter on a small area of skin before applying it to your face, avoid using glitter if you have sensitive skin.
- Glitter Migration (The Horror!):
- Cause: Glitter getting into your eyes or mouth.
- Solution: Be careful when applying glitter around the eyes and mouth, use a strong glitter adhesive, avoid rubbing your eyes.
(Professor Sparklebottom dramatically clutches his chest.)
"Glitter migration… the bane of my existence! Stay vigilant, my friends!"
VI. The Final Flourish: Setting for Sparkle Success
Once you’ve achieved your desired glittery or shimmery look, it’s time to set it in place.
- Setting Spray: A generous mist of setting spray can help to lock in your glitter or shimmer and prevent it from moving around. Choose a setting spray that is designed for glitter, as some setting sprays can dissolve glitter.
- Translucent Powder: A light dusting of translucent powder can help to absorb excess oil and prevent the glitter or shimmer from creasing.
(Professor Sparklebottom mists a mannequin head with setting spray, creating a protective barrier against the ravages of the world.)
"Now, go forth and conquer! Armed with knowledge, confidence, and a whole lot of sparkle!"
VII. Beyond the Basics: Advanced Glitter & Shimmer Artistry
(Professor Sparklebottom leans in conspiratorially.)
Alright, you’ve mastered the basics. Now let’s unlock the secrets of the true glitterati!
- Custom Glitter Blends: Mix different colors, sizes, and shapes of glitter to create your own unique blend.
- Glitter Cut Creases: A dramatic and eye-catching look that involves creating a sharp, defined crease on the eyelid and filling it with glitter.
- Glitter Freckles: A playful and whimsical look that involves applying small dots of glitter to the face to mimic freckles.
- Ombre Glitter: Creating a gradient effect with glitter, transitioning from one color to another.
(Professor Sparklebottom unveils a portfolio of stunning glitter and shimmer looks, ranging from subtle and sophisticated to bold and outrageous.)
"The possibilities are endless! Let your imagination run wild!"
VIII. Ethical Sparkle: Choosing Eco-Friendly Options
(Professor Sparklebottom clears his throat, his expression becoming serious.)
Alright, class. Now for the serious stuff. We can’t talk about glitter without addressing the environmental impact of those tiny, shiny particles.
- Plastic Glitter is Problematic: Traditional plastic glitter is a microplastic, meaning it doesn’t biodegrade and can end up polluting our oceans and harming wildlife.
- Biodegradable Glitter is the Future: Look for biodegradable glitter made from plant-based materials, such as cellulose. It’s a more sustainable and eco-friendly option.
- Support Ethical Brands: Choose brands that are committed to ethical and sustainable practices.
(Professor Sparklebottom holds up a jar of biodegradable glitter, his eyes twinkling with hope.)
"Let’s sparkle responsibly, my friends! The planet will thank you for it!"
IX. Conclusion: Embrace the Sparkle Within!
(Professor Sparklebottom beams at the "students".)
And that, my dazzling disciples, concludes our lecture on achieving an even distribution of glitter and shimmer from powder! Remember, practice makes perfect. Don’t be afraid to experiment, have fun, and embrace the sparkle within!
(Professor Sparklebottom throws another handful of glitter into the air, this time with expert precision. The glitter rains down evenly, creating a shimmering cascade.)
Now go forth and shine! ✨💖🌟🎉💫
(Class dismissed!)
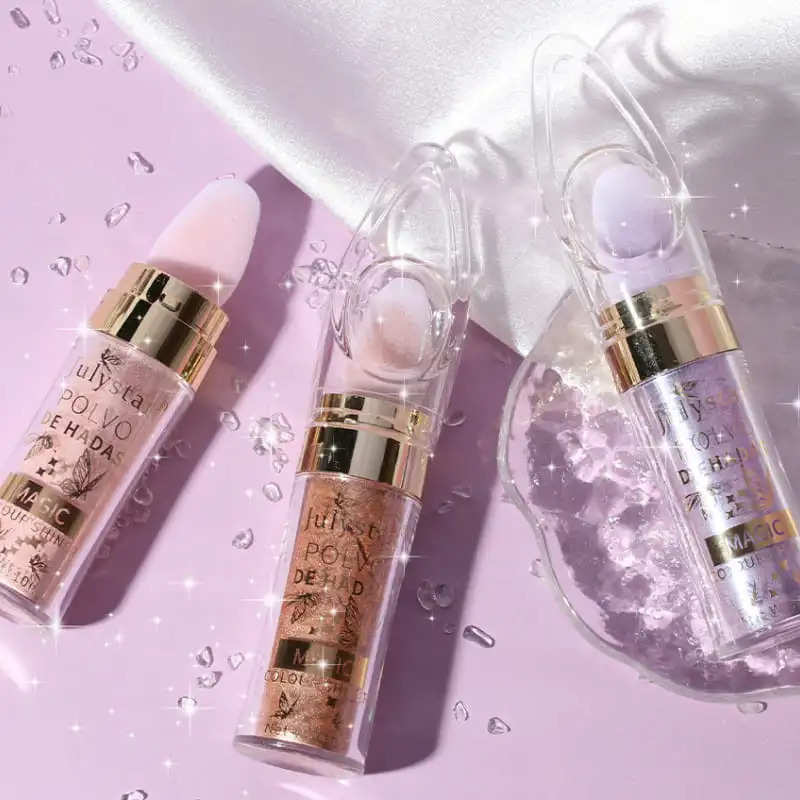
For detailed product specifications and purchases, please go to :https://zenamakeup.com/products/glittering-shimmer-highlighting-setting-powder
Leave a Reply