Lecture: Achieving Peak Radiance: A Deep Dive into Vanilla Shimmer Body Oil Application for an Even, All-Over Glitter Glow ✨
Welcome, welcome, radiant revelers! Today, we embark on a shimmering journey, a quest for that elusive, ethereal glow that whispers, "I drink sunshine for breakfast and bathe in unicorn tears." Our weapon of choice? Vanilla Shimmer Body Oil. 🍯
Now, some of you might be thinking, "Body oil? Glitter? Sounds messy!" Fear not, my shimmering students! With the right techniques and a dash of panache, we can transform from sticky disaster to a goddess (or god) sculpted from moonlight and stardust.
This lecture will be your comprehensive guide, covering everything from prepping your skin to mastering the application process, ensuring you achieve that even, all-over glitter glow that turns heads and inspires envy. So grab your notebooks, your inner sparkle, and let’s dive in!
I. The Prerequisite: Skin Prep is Paramount!
Think of your skin as a canvas. Would Michelangelo start painting the Sistine Chapel on a dusty, cracked wall? Absolutely not! We need a smooth, receptive surface for our shimmer oil masterpiece.
- Exfoliate, Exfoliate, Exfoliate! 🧽
- Why? Exfoliation removes dead skin cells, preventing patchy, uneven application. Imagine trying to spread glitter glue over a bumpy road. Disaster!
- How? Choose your weapon! Loofahs, exfoliating gloves, sugar scrubs, or even a gentle dry brush before showering can all work wonders. Just be gentle, we’re aiming for smooth, not raw!
- Frequency? Aim for exfoliating 1-2 times per week. Overdoing it can lead to irritation, which is not the glow-up we’re going for.
- Pro-Tip: Focus on areas prone to dryness, like elbows, knees, and ankles. These are the glitter-hungry zones!
- Hydrate, Hydrate, Hydrate! 💧
- Why? Hydrated skin is happy skin, and happy skin absorbs oil much better. Think of it like watering a plant before fertilizing.
- How? Apply a lightweight, non-greasy moisturizer immediately after showering or bathing. This locks in moisture and creates a perfect base.
- Ingredients to look for: Hyaluronic acid, glycerin, ceramides – these are the hydration superheroes!
- Pro-Tip: Avoid heavy, occlusive moisturizers (like petroleum jelly) as they can prevent the shimmer oil from absorbing properly. We want glow, not a greasy film!
- Shave or Wax (If Desired) 🪒
- Why? Freshly shaved or waxed skin is smoother, allowing for an even more flawless application. Plus, shimmer oil can highlight stubble in a way that’s less "sparkling goddess" and more "glittery cactus."
- When? Do this before exfoliating and moisturizing.
- Pro-Tip: If waxing, give your skin a day or two to recover before applying shimmer oil to avoid irritation.
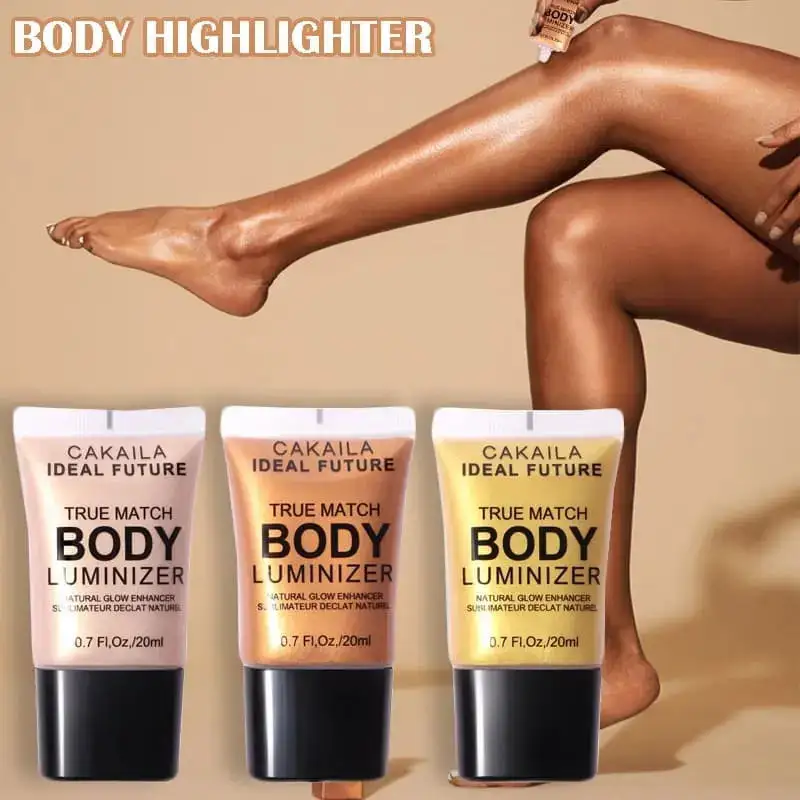
II. Choosing Your Vanilla Shimmer Body Oil: A Glittering Guide
Not all shimmer oils are created equal! Choosing the right one is crucial for achieving your desired level of radiance.
| Feature | Considerations | Pro-Tip |
|---|---|---|
| Glitter Size | Fine Glitter: Creates a subtle, soft glow. Ideal for daytime wear or a more understated shimmer. Larger Glitter: Delivers a more dramatic, noticeable sparkle. Perfect for evenings and special occasions. | * Consider your skin tone. Fine glitter tends to look more natural on lighter skin tones, while larger glitter can pop beautifully on darker skin tones. |
| Oil Base | Lightweight Oils (e.g., Jojoba, Grapeseed): Absorb quickly, leaving a non-greasy finish. Great for warmer weather. Heavier Oils (e.g., Coconut, Almond): Provide more intense hydration, ideal for dry skin or colder climates. | Read the ingredient list! Avoid oils you’re allergic to. Patch test before applying all over! Apply a small amount to your inner arm and wait 24 hours to check for any reactions. |
| Scent | Vanilla (obviously!): But consider the specific type of vanilla. Is it a sweet, gourmand vanilla or a more sophisticated, floral vanilla? Other Notes: Some shimmer oils incorporate other scents like coconut, amber, or musk. | Choose a scent that complements your personal style and other fragrances you wear. Be mindful of potential scent sensitivities. A strong fragrance can be overwhelming for some. |
| Color Tint | Clear: Adds shimmer without altering skin tone. Tinted: Can enhance your natural skin tone or add a subtle bronzing effect. | Tinted oils can transfer onto clothing, so be cautious when wearing light colors. Match the tint to your skin tone for the most natural-looking results. |
| Packaging | Spray Bottle: Provides even, controlled application. Roll-On: Ideal for targeted application and travel. * Dropper: Allows for precise dispensing. | * Consider how you plan to use the oil. A spray bottle is great for all-over application, while a roll-on is perfect for highlighting specific areas like collarbones and shoulders. |
III. The Grand Finale: Mastering the Application Technique
Alright, glitter gladiators! We’ve prepped our skin, chosen our weapon, and now it’s time to unleash the shimmer!
Alright, glitter gladiators! We’ve prepped our skin, chosen our weapon, and now it’s time to unleash the shimmer!
- Step 1: Prime the Pump (and the Bottle!) ⚙️
- Why? Shimmer oils can settle, so shake the bottle vigorously to evenly distribute the glitter particles.
- How? Shake like you’re trying to win a maraca contest! Seriously, give it a good shake for at least 15-20 seconds.
- Step 2: Start Small and Build Up 🤏
- Why? It’s easier to add more shimmer than to take it away. Trust me, you don’t want to end up looking like a disco ball threw up on you (unless that’s the look you’re going for, in which case, you do you!).
- How? Dispense a small amount of oil into your hands. Start with a dime-sized amount for each limb.
- Step 3: The Pat and Rub Technique 🖐️
- Why? This technique ensures even distribution and prevents streaks.
- How?
- Pat: Gently pat the oil onto your skin, focusing on the areas you want to highlight.
- Rub: Use long, sweeping motions to rub the oil into your skin, ensuring it’s evenly distributed.
- Repeat: Add more oil as needed, focusing on areas that need more shimmer.
- Step 4: Target the Key Areas ✨
- Shoulders and Collarbones: These are prime real estate for shimmer! They catch the light beautifully.
- Arms and Legs: Apply the oil in long, even strokes, avoiding the knees and elbows (unless you want to accentuate those areas).
- Décolletage: A touch of shimmer here adds a touch of sophistication and allure.
- Back: Enlist a friend (or a long-handled applicator) to reach those hard-to-reach areas.
- Step 5: The "Less is More" Rule (Mostly) 📏
- Why? While we want a noticeable glow, we don’t want to look like we’re covered in craft glitter.
- How? Step back and assess your overall shimmer level. If you feel like you’ve gone overboard, gently blot the excess oil with a tissue.
- Step 6: Set the Shimmer (Optional) 💨
- Why? This can help prevent the oil from transferring onto clothing and furniture.
- How? Lightly dust your skin with a translucent powder or a setting spray.
- Pro-Tip: Use a powder puff or a large, fluffy brush for even application.
IV. Troubleshooting Shimmer Setbacks: The Glitter Emergency Kit
Even the most skilled shimmer artists can encounter a few bumps along the road to radiance. Here’s your emergency glitter first aid kit:
| Problem | Solution |
|---|---|
| Uneven Application | Too Much Oil: Blot the excess oil with a tissue. Dry Patches: Apply a small amount of moisturizer to the dry areas and then reapply the shimmer oil. * Streaks: Use a clean, dry cloth to buff out the streaks. |
| Glitter Transfer | Set the Shimmer: Lightly dust your skin with a translucent powder or setting spray. Choose the Right Clothing: Avoid wearing light-colored or delicate fabrics that are prone to staining. * Wait for it to Dry: Allow the oil to fully absorb before getting dressed. |
| Sticky Feeling | Too Much Oil: You guessed it! Blot the excess oil. Choose a Lighter Oil: Opt for a shimmer oil with a lightweight base, such as jojoba or grapeseed oil. |
| Irritation or Allergic Reaction | Wash it Off Immediately: Use a gentle soap and water to remove the shimmer oil. Apply a Soothing Lotion: Use a hypoallergenic lotion to calm the irritated skin. * Consult a Doctor: If the irritation is severe or doesn’t improve after a few days, consult a doctor. |
| Overly Sparkly (Disco Ball Alert!) | Tone It Down: Gently blot the excess oil with a tissue. Apply a Light Moisturizer: A light moisturizer can help dilute the shimmer. * Embrace the Sparkle! If all else fails, own it! You’re a walking, talking disco ball, and that’s fabulous! |
V. Beyond the Basics: Shimmer Level Up!
Ready to take your shimmer game to the next level? Here are a few advanced techniques:
- Layering: Experiment with layering different shimmer oils to create a custom glow. Try layering a fine glitter oil over a larger glitter oil for added dimension.
- Highlighting: Use a smaller brush or a cotton swab to apply shimmer oil to specific areas, such as the brow bone, cupid’s bow, and inner corners of the eyes.
- Mixing with Lotion: Mix a small amount of shimmer oil with your favorite lotion for a subtle, all-over glow.
- Body Contouring with Shimmer: Use a darker shimmer oil to contour your body, creating the illusion of slimmer limbs and a more defined physique.
- DIY Shimmer Oil: Get creative and make your own shimmer oil by adding cosmetic-grade glitter to your favorite carrier oil.
VI. Final Words of Shimmer Wisdom
My dear students, remember that confidence is the ultimate accessory. No matter how much shimmer you apply, the most radiant glow comes from within. Embrace your inner sparkle, own your look, and let your light shine! ✨
Now go forth and shimmer, you magnificent beings! And remember, if anyone asks, tell them you’re powered by sunshine and vanilla dreams. Class dismissed! 🎓
For detailed product specifications and purchases, please go to :https://zenamakeup.com/products/vanilla-shimmer-body-oil-fragrant-glitter-glow-moisturizer
Leave a Reply