Lecture: Achieving Brow Nirvana: A Masterclass in Natural Brow Perfection with the Defining Product from the Brow Perfection Trio
(Insert Image: A before-and-after image showing sparse brows transforming into beautifully defined, natural-looking brows.)
Welcome, Brow Enthusiasts! ✨ Prepare to embark on a journey, a quest, a holy pilgrimage to the promised land of perfect, natural-looking eyebrows! Forget those overdrawn, Instagram-clone brows that look like angry caterpillars clinging to your forehead. We’re talking about enhancing your natural beauty, not replacing it with something that screams "I spent an hour in front of the mirror and I regret it!"
Today, we’re diving deep into the art of subtly and seamlessly filling in those sparse areas, using the unsung hero of the Brow Perfection Trio: The Defining Product. Think of it as your brow’s personal architect, meticulously crafting a masterpiece, one hair-like stroke at a time.
Why Bother Filling in Sparse Brows, Anyway? Is it really necessary? 🤨
Short answer: YES! Long answer: Absolutely, positively, unequivocally, YES!
Brows frame your face, period. They’re like the curtains to the window of your soul. (Okay, maybe that’s a little dramatic, but you get the picture.) Well-defined, natural-looking brows can:
- Lift the Face: Like a mini-facelift, without the needles or the hefty price tag!
- Enhance Your Features: Accentuating your eyes and cheekbones.
- Add Definition and Structure: Giving your face a more polished and put-together look.
- Make You Look Younger and More Vibrant: Because nobody wants to look like they’re perpetually surprised.
But, But…I’m Scared! The Internet is Full of Brow Horror Stories! 😱
Fear not, my brow-challenged friends! That’s precisely why we’re here. This isn’t about creating a bold, theatrical brow statement (unless that’s your jam, in which case, rock on!). This is about achieving natural perfection, the kind that makes people think you were just born with amazing brows. The secret weapon in this endeavor is the Defining Product from your Brow Perfection Trio.
Understanding Your Brow Perfection Trio: A Brief Overview
Before we dive into the nitty-gritty of the Defining Product, let’s briefly discuss the other members of this brow-tastic team. Understanding their roles will help you appreciate the Defining Product’s contribution.
| Product | Function | Metaphorical Role |
|---|---|---|
| Defining Product (Our Star!) | Fills in sparse areas with hair-like strokes, adding definition and shape. Usually a pencil, powder, or pomade. The most versatile tool for adding individual hairs and filling gaps. | The Architect: Designs and builds the structure of your brow. |
| Setting Product (Gel or Wax) | Holds the hairs in place, providing structure and longevity. Tames unruly hairs and sets the shape created by the Defining Product. | The Foreman: Ensures the structure stays in place all day long. |
| Highlighting Product (Optional) | Adds a subtle highlight under the brow bone, lifting the brow and creating a more defined arch. Not always included in a trio, but can add a final touch of polish. | The Interior Designer: Adds a touch of brightness and enhances the overall aesthetic. |
Today, however, we’re focusing on the superstar: The Defining Product.
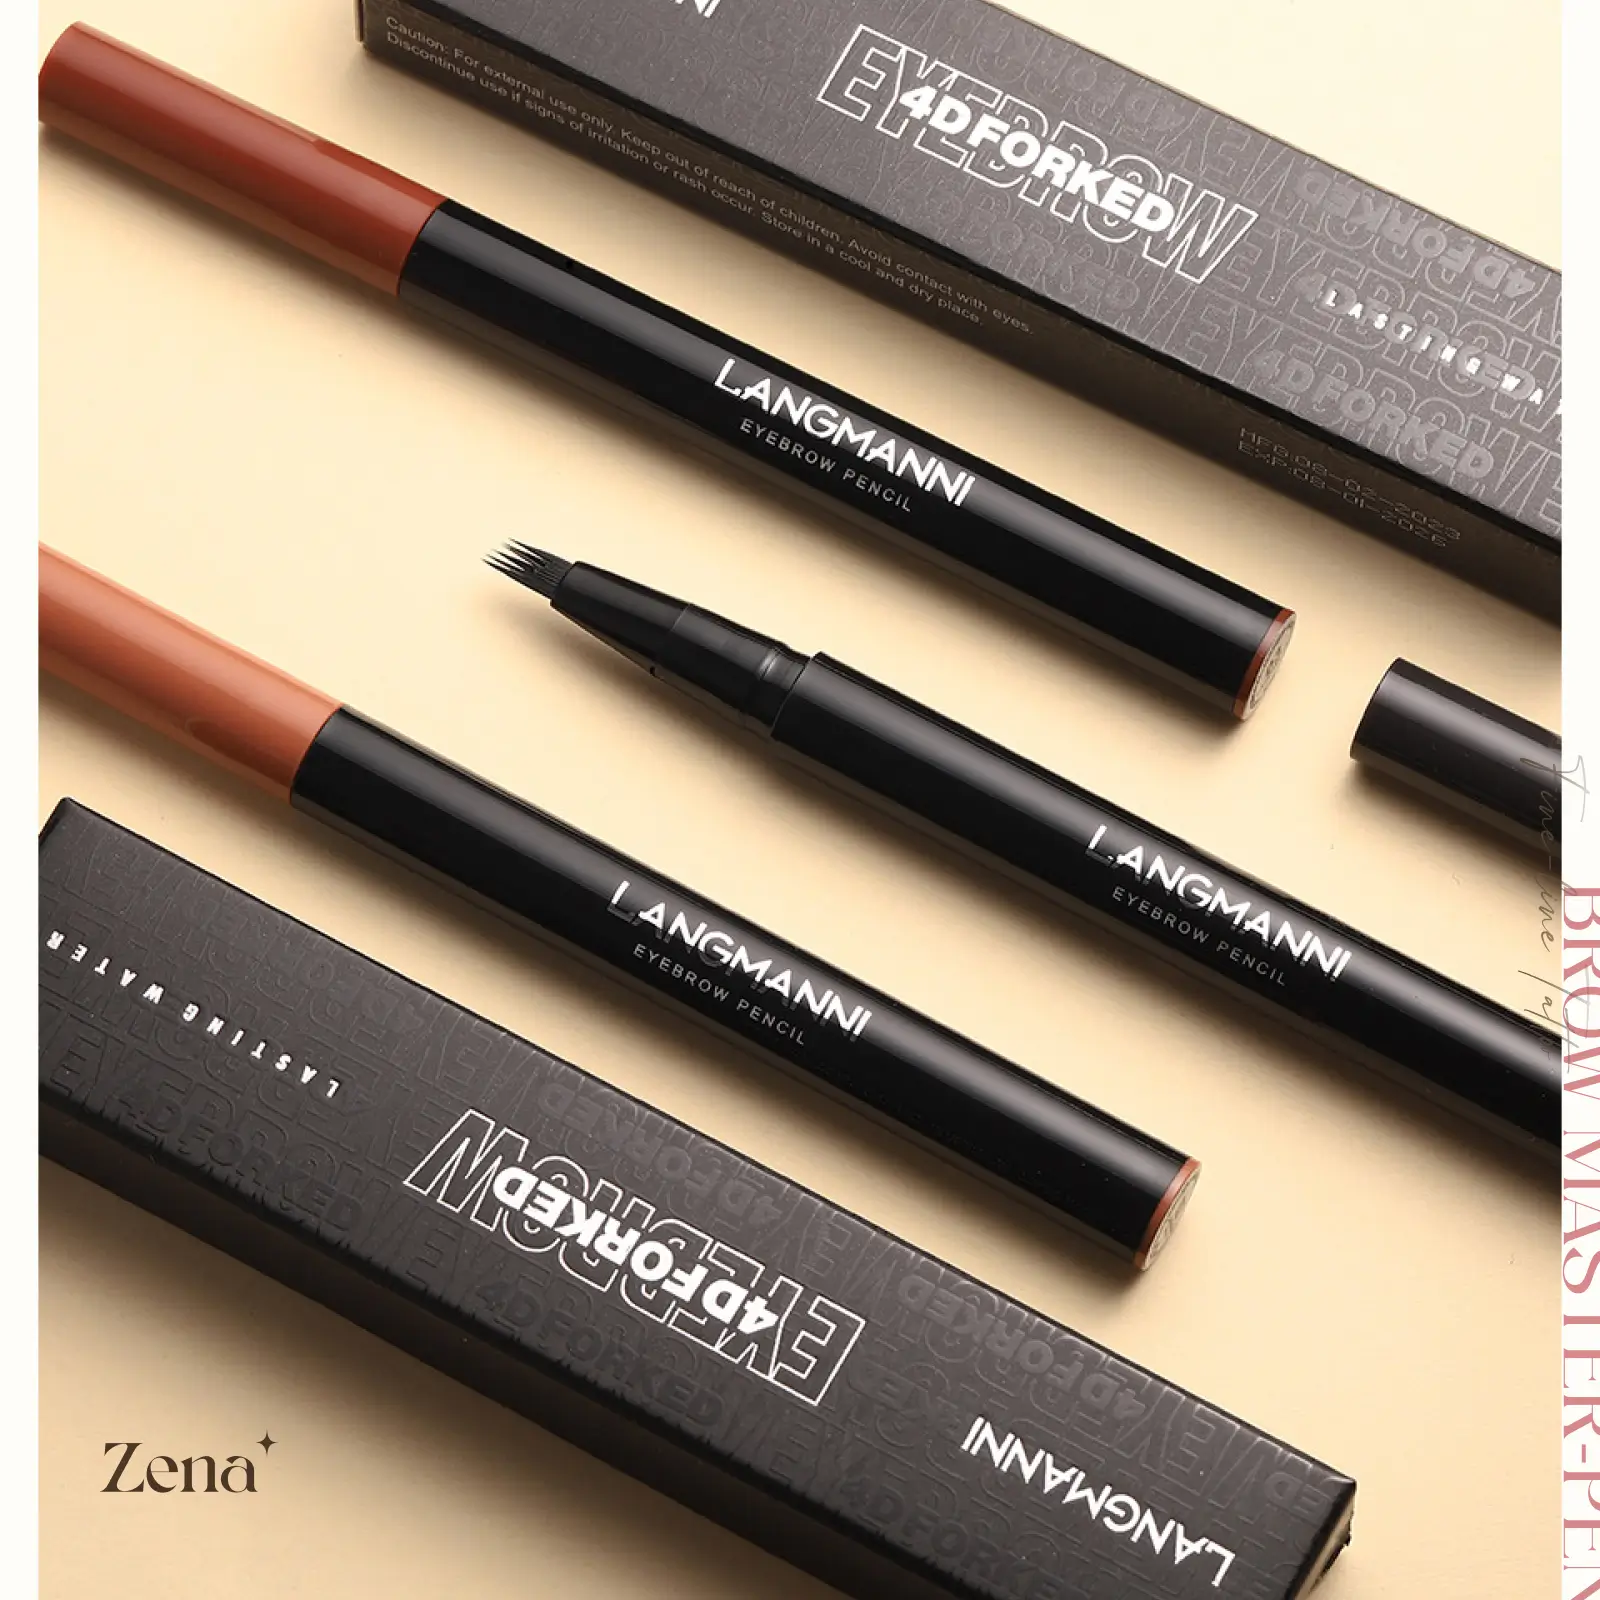
The Defining Product: Choosing Your Weapon
The Defining Product typically comes in three main forms:
- Pencils: The classic choice! They offer precision and control, ideal for creating individual hair-like strokes.
- Powders: Softer and more forgiving, powders are great for filling in larger sparse areas and creating a more diffused, natural look.
- Pomades: Highly pigmented and long-lasting, pomades offer the most dramatic definition and are best suited for experienced brow artists.
Let’s break down each type in more detail:
| Defining Product Type | Pros | Cons | Best For |
|---|---|---|---|
| Pencil | Precise, controlled application; easy to create hair-like strokes; beginner-friendly. | Can look harsh if not applied with a light hand; may require frequent sharpening. | Filling in small gaps; creating a defined arch; beginners who want a precise application. |
| Powder | Soft, natural finish; easy to blend; forgiving for mistakes; good for filling in larger areas. | Can be messy; less precise than a pencil; may not last as long as other options. | Filling in sparse areas all over the brow; achieving a soft, natural look; oily skin. |
| Pomade | Highly pigmented; long-lasting; waterproof; allows for dramatic definition. | Requires a steady hand and experience; can look unnatural if not applied correctly; can dry out quickly. | Creating a bold, defined brow; filling in very sparse brows; events where you need long-lasting power. |
Choosing the Right Shade: A Critical Decision! 🎨
This is where many brow-aspirants go wrong. Choosing a shade that’s too dark or too warm can result in brows that look artificial and overpowering. The general rule of thumb is to go one to two shades lighter than your natural hair color.
Here’s a helpful table:
| Hair Color | Recommended Brow Shade |
|---|---|
| Blonde | Light to medium cool-toned blonde or taupe. Avoid anything too warm or orange. |
| Light Brown | Medium to dark cool-toned brown or taupe. Consider your skin tone; if you’re fair, stick to a lighter shade. |
| Medium Brown | Medium to dark cool-toned brown. Aim for a shade that matches your roots. |
| Dark Brown | Dark brown or soft black. Avoid anything too harsh or jet black unless you have very dark hair and skin. |
| Black | Soft black or charcoal grey. Be extremely careful with application; a little goes a long way. |
| Red | Auburn or warm brown. Look for shades with red or copper undertones. Avoid anything too cool-toned. |
| Grey/White | Light grey or taupe. Avoid anything too dark or warm. Focus on adding subtle definition without overpowering your features. |
Don’t be afraid to experiment! Buy a few different shades and test them out in natural light to see what looks best on you. Sephora and Ulta are your friends!
The Art of Hair-Like Strokes: Mastering the Technique ✍️
Now for the main event! This is where you’ll learn the secret to creating natural-looking brows using the Defining Product. The key is to mimic the appearance of real brow hairs.
Here’s a step-by-step guide:
Step 1: Prep Your Brows: 🧹
- Cleanse: Make sure your brows are clean and free of any makeup or skincare products.
- Brush: Use a spoolie brush to comb your brow hairs upwards and outwards. This will help you see the natural shape of your brow and identify any sparse areas.
Step 2: Map Out Your Brows: 🗺️
- Cleanse: Make sure your brows are clean and free of any makeup or skincare products.
- Brush: Use a spoolie brush to comb your brow hairs upwards and outwards. This will help you see the natural shape of your brow and identify any sparse areas.
Step 2: Map Out Your Brows: 🗺️
- The Beginning: Hold a pencil vertically against the side of your nose. This is where your brow should ideally start.
- The Arch: Hold the pencil at an angle from the corner of your nose through the center of your eye. This is where your arch should be.
- The End: Hold the pencil at an angle from the corner of your nose to the outer corner of your eye. This is where your brow should end.
(Insert Image: A diagram showing how to map out the brow using a pencil.)
Step 3: The Defining Product Application (The Magic!): ✨
- Light Hand is Key: Start with a very light hand. You can always add more product, but it’s much harder to take it away.
- Mimic Hair Growth: Using short, feathery strokes that mimic the direction of your natural hair growth, fill in the sparse areas. Focus on the areas where you naturally have hair, rather than drawing a solid line.
- Start at the Bottom: Begin filling in the bottom edge of your brow, creating a slightly defined line. This will help to frame your brow and create a lifting effect.
- Gradually Build Up: Use the Defining Product to create short, upward strokes to fill in the sparse areas within the brow. Concentrate on mimicking the look of individual hairs.
- Focus on the Arch: Pay special attention to defining the arch of your brow. This is what will give your face a lifted and more defined look.
(Insert Image: Close-up showing how to create hair-like strokes with a brow pencil.)
Important Tips for Hair-Like Stroke Perfection:
- Sharp Pencil (for Pencil Users): A sharp pencil is essential for creating fine, hair-like strokes. Invest in a good sharpener!
- Angled Brush (for Powder/Pomade Users): Use a thin, angled brush for precise application.
- Stipple, Don’t Swipe: Instead of swiping the product across your brow, stipple it on in small, controlled motions.
- Less is More: Remember, you can always add more product, but it’s much harder to take it away. Start with a light hand and gradually build up the intensity.
- Practice Makes Perfect: Don’t get discouraged if you don’t get it right away. Keep practicing, and you’ll eventually master the technique.
Step 4: Blend, Blend, Blend! 💫
- Spoolie Brush is Your Best Friend: Use a spoolie brush to blend the product through your brow hairs. This will soften any harsh lines and create a more natural look.
- Brush Upwards and Outwards: Brush your brow hairs upwards and outwards to blend the product evenly throughout your brow.
Step 5: Set it and Forget it! 🔒
- Brow Gel is Essential: Use a clear or tinted brow gel to set your brows in place. This will keep your brows looking perfect all day long.
- Brush Upwards: Brush the brow gel upwards and outwards, following the natural shape of your brow.
(Insert Image: A visual representation of the blending and setting process.)
Troubleshooting Common Brow Problems: 🚨
- Brows Too Dark: Use a spoolie brush to blend out the product and lighten the shade. If that doesn’t work, try using a lighter shade of Defining Product next time.
- Brows Too Harsh: Focus on softening the edges of your brows with a spoolie brush. Use a lighter hand when applying the Defining Product.
- Brows Not Symmetrical: Don’t stress! Brows are sisters, not twins. Focus on making them look balanced rather than perfectly identical.
- Product Doesn’t Last: Make sure you’re using a good brow gel to set your brows in place. You can also try using a waterproof Defining Product.
Advanced Techniques: Taking Your Brows to the Next Level 🚀
- Highlighting the Brow Bone: Apply a subtle highlight under your brow bone to lift the brow and create a more defined arch.
- Concealing Around the Brows: Use a concealer to clean up any stray hairs or imperfections around your brows.
- Lamination Effect: Use a strong-hold brow gel to create a laminated brow effect, which gives your brows a sleek and polished look.
- Microblading/Microshading (Long-Term Solution): If you’re looking for a more permanent solution, consider microblading or microshading. These techniques involve implanting pigment into the skin to create the appearance of fuller brows. Do your research and find a reputable artist.
Do’s and Don’ts of Natural Brow Perfection: ✅ ❌
| Do’s | Don’ts |
|---|---|
| Choose a shade that’s one to two shades lighter than your natural hair color. | Choose a shade that’s too dark or too warm. |
| Use a light hand when applying the Defining Product. | Apply too much product at once. |
| Mimic the direction of your natural hair growth. | Draw a solid line across your brow. |
| Blend, blend, blend! | Forget to blend the product. |
| Use a brow gel to set your brows in place. | Over-pluck your brows. |
| Practice regularly to improve your technique. | Get discouraged if you don’t get it right away. |
| Embrace your natural brow shape. | Try to completely change the shape of your brows. |
| Consult with a professional brow artist if you’re struggling. | Attempt DIY brow treatments without proper knowledge. |
Final Thoughts: Brow Confidence is Key! 💪
Achieving natural brow perfection is a journey, not a destination. Don’t be afraid to experiment, make mistakes, and learn from them. The most important thing is to feel confident and comfortable with your brows. After all, they’re framing your face, so make sure they reflect your personality and style.
Now go forth and conquer the world, one perfectly defined, naturally beautiful brow at a time! And remember, if all else fails, blame it on the lighting. 😉
(Insert Image: A final image of perfectly defined, natural-looking brows with a confident smile.)
Q&A Session (Hypothetical, of course!):
(Feel free to imagine questions and answer them!)
-
Q: What if my eyebrows are naturally very sparse? Should I still aim for a natural look?
- A: Absolutely! Even with very sparse brows, the goal is to create the illusion of fullness and definition without looking overdone. Focus on creating those hair-like strokes and building up the product gradually. Consider microblading as a longer-term solution to add a base of color and shape.
-
Q: I have hooded eyes. How will brow shape affect my look?
- A: Hooded eyes benefit from a defined arch! It creates the illusion of more space between your brow and eyelid. Be careful not to make the arch too dramatic, though, as that can look unnatural.
-
Q: Help! I accidentally over-plucked! What do I do?
- A: Put down the tweezers! Seriously, step away! Let your brows grow back as much as possible. In the meantime, use your Defining Product to fill in the gaps and create the illusion of fuller brows. It might take a few months, but patience is key.
-
Q: I’m allergic to certain ingredients in makeup. What should I look for in a Defining Product?
- A: Look for hypoallergenic and fragrance-free formulas. Read the ingredient list carefully and avoid products that contain known allergens. There are many excellent options available for sensitive skin.
-
Q: Is there a "one size fits all" brow shape?
- A: Definitely not! The best brow shape for you will depend on your face shape, eye shape, and overall features. Experiment and find what looks best on you. Don’t just follow trends blindly!
(End of Lecture)
For detailed product specifications and purchases, please go to :https://zenamakeup.com/products/brow-perfection-trio-tint-shape-and-define-set
Leave a Reply