Brow Perfection Trio: A Deep Dive into Texture and Application – A Lecture for Budding Brow Artists 🎓
Welcome, future brow maestros! 👋 Today, we’re diving headfirst into the wonderfully complex world of the "Brow Perfection Trio Set" – a common name for sets containing a brow pencil, brow powder, and brow gel. Think of this lecture as your backstage pass to understanding the unique personalities of each product, their individual strengths, and how to orchestrate them into a symphony of perfectly sculpted arches.
Forget memorizing boring formulas and ingredients lists (we’ll touch on those lightly, don’t worry!). We’re going to focus on the feel – the texture, the glide, the blend, the hold – and how these tactile experiences translate into flawless brow application. Get ready to get your hands dirty (figuratively, unless you’re already practicing, in which case, go you!).
Our Agenda: A Three-Act Play for Phenomenal Brows
- Act I: The Brow Pencil – Precision and Definition ✒️ (Texture, Application, and Ideal Use Cases)
- Act II: The Brow Powder – Softness and Fill ☁️ (Texture, Application, and Ideal Use Cases)
- Act III: The Brow Gel – Hold and Definition 🔒 (Texture, Application, and Ideal Use Cases)
- Encore: The Brow Perfection Trio in Harmony – Combining the Elements 🎶
So, grab your notebooks, sharpen your pencils (real ones this time!), and let’s embark on this brow-tastic journey!
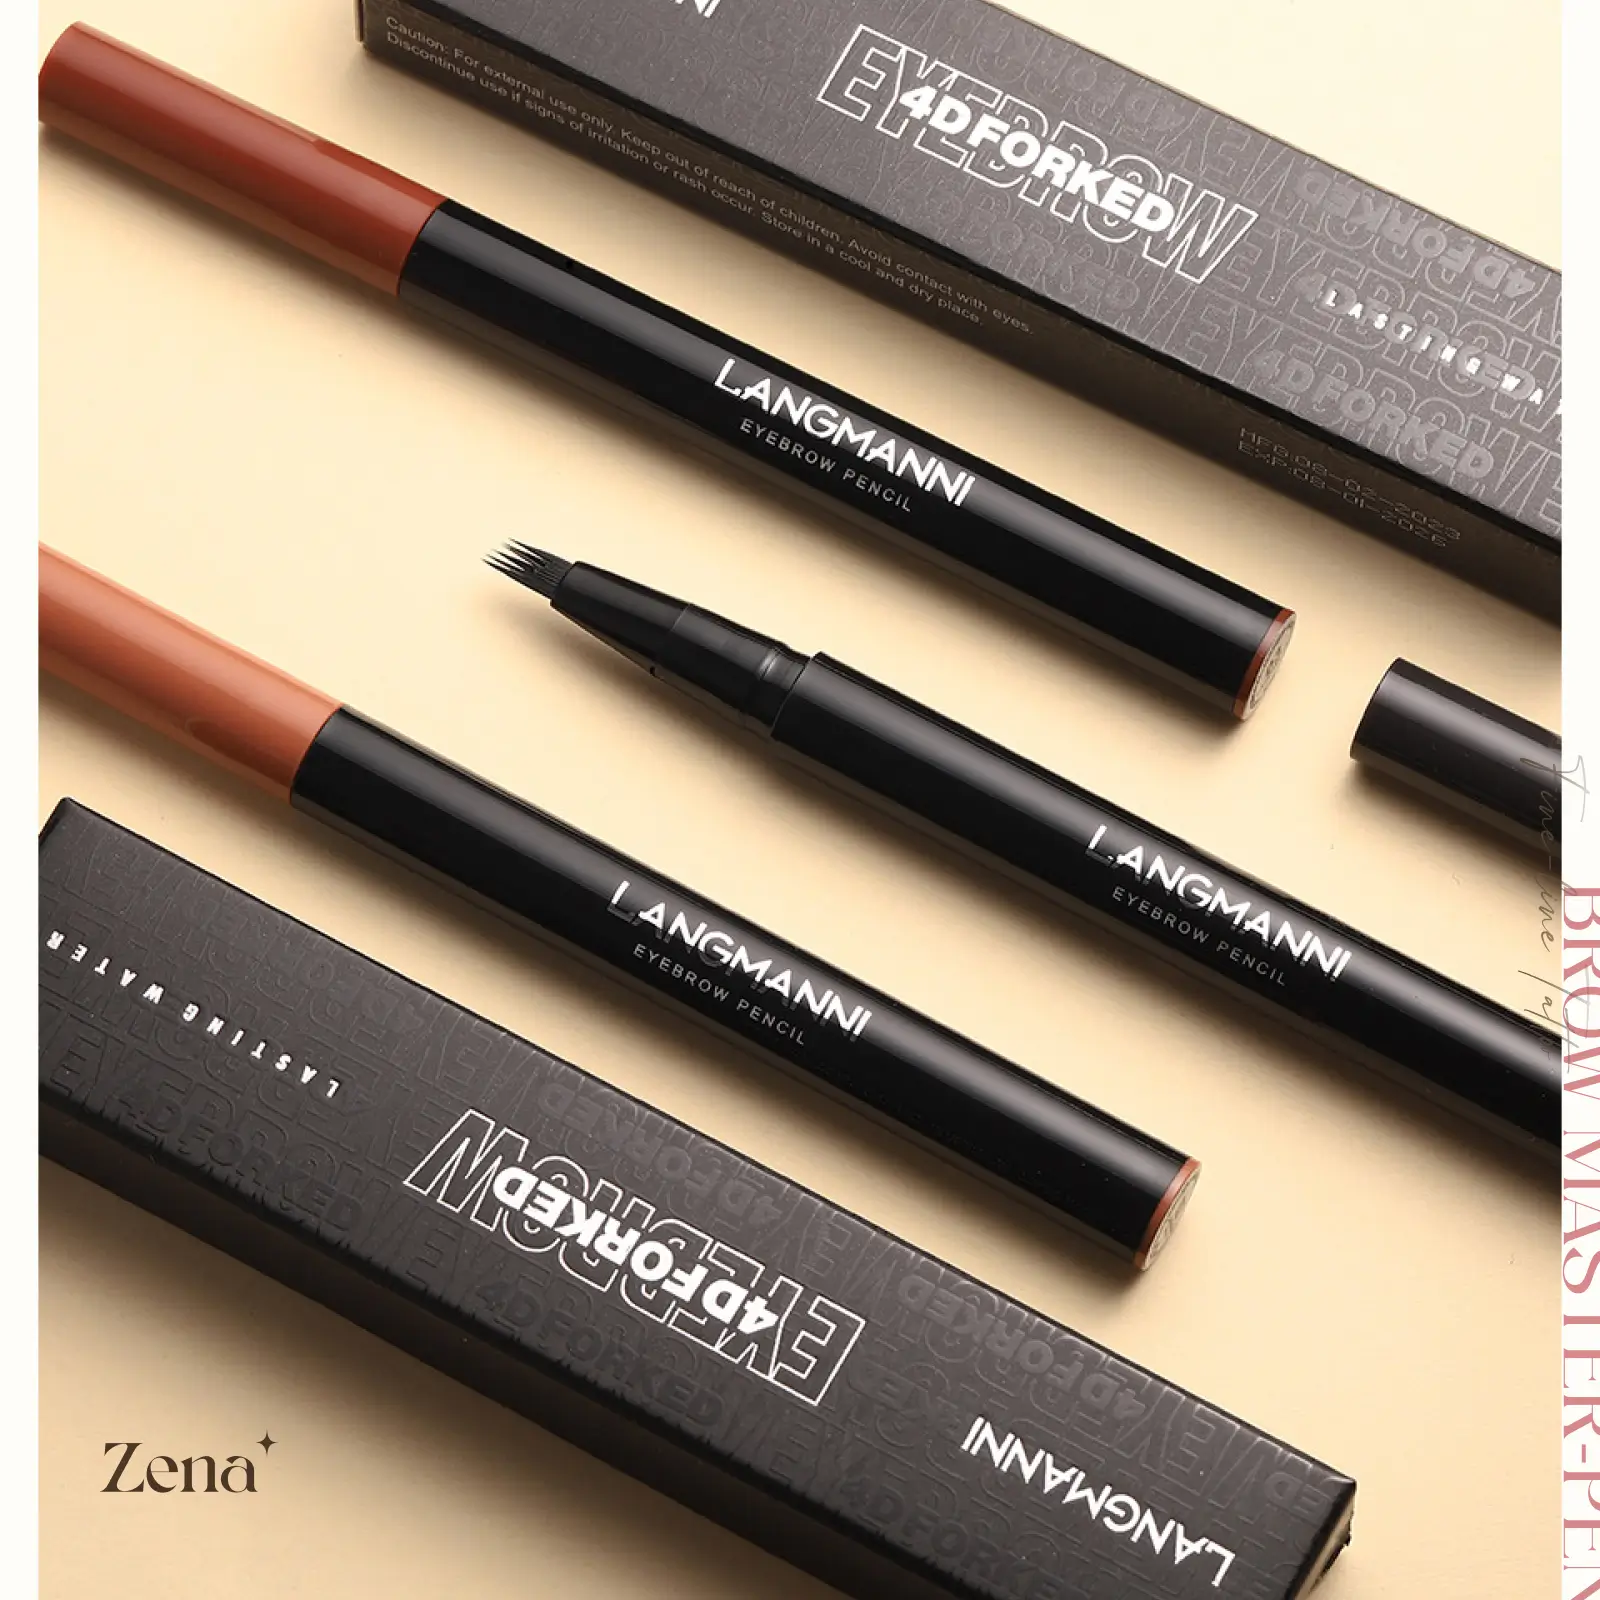
Act I: The Brow Pencil – Precision and Definition ✒️
Ah, the brow pencil – the stalwart soldier in our brow arsenal! Think of it as the architect of your arches, the detail-oriented artist who meticulously crafts each hair-like stroke. But not all brow pencils are created equal. The texture and application can vary wildly, turning a potential masterpiece into a brow blunder.
Texture: The Foundation of Flawless Strokes
The texture of a brow pencil is the first thing you’ll notice. It dictates how easily it applies, how well it blends, and ultimately, how natural your brows look. Here’s a breakdown of common brow pencil textures:
-
Hard & Waxy: Imagine a crayon that’s spent a little too long in the freezer. These pencils offer incredible precision and control, making them ideal for drawing very fine, hair-like strokes. However, they can be unforgiving if you have dry skin or a heavy hand. Think "structured architectural marvel," not "soft, fluffy cloud."
- Pros: Long-lasting, precise, excellent for sparse brows, less prone to smudging.
- Cons: Can look harsh, difficult to blend, may skip on dry skin.
- Example: Think of a well-sharpened colored pencil; it takes more pressure to get the colour to show.
-
Soft & Creamy: These pencils are like butter – they glide effortlessly onto the skin, depositing pigment with minimal pressure. They’re fantastic for filling in sparse areas quickly and creating a softer, more natural look. The downside? They can be prone to smudging, especially on oily skin. Think of this as brow "contouring" – building volume and defining shape with ease.
- Pros: Easy to apply, blends beautifully, great for quick application, creates a natural look.
- Cons: Can smudge easily, less precise, may require more frequent touch-ups.
- Example: Think of a soft gel eyeliner; it’s easy to apply and blend but requires setting to avoid smudging.
-
Powder-Based: These pencils are essentially compressed brow powder in pencil form. They offer a soft, diffused finish and are excellent for creating a natural, filled-in look. They’re generally less precise than hard or creamy pencils but offer a more forgiving application. Imagine a "watercolor" effect for your brows – subtle and buildable.
- Pros: Natural-looking, easy to blend, forgiving application, good for beginners.
- Cons: Less precise, may not provide enough definition, can fade easily.
- Example: The look of a brow powder applied with a very fine brush.
-
Retractable vs. Sharpenable:
Feature Retractable Pencils Sharpenable Pencils Point Usually rounded, less precise Can be sharpened to a fine point for extreme precision Convenience Convenient, no sharpener needed Requires a sharpener Waste Less waste More waste from sharpening Versatility Good for filling in brows quickly Great for creating hair-like strokes Durability Can break if extended too far More durable overall
Application: The Art of the Hair-Like Stroke
Now that we understand the texture, let’s talk about application. The key to a natural-looking brow pencil application is mimicking the direction and thickness of your natural brow hairs.
-
The Feathering Technique: This is the holy grail of brow pencil application. Using light, short strokes in the direction of your hair growth, fill in sparse areas and define the shape of your brows. Start at the base of the brow and work your way outwards, gradually building the intensity. Avoid creating solid blocks of color – that’s a surefire way to achieve the dreaded "Instagram brow" look.
- Tip: Use a light hand! It’s easier to add more product than to take it away.
-
The Outline and Fill Technique: This technique is best for those with very sparse brows or those who want a more defined shape. First, outline the desired shape of your brows using light, feathery strokes. Then, fill in the outlined area using the same technique. Be sure to blend the edges to avoid a harsh, unnatural look.
- Tip: Use a spoolie brush to blend the pencil and soften the edges.
-
The Tail Flick: Don’t forget the tail! The tail of your brow should extend slightly beyond the outer corner of your eye and taper to a fine point. Use the pencil to create a sharp, defined tail that lifts the eye and adds definition to your face.
- Tip: Imagine a straight line extending from the corner of your nose, past the outer corner of your eye, to determine the ideal length of your brow tail.
Ideal Use Cases: Matching the Pencil to the Brow
- Sparse Brows: Hard or creamy pencils are excellent for creating the illusion of individual hairs and filling in gaps.
- Full Brows: Powder-based pencils or soft, creamy pencils are ideal for adding subtle definition and filling in sparse areas without looking overdone.
- Uneven Brows: Use a pencil to even out the shape and symmetry of your brows.
- Bold Brows: Creamy or powder based pencils can be used to fill in and define the brows, then a brow gel can be used to create texture and definition.
Act II: The Brow Powder – Softness and Fill ☁️
Enter the brow powder – the soft, fluffy companion to the precise brow pencil! Think of it as the watercolor artist, adding depth, dimension, and a touch of natural softness to your brows. Brow powder is all about creating a diffused, filled-in look that enhances your natural arches without looking harsh or overdone.
Texture: The Spectrum of Powdery Perfection
The texture of brow powder can range from finely milled and silky to slightly coarser and more pigmented. The ideal texture depends on your personal preference and the desired level of intensity.
-
Finely Milled: These powders are incredibly soft and blend effortlessly into the skin. They provide a sheer wash of color that’s perfect for creating a natural, filled-in look. Think of these as your "everyday" brow powders – subtle, easy to use, and forgiving.
- Pros: Easy to blend, natural-looking, forgiving application, good for beginners.
- Cons: Less pigmented, may require multiple layers, can fade easily.
- Example: Like a setting powder with a hint of colour.
-
Medium Milled: These powders offer a balance of pigmentation and blendability. They provide more definition and intensity than finely milled powders but are still easy to work with. Think of these as your "go-to" brow powders – versatile, buildable, and suitable for a variety of brow looks.
- Pros: Good pigmentation, blends well, buildable, versatile.
- Cons: Can be a little messy if not applied carefully, may require some blending.
- Example: A powder eyeshadow that is easy to work with.
-
Highly Pigmented: These powders pack a serious punch! They deliver intense color and definition with just a single swipe. While they can create dramatic, sculpted brows, they require a light hand and careful blending to avoid looking harsh. Think of these as your "statement" brow powders – perfect for special occasions or when you want to make a bold statement.
- Pros: Highly pigmented, long-lasting, creates defined brows.
- Cons: Can be difficult to blend, may look harsh if not applied carefully, not ideal for beginners.
- Example: A dark eyeshadow that has a lot of colour payoff.
Application: The Art of the Subtle Sweep
The key to a flawless brow powder application is using the right brush and a light hand.
The key to a flawless brow powder application is using the right brush and a light hand.
-
The Angled Brush: This is your weapon of choice for applying brow powder. Look for a brush with firm, angled bristles that allow you to precisely fill in your brows.
- Tip: Choose a brush that’s slightly smaller than your natural brow hairs for maximum control.
-
The Tapping Technique: Instead of sweeping the powder across your brows, tap the brush onto the skin to deposit the pigment. This helps to avoid creating harsh lines and ensures an even distribution of color.
- Tip: Start at the base of your brow and work your way outwards, gradually building the intensity.
-
The Blending Technique: Once you’ve applied the powder, use a clean spoolie brush to blend the edges and soften the look. This helps to create a natural, diffused finish that seamlessly integrates with your natural brow hairs.
- Tip: Blend in the direction of your hair growth for the most natural-looking results.
-
Applying Brow Powder Over Pencil:
Step Description 1 Apply brow pencil to outline and fill in sparse areas with hair-like strokes. 2 Dip an angled brush into the brow powder. 3 Tap off excess powder to prevent over-application. 4 Gently press the powder over the pencil lines to set and soften the look. 5 Blend with a spoolie brush for a natural finish.
Ideal Use Cases: Matching the Powder to the Brow
- Full Brows: Finely milled powders are ideal for adding subtle definition and filling in sparse areas without looking overdone.
- Sparse Brows: Medium milled or highly pigmented powders can be used to create the illusion of fuller brows, but be sure to use a light hand and blend thoroughly.
- Soft, Natural Look: Brow powder is the perfect choice for creating a soft, natural brow look that enhances your features without looking overly made-up.
- Setting the Pencil: Brow powder helps to set brow pencils in place for longer wear.
Act III: The Brow Gel – Hold and Definition 🔒
And now, for the finishing touch – the brow gel! Think of this as the hairspray for your brows, taming unruly hairs, adding definition, and locking your masterpiece in place. Brow gel comes in two main forms: clear and tinted.
Texture: The Spectrum of Gelled Greatness
The texture of brow gel can range from lightweight and flexible to thick and firm. The ideal texture depends on the desired level of hold and definition.
-
Lightweight: These gels provide a subtle hold and are perfect for taming unruly hairs without making your brows feel stiff or crunchy. Think of these as your "everyday" brow gels – comfortable, natural-looking, and easy to use.
- Pros: Lightweight, comfortable, natural-looking, easy to use.
- Cons: May not provide enough hold for very unruly brows, can fade easily.
- Example: Light hold hair spray.
-
Medium Hold: These gels offer a balance of hold and flexibility. They keep your brows in place without feeling stiff or unnatural. Think of these as your "go-to" brow gels – versatile, reliable, and suitable for a variety of brow looks.
- Pros: Good hold, flexible, versatile, long-lasting.
- Cons: Can be a little sticky if not applied carefully, may require some practice.
- Example: Medium hold hair spray.
-
Strong Hold: These gels provide maximum hold and are perfect for creating sculpted, defined brows that last all day. However, they can feel stiff or crunchy if not applied carefully. Think of these as your "statement" brow gels – perfect for special occasions or when you want your brows to stay put no matter what.
- Pros: Maximum hold, long-lasting, creates defined brows.
- Cons: Can feel stiff or crunchy, may look unnatural if not applied carefully, not ideal for everyday wear.
- Example: Extra strong hold hair spray.
Clear vs. Tinted:
- Clear Gel: Perfect for setting your brows in place without adding any color. Ideal for those who already have full, defined brows or those who prefer a natural look.
- Tinted Gel: Adds a touch of color and definition to your brows while keeping them in place. Ideal for those with sparse brows or those who want a more defined look.
Application: The Art of the Upward Flick
The key to a flawless brow gel application is using the right brush and a light hand.
-
The Spoolie Brush: This is your applicator of choice for brow gel. Use the spoolie brush to brush your brow hairs upwards and outwards, following the natural arch of your brow.
- Tip: Wipe off any excess product from the spoolie brush before applying to avoid clumping.
-
The Lift and Separate Technique: As you brush your brows upwards, use the spoolie brush to lift and separate the hairs, creating a fuller, more defined look.
- Tip: Focus on the front of your brows to create a lifted, youthful appearance.
-
The Taming Technique: For unruly hairs, use the spoolie brush to gently press them down and into place.
- Tip: Use a clean finger to smooth down any stray hairs.
Ideal Use Cases: Matching the Gel to the Brow
- Full Brows: Clear gel is perfect for setting your brows in place and keeping them looking neat and tidy.
- Sparse Brows: Tinted gel can add color and definition to your brows, creating the illusion of fuller, more defined arches.
- Unruly Brows: Strong hold gel is ideal for taming unruly hairs and keeping your brows in place all day long.
Encore: The Brow Perfection Trio in Harmony – Combining the Elements 🎶
Now for the grand finale! The real magic happens when you combine the powers of the brow pencil, brow powder, and brow gel. Here’s a step-by-step guide to creating the perfect brow using all three products:
- Shape and Define: Use the brow pencil to outline the desired shape of your brows and fill in any sparse areas using light, feathery strokes.
- Add Depth and Dimension: Use the brow powder to fill in your brows and create a soft, diffused look.
- Set and Sculpt: Use the brow gel to set your brows in place and sculpt them into the desired shape.
The Brow Matrix: Combining Products for Different Looks
| Desired Look | Brow Pencil | Brow Powder | Brow Gel |
|---|---|---|---|
| Natural | Soft, Creamy (for subtle definition) | Finely Milled (for a soft, filled-in look) | Lightweight (to tame unruly hairs) |
| Defined | Medium (for precise shaping) | Medium Milled (for a balance of pigmentation and blendability) | Medium Hold (to keep brows in place) |
| Bold | Hard & Waxy (for creating sharp lines and precise shapes) | Highly Pigmented (for intense color and definition) | Strong Hold (to create sculpted, defined brows that last all day) |
| Sparse Brows | Hard or Creamy (to mimic hair-like strokes) | Medium Milled or Highly Pigmented (to fill in gaps and create fuller brows) | Tinted (to add color and definition) |
| Quick & Easy | Retractable, Soft & Creamy (for fast application) | Not Necessary (pencil alone can suffice) | Clear, Lightweight (to quickly set brows) |
Final Thoughts: Embrace the Brow Journey!
Mastering the art of brow perfection is a journey, not a destination. Experiment with different textures, techniques, and combinations of products to find what works best for you. Don’t be afraid to make mistakes – that’s how you learn! And remember, the most important thing is to have fun and embrace your unique brow style.
Now go forth and conquer the world, one perfectly sculpted brow at a time! 🎉
For detailed product specifications and purchases, please go to :https://zenamakeup.com/products/brow-perfection-trio-tint-shape-and-define-set
Leave a Reply