Lecture: The Crystal Jelly Blush Revelation: Achieving Your Own "Just Pinched" Perfection
(Image: A close-up of a woman’s cheek with a perfectly natural, subtle blush, slightly flushed.)
Alright, settle in, beauty aficionados! Today, we’re diving headfirst into the mesmerizing world of Crystal Jelly Blush – specifically, how to harness its magic on bare skin for that elusive, "I just ran a marathon (but in a really chic, healthy way)" flush. Forget the cakey contour and the over-the-top highlight; we’re going for effortless, my dears.
Think of this lecture as a masterclass in natural beauty enhancement. We’re going to dissect the science, the technique, and the sheer art of using crystal jelly blush on bare skin. By the end, you’ll be armed with the knowledge to achieve that coveted "your skin, but better" glow.
(Emoji: ✨)
I. Introduction: The Quest for the Perfect Flush
For centuries, humans have sought the perfect flush. From rubbing beetroot on cheeks in ancient times to the powdered pigments of the Victorian era, the desire for a healthy, rosy complexion is timeless. But let’s be honest, traditional blushes can be tricky. Too much, and you resemble a clown. Too little, and you might as well have skipped the step entirely.
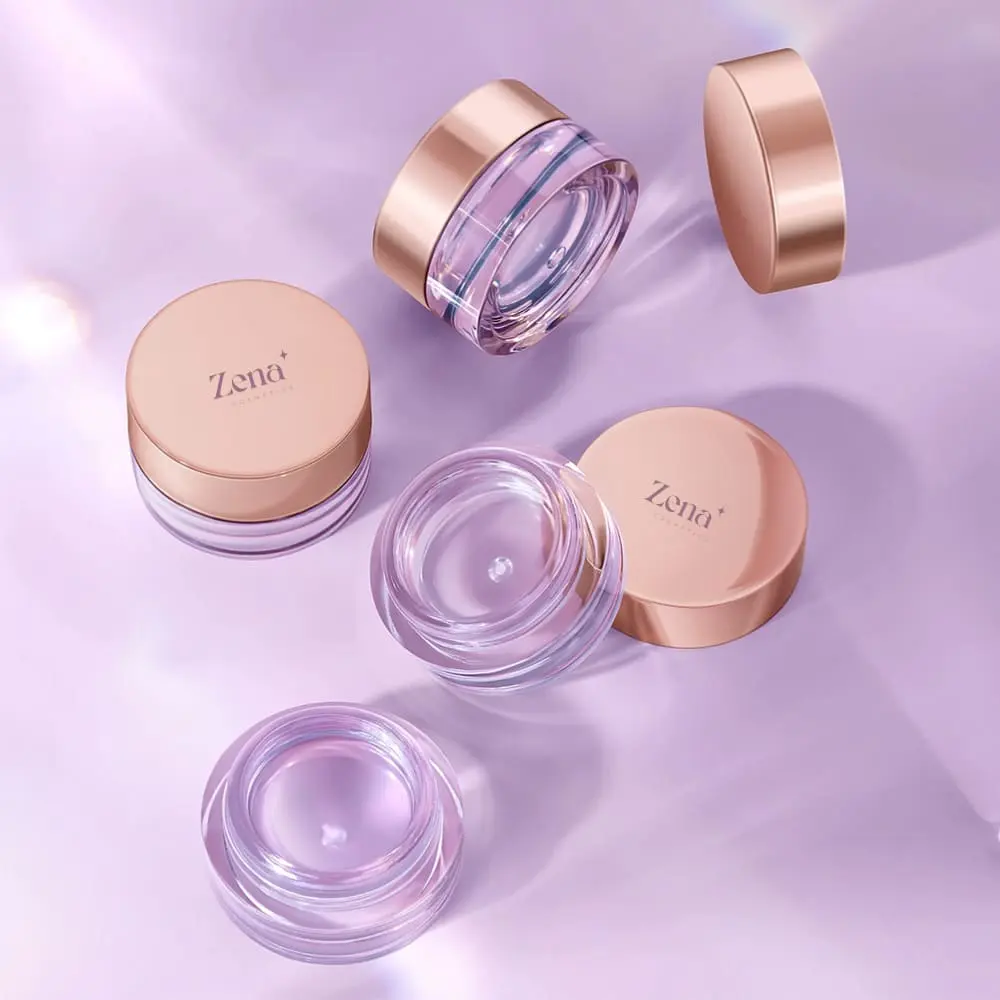
Enter: Crystal Jelly Blush. This relatively new innovation is a game-changer, offering a unique approach to achieving a natural, reactive tint. Unlike powder or cream blushes, crystal jelly blush is often clear or translucent in the pot, reacting with your skin’s pH to create a custom shade of pink or red.
(Icon: 🧪)
II. Understanding the Magic: The Science Behind the Tint
So, how does this sorcery work? It all boils down to a fascinating blend of chemistry and cosmetic wizardry.
-
pH-Reactive Dyes: Crystal jelly blushes typically contain pH-sensitive dyes. These dyes are colorless or lightly colored at a neutral pH. However, when they come into contact with the slightly acidic pH of your skin (typically around 4.5 to 5.5), they undergo a chemical reaction, changing color to a shade of pink or red. The exact shade depends on your individual skin pH and the specific dyes used in the formula.
-
Hydration Boost: The jelly-like texture of these blushes often contains hydrating ingredients like hyaluronic acid, glycerin, or aloe vera. This not only feels lovely on the skin but also helps the blush blend seamlessly and avoids the dreaded dry, patchy look.
-
The "My Skin, But Better" Effect: Because the color is reactive and dependent on your skin’s unique chemistry, the resulting blush is naturally customized. It’s not a generic shade slapped onto your face; it’s a color that complements your complexion, resulting in a more believable and flattering flush.
(Table: Comparing Blush Types)
| Blush Type | Texture | Pigmentation | Application | Finish | Best Suited For | Key Advantages | Key Disadvantages |
|---|---|---|---|---|---|---|---|
| Powder Blush | Powder | High | Brush | Matte/Shimmer | All Skin Types | Versatile, buildable, long-lasting | Can look dry, can emphasize texture |
| Cream Blush | Creamy | Medium | Fingers/Brush | Dewy/Natural | Dry/Mature Skin | Hydrating, blends easily, natural finish | Can be greasy, may not last as long, can clog pores |
| Liquid Blush | Liquid | High | Fingers/Sponge | Dewy/Radiant | All Skin Types | Highly pigmented, blendable, long-lasting | Can be difficult to control, can dry quickly |
| Jelly Blush | Jelly-like | Reactive (Low-Med) | Fingers/Sponge | Dewy/Natural | All Skin Types, Sensitive | Natural flush, hydrating, customizable, beginner-friendly | Reactive color might not be universally flattering, sheer |
(Font: Comic Sans MS, Size 14, Bold – Just Kidding! Don’t EVER use Comic Sans for professional presentations. Stick to clean, legible fonts like Arial or Calibri.)
III. Why Bare Skin? The Allure of Effortless Beauty
Now, you might be wondering, "Why bother with bare skin? Can’t I just slap this stuff over my foundation?" Well, you can, but you’ll be missing out on the full potential of the crystal jelly blush. Here’s why bare skin is the ideal canvas:
-
Maximum Reactivity: On bare skin, the pH-reactive dyes have direct contact with your skin, resulting in the most accurate and natural color transformation. Foundation and other makeup can create a barrier, potentially altering the pH and affecting the final shade.
-
No Cakey Buildup: Applying blush directly to bare skin avoids any potential for caking or creasing, especially if you’re using a heavier foundation. This is crucial for achieving that lightweight, "second skin" finish.
-
The "Lit From Within" Effect: When the blush reacts directly with your skin, it creates a subtle, diffused glow that looks like it’s coming from within. This is a far cry from the obvious, painted-on look of traditional blush.
-
Simplicity and Speed: Let’s face it, sometimes we just don’t have time for a full face of makeup. Crystal jelly blush on bare skin is the ultimate shortcut to looking fresh and radiant in minutes.
(Emoji: ⏱️)
IV. The Application Process: Mastering the Art of the Subtle Flush
Alright, enough theory! Let’s get our hands dirty (figuratively, of course. We want clean hands!). Here’s a step-by-step guide to applying crystal jelly blush on bare skin:
A. Prep is Key (Even on Bare Skin!)
- Cleanse: Start with a clean canvas. Wash your face with a gentle cleanser to remove any dirt, oil, or residue.
- Hydrate: Even if you have oily skin, a lightweight moisturizer is essential. Hydrated skin will allow the blush to blend more seamlessly and prevent it from clinging to dry patches. Look for a water-based or gel moisturizer.
- Sunscreen (Optional, but Highly Recommended!): If you’re going outside, never skip sunscreen! Apply your favorite broad-spectrum sunscreen after your moisturizer. Allow it to absorb fully before applying the blush.
B. Application Techniques: Finding Your Perfect Method
-
The Finger Tap: This is the most common and arguably the easiest method.
- Step 1: Dip a clean fingertip into the crystal jelly blush. Don’t go overboard! A little goes a long way.
- Step 2: Tap the product onto the apples of your cheeks. Smile slightly to find the sweet spot.
- Step 3: Use your fingertips to gently blend the blush outwards and upwards towards your temples. Use light, tapping motions rather than rubbing to avoid irritation.
-
The Sponge Dab: For a more diffused and seamless look, use a damp makeup sponge.
- Step 1: Apply a small amount of blush to the back of your hand.
- Step 2: Dip the damp sponge into the blush.
- Step 3: Dab the sponge onto the apples of your cheeks, blending outwards and upwards.
-
The Brush Buff: If you prefer using a brush, opt for a soft, fluffy brush with rounded bristles.
- Step 1: Dip the brush lightly into the blush.
- Step 2: Tap off any excess product.
- Step 3: Buff the blush onto the apples of your cheeks, blending outwards and upwards in circular motions.
C. Building the Color: Less is More (Initially!)
Remember, the beauty of crystal jelly blush is its subtlety. Start with a very small amount of product and gradually build the color until you achieve your desired level of flush. You can always add more, but it’s much harder to take away.
D. Placement: Where to Apply for Maximum Impact
- Apples of the Cheeks: This is the classic blush placement. It creates a youthful, healthy-looking flush.
- Cheekbones: For a more sculpted look, apply the blush slightly higher on your cheekbones.
- Temples: Extending the blush to your temples can create a more balanced and harmonious look.
- Bridge of the Nose: A tiny dab of blush on the bridge of your nose can create a sun-kissed effect. (Be careful not to overdo it, or you’ll look like you have a sunburn!)
E. Blending is Your Best Friend:
No matter which application method you choose, blending is crucial. Make sure there are no harsh lines or edges. The goal is to create a seamless transition between the blush and your natural skin tone.
(Icon: 🎨)
V. Troubleshooting: Common Mistakes and How to Avoid Them
Even with the best intentions, things can sometimes go awry. Here are some common mistakes to watch out for:
- Applying Too Much Product: As we’ve emphasized, start small and build up the color gradually.
- Using the Wrong Application Technique: Experiment with different methods to find the one that works best for you and your skin.
- Not Blending Properly: Take the time to blend the blush seamlessly into your skin.
- Choosing the Wrong Shade: While crystal jelly blush is supposed to be reactive, some formulas may lean towards certain undertones. If you have very warm undertones, a blush that pulls too cool might look unnatural.
- Applying to Dry, Unexfoliated Skin: This will emphasize texture and create a patchy finish. Exfoliate regularly and always moisturize before applying the blush.
- Ignoring Your Skin Type: Oily skin might need a more matte finish, while dry skin will benefit from a more hydrating formula.
(Table: Troubleshooting Crystal Jelly Blush Application)
| Problem | Possible Cause | Solution |
|---|---|---|
| Blush looks patchy | Dry skin, uneven application | Exfoliate, moisturize, use a damp sponge for application, blend thoroughly. |
| Blush is too intense | Applying too much product, wrong shade | Start with a tiny amount, build gradually, choose a shade that complements your skin tone. |
| Blush looks muddy or unnatural | Foundation interfering with pH, wrong shade | Apply to bare skin, try a different brand/formula, consider your undertones. |
| Blush fades too quickly | Dry skin, not enough moisturizer | Hydrate well, use a hydrating formula, set with a light dusting of translucent powder (optional). |
| Blush is clinging to pores/fine lines | Dry skin, heavy application | Exfoliate, moisturize, use a light hand, avoid applying too close to the eyes. |
| Blush is causing breakouts (rare) | Sensitivity to ingredients in the formula | Discontinue use immediately, check ingredient list for potential allergens, try a different brand/formula. |
(Emoji: 💡)
VI. Beyond the Cheeks: Creative Uses for Crystal Jelly Blush
While we’ve focused on using crystal jelly blush on the cheeks, its versatility extends beyond that. Here are some creative ways to incorporate it into your beauty routine:
- Lip Tint: Dab a tiny amount of crystal jelly blush onto your lips for a subtle, natural-looking stain.
- Eye Shadow Base: Use a small amount of crystal jelly blush as a base for your eyeshadow. It can help to create a more even and long-lasting color. (Test on a small area first to ensure no irritation!)
- Highlight: Some crystal jelly blushes have a subtle shimmer that can be used to highlight the high points of your face.
- DIY Tinted Moisturizer: Mix a tiny drop of crystal jelly blush with your moisturizer for a custom-tinted moisturizer.
(Font: Wingdings – Just Kidding again! Seriously, avoid novelty fonts in professional settings!)
VII. Product Recommendations: Navigating the Jelly Jungle
The world of crystal jelly blush is vast and ever-expanding. Here are a few popular options to get you started (remember to do your research and read reviews before purchasing!):
- (Brand A) Reacting Jelly Blush: [Brief description of formula, finish, and color range]
- (Brand B) pH Perfecting Blush: [Brief description of formula, finish, and color range]
- (Brand C) Crystal Clear Flush: [Brief description of formula, finish, and color range]
(Disclaimer: I am an AI and cannot provide specific product recommendations. Always consult with a dermatologist or beauty professional if you have any concerns about your skin.)
(Icon: 🛍️)
VIII. Conclusion: Embrace the Natural Glow!
The Crystal Jelly Blush revolution is all about embracing your natural beauty and enhancing it with a touch of effortless radiance. By understanding the science behind the reactive tint, mastering the application techniques, and avoiding common pitfalls, you can achieve that coveted "just pinched" perfection.
So go forth, experiment, and discover the magic of crystal jelly blush! Remember, beauty is about confidence and feeling good in your own skin. And if a little blush helps you achieve that, then by all means, blush away!
(Emoji: 🎉)
(End of Lecture)
For detailed product specifications and purchases, please go to :https://zenamakeup.com/products/crystal-jelly-clear-blush
Leave a Reply