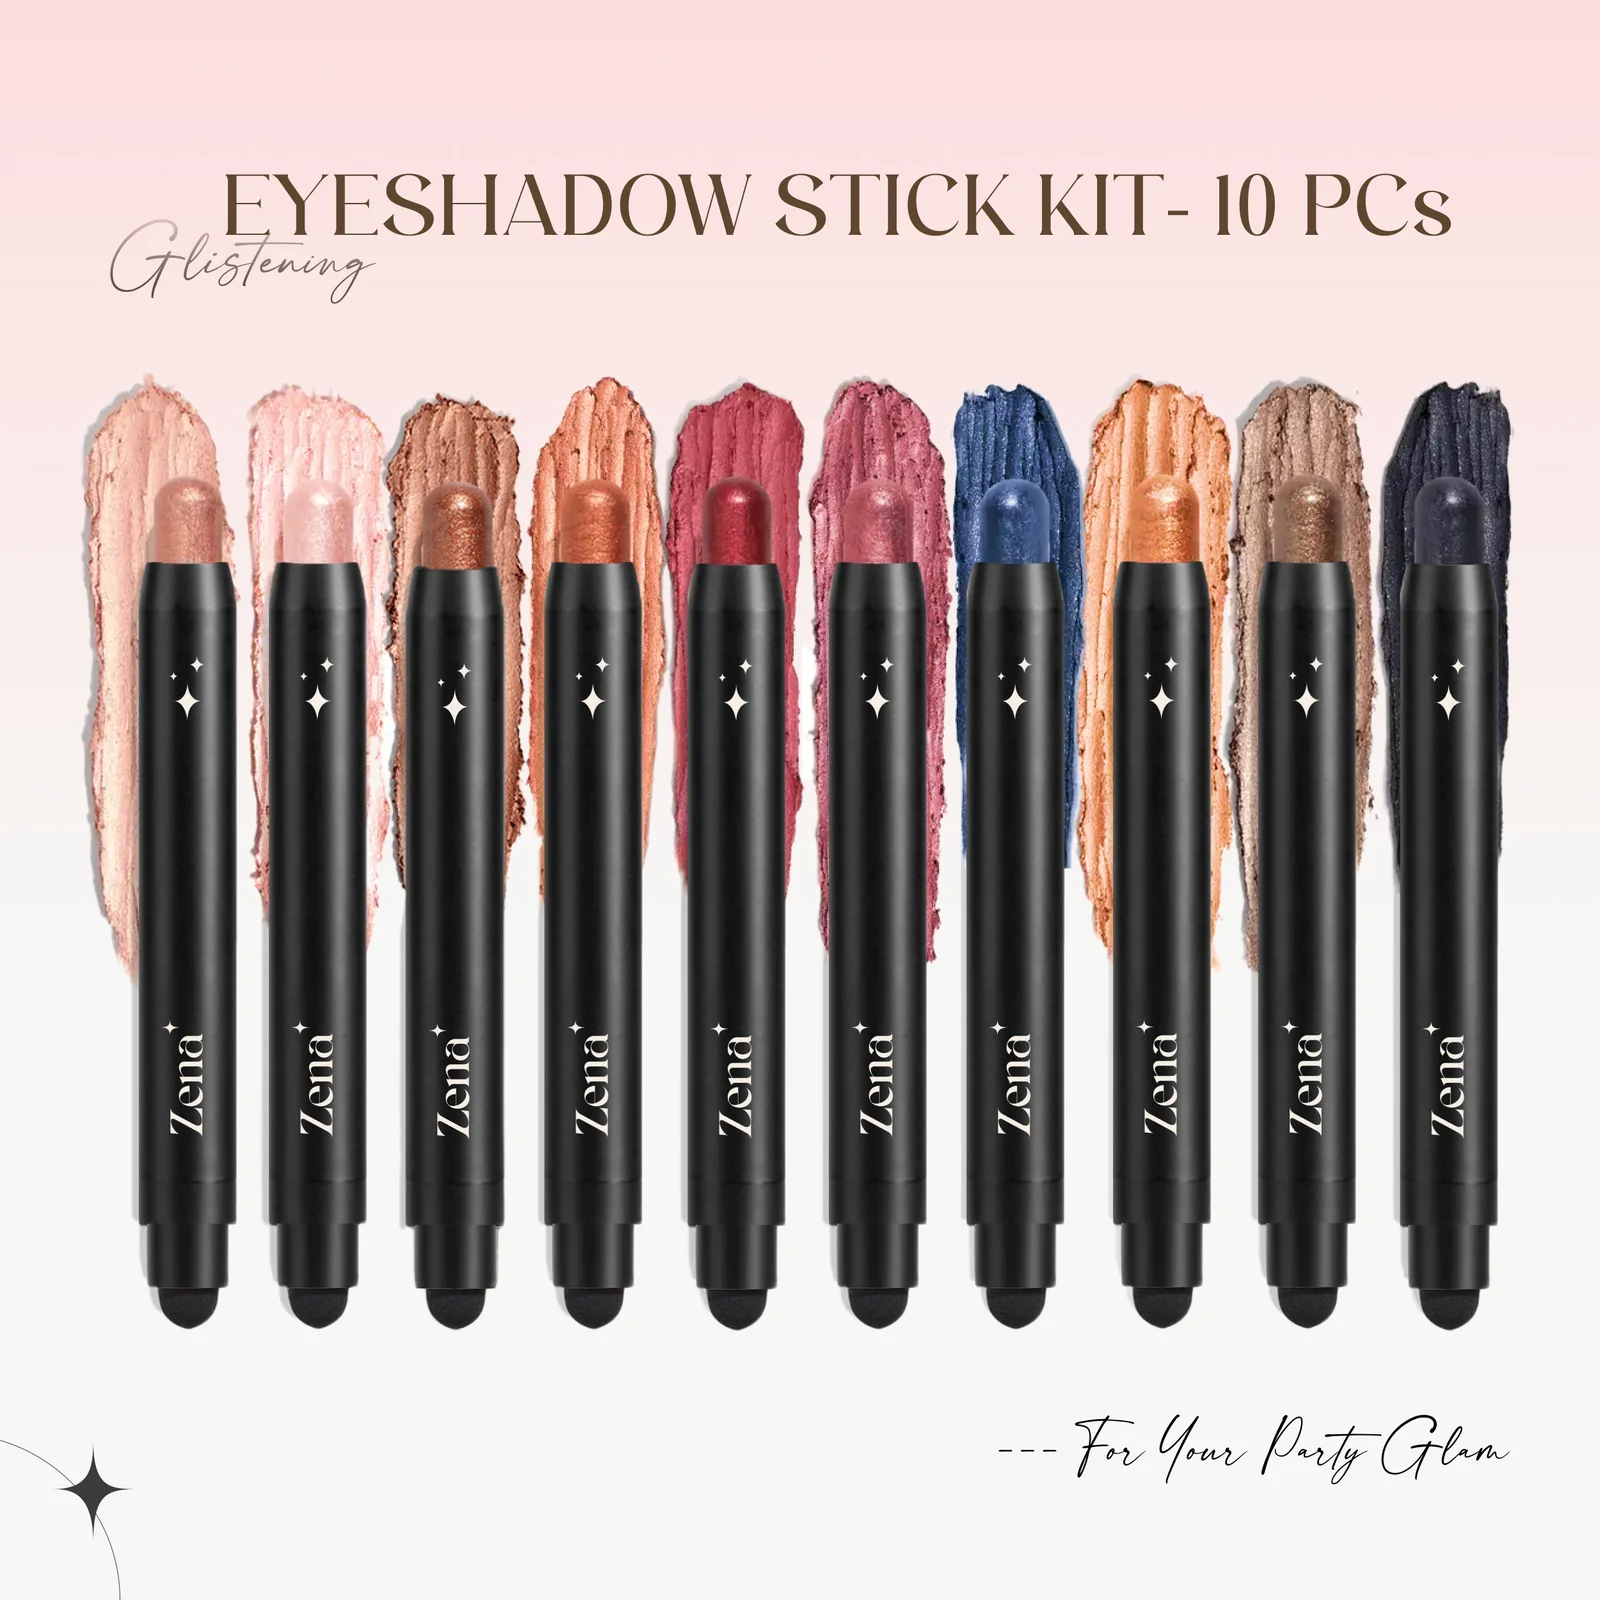
Glitter Cream Eyeshadow Sticks: All-Over Lid Glam or Sparkling Eyeliner Ace! 🌟✨
(A Lecture in Sparkle & Smolder)
Welcome, my darling disciples of dazzling eyes! Gather ’round, because today we’re diving headfirst into the shimmering, shimmering world of glitter cream eyeshadow sticks. Forget your brushes (for a little while, anyway!), because these magical wands are about to become your new best friends. We’re not just talking about adding a touch of sparkle; we’re exploring how to use these little sticks of joy as a full-blown lid color or a precision-perfect, glittering eyeliner. Buckle up, grab your favorite beverage (preferably something sparkly!), and let’s get started!
I. Introduction: Why Glitter Cream Eyeshadow Sticks are the Bomb 💣
Let’s be honest, glitter can be…intimidating. We’ve all been there: a well-meaning attempt at a glittery eye look turns into a full-blown glitter explosion, leaving you looking like you wrestled a unicorn and lost. That’s where glitter cream eyeshadow sticks swoop in to save the day!
-
Why are they so great?
- Ease of Use: Imagine painting your eyelids with a crayon, but instead of drawing stick figures, you’re creating a masterpiece. That’s the level of simplicity we’re talking about.
- One-Step Wonder: Many of these sticks are formulated to be long-wearing, pigmented, and glittery all in one go. No need for primers, shadows, and glitter glue – unless you really want to go for maximum impact (more on that later!).
- Portability: Toss one (or five) in your purse for touch-ups on the go. Because who knows when you’ll need a sudden burst of sparkle? 🕺💃
- Versatility: As the title suggests, these babies can be used as all-over lid color, a dazzling eyeliner, or even a highlighter for the inner corner of your eye! Talk about a multi-tasker.
- Less Mess: Unlike loose glitter, cream formulas tend to cling to the skin, minimizing fallout and the risk of accidentally glitter-bombing your entire bathroom. (Although, let’s be real, sometimes that’s half the fun.)
-
The Glitter Spectrum: A Quick Glossary
Before we dive deeper, let’s clarify the different types of glitter you might encounter:
Glitter Type Description Best Suited For Fine Glitter Small, densely packed glitter particles. Creates a subtle, diffused shimmer. All-over lid color, subtle eyeliner, everyday sparkle. Chunky Glitter Larger, more noticeable glitter particles. Offers a bolder, more dramatic look. Special occasions, statement eyeliner, bold lid looks. Iridescent Glitter Glitter that reflects multiple colors, creating a rainbow effect. Adding dimension, creating unique looks, festival vibes. Holographic Glitter Glitter that diffracts light, creating a 3D rainbow effect. Ultra-glam looks, special effects, Instagram-worthy sparkle.
II. Choosing Your Weapon (or, Picking the Perfect Glitter Cream Eyeshadow Stick)
Not all glitter is created equal, my friends. Here’s what to consider when selecting your perfect stick:
-
Formula:
- Creamy vs. Dry: A creamy formula is easier to blend and tends to be more comfortable to wear. Drier formulas might have better staying power but can sometimes tug on the delicate skin around your eyes. 🥺
- Pigmentation: Do you want a sheer wash of shimmer or a full-on glitter explosion? Look for swatches and reviews to gauge the color payoff.
- Staying Power: Nobody wants their glitter to migrate halfway through the day. Look for long-wearing or waterproof formulas, especially if you have oily lids.
-
Color:
- Neutrals: Gold, silver, bronze, and champagne are always a safe bet for adding a touch of everyday sparkle.
- Bright Colors: Pink, purple, blue, and green can create a fun and playful look.
- Dark Colors: Black, brown, and burgundy with glitter can add a touch of edgy glam to your eyes.
-
Application:
- Tip Shape: A pointed tip is ideal for creating precise lines, while a rounded tip is better for covering larger areas.
- Twist-Up Mechanism: Ensure the mechanism works smoothly and doesn’t dispense too much product at once. No one wants a glitter avalanche! ⚠️
III. Glitter Cream Eyeshadow Stick: All-Over Lid Color – A Masterclass in Sparkle
Now, let’s get down to business! Here’s how to rock a glittery lid with your trusty eyeshadow stick:
-
Prep is Key:
- Prime Time: While some glitter cream eyeshadow sticks can be used without a primer, applying one beforehand can help improve longevity and prevent creasing, especially if you have oily lids. Think of primer as the velvet rope that keeps your glitter looking fabulous all night long. 👑
- Conceal & Set: Apply concealer to your eyelids to create a smooth, even base and neutralize any discoloration. Setting it with a light dusting of powder will further enhance the stick’s staying power.
-
Application Techniques:
- Direct Application: Swipe the eyeshadow stick directly onto your eyelid, starting from the inner corner and working your way outwards. Don’t be shy!
- Finger Blending: Gently blend the edges of the glitter with your fingertip to create a softer, more diffused look. This is perfect for achieving a subtle, everyday shimmer. 🤏
- Brush Application: For a more precise application, apply the eyeshadow stick to a synthetic brush and then pat it onto your eyelid. This technique is ideal for packing on the glitter and achieving maximum sparkle. 🖌️
- Layering: Start with a thin layer and build up the color gradually to avoid applying too much product at once. Remember, you can always add more glitter, but it’s much harder to take it away!
-
Blending Tips & Tricks:
- Work Quickly: Glitter cream eyeshadow sticks tend to set quickly, so blend them out as soon as you apply them.
- Use a Clean Brush: A clean, fluffy blending brush can help soften the edges of the glitter and create a seamless transition with your other eyeshadows.
- Don’t Over-Blend: Over-blending can cause the glitter to disappear, so focus on softening the edges rather than completely erasing the color.
- Complementary Shadows: Add a matte transition shade in your crease for dimension and to avoid a flat, one-dimensional look. Think warm browns with gold glitter, or cool grays with silver glitter.
-
Troubleshooting Common Issues:
- Creasing: If your glitter eyeshadow is creasing, try using a more long-wearing formula, applying a primer, or setting it with a translucent powder.
- Fallout: To minimize fallout, tap off any excess product from your brush before applying it to your eyelid. You can also use a glitter glue or a damp eyeshadow brush to pick up the glitter and press it onto your lid.
- Uneven Application: If your glitter eyeshadow is applying unevenly, try using a denser brush or applying it in thin layers.
-
The "Halo Eye" with Glitter:
A halo eye is a technique where the center of the lid is the brightest, creating a spotlight effect. Glitter cream eyeshadow sticks are perfect for this!
- Apply a matte shade to the inner and outer corners of your lid.
- Apply your glitter cream eyeshadow stick to the center of your lid, focusing on the area directly above your pupil.
- Blend the edges of the glitter into the matte shadows to create a seamless transition.
- Boom! You’ve got yourself a halo of glittery goodness! ✨😇
IV. Glitter Cream Eyeshadow Stick: Sparkling Eyeliner Ace – Precision & Pizzazz
Ready to take your eyeliner game to the next level? Glitter cream eyeshadow sticks can be used to create a variety of dazzling eyeliner looks:
-
Classic Glitter Line:
- Using the pointed tip of the eyeshadow stick, draw a thin line along your upper lash line, starting from the inner corner and working your way outwards.
- For a more dramatic look, you can thicken the line or extend it into a wing.
- Set with a clear sealant if desired for extra longevity.
-
Smudged Glitter Liner:
- Apply the eyeshadow stick along your lash line, as above.
- Immediately use a small, dense brush or your fingertip to smudge the line, creating a soft, smoky effect.
- This is perfect for adding a touch of edgy glam to your everyday makeup look. 🤘
-
Double Winged Glitter Liner:
- Draw a classic winged liner with your favorite black or brown eyeliner.
- Using the glitter cream eyeshadow stick, draw a second wing above or below the first one. This creates a bold and eye-catching look.
- Experiment with different colors and finishes to create a unique and personalized look.
-
Inner Corner Pop:
- Apply a small amount of glitter cream eyeshadow stick to the inner corner of your eye.
- Blend it out slightly to create a subtle highlight.
- This is a quick and easy way to brighten up your eyes and add a touch of sparkle.
-
Tips for Precision:
- Sharp Tip: Keep the tip of your eyeshadow stick sharp by using a pencil sharpener designed for cream products.
- Steady Hand: Rest your elbow on a stable surface to help steady your hand.
- Short Strokes: Use short, controlled strokes to create a smooth and even line.
- Q-Tips are Your Friends: Keep a Q-tip dipped in makeup remover handy to clean up any mistakes.
V. Elevating Your Glitter Game: Advanced Techniques & Tips
Ready to take your glitter skills to the next level? Here are some advanced techniques and tips for creating truly dazzling looks:
- Glitter Cut Crease: This technique involves creating a sharp, defined crease with a matte eyeshadow and then filling the lid with glitter. It’s a bold and dramatic look that’s perfect for special occasions.
- Ombre Glitter: Create a gradient effect by blending two or more different glitter colors together. This adds depth and dimension to your eyes.
- Glitter Tears: For a truly unique and eye-catching look, apply glitter to your lower lash line and extend it down your cheeks to create the illusion of glitter tears. (This is NOT recommended if you are actually sad. Sparkle is for joy!) 😭➡️😂
- Mixing Textures: Combine glitter cream eyeshadow sticks with other eyeshadows, pigments, and liners to create a multi-dimensional look. For example, you could use a matte eyeshadow to create a smoky base and then layer glitter on top for a touch of glam.
- Setting Sprays: A good setting spray is your best friend for keeping your glitter eyeshadow in place all day (or all night) long. Look for a setting spray that’s specifically designed for glitter or that contains glitter-locking polymers.
VI. Glitter Don’ts: Avoiding Common Pitfalls
While glitter is all about fun, there are a few things to avoid:
- Don’t Rub Your Eyes: Seriously, just don’t. It will only smear the glitter and irritate your eyes.
- Don’t Use Craft Glitter: Craft glitter is not designed for cosmetic use and can be harmful to your skin and eyes. Stick to cosmetic-grade glitter only.
- Don’t Overdo It: While glitter is fun, too much can be overwhelming. Start with a subtle touch and build up the intensity as needed.
- Don’t Forget to Remove Your Makeup: Sleeping in glitter eyeshadow can lead to irritation and breakouts. Always remove your makeup thoroughly before bed.
- Don’t Be Afraid to Experiment: The most important thing is to have fun and experiment with different looks to find what works best for you!
VII. Removing Glitter Like a Pro
Removing glitter can be a challenge, but here are a few tips to make it easier:
- Oil-Based Cleanser: Use an oil-based cleanser to dissolve the glitter and break it down.
- Makeup Remover Wipes: Gently wipe away the glitter with makeup remover wipes.
- Micellar Water: Soak a cotton pad with micellar water and gently press it against your eyelid to dissolve the glitter.
- Tape Method: For stubborn glitter, try using a piece of tape to gently lift it off your skin. (This works surprisingly well!)
- Be Patient: Don’t rub your eyes too hard, as this can irritate them. Be patient and use gentle, circular motions to remove the glitter.
VIII. Conclusion: Embrace the Sparkle!
So there you have it, my shimmering students! You are now armed with the knowledge and techniques to conquer the world of glitter cream eyeshadow sticks. Whether you’re going for a subtle touch of sparkle or a full-blown glitter explosion, remember to have fun, experiment, and embrace your inner sparkle! Go forth and create dazzling eye looks that will turn heads and make you feel like the radiant star you truly are! ✨🌟💖
Now go forth and sparkle! And don’t forget to tag me in your glittery creations! 😉 #GlitterGoals #SparkleSquad #EyeshadowStickMagic
For detailed product specifications and purchases, please go to :https://zenamakeup.com/products/dazzle-collection-10-piece-glitter-cream-eyeshadow-stick-set
Leave a Reply