Lecture Hall: Mastering the Art of Blending Glitter Eyeshadow Sticks – A Seamless Symphony of Sparkle
(Professor Glitterati strides onto the stage, adjusts her oversized, glitter-encrusted glasses, and beams at the audience.)
Alright, my sparkling students! Welcome, welcome! Today, we delve into the glamorous, sometimes-treacherous, but ultimately rewarding world of… Glitter Eyeshadow Sticks! [Professor Glitterati dramatically flourishes a shimmering eyeshadow stick]
Forget your dusty powders and messy loose pigments for a moment. These little wands of wonder promise effortless application and dazzling impact. But, as with any magical tool, mastering their use requires finesse, strategy, and a healthy dose of common sense. The key, my dears, lies in the BLEND!
(Professor Glitterati clicks to a slide titled "The Perils of Unblended Glitter: A Cautionary Tale.")
I. The Unblended Truth: Why Blending Matters (and What Happens When You Don’t) 😱
(Professor Glitterati points to a comically exaggerated image of a single, lonely, unblended stripe of glitter eyeshadow sitting forlornly on an eyelid.)
Ah, the Unblended Truth. It’s a harsh mistress. Without proper blending, your glitter eyeshadow stick can look… well… let’s just say less "ethereal fairy" and more "rogue highlighter malfunction."
Think of it like this: imagine trying to paint a masterpiece with only one color, applied in a single, thick stroke. The result? A blob. A sparkly blob, perhaps, but a blob nonetheless.
Here’s a quick rundown of the horrors that await the unblended:
| Unblended Nightmare | Description | Visual Analogy |
|---|---|---|
| The Harsh Line | A stark, unforgiving edge where the eyeshadow abruptly ends, screaming "I stopped here!" | 🚧 Construction Zone: Eye Edition 🚧 |
| The Patchy Parade | Uneven distribution of pigment, creating a spotty, polka-dot effect that’s less chic and more… diseased. | 🦠 Microscopic View of Glitter Germs 🦠 |
| The Crease Catastrophe | Product settling into fine lines and creases, aging you approximately 47 years in 47 seconds. | 👵 Suddenly Grandma! 👵 (No offense to grandmas, they’re lovely, but not the intended look) |
| The Fallout Frenzy | Glitter raining down your face like a shimmering snowstorm of regret. | ❄️ Glitter Blizzard of Despair ❄️ |
(Professor Glitterati sighs dramatically.)
Tragic, isn’t it? But fear not, my students! We are here to banish the Unblended Truth and embrace the glorious world of seamless sparkle!
II. The Arsenal of Awesome: Tools for Blending Mastery 🛠️
(Professor Glitterati clicks to a slide showcasing various blending tools, each labeled with a witty description.)
Before we dive into techniques, let’s equip ourselves with the right tools. Think of it like preparing for battle… but with glitter and fluffier weapons.
-
Your Finger (The Trusty Trooper): The OG blending tool. Warmth from your finger helps to melt the product and blend it effortlessly. Use your ring finger for the gentlest touch.
- Pros: Free, readily available, great for precise blending.
- Cons: Can transfer oils, not ideal for all-over lid coverage.
- Emoji: ☝️ (The ‘Pointing Up’ emoji, because your finger is pointing up towards your eyelid!)
-
Blending Brush (The Fluffy Flanker): A soft, fluffy brush designed specifically for blending. Look for brushes with long, tapered bristles.
- Pros: Creates a soft, diffused effect, ideal for blending multiple shades.
- Cons: Requires cleaning, can absorb product.
- Font: Comic Sans MS (Just kidding! Please use a professional-looking font like Arial or Times New Roman. But the image of a blending brush in Comic Sans MS is hilarious.)
- Emoji: 🖌️ (The ‘Paintbrush’ emoji, because blending is an art!)
-
Pencil Brush (The Precision Specialist): A smaller, more dense brush perfect for blending in the crease or along the lower lash line.
- Pros: Excellent for detailed work, great for adding definition.
- Cons: Can create harsh lines if not used carefully.
- Emoji: ✏️ (The ‘Pencil’ emoji, because precision is key!)
-
Sponge Applicator (The Budget Buddy): A disposable sponge applicator. Best used damp to avoid absorbing too much product.
- Pros: Inexpensive, disposable, can create a smooth, even finish.
- Cons: Can be less precise than brushes, may absorb product.
- Emoji: 🧽 (The ‘Sponge’ emoji, because… well, it’s a sponge!)
-
Cotton Swab (The Cleanup Crew): For correcting mistakes and tidying up edges.
- Pros: Invaluable for cleaning up fallout and smudges.
- Cons: Can remove too much product if used aggressively.
- Emoji: 🩹 (The ‘Adhesive Bandage’ emoji, because it fixes boo-boos!)
(Professor Glitterati nods approvingly.)
Choose your weapons wisely, my friends! Experiment to find what works best for you and your specific eyeshadow stick formula.
III. The Blending Bible: Techniques for Seamless Sparkle 🙏
(Professor Glitterati clicks to a slide titled "The Blending Bible: Thou Shalt Blend! (and Thou Shalt Not Suffer Harsh Lines!)")
Now for the sacred texts! Here are the core techniques for achieving blending nirvana:
-
Technique #1: The Pat and Tap (For Controlled Chaos): Apply the eyeshadow stick directly to your lid in small dabs or dots. Then, using your finger or a blending brush, gently pat the product to distribute it, followed by a tapping motion to blend the edges. This helps to prevent dragging the product and creating harsh lines.
- Best For: Creamy formulas, all-over lid application.
- Visual Cue: Imagine you’re gently coaxing a shy kitten into your arms. Gentle, patient, and rewarding! 🐈
-
Technique #2: The Swipe and Soften (For Speed Demons): Swipe the eyeshadow stick across your lid in a thin layer. Immediately follow with a blending brush, using small, circular motions to soften the edges and blend the product into your crease. Speed is key here, as the product can set quickly.
- Best For: Quick and easy looks, more pigmented formulas.
- Visual Cue: Picture a figure skater gliding gracefully across the ice, leaving a shimmering trail in their wake. ⛸️
-
Technique #3: The Layer and Conquer (For Complex Creations): Apply a base color (matte or shimmer) to your lid. Then, apply the eyeshadow stick in a targeted area, such as the center of the lid or the outer corner. Blend outwards, layering the color until you achieve the desired intensity.
- Best For: Creating dimensional looks, blending multiple shades.
- Visual Cue: Envision an artist meticulously layering paint on a canvas, building depth and texture with each stroke. 🎨
-
Technique #4: The Crease Crusade (For Defining Depth): Apply the eyeshadow stick directly into your crease, using a pencil brush to blend upwards and outwards. Use small, windshield wiper motions to create a soft, diffused effect.
- Best For: Adding definition and dimension to the eyes.
- Visual Cue: Imagine a windshield wiper clearing away the rain, revealing a clearer, brighter view. 🚗
(Professor Glitterati pauses for dramatic effect.)
Remember, my students, practice makes perfect! Don’t be afraid to experiment with different techniques and tools to find what works best for you.
IV. The Glitter Guru’s Guide: Advanced Blending Tips & Tricks ✨
(Professor Glitterati clicks to a slide titled "Glitter Guru Status: Unlock Advanced Blending Techniques!")
IV. The Glitter Guru’s Guide: Advanced Blending Tips & Tricks ✨
(Professor Glitterati clicks to a slide titled "Glitter Guru Status: Unlock Advanced Blending Techniques!")
Ready to elevate your blending game? Here are some insider tips and tricks that will transform you from a blending novice to a glitter guru:
-
Tip #1: Prime Time! Always prime your eyelids before applying eyeshadow. This creates a smooth canvas for the product to adhere to and prevents creasing. A good eyeshadow primer is your best friend.
- Why: Primer acts like a magical sealant, preventing the product from slipping and sliding into those pesky fine lines.
- Analogy: Think of it like prepping a wall before painting. A smooth, primed surface ensures a flawless finish. 🏠
-
Tip #2: Work in Layers! Build up the color gradually, rather than applying one thick layer. This allows you to control the intensity and blend the product more easily.
- Why: Applying too much product at once can make blending difficult and lead to creasing.
- Analogy: Like building a sandcastle, you need to layer the sand carefully to create a sturdy structure. 🏖️
-
Tip #3: Clean Your Brushes! Dirty brushes can transfer oils and bacteria to your eyelids, leading to breakouts and uneven blending. Clean your brushes regularly with a gentle brush cleanser.
- Why: Dirty brushes are a breeding ground for bacteria and can also disrupt the color payoff of your eyeshadow.
- Analogy: Using a dirty paintbrush to create a masterpiece is like trying to cook a gourmet meal with a rusty pan. 🍳
-
Tip #4: Set the Stage! For extra longevity and to prevent creasing, set your eyeshadow with a translucent powder.
- Why: Setting powder helps to absorb excess oil and lock in the eyeshadow, preventing it from creasing or fading throughout the day.
- Analogy: Think of it like setting the foundation for a building. It provides a stable base that will last for years to come. 🏢
-
Tip #5: Embrace the Smudge! Don’t be afraid to smudge your eyeshadow along the lower lash line for a smoky, sultry look.
- Why: A smudged lower lash line can add depth and dimension to your eyes, creating a more dramatic and alluring effect.
- Analogy: Like a perfectly imperfect piece of art, a little bit of smudging can add character and charm. 🖤
-
Tip #6: The "Less is More" Mantra! Start with a small amount of product and build up the intensity as needed. It’s always easier to add more than to take away.
- Why: Overdoing it with glitter eyeshadow can quickly veer into "overdone" territory.
- Analogy: Like adding salt to a dish, you can always add more, but you can’t take it away. 🧂
V. Troubleshooting Time: Common Blending Blunders and How to Fix Them 🚨
(Professor Glitterati clicks to a slide titled "Emergency Blending Services: Solving Your Sparkle SOS!")
Even the most skilled blending artists encounter challenges. Here’s how to troubleshoot common blending blunders:
-
Problem: Patchy Blending
- Solution: Use a clean blending brush to buff out the edges and create a smoother transition. You can also add a touch of translucent powder to help blend the colors together.
-
Problem: Harsh Lines
- Solution: Use a small, fluffy brush to gently blend the edges of the eyeshadow. You can also use a cotton swab dipped in makeup remover to clean up any harsh lines.
-
Problem: Creasing
- Solution: Make sure you’re using an eyeshadow primer and setting your eyeshadow with a translucent powder. You can also blot your eyelids throughout the day to absorb excess oil.
-
Problem: Fallout
- Solution: Apply your eye makeup before your face makeup to catch any fallout. You can also use a damp sponge or makeup wipe to clean up any fallout. Alternatively, use eyeshadow shields!
-
Problem: The Glitter is… EVERYWHERE!
- Solution: Embrace the glitter! Just kidding (sort of). Use a lint roller or a piece of tape to gently remove any stray glitter particles from your face and clothing.
(Professor Glitterati winks.)
Remember, my students, even the most seasoned makeup artists make mistakes. The key is to learn from your errors and keep practicing!
VI. The Grand Finale: Blending for Every Eye Shape 👁️
(Professor Glitterati clicks to a slide showcasing different eye shapes and blending techniques tailored to each.)
Finally, let’s consider how eye shape influences blending techniques.
-
Hooded Eyes: Focus on blending the eyeshadow above the crease to create the illusion of more visible lid space. Use a matte shade in the crease to add depth.
-
Monolid Eyes: Experiment with layering different shades of eyeshadow to create dimension. Use a darker shade along the lash line and blend upwards towards the brow bone.
-
Almond Eyes: Lucky you! Almond eyes are the most versatile shape and can rock almost any eyeshadow look. Experiment with different blending techniques and color combinations.
-
Round Eyes: Extend the eyeshadow outwards towards the temples to elongate the eyes. Avoid applying dark eyeshadow all the way around the eye, as this can make them appear smaller.
(Professor Glitterati smiles warmly.)
Ultimately, the best blending technique is the one that works best for you. Don’t be afraid to experiment and find what makes your eyes sparkle!
(Professor Glitterati gathers her notes.)
And that, my dazzling darlings, concludes our lecture on mastering the art of blending glitter eyeshadow sticks! Go forth and create shimmering masterpieces! Remember, blending is not just a technique; it’s an art form. Embrace the sparkle, embrace the blend, and embrace your inner Glitter Goddess!
(Professor Glitterati bows to thunderous applause, leaving a trail of glitter in her wake.)
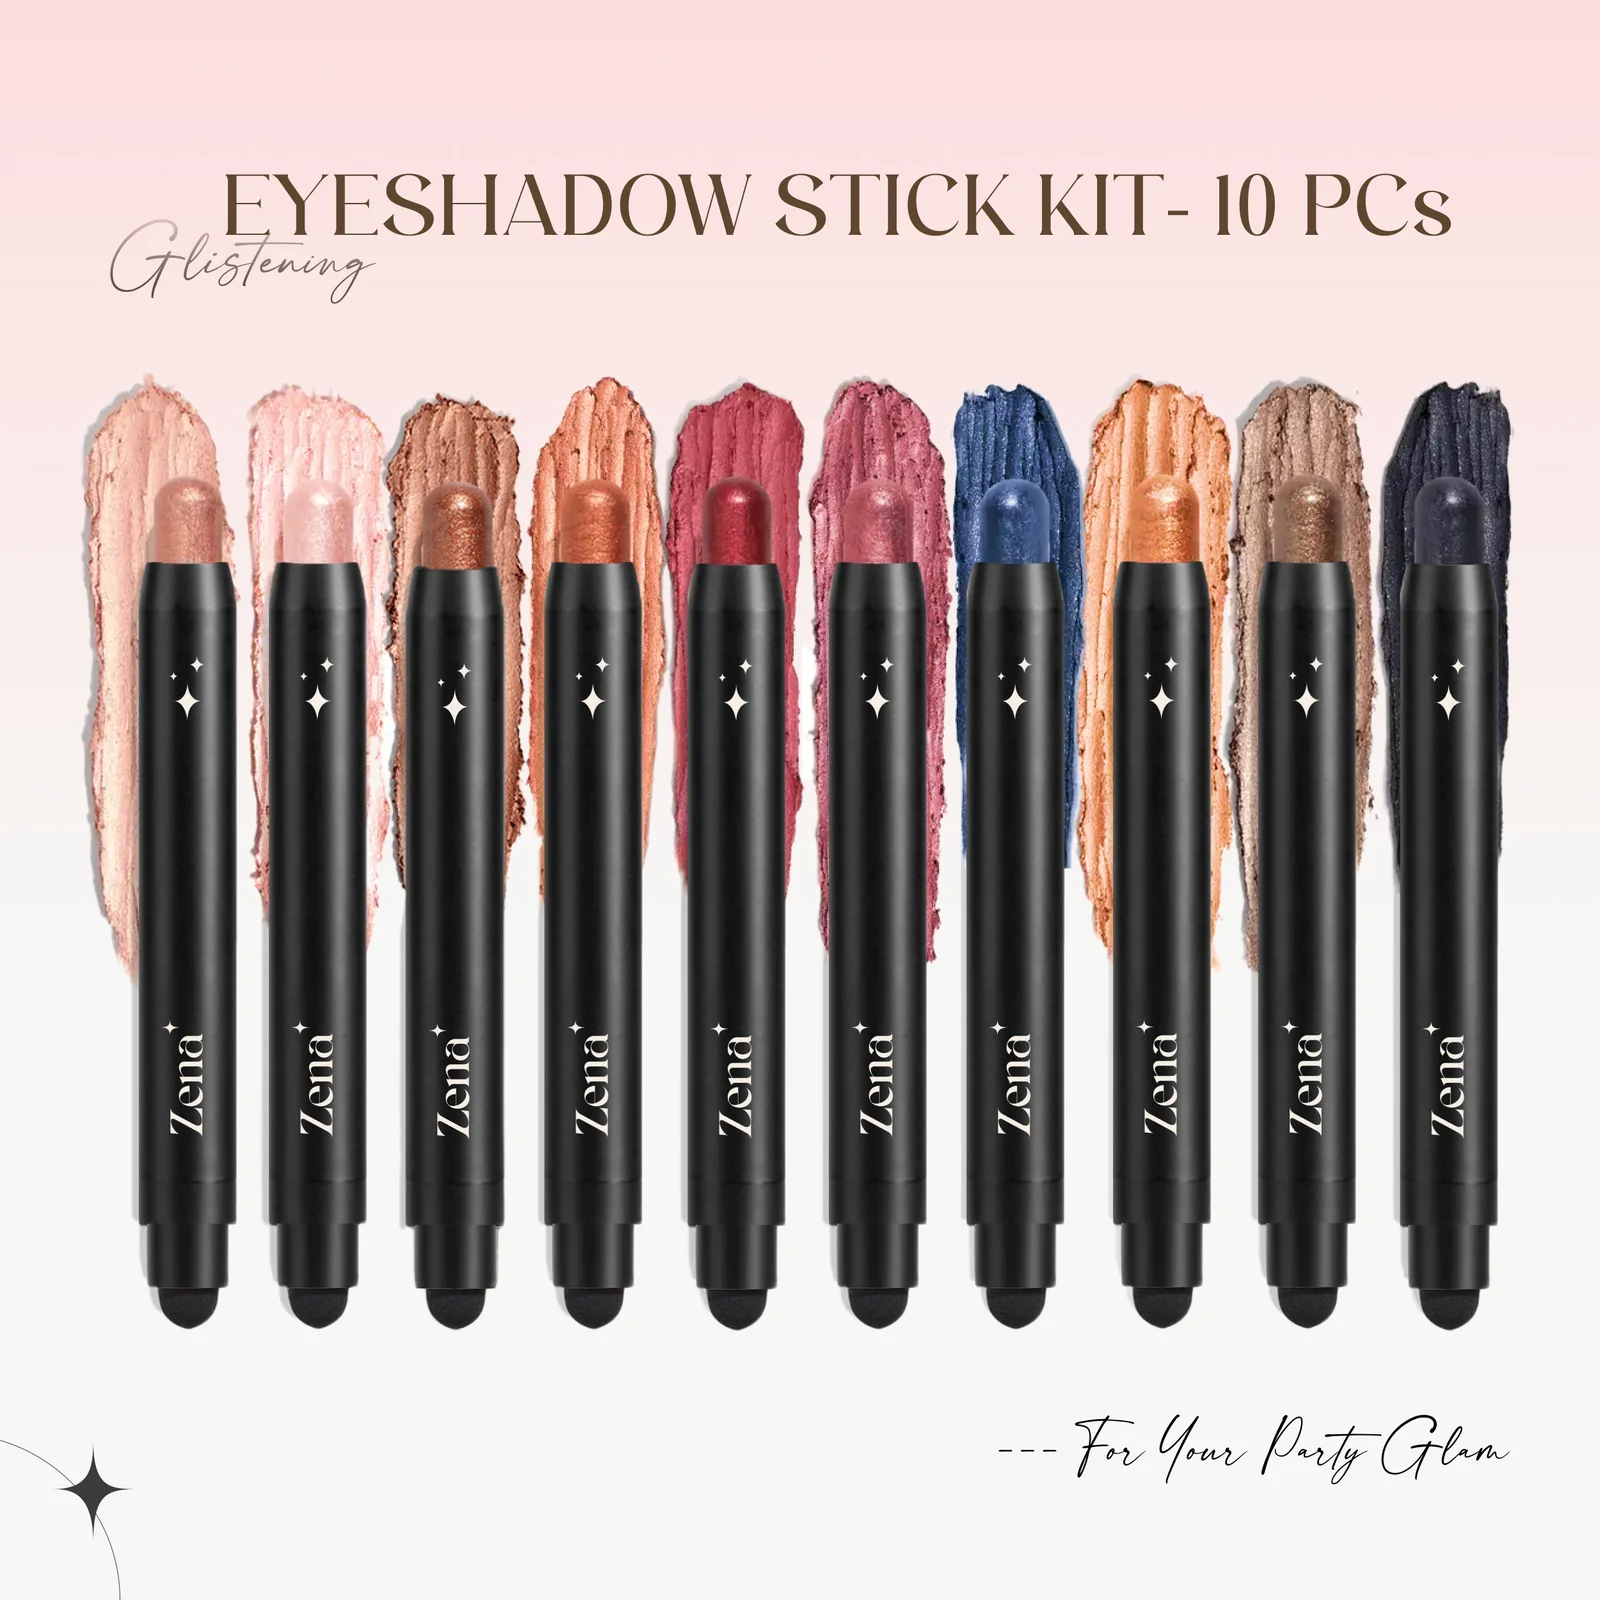
For detailed product specifications and purchases, please go to :https://zenamakeup.com/products/dazzle-collection-10-piece-glitter-cream-eyeshadow-stick-set
Leave a Reply