Lecture: Glittering Grandeur – Mastering the Cut Crease with Cream Eyeshadow Sticks
Welcome, Glamazon Gladiators! ⚔️ Prepare yourselves, because today we’re diving headfirst into a world of sparkling sophistication: the cut crease, amplified with the divine ease of glitter cream eyeshadow sticks. Forget fumbling with loose glitter and messy pigments! We’re about to unlock a secret weapon that will transform your eye game from ‘meh’ to ‘magnificent’ in mere minutes.
(Disclaimer: May cause excessive compliments and uncontrollable head-turning.) 😉
I. Introduction: Why Glitter Cream Sticks are Your New BFF
For years, the cut crease has been the darling of the makeup world, a technique capable of sculpting and defining the eyes with dramatic flair. But let’s be honest, achieving that crisp, clean line can feel like performing brain surgery on your eyelid with a rusty spoon. 🥄
Enter the glitter cream eyeshadow stick! These babies are a game-changer for several reasons:
- Ease of Application: Think crayon meets eyeshadow. It’s intuitive, precise (relatively!), and requires minimal brush skills.
- Minimal Fallout: Say goodbye to glitter explosions all over your face! Cream formulas cling to the lid, reducing the dreaded sparkle migration. 🏃♀️💨
- Buildable Intensity: Go from a subtle shimmer to a full-on disco ball with a few strategic swipes.
- Versatility: Use them as a base, a liner, or the star of the show!
In this lecture, we’ll dissect the anatomy of a cut crease, explore the magical properties of glitter cream sticks, and equip you with the knowledge and techniques to conquer this dazzling look. So, grab your tools, prepare your eyelids, and let’s get started!
II. Understanding the Cut Crease: Anatomy of a Masterpiece
Before we unleash the glitter, let’s break down the basic components of a cut crease:
| Component | Description | Visual Aid (Imagine a drawing) |
|---|---|---|
| Crease Line | The defined line created in the crease of the eye, separating the lid from the brow bone. This is the "cut" in "cut crease." | A curved line in the eye socket |
| Lid Space | The area of the eyelid below the cut crease line, usually filled with a lighter or contrasting color. | The area below the line. |
| Transition Shade | A blended eyeshadow color used above the crease line to create a seamless transition between the cut crease and the brow bone. | A blended area above the line. |
| Outer V | The outer corner of the eye, often darkened to add depth and dimension. | The outer corner of the eye. |
| Inner Corner Highlight | A light, shimmery shade applied to the inner corner of the eye to brighten and open up the eyes. | The inner corner. |
Think of it like a tiny, sparkly landscape on your eyelid! 🌄
III. Gathering Your Arsenal: Essential Tools and Products
You wouldn’t go into battle without your sword and shield, would you? Same goes for makeup! Here’s what you’ll need to create your glittery cut crease masterpiece:
- Glitter Cream Eyeshadow Sticks: Obviously! Choose a variety of colors and finishes for maximum creative potential. (Bronze, gold, silver, jewel tones – the world is your oyster!)
- Eyeshadow Primer: A must-have for creating a smooth canvas and ensuring your eyeshadow stays put. (Trust me, you don’t want glitter migrating to your cheeks by lunchtime.)
- Neutral Eyeshadow Palette: For creating the transition shade and defining the outer V. Think browns, taupes, and grays.
- Blending Brushes: A fluffy blending brush is your best friend for creating a seamless transition. A smaller, more precise brush is ideal for defining the outer V.
- Flat Shader Brush: For applying eyeshadow to the lid.
- Pencil Brush: For smudging eyeshadow along the lower lash line.
- Concealer: To sharpen the cut crease and clean up any mistakes.
- Cotton Swabs: For precise clean-up.
- Mascara: To complete the look.
- Eyeliner (Optional): For adding extra definition.
- Setting Spray: To lock everything in place.
(Pro Tip: Invest in good quality brushes. They make a HUGE difference in the application and blending process.) 🖌️
IV. Step-by-Step Guide: Glittering Your Way to Cut Crease Perfection
Alright, soldiers! Let’s get down to business. Follow these steps carefully, and you’ll be rocking a dazzling cut crease in no time.
Step 1: Prime Time!
- Apply a thin layer of eyeshadow primer to your entire eyelid, from lash line to brow bone. This will create a smooth base and prevent creasing.
- (Why?) Primer is like the glue that holds your makeup masterpiece together!
Step 2: Laying the Foundation – Transition Shade
- Using a fluffy blending brush, apply a neutral eyeshadow shade (e.g., light brown or taupe) to your crease, slightly above your natural crease line.
- Blend, blend, blend! This will create a soft transition between your lid and brow bone.
- (Tip: Start with a small amount of product and build up the intensity gradually. It’s easier to add more than to take away!)
Step 3: Defining the Crease – Cream Stick Magic!
- This is where the magic happens! Choose a glitter cream eyeshadow stick that is a shade darker than your transition shade.
- The Key: Look straight ahead into a mirror. With your eye relaxed, gently draw a line along your crease, following the natural curve of your eye socket. Don’t close your eye!
- (Pro Tip: Use short, controlled strokes to create a precise line. If you’re unsure, start with a thinner line and build it up gradually.)
- Extend the line slightly beyond the outer corner of your eye, creating a wing-like effect.
- (Troubleshooting: If you make a mistake, don’t panic! Use a cotton swab dipped in makeup remover to clean up the line.)
Step 4: Carving Out the Lid – Concealer Power!
- Using a flat, angled brush (or even a small concealer brush), apply concealer to your eyelid below the cut crease line.
- Carefully carve out the shape of your lid, creating a clean, crisp edge along the cut crease line.
- (Pro Tip: This step requires patience and a steady hand. Take your time and focus on creating a sharp, defined line.)
- Blend the concealer slightly into the cut crease line to soften the edge.
Step 5: Sparkling Lid – Glitter Extravaganza!
- Now, for the fun part! Choose a glitter cream eyeshadow stick that complements your cut crease shade.
- Apply the glitter cream eyeshadow to your eyelid, covering the area you carved out with concealer.
- You can use your finger or a flat shader brush for this step.
- (Tip: For maximum sparkle, layer the glitter cream eyeshadow.)
Step 6: Deepening the Outer V – Adding Dimension
- Using a small, precise brush, apply a darker eyeshadow shade (e.g., dark brown or black) to the outer corner of your eye, creating a "V" shape.
- Blend the edges of the outer V to create a seamless transition.
- (Why? This adds depth and dimension, making your eyes appear larger and more defined.)
Step 7: Illuminating the Inner Corner – Brighten Up!
- Apply a light, shimmery eyeshadow shade to the inner corner of your eye.
- (Why? This brightens the eyes and makes them appear more awake.)
Step 8: Lower Lash Line Definition – Completing the Look
- Using a pencil brush, smudge a small amount of eyeshadow along your lower lash line. You can use the same shade as your outer V, or a slightly lighter shade.
- (Tip: Smudging eyeshadow along the lower lash line helps to balance the look and create a more cohesive appearance.)
Step 9: Eyeliner (Optional) – Extra Definition
- If desired, apply eyeliner to your upper lash line.
- (Tip: A thin line of eyeliner can add extra definition and make your lashes appear thicker.)
Step 10: Mascara – The Final Touch
- Apply several coats of mascara to your upper and lower lashes.
- (Why? Mascara is the finishing touch that completes the look and makes your eyes pop!)
Step 11: Setting Spray – Lock It In!
- Spritz your face with setting spray to lock everything in place and ensure your makeup lasts all day (or night!).
Congratulations, you’ve just created a dazzling glitter cream eyeshadow stick cut crease! 🎉
V. Advanced Techniques and Tips & Tricks
Now that you’ve mastered the basics, let’s explore some advanced techniques to take your glitter cream eyeshadow stick cut crease to the next level.
- Halo Eye Effect: Instead of covering the entire lid with glitter, apply it to the center of the lid, creating a halo effect. This is a great option for those who want a more subtle sparkle.
- Reverse Cut Crease: Instead of defining the crease with a dark color, use a light color to create a "reverse" cut crease. This is a fun and unexpected twist on the classic look.
- Ombre Glitter: Use two different shades of glitter cream eyeshadow stick to create an ombre effect on your lid. Start with a darker shade at the outer corner and blend it into a lighter shade at the inner corner.
- Graphic Liner with Cream Sticks: Extend the cream stick line beyond the crease, creating a graphic liner element. Think bold shapes and unexpected angles.
- Waterline Drama: Use a colored cream stick on your waterline for an extra pop of color. Just make sure it’s eye-safe!
Tips & Tricks from the Trenches:
- Practice Makes Perfect: Don’t get discouraged if your first attempt isn’t perfect. The more you practice, the better you’ll become.
- Good Lighting is Key: Make sure you have good lighting when applying your makeup. This will help you see what you’re doing and avoid mistakes.
- Use a Mirror: A magnifying mirror can be helpful for creating a precise cut crease.
- Don’t Be Afraid to Experiment: Try different color combinations and techniques to find what works best for you.
- Have Fun! Makeup should be fun and expressive. Don’t be afraid to let your creativity shine.
VI. Troubleshooting Common Issues
Even the most seasoned makeup artists encounter problems from time to time. Here are some common issues you might face when creating a glitter cream eyeshadow stick cut crease, and how to fix them:
| Issue | Solution |
|---|---|
| Uneven Crease Line | Use a cotton swab dipped in makeup remover to clean up the line. You can also use a concealer brush to sharpen the edge. |
| Glitter Fallout | Apply a thin layer of eyeshadow primer to your lid before applying the glitter cream eyeshadow. You can also use a glitter glue to help the glitter adhere to your lid. Pat the glitter on instead of swiping. |
| Creasing | Make sure you’re using an eyeshadow primer. You can also set your eyeshadow with a translucent powder. Avoid applying too much product to your crease. |
| Difficulty Blending | Use a fluffy blending brush and blend in small, circular motions. Start with a small amount of product and build up the intensity gradually. |
| Cut Crease Looks Too Harsh | Blend the edges of the cut crease with a fluffy blending brush. You can also use a transition shade to soften the line. |
| Cream Stick Not Showing Up | Build up the colour in layers, starting with a primer base. If necessary, use a white or skin-toned cream shadow as a base to help the glitter stick show up brighter. |
VII. Conclusion: Embrace the Sparkle!
Congratulations, my dazzling disciples! You’ve now officially graduated from Glitter Cream Eyeshadow Stick Cut Crease Academy! 🎓
Remember, makeup is an art form, and there are no rules. Experiment, have fun, and don’t be afraid to express your unique style. The world is your oyster, so go out there and sparkle! ✨
Now go forth and create some eye-catching masterpieces! And always remember, a little glitter never hurt anyone! (Except maybe your vacuum cleaner.) 😉
(Final Exam: Take a selfie of your glitter cream eyeshadow stick cut crease and post it on social media with the hashtag #GlitterGlamazon. Extra credit for creativity!)
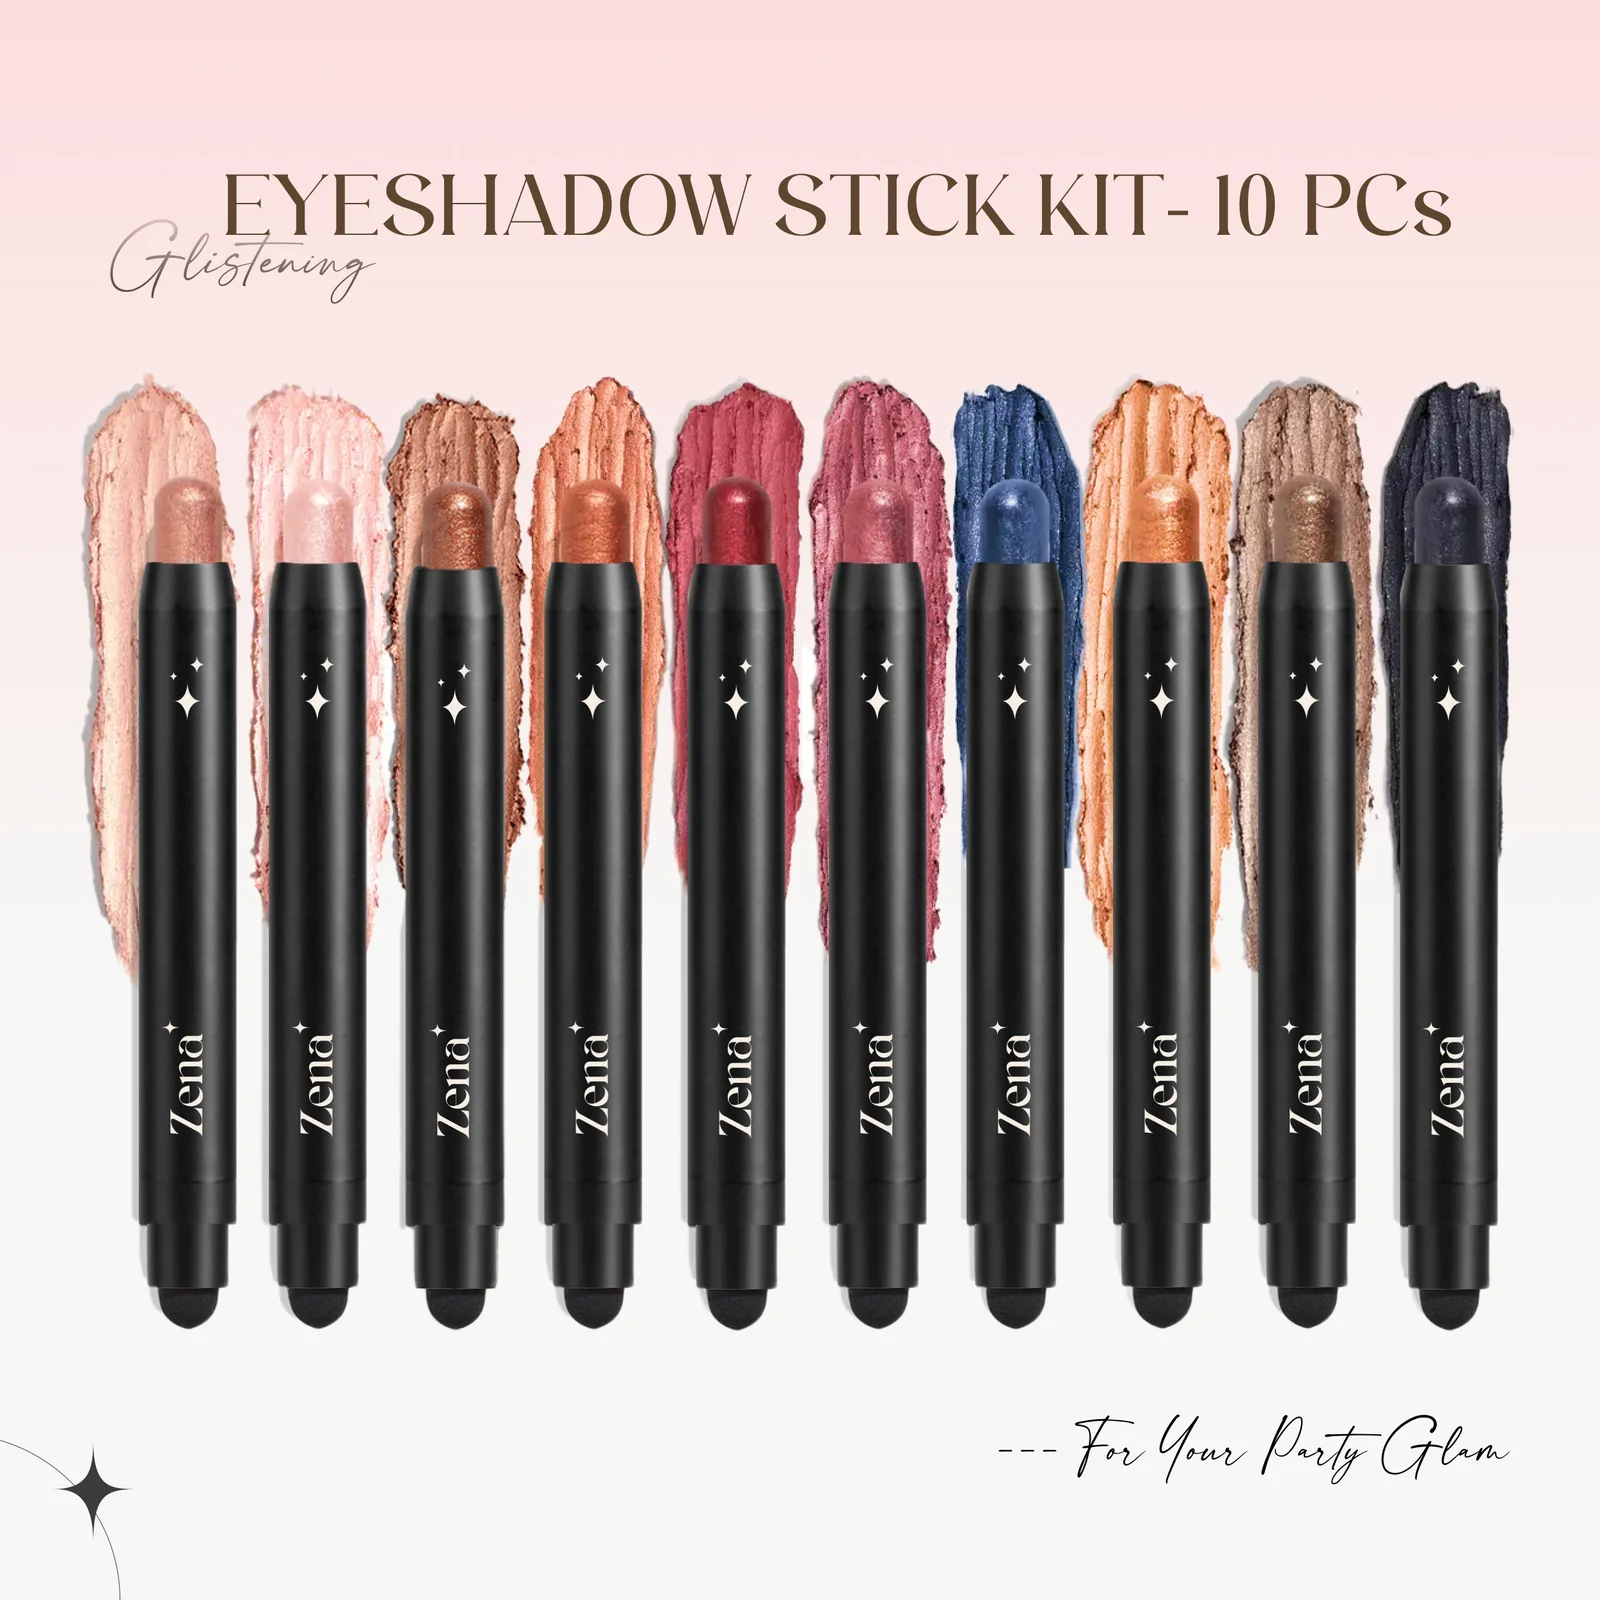
For detailed product specifications and purchases, please go to :https://zenamakeup.com/products/dazzle-collection-10-piece-glitter-cream-eyeshadow-stick-set
Leave a Reply