Glitterati Galaxy: Achieving Even Glitter Distribution in Cream Eyeshadow Sticks – A Lecture
(Cue dramatic music, spotlights, and maybe a rogue disco ball)
Alright, glitterbugs! Welcome, welcome to Glitterati Galaxy 101! I’m your professor, Professor Sparkle-Pants (yes, that’s my legal name… mostly), and today we’re tackling a problem that plagues glitter lovers everywhere: the dreaded glitter clump. We’re talking about that moment when you swipe on your creamy eyeshadow stick, expecting a shimmering, ethereal glow, and instead, you get… a concentrated, uneven mess of glitter that looks less "fairy princess" and more "glitter-bombed casualty." 😭
Fear not, my dazzling disciples! By the end of this lecture, you’ll be armed with the knowledge and techniques to achieve a perfectly even, mesmerizing glitter distribution with your creamy eyeshadow sticks. Prepare to unleash your inner makeup magician! ✨
(Professor Sparkle-Pants strikes a dramatic pose, glitter falling from their shoulders. It’s probably just leftover from the last lecture.)
Chapter 1: The Glittery Gordian Knot – Understanding the Problem
Before we can conquer the glitter clump, we need to understand why it happens in the first place. Cream eyeshadow sticks, while convenient and often beautifully pigmented, present unique challenges when it comes to glitter application.
1.1 The Nature of the Beast: Creamy Formulas and Glitter Dynamics
Cream eyeshadows, by their very nature, are… well, creamy. This texture is fantastic for blending and pigment payoff, but it also means that glitter particles tend to sink and clump together.
-
Viscosity: The higher the viscosity (thickness) of the cream, the more likely glitter is to settle. Imagine dropping pebbles into honey versus dropping them into water. Honey will hold the pebbles, allowing them to clump, while water will allow them to disperse more readily.
-
Surface Tension: The surface tension of the cream can also affect glitter distribution. Higher surface tension can create a "barrier" that prevents glitter from spreading evenly.
-
Pigment Concentration: A highly pigmented base can also hinder glitter distribution, as the pigment particles compete for space and can push the glitter together.
1.2 The Glittery Culprits: Types of Glitter and Their Behavior
Not all glitter is created equal! The size, shape, and material of the glitter particles themselves significantly impact their behavior in a creamy formula.
| Glitter Type | Description | Behavior in Cream Eyeshadow Sticks | Pros | Cons |
|---|---|---|---|---|
| Cosmetic Glitter | Designed specifically for cosmetic use, made of thin plastic sheets, often PET (Polyethylene Terephthalate) or PMMA (Polymethyl Methacrylate). Comes in various sizes and shapes. | Tends to disperse relatively well, especially smaller particle sizes. Larger particles may still clump if the formula is too thick. | Safe for cosmetic use (when properly tested), wide range of colors and effects, relatively lightweight. | Can be environmentally unfriendly (plastic), larger particles can feel gritty, can migrate and cause irritation. |
| Micro-Glitter | Extremely fine glitter particles, often made of the same materials as cosmetic glitter but ground to a very fine powder. | Disperses easily and creates a subtle, shimmering effect. Less prone to clumping. | Creates a smooth, even shimmer, less likely to feel gritty, blends seamlessly. | Can be difficult to apply evenly if not formulated well, may not provide a strong "glittery" effect. |
| Mineral Glitter | Made from natural minerals like mica, often coated with other pigments to create different colors and effects. | Can be more prone to clumping depending on the particle size and shape. Mica particles can be flat and plate-like, which can cause them to stack and clump together. | More environmentally friendly, often has a more subtle and natural shimmer. | Can be more expensive, limited color options, may not be as vibrant as plastic glitter, can be less adhesive. |
| Irregular Glitter | Glitter particles with irregular shapes and sizes. Can be made of various materials. | Most prone to clumping due to the varying shapes and sizes. Difficult to achieve an even distribution. | Can create unique and interesting textures and effects. | Difficult to work with, prone to fallout, can feel uncomfortable on the skin, uneven distribution. |
(Professor Sparkle-Pants points to a slide with microscopic images of different glitter types. One slide is labeled "The Clump Monster" and features a particularly menacing-looking cluster of irregular glitter.)
1.3 The Application Abyss: How Your Technique Can Sabotage You
Even with a well-formulated product, your application technique can be the downfall of your glitter dreams.
-
Too Much Product: Applying too much product at once overwhelms the formula’s ability to distribute the glitter evenly. It’s like trying to stuff too many marshmallows in your mouth at once – it just doesn’t work! 🙅♀️
-
Aggressive Swiping: Swiping the stick back and forth aggressively can disrupt the glitter distribution and create streaks and clumps. Think gentle strokes, not a paint-stripping frenzy!
-
Ignoring Prep: Applying eyeshadow on a dry, unprepared lid is a recipe for disaster. Glitter needs a smooth, slightly tacky surface to adhere to properly.
Chapter 2: The Glitterati Arsenal – Tools and Techniques for Success
Now that we understand the enemies of even glitter distribution, let’s equip ourselves with the tools and techniques to fight back!
2.1 The Priming Power-Up: Creating the Perfect Canvas
A well-primed lid is crucial for achieving even glitter distribution. Here’s your priming protocol:
-
Cleanse and Moisturize: Start with a clean and moisturized eyelid. This ensures a smooth and hydrated base.
-
Eyeshadow Primer: Apply a thin layer of eyeshadow primer. Look for primers with a slightly tacky finish. This will provide grip for the glitter. Some good options include:
- Urban Decay Eyeshadow Primer Potion: A classic for a reason!
- NARS Smudge Proof Eyeshadow Base: Another excellent option for long-lasting wear.
- Milani Eyeshadow Primer: A budget-friendly and effective choice.
-
Set with a Neutral Eyeshadow (Optional): If you have oily eyelids, setting the primer with a neutral eyeshadow can further prevent creasing and improve glitter adhesion.
(Professor Sparkle-Pants pulls out a miniature eyeshadow primer and demonstrates the application technique on their own eyelid. A small child in the audience gasps in amazement.)
2.2 The Application Alchemy: Mastering the Cream Shadow Stick
Here’s where the magic happens! Follow these steps for a flawless glitter application:
-
Light Layers: Apply the eyeshadow stick in thin, light layers. Build up the intensity gradually. This allows the glitter to distribute evenly with each layer.
-
Gentle Patting Motion: Instead of swiping, use a gentle patting motion to apply the eyeshadow stick. This helps to press the glitter into the primer and prevents disrupting the distribution.
-
Gentle Patting Motion: Instead of swiping, use a gentle patting motion to apply the eyeshadow stick. This helps to press the glitter into the primer and prevents disrupting the distribution.
-
Finger Blending (The Secret Weapon!): After applying the eyeshadow stick, use your ring finger to gently blend the edges and further distribute the glitter. The warmth of your finger helps to melt the product and create a seamless finish.
-
Spot Correction: If you notice any areas with concentrated glitter, use a clean fingertip or a small, flat brush to gently redistribute the glitter to the surrounding areas.
(Professor Sparkle-Pants demonstrates the patting and blending techniques on a volunteer from the audience. The volunteer is visibly impressed.)
2.3 The Brush Brigade: Choosing the Right Tools
While fingers are fantastic for blending, brushes can also be helpful for specific tasks.
| Brush Type | Purpose | Benefits |
|---|---|---|
| Flat Shader Brush | Applying the eyeshadow stick to specific areas, packing on color. | Provides precise application, helps to build intensity in specific areas. |
| Blending Brush | Softening the edges of the eyeshadow and blending different shades together. | Creates a seamless transition between colors, prevents harsh lines. |
| Small Detail Brush | Spot correcting glitter clumps, applying glitter to the inner corner of the eye. | Allows for precise application and correction, perfect for adding small pops of glitter. |
| Silicone Applicator | Applying and blending cream eyeshadows. Easy to clean, doesn’t absorb product. | Less product waste, hygienic, great for distributing shimmers and glitters. |
(Professor Sparkle-Pants displays a selection of brushes, explaining the benefits of each. One brush is adorned with tiny glitter particles, because of course it is.)
2.4 The Setting Spray Savior: Locking in the Sparkle
Once you’re happy with the glitter distribution, set your eyeshadow with a setting spray to prevent fallout and creasing. Look for setting sprays specifically designed for long-lasting wear.
(Professor Sparkle-Pants mimes spraying setting spray with dramatic flair.)
Chapter 3: Troubleshooting the Glitter Glitches – Common Problems and Solutions
Even with the best techniques, glitter glitches can happen. Here’s how to troubleshoot some common problems:
3.1 The Case of the Creasing Crease
- Problem: Eyeshadow creasing in the crease of the eyelid.
- Solution:
- Use a more mattifying eyeshadow primer.
- Set the primer with a translucent powder or a neutral eyeshadow.
- Apply a thin layer of eyeshadow in the crease to prevent the cream from settling.
- Avoid applying too much cream eyeshadow to the crease.
3.2 The Fallout Fiasco
- Problem: Glitter falling onto the cheeks and face.
- Solution:
- Use a glitter glue or adhesive primer.
- Apply the eyeshadow with a patting motion to minimize fallout.
- Use a setting spray to lock in the glitter.
- Apply your eyeshadow before your foundation to make cleanup easier.
- Use a piece of tape or a makeup sponge to gently remove any fallout from your face.
3.3 The Glitter Grittiness
- Problem: Glitter feeling gritty or uncomfortable on the eyelids.
- Solution:
- Use a finer glitter particle size.
- Apply a thin layer of eyeshadow primer to create a smooth base.
- Avoid applying too much glitter to prevent it from feeling heavy.
- If irritation occurs, discontinue use.
3.4 The Disappearing Dazzle
- Problem: Glitter fading or disappearing throughout the day.
- Solution:
- Use a long-lasting eyeshadow primer.
- Set the eyeshadow with a setting spray.
- Reapply a small amount of glitter throughout the day if needed.
(Professor Sparkle-Pants consults a giant flowchart titled "Glitter Glitch Solutions." It involves a lot of arrows and glitter-covered diagrams.)
Chapter 4: Advanced Glitterati Techniques – Taking Your Sparkle to the Next Level
Once you’ve mastered the basics, you can explore some advanced techniques to create even more dazzling glitter looks.
4.1 The Glitter Gradient:
Create a gradient effect by applying a darker shade of cream eyeshadow to the outer corner of the eye and blending it into a lighter, glittery shade on the inner corner.
4.2 The Halo Eye:
Apply a dark eyeshadow to the outer and inner corners of the eye, leaving the center of the lid bare. Then, apply a glittery cream eyeshadow to the center of the lid to create a halo effect.
4.3 The Cut Crease with Glitter:
Create a sharp cut crease using a dark eyeshadow. Then, apply a glittery cream eyeshadow to the lower lid to highlight the cut crease.
(Professor Sparkle-Pants showcases several stunning glitter eye looks, each more dazzling than the last. The audience is audibly impressed.)
Chapter 5: Glitterati Ethics – Responsible Sparkle
Before we conclude, a word on glitter ethics! While we love our sparkle, it’s important to be mindful of the environmental impact of glitter.
- Choose Biodegradable Glitter: Opt for biodegradable glitter made from plant-based materials like cellulose. This is a more sustainable and environmentally friendly option.
- Dispose of Glitter Responsibly: Avoid washing glitter down the drain. Instead, collect it in a container and dispose of it properly.
- Be Mindful of Glitter Placement: Avoid applying glitter near sensitive areas like the eyes and mouth.
(Professor Sparkle-Pants holds up a bag of biodegradable glitter with a heartfelt smile.)
Conclusion: Embrace the Sparkle!
Congratulations, my dazzling disciples! You’ve now completed Glitterati Galaxy 101. You’re armed with the knowledge and techniques to achieve even glitter distribution with your creamy eyeshadow sticks. Go forth and embrace the sparkle! Remember to experiment, have fun, and always be responsible with your glitter. Now, go forth and shine brighter than ever before! ✨
(Professor Sparkle-Pants takes a final bow as glitter rains down from the ceiling. The audience erupts in applause.)
(End Lecture)
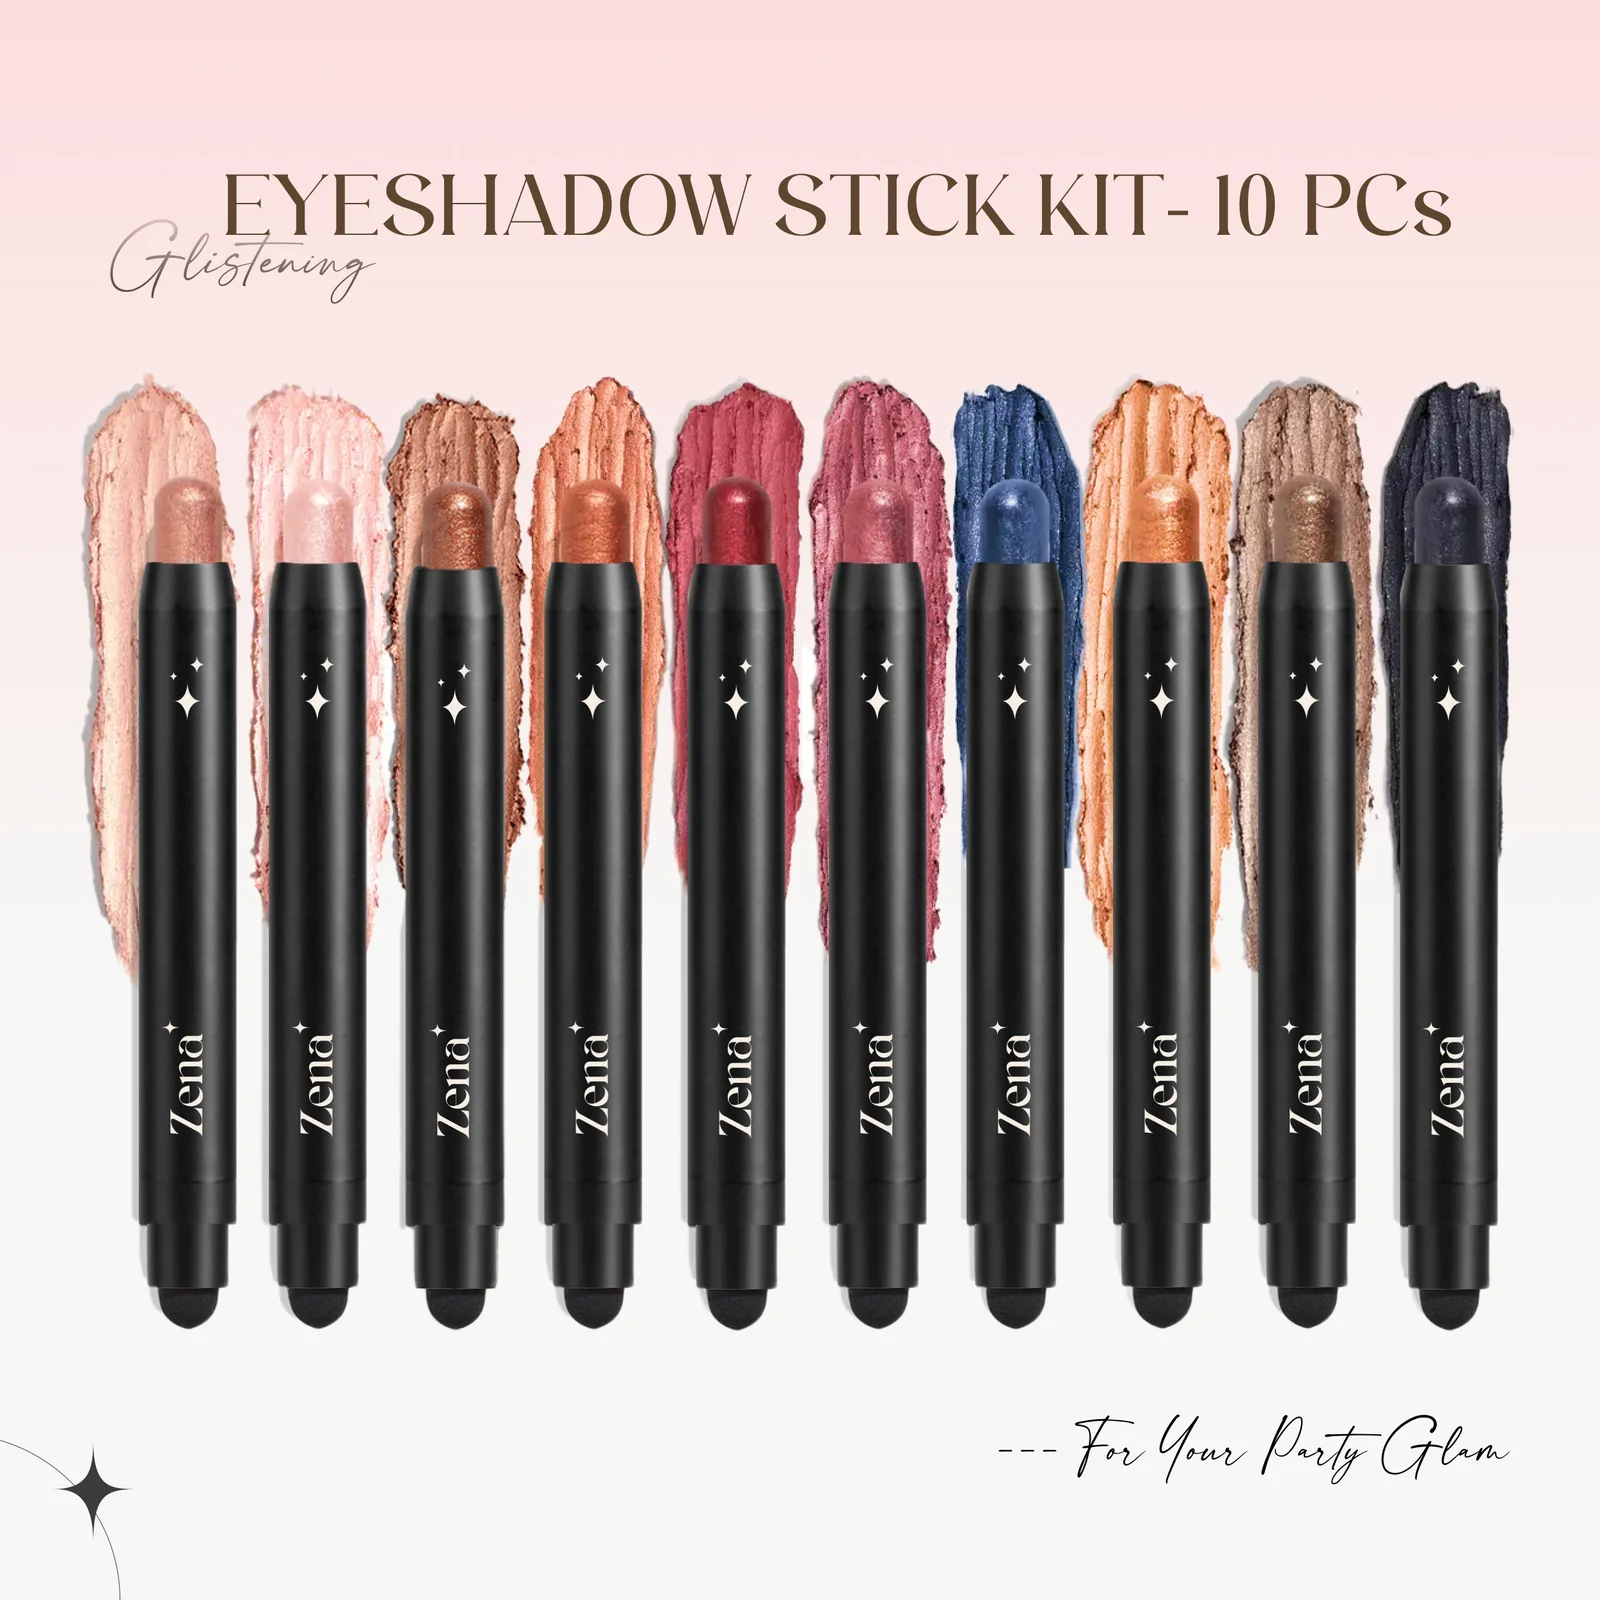
For detailed product specifications and purchases, please go to :https://zenamakeup.com/products/dazzle-collection-10-piece-glitter-cream-eyeshadow-stick-set
Leave a Reply