The Art of the Invisible Tightline: Mastering Kajal for Lash Volumizing Magic ✨
(A Lecture on Achieving Fuller-Looking Lashes with Glided-On Waterproof Kajal)
Alright, class, settle down! Today, we’re diving deep into a secret weapon in the arsenal of beauty: the tightline. Not just any tightline, mind you, but a tightline so subtle, so artfully executed, it’s practically invisible. We’re talking about the kind of tightline that whispers, "I woke up like this…with incredibly thick, luscious lashes."
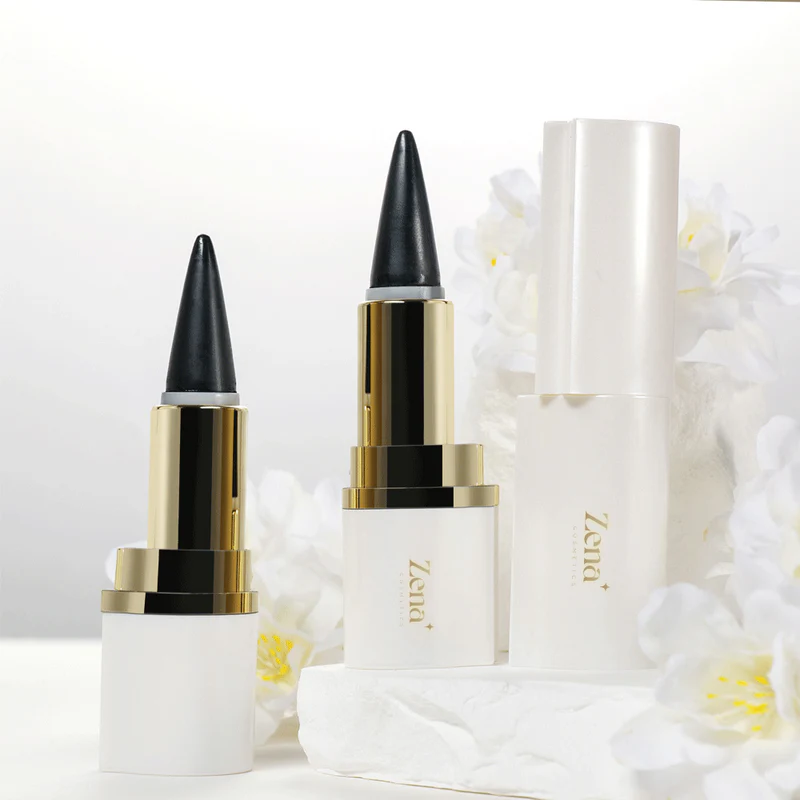
Forget clumpy mascara and falsies that threaten to take flight with the slightest breeze. We’re going for natural enhancement, baby! And our trusty companion on this journey? The Glided-On Waterproof Kajal Eyeliner. 🖤
Think of this lecture as your personal makeup guru, guiding you through the murky waters of waterline application. We’ll cover everything from choosing the right kajal (hint: you’re already on the right track) to mastering the application technique and troubleshooting common pitfalls. So, grab your mirrors, sharpen your pencils (metaphorically, of course, kajal doesn’t need sharpening!), and let’s get started!
I. Introduction: Why Tightline, Why Now? (And Why Kajal is Your BFF)
Let’s be honest, we’ve all envied those effortlessly gorgeous individuals with seemingly endless lashes. You know, the ones you suspect might be secretly descended from a family of particularly hairy caterpillars. 🐛 But the truth is, a lot of lash volume is an illusion, a clever trick played by the artful application of makeup.
The tightline is a key component of this illusion. It’s a thin line of eyeliner applied to the upper waterline, the delicate skin between your eyelashes and your eyeball. (Yes, you read that right. We’re going in.)
Why bother tightlining?
- Instant Lash Definition: It fills in the gaps between your lashes at the root, creating the appearance of a fuller, thicker lash line.
- Subtle Enhancement: Unlike a traditional eyeliner on the eyelid, a tightline is virtually invisible when your eyes are open. It’s the ultimate "no-makeup makeup" trick.
- Makes Your Eyes Pop: By subtly defining the upper eye, it enhances your eye shape and makes your eyes appear brighter and more awake.
- Provides a Base for Mascara: A tightline gives your mascara something to cling to, preventing those annoying little gaps between your lashes and the liner.
Why Kajal?
Now, you might be wondering, "Why specifically kajal for this delicate operation?" Great question! Here’s why the Glided-On Waterproof Kajal is our weapon of choice:
| Feature | Benefit | Why it Matters for Tightlining |
|---|---|---|
| Soft Formula | Glides effortlessly onto the waterline without tugging or pulling, minimizing irritation. | Essential for the sensitive waterline area. Aggressive application can lead to redness, irritation, and even infection! 😩 |
| Waterproof | Stays put all day long, resisting smudging and fading even when exposed to moisture. | Crucial for the waterline, which is naturally moist. We don’t want raccoon eyes by lunchtime! 🐼 |
| Intense Pigment | Delivers rich, opaque color in a single swipe, ensuring maximum impact with minimal product. | Creates a noticeable difference with just a thin line. No need to repeatedly layer the product. |
| Glided-On Texture | Provides a smooth, even application, preventing patchiness and ensuring a consistent line. | Makes it easier to create a precise, even line along the waterline, even for beginners. |
| Long-Lasting | Resists fading and transfer, keeping your lashes looking full and defined all day. | Ensures your lash-enhancing illusion lasts from morning coffee to evening cocktails! 🍸 |
II. Preparing for Battle: Tools and Techniques
Before we unleash our inner makeup artist, let’s gather our tools and prepare our canvas.
What you’ll need:
- Your Glided-On Waterproof Kajal Eyeliner: Obviously!
- A Mirror: Preferably a magnifying mirror. You’ll need to get up close and personal with your waterline.
- Cotton Swabs: For cleaning up any mistakes. Think of them as your makeup erasers.
- Eye Makeup Remover: Just in case things go south.
- A Steady Hand: Coffee consumption should be minimized beforehand. ☕ (Okay, maybe one cup.)
- Patience: Rome wasn’t built in a day, and neither is a perfect tightline.
Prepping Your Waterline:
- Hygiene is Key: This is non-negotiable. Wash your hands thoroughly before touching your face, especially your eyes.
- Dry the Waterline: Use a clean cotton swab to gently blot the waterline. This will help the kajal adhere better and prevent it from transferring.
- Consider Eye Drops: If your eyes are particularly dry or sensitive, use lubricating eye drops before starting.
- Check Your Contacts: If you wear contacts, make sure they’re clean and properly inserted.
III. The Tightline Tango: Mastering the Application
Alright, folks, it’s showtime! This is where the magic happens. Don’t be intimidated, we’ll break it down step-by-step.
Step 1: The Lift and Look
- Using your non-dominant hand, gently lift your upper eyelid. You can use your fingers or a cotton swab to lift the lid. Be careful not to poke yourself in the eye! 🙈
- Look down into the mirror. This will give you a better view of your waterline.
Step 2: The Kajal Glide
- Holding your Glided-On Waterproof Kajal in your dominant hand, gently apply the liner to the upper waterline.
- Work in short, controlled strokes, starting from the inner corner of your eye and moving outwards.
- Focus on filling in the spaces between your eyelashes at the root. You’re not trying to create a thick line, just a subtle darkening of the waterline.
- Think of it like coloring in the spaces between the bricks of a wall.
Step 3: The Blink and Blend
- Once you’ve applied the kajal to the entire waterline, gently blink a few times. This will help distribute the product evenly and fill in any missed spots.
Step 4: The Touch-Up
- Once you’ve applied the kajal to the entire waterline, gently blink a few times. This will help distribute the product evenly and fill in any missed spots.
Step 4: The Touch-Up
- Use a clean cotton swab to clean up any smudges or excess product.
- If you feel like you’ve applied too much kajal, gently blot the waterline with a cotton swab.
Step 5: Repeat on the Other Eye
- Follow the same steps on your other eye.
Bonus Tip: The "Wiggle" Technique
Some people find it helpful to "wiggle" the kajal back and forth between the lashes as they apply it. This can help ensure that the product gets right down to the root of the lashes.
IV. Troubleshooting: Common Tightlining Woes (and How to Conquer Them!)
Tightlining isn’t always a walk in the park. Sometimes, things go awry. But fear not! We’re here to help you troubleshoot common problems.
Problem #1: Watery Eyes
- Solution: This is a common reaction to applying anything to the waterline. Try to relax and breathe deeply. The watering should subside after a few minutes. You can also use a clean tissue to gently blot the tears. Using eye drops before you start can sometimes help.
Problem #2: Irritation and Redness
- Solution: Stop immediately! Your waterline is likely sensitive. Try a different kajal with a gentler formula. Make sure you’re not applying too much pressure. And for the love of all that is holy, make sure your hands and tools are clean! If the irritation persists, consult a doctor.
Problem #3: Kajal Smudging
- Solution: Ah, the dreaded smudge. This is why we chose a waterproof kajal! Make sure you’ve dried your waterline thoroughly before applying the liner. You can also set the tightline with a touch of translucent powder using a small eyeshadow brush.
Problem #4: Uneven Application
- Solution: Practice makes perfect! Don’t get discouraged if your tightline isn’t perfect the first time. Keep practicing, and you’ll get the hang of it. Try using a magnifying mirror to get a better view of your waterline.
Problem #5: I Can’t See My Waterline!
- Solution: This is a common problem for those with hooded eyes. You may need to gently lift your eyelid higher to get a clear view of the waterline. Try using a cotton swab to lift the lid.
V. Level Up Your Lash Game: Advanced Tightlining Techniques
Once you’ve mastered the basic tightline, you can start experimenting with more advanced techniques.
- Color Play: While black is the classic choice for tightlining, you can experiment with other colors, such as brown, navy, or even a shimmering bronze. Just be sure to choose a color that complements your eye color and skin tone.
- The "Invisible" Wing: Extend the tightline slightly outwards at the outer corner of your eye to create a subtle, invisible wing. This can help lift and elongate your eyes.
- The "Inner Corner Pop: Apply a tiny dot of shimmery eyeshadow to the inner corner of your eye to brighten your eyes and make them appear more awake.
- The Lower Lash Line: While this lecture is focused on the upper tightline, you can also apply a very thin line of kajal to the lower lash line for a more dramatic effect. Just be careful not to overdo it, as this can make your eyes look smaller.
VI. Maintaining Your Masterpiece: Aftercare and Removal
Just like any work of art, your tightline needs proper maintenance and removal.
- Daily Removal: Always remove your makeup before going to bed. Use a gentle eye makeup remover to dissolve the kajal.
- Gentle Cleansing: Avoid rubbing your eyes aggressively, as this can irritate the delicate skin around your eyes.
- Hydration: Keep your eyes hydrated by using lubricating eye drops regularly.
VII. Conclusion: Embrace the Illusion!
Congratulations, class! You’ve officially graduated from Tightlining 101! You now possess the knowledge and skills to create the illusion of fuller, thicker lashes with the Glided-On Waterproof Kajal Eyeliner.
Remember, practice makes perfect. Don’t be afraid to experiment and find what works best for you. With a little patience and a steady hand, you’ll be rocking those effortlessly gorgeous lashes in no time.
So go forth, and conquer the world, one perfectly tightlined eye at a time! And remember, the secret to truly beautiful lashes isn’t just about the makeup. It’s about confidence, self-love, and a healthy dose of humor. 😉
Now, go get ’em, tiger! 🐯
For detailed product specifications and purchases, please go to :https://zenamakeup.com/products/glided-on-waterproof-kajal-eyeliner
Leave a Reply