Glitterati’s Guide to Glitterati Eyes: Conquering Crease with Glitter Eyeshadow Sticks 👑✨
(A Lecture in Pursuit of Non-Creasing Sparkle)
Alright, glitter goddesses and shimmer shamans! Gather ’round, because today’s lecture is all about taming the beast that is glitter eyeshadow stick application. We’re talking about achieving that dazzling, mesmerizing eye look without succumbing to the dreaded crease. Yes, my friends, we’re going to unlock the secrets to blending these creamy, sparkly wonders like pros. Forget the streaky, creased mess that makes you look like you partied a little too hard. We’re aiming for polished, professional, and positively radiant.
(Professor’s Dramatic Entrance, complete with a dusting of glitter. cough cough)
(Slide 1: The Problem: Glitter Creep! 😱)
Let’s face it: glitter is gorgeous. But it’s also notoriously rebellious. Adding a creamy formula to the mix just adds another layer of complexity. So, why does this happen?
- Oily Lids: This is the prime suspect! Oily lids are like a slip-n-slide for eyeshadow, especially cream formulas. The oil breaks down the product, causing it to migrate and settle into those pesky fine lines.
- Too Much Product: More isn’t always better, especially with glitter. Applying too much cream eyeshadow overwhelms the lid, creating a thick layer that’s just begging to crease. Think of it like trying to cram too much luggage into an overhead bin – something’s gotta give!
- Poor Blending: Blending is the key to everything, my dears. A poorly blended eyeshadow stick will sit on top of the skin, creating a visible line that’s prone to creasing. We want a seamless transition, not a sparkly speed bump.
- Lack of Primer: Skipping primer is like going to war without armor. It’s a crucial step in creating a smooth, even canvas for your eyeshadow. Primer helps to absorb oil, grip the product, and prevent creasing.
- Formula Problems: Some formulas are just inherently more prone to creasing than others. Sadly, even with the best techniques, a poorly formulated product might still give you trouble.
(Slide 2: The Arsenal: Tools of the Trade 🛠️)
Before we dive into techniques, let’s make sure you’re armed with the right tools. These are the trusty sidekicks that will help you conquer the crease.
| Tool | Purpose | Why it’s Important |
|---|---|---|
| Eyeshadow Primer | Creates a smooth base, absorbs oil, and helps eyeshadow adhere. | Essential for preventing creasing and extending the wear of your eyeshadow. Consider a specific glitter glue for even more hold. |
| Eyeshadow Brushes | Blending, diffusing, and applying eyeshadow with precision. A variety of sizes and shapes is ideal. | Different brushes allow for different techniques and levels of control. Fluffy brushes are great for blending, while smaller brushes are good for detail. |
| Fingers | Applying and blending cream eyeshadow with warmth and control. | The warmth of your fingers can help to melt the product into the skin, creating a seamless blend. |
| Concealer | Correcting imperfections and creating a clean canvas. | Concealer can help to cover dark circles, redness, and other imperfections that can detract from your eyeshadow look. |
| Setting Powder | Setting the primer and eyeshadow to prevent creasing. | Powder absorbs oil and helps to lock the eyeshadow in place, preventing it from migrating and settling into fine lines. |
| Cotton Swabs/Q-Tips | Cleaning up mistakes and sharpening edges. | Essential for creating a polished, professional look. |
| Mirror (Magnifying Optional) | Applying eyeshadow with precision. | Allows you to see your work clearly and identify areas that need more attention. |
(Slide 3: The Commandments: Rules to Live By (and Look Fabulous Doing It!) 📜)
These are the golden rules of glitter eyeshadow stick application. Break them at your own peril! (Just kidding… mostly.)
- Thou Shalt Prime Thy Lids! Seriously, don’t skip this step. It’s the foundation of a flawless eyeshadow look.
- Thou Shalt Apply Sparingly! Resist the urge to slather on the product. Start with a thin layer and build up the intensity as needed.
- Thou Shalt Blend Like a Boss! Blending is the key to a seamless, crease-free finish. Use a light hand and small, circular motions.
- Thou Shalt Set It and Forget It! Setting your eyeshadow with a light dusting of powder will help to prevent creasing and extend the wear.
- Thou Shalt Embrace the Patting Motion! Avoid dragging the product across your lid, as this can create streaks and unevenness. Instead, gently pat the product into place.
- Thou Shalt Choose the Right Brush! Different brushes are designed for different purposes. Experiment to find the brushes that work best for you and your eyeshadow sticks.
- Thou Shalt Clean Thy Brushes! Dirty brushes can harbor bacteria and transfer oils to your eyelids, increasing the risk of creasing.
- Thou Shalt Observe and Adapt! Pay attention to how your eyeshadow wears throughout the day. If you notice creasing, adjust your technique accordingly.
- Thou Shalt Not Fear the Q-Tip! Embrace the power of the Q-tip for cleaning up mistakes and sharpening edges.
- Thou Shalt Own Thy Sparkle! Confidence is the best accessory. Rock that glitter with pride! ✨
(Slide 4: The Techniques: Blending Like a Pro 🎨)
Now, let’s get to the nitty-gritty. Here are some techniques that will help you blend your glitter eyeshadow sticks like a true artist.
-
The Finger Smudge: This is a great option for a quick and easy wash of color. Apply the eyeshadow stick directly to your lid and then use your finger to gently smudge the edges. The warmth of your finger will help to melt the product into the skin, creating a seamless blend.
- Pros: Quick, easy, and natural-looking.
- Cons: Can be difficult to control the intensity and placement of the color.
- Pro Tip: Use your ring finger for the lightest touch.
-
The Brush Blend: This is a more precise technique that allows you to control the intensity and placement of the color. Apply the eyeshadow stick to your lid and then use a blending brush to diffuse the edges.
- Pros: Precise, controlled, and allows for a more sophisticated look.
- Cons: Requires more time and skill.
- Pro Tip: Use a fluffy brush with soft bristles for the best blend.
-
The Hybrid Approach: This technique combines the best of both worlds. Apply the eyeshadow stick to your lid and then use your finger to blend the product into the skin. Finish with a blending brush to diffuse the edges.
- Pros: Combines the speed and ease of the finger smudge with the precision of the brush blend.
- Cons: Requires a bit of practice to master.
- Pro Tip: Use a small, tapered blending brush to get into the crease.
-
The "Dot and Diffuse" Method: Instead of swiping the stick across your lid, apply small dots of color and then diffuse them with a brush or your finger. This helps prevent applying too much product at once.
- Pros: Excellent for controlling product placement and building intensity gradually.
- Cons: Can be a bit more time-consuming.
- Pro Tip: Works especially well with highly pigmented or glitter-heavy formulas.
(Slide 5: The Advanced Moves: Taking Your Glitter Game to the Next Level 🥇)
Ready to take your glitter eyeshadow skills to the next level? Here are some advanced techniques that will help you create truly stunning looks.
Ready to take your glitter eyeshadow skills to the next level? Here are some advanced techniques that will help you create truly stunning looks.
-
Layering: Layering different shades of glitter eyeshadow can create a multidimensional effect. Start with a lighter shade all over the lid and then add a darker shade to the crease or outer corner.
- Pro Tip: Use complementary colors for a harmonious look.
-
Highlighting: Adding a touch of shimmer to the inner corner of your eye can instantly brighten your complexion and make you look more awake.
- Pro Tip: Use a light, iridescent shade for the most flattering effect.
-
Creating a Cut Crease: A cut crease is a dramatic eyeshadow look that involves defining the crease of your eye with a sharp line. Glitter eyeshadow can be used to add a touch of sparkle to this classic look.
- Pro Tip: Use a small, angled brush to apply the glitter eyeshadow with precision.
-
Glitter Liner: Use a thin brush to apply a glitter eyeshadow stick as eyeliner. This adds a subtle touch of sparkle that’s perfect for everyday wear.
- Pro Tip: Set with a glitter sealant to prevent fallout.
(Slide 6: Troubleshooting: When Things Go Wrong (and How to Fix Them!) 🚑)
Even with the best techniques, things can sometimes go wrong. Here are some common problems and how to fix them.
| Problem | Solution |
|---|---|
| Creasing | Re-prime your lids, apply less product, blend more thoroughly, set with powder, and consider using an eyeshadow base. |
| Uneven Application | Use a brush to blend the product evenly. Apply a second layer if necessary. |
| Fallout | Use a glitter glue or sealant to help the glitter adhere to your skin. Apply your eye makeup before your face makeup. |
| Muddy Colors | Use a light hand when blending and avoid layering too many shades. Clean your brush frequently. |
| Lack of Pigment | Build up the intensity by applying multiple layers. Use a white or cream-colored base to make the colors pop. |
(Slide 7: Product Recommendations: My Favorite Glitter Eyeshadow Sticks (and Why!) 🛍️)
(Professor dramatically pulls out a bag overflowing with sparkly tubes.)
Okay, I can’t endorse specific brands definitively, as preferences are personal and formulations change! However, I can give you a breakdown of what to look for in a good glitter eyeshadow stick, and some features that often lead to success:
- Long-wearing Formulas: Look for sticks that claim to be long-wearing or crease-resistant. Read reviews to see what other users say.
- Creamy Texture: The formula should be smooth and easy to blend, not dry or patchy.
- Good Pigmentation: The color should be vibrant and true to the tube.
- Minimal Fallout: The glitter should adhere well to the skin and not flake off throughout the day.
- Versatile Shades: Choose shades that you can wear on their own or layer with other eyeshadows.
- Easy to Blend: This is crucial! If it’s too dry or sets too fast, it will be hard to blend and more prone to creasing.
- Ingredients: Be aware of your personal sensitivities!
(Slide 8: The Glitter Creed: Words to Live By ✨)
(Professor stands tall, hand over heart, reciting the following.)
I pledge allegiance to the glitter, and to the sparkle for which it stands, one eyeshadow stick, under the eyelid, dazzling, with liberty and fabulousness for all!
(Slide 9: Question and Answer Session ❓)
(Professor gestures to the audience with a flourish.)
Alright, glitter gurus, now it’s your turn! What questions do you have about conquering the crease with glitter eyeshadow sticks? No question is too silly, too sparkly, or too… crease-related! Let’s unleash your inner artist and achieve those non-creasing, dazzling eye looks! Now go forth and sparkle! And remember, a little glitter never hurt nobody! (Except maybe my vacuum cleaner…)
(Professor exits, leaving a trail of glitter in their wake. The audience applauds wildly, inspired and ready to conquer the world, one non-creasing eye look at a time.)
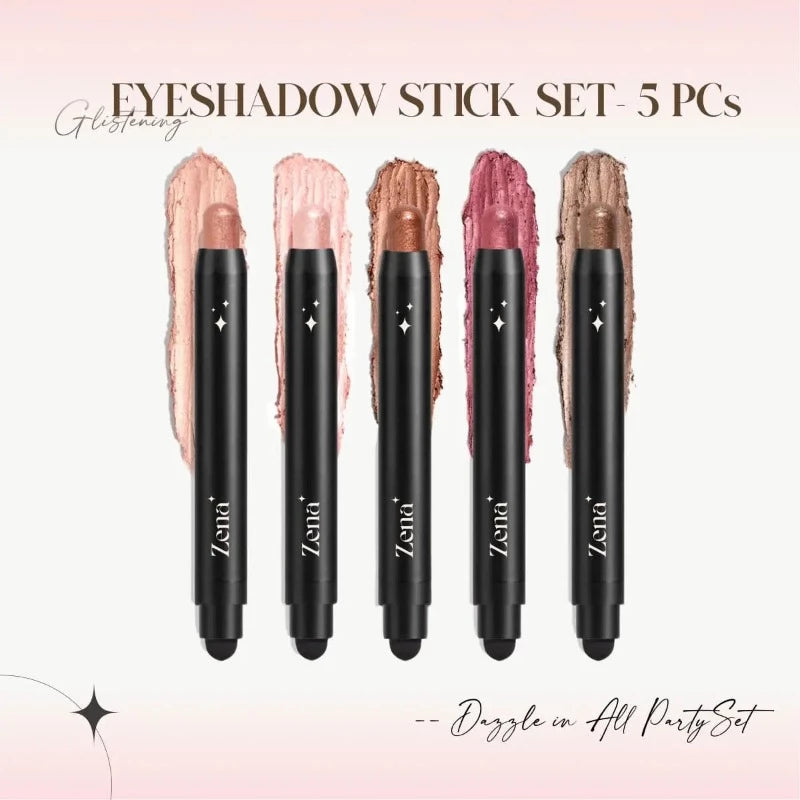
For detailed product specifications and purchases, please go to :https://zenamakeup.com/products/glimmer-glow-5-piece-glitter-cream-eyeshadow-stick-set
Leave a Reply