Lecture: Unleashing Your Inner Eye Artist: A Deep Dive into the 5-Piece Glitter Cream Set and the Art of Mesmerizing Looks
(Cue dramatic spotlight and a flourish of confetti)
Alright, glamour gurus, makeup mavens, and glitterati in training! Welcome, welcome, WELCOME to "Unleashing Your Inner Eye Artist"! Today, we’re diving headfirst into the shimmering, spectacular world of the 5-Piece Glitter Cream Set. Forget your boring beige eyeshadows! We’re talking about serious sparkle, dazzling dimension, and eye looks that scream, "I woke up like this… after spending two hours perfecting my glitter game!"
(Audience cheers politely, except for one person who whispers, "Two hours? That’s amateur.")
Now, some of you might be thinking, "Glitter? Isn’t that just for teenagers and dance recitals?" To that, I say a resounding NO! Glitter is for anyone who wants to inject a little joy, a little drama, and a whole lot of fabulousness into their lives. And this 5-Piece Glitter Cream Set? It’s your passport to a world of endless eye-catching possibilities.
(Raises a hand holding the set dramatically)
But fear not, fledgling glitter enthusiasts! This isn’t some chaotic free-for-all of sparkle. We’re going to break down the anatomy of this set, dissect the color combinations, and equip you with the knowledge and confidence to create eye looks that are not just pretty, but downright breathtaking.
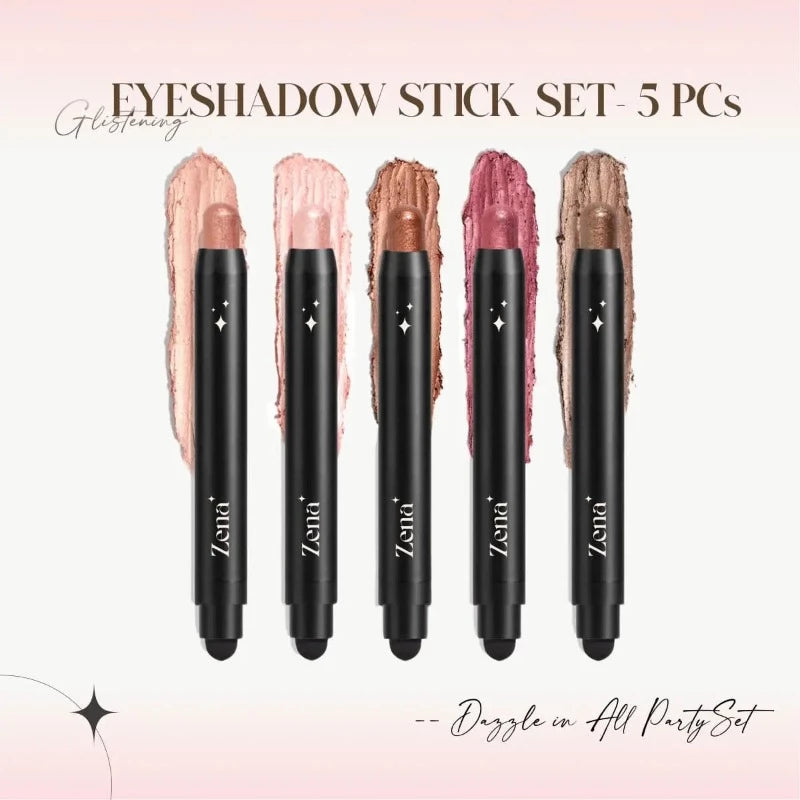
(Grabs a laser pointer and aims it at a projected image of the Glitter Cream Set. It accidentally hits a potted plant, which promptly wilts.)
Oops. Minor setback. Onward!
I. The Glitter Cream Set: Your Arsenal of Awesome
First, let’s get acquainted with our star players. This 5-Piece Glitter Cream Set isn’t just a random collection of sparkly goo. It’s a carefully curated ensemble of colors designed to complement each other, providing you with a foundation for a multitude of looks.
(Table appears on the screen with dramatic fanfare.)
| Color | Description | Texture | Vibe | Best For |
|---|---|---|---|---|
| Starlight Silver ✨ | A classic, bright silver with ultra-fine glitter particles. | Smooth, creamy, and buildable. | Timeless elegance, futuristic chic. | Highlighting, inner corner pop, all-over lid sparkle. |
| Rose Gold Romance 🌹 | A warm, romantic blend of rose gold and champagne glitter. | Soft, blendable, with a subtle shimmer. | Soft glam, romantic evenings, adding warmth to cool tones. | All-over lid, crease blending, layering with other colors. |
| Emerald Enchantment 💚 | A deep, mesmerizing emerald green with multi-dimensional glitter. | Rich, pigmented, and long-lasting. | Sultry nights, bold statements, adding a touch of mystery. | Outer corner definition, smoky eye accents, creating a dramatic wing. |
| Sapphire Dream 💙 | A vibrant sapphire blue with holographic glitter particles. | Lightweight, comfortable, and surprisingly versatile. | Playful fun, edgy looks, adding a pop of color. | All-over lid, lower lash line, creating a bold graphic liner. |
| Mystic Mauve 💜 | A sophisticated mauve with a hint of lavender glitter. | Creamy, blendable, and universally flattering. | Everyday glam, subtle sparkle, adding a touch of whimsy. | All-over lid, crease blending, creating a soft, diffused smoky eye. |
(Raises an eyebrow)
See? Not just a bunch of pretty sparkles! Each color has its own personality, its own purpose, its own destiny to make your eyes look absolutely divine.
II. Understanding the Science (and Art!) of Glitter Cream Application
Before we start painting masterpieces, let’s talk technique. Applying glitter cream isn’t just slapping it on and hoping for the best. It requires a little finesse, a little patience, and a whole lot of love.
(Pulls out a variety of brushes. One is comically oversized.)
A. Tools of the Trade:
- Fingers: Yes, you heard me right! Your fingers are often the best tools for applying glitter cream. The warmth of your finger helps to melt the product and press the glitter onto the lid for maximum impact.
- Flat Shader Brush: Perfect for packing on color and creating a concentrated glitter effect.
- Blending Brush: Essential for softening edges and creating a seamless transition between colors.
- Small Detail Brush: Ideal for precise application, such as creating a glittery liner or adding a pop of sparkle to the inner corner.
- Spoolie Brush: For brushing away any stray glitter particles that might have wandered onto your face. (We’ve all been there.)
- Glitter Glue/Adhesive: While these creams are designed to be long-lasting, if you want extra insurance, especially for a dramatic look, a glitter adhesive can be your best friend.
(Wipes brow dramatically.)
Okay, tools sorted. Now, for the application process!
B. The Application Process: A Step-by-Step Guide (with Optional Shenanigans)
- Prime Time: Start with an eyeshadow primer! This creates a smooth base for the glitter cream to adhere to and prevents creasing. Think of it as the foundation for your sparkling empire.
(Visual aid: A tiny crown placed on top of an eyeshadow primer bottle.) - Base Layer (Optional): If you want to add depth and dimension, you can apply a matte eyeshadow in a similar shade as your glitter cream. This will help to intensify the color and create a more dramatic effect.
(Visual aid: A subtle matte mauve eyeshadow swatch followed by Mystic Mauve glitter cream swatch.) - Application Time!: Using your finger or a flat shader brush, gently pat the glitter cream onto your eyelid. Avoid swiping, as this can disrupt the glitter particles and create a patchy finish.
(Sound effect: Gentle tapping sound.) - Blending is Key: Use a blending brush to soften the edges of the glitter cream and blend it seamlessly with your base eyeshadow (if you used one). This is where the magic happens!
(Visual aid: A before-and-after picture showing a harsh line of glitter cream being transformed into a beautifully blended masterpiece.) - Layering and Dimension: Don’t be afraid to layer different colors of glitter cream to create a unique and multi-dimensional look. Experiment with placing lighter shades in the inner corner and darker shades in the outer corner to create depth.
(Visual aid: Examples of layering Starlight Silver with Rose Gold Romance and Emerald Enchantment with Sapphire Dream.) - Clean Up Crew: Use a clean brush or a cotton swab to remove any stray glitter particles that may have fallen onto your face. Remember, glitter is beautiful on your eyelids, but not so much on your cheeks… unless that’s your thing!
(Visual aid: A tiny vacuum cleaner sucking up rogue glitter particles.) - Set It and Forget It (Almost): While the glitter creams are generally long-lasting, you can set them with a setting spray to further prevent creasing and fading.
(Visual aid: A bottle of setting spray spraying a cloud of sparkly mist.)
(Leans into the microphone)
And there you have it! The secret to flawless glitter cream application. Now, let’s move on to the fun part: creating actual eye looks!
III. The Art of Combination: Unleashing the Potential of the 5-Piece Set
III. The Art of Combination: Unleashing the Potential of the 5-Piece Set
This is where we get to play! The beauty of this 5-Piece Glitter Cream Set lies in its versatility. You can create a multitude of looks, from subtle and sophisticated to bold and breathtaking, simply by combining the different shades.
(Pulls out a whiteboard and starts scribbling frantically.)
Let’s explore some popular color combinations and the looks they can create:
(Table appears on the screen, even more dramatically than before.)
| Combination | Look | Description | Occasion | Difficulty |
|---|---|---|---|---|
| Starlight Silver + Mystic Mauve | Soft Glam Sparkle | A delicate and ethereal look, perfect for everyday wear. Starlight Silver adds a subtle pop of sparkle to the inner corner, while Mystic Mauve creates a soft, diffused smoky eye. | Everyday, Brunch, Date Night | Easy |
| Rose Gold Romance + Emerald Enchantment | Romantic Smoky Eye | A warm and alluring look, perfect for a night out. Rose Gold Romance is blended all over the lid, while Emerald Enchantment is used to create a smoky effect in the outer corner. | Date Night, Party, Special Occasion | Medium |
| Sapphire Dream + Starlight Silver | Electric Blue Pop | A bold and playful look, perfect for making a statement. Sapphire Dream is applied all over the lid, while Starlight Silver is used to highlight the inner corner and brow bone. | Concert, Festival, Night Out | Medium |
| Mystic Mauve + Sapphire Dream | Unexpected Glam | A sophisticated yet surprising look. Mystic Mauve is blended all over the lid and into the crease, while a thin line of Sapphire Dream is applied along the lower lash line. | Work (depending on your office!), Art Gallery, Dinner Party | Medium |
| Emerald Enchantment + Rose Gold Romance + Starlight Silver | The Ultimate Party Eye | A show-stopping look that demands attention. Emerald Enchantment is used to create a smoky base, Rose Gold Romance is blended into the crease, and Starlight Silver is applied to the center of the lid for a dazzling pop of sparkle. | Party, Special Occasion, When You Want to Steal the Show | Hard |
| All 5 Colors (Gradually Blended) | The Rainbow Glitter Goddess | A maximalist masterpiece! Each color is seamlessly blended into the next, creating a vibrant and unforgettable eye look. | Pride Parade, Music Festival, When You Want to Express Your Inner Unicorn | Extremely Hard (but worth it!) |
(Wipes whiteboard clean with a flourish.)
These are just a few examples, of course. The possibilities are truly endless! Don’t be afraid to experiment and create your own unique combinations. The key is to have fun and let your creativity shine!
IV. Troubleshooting: Tackling Common Glitter Cream Challenges
Even the most seasoned makeup artists encounter challenges when working with glitter cream. Here are some common problems and their solutions:
(A small, cartoon version of the speaker appears on the screen, looking distressed.)
- Creasing: This is a common issue with cream eyeshadows. To prevent creasing, make sure to use an eyeshadow primer and apply the glitter cream in thin layers. Setting with a translucent powder or setting spray can also help.
(Visual aid: A bottle of eyeshadow primer triumphantly defeating a crease monster.) - Fallout: Glitter fallout can be a nightmare. To minimize fallout, apply the glitter cream using a patting motion rather than swiping. You can also use a damp brush to pick up any stray glitter particles.
(Visual aid: A damp brush gently picking up glitter particles like a tiny, sparkly vacuum cleaner.) - Patchy Application: This can happen if the glitter cream is too thick or if you’re not blending properly. To avoid patchy application, use a light hand and blend, blend, blend!
(Visual aid: A cartoon hand vigorously blending with a blending brush.) - Color Fading: Some glitter creams can fade over time. To prevent fading, use a good quality primer and set the glitter cream with a setting spray.
(Visual aid: A setting spray superhero protecting a glitter cream from the evil sun.) - Glitter Migration: This is when the glitter particles start to travel all over your face. To prevent glitter migration, avoid applying the glitter cream too close to your waterline and use a glitter adhesive for extra hold.
(Visual aid: A glitter adhesive bodyguard protecting the rest of the face from rogue glitter particles.)
(The cartoon speaker smiles reassuringly.)
Don’t be discouraged if you encounter these challenges. Practice makes perfect! And remember, even the best makeup artists have their bad days.
V. Beyond the Lid: Creative Uses for Your Glitter Cream Set
While this set is designed for eye looks, don’t limit yourself! Get creative and explore other ways to use these shimmering creams.
(The speaker strikes a dramatic pose.)
- Highlighter: A dab of Starlight Silver or Rose Gold Romance on your cheekbones can create a stunning highlight.
- Body Glitter: Apply a small amount of glitter cream to your collarbones or shoulders for a touch of sparkle.
- Lip Topper: Add a touch of Starlight Silver or Rose Gold Romance to your lipstick for a dazzling effect.
- Nail Art: Use a small brush to create glittery designs on your nails.
- Hair Glitter: Mix a tiny amount of glitter cream with hair gel and apply to your hair for a festival-worthy look.
(Audience gasps in awe.)
The only limit is your imagination!
VI. Final Thoughts: Embrace the Sparkle, Embrace Yourself!
(The speaker walks to the front of the stage, removing their glitter-covered lab coat.)
So, there you have it! A comprehensive guide to the 5-Piece Glitter Cream Set and the art of creating mesmerizing eye looks. Remember, makeup is all about self-expression and having fun. Don’t be afraid to experiment, make mistakes, and learn from them.
(Leans into the microphone one last time.)
And most importantly, embrace the sparkle! Because life’s too short to be boring. Now go forth and create some magic!
(Confetti cannons explode, showering the audience in glitter. The lecture ends.)
For detailed product specifications and purchases, please go to :https://zenamakeup.com/products/glimmer-glow-5-piece-glitter-cream-eyeshadow-stick-set
Leave a Reply