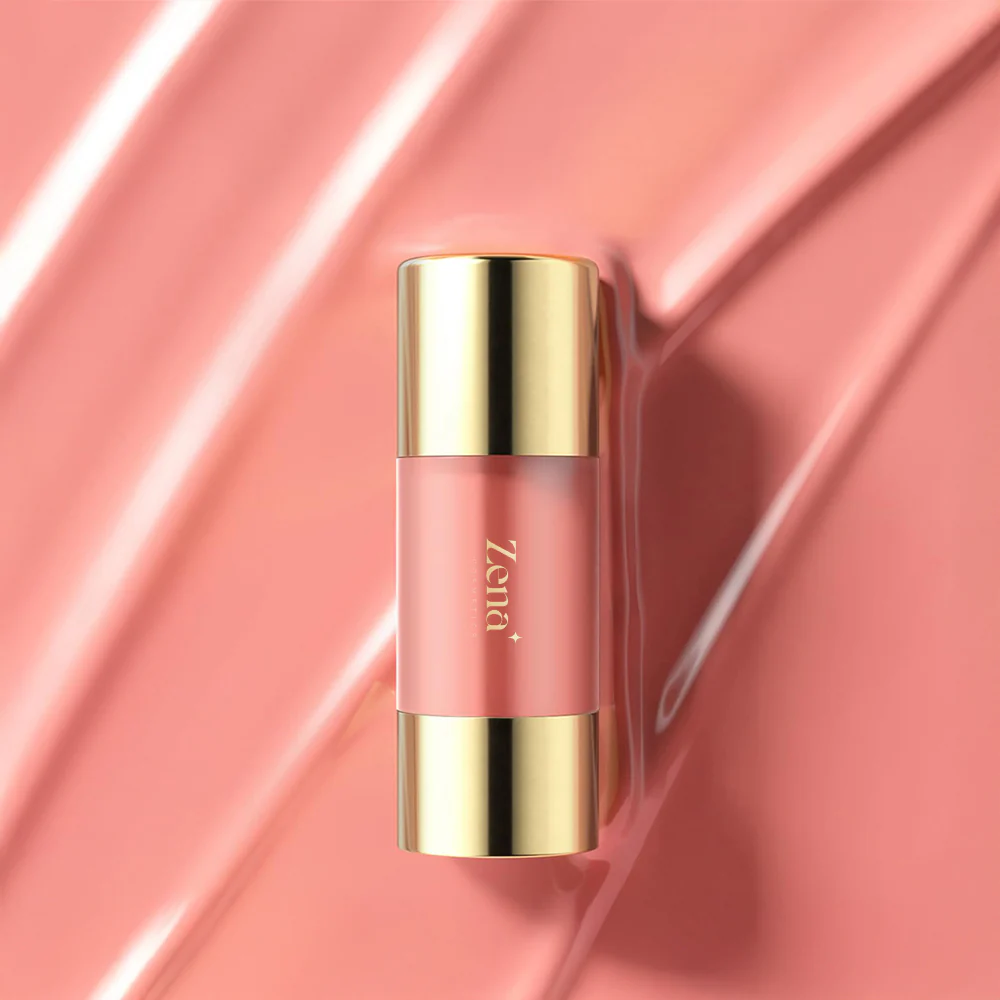
Experience the Bounce: Jelly Glow Liquid Blush for a Dewy, Radiant Flush That Looks Naturally Luminous
(Lecture Hall Doors Swing Open with a Dramatic Flourish. Professor Glow-Getter, adorned in a lab coat sparkling with iridescent glitter, strides to the podium, a mischievous glint in her eye.)
Professor Glow-Getter: Alright, my radiant revolutionaries! Settle down, settle down! Today, we’re diving headfirst into the delightful world of… drumroll please … Jelly Glow Liquid Blush! 🤩
(Professor Glow-Getter gestures dramatically, revealing a screen showcasing a swirling vortex of pink, peach, and coral hues.)
Forget everything you thought you knew about blush. Powder is so last decade (unless, of course, you’re going for a vintage, porcelain doll vibe – no judgment!). Today, we’re embracing the bounce, the glow, the jelly! We’re talking about achieving that coveted "lit-from-within" radiance that whispers, "I drink green juice and meditate daily… even though I really just woke up like this." 😉
(She winks, eliciting a chuckle from the audience.)
I. Blush 101: A History Lesson (with Sass)
Before we get into the juicy details of jelly blush, let’s take a quick trip down memory lane. Blush has been around for centuries, folks!
- Ancient Egypt: Think crushed berries and ochre, bringing a touch of color to the cheeks of royalty. Talk about a natural flush! 🍓
- The Renaissance: Pale skin was all the rage, but a subtle rose tint was still desirable. Enter the rouge pots! 🥀
- The Victorian Era: Blush was considered a bit scandalous, so women would pinch their cheeks to achieve a natural-looking flush. Ouch! 😬
- The 20th Century: Powder blush reigned supreme, from the heavily rouged looks of the 1920s to the more natural, contoured styles of later decades. 💄
- Now: We’re here, in the age of liquid, cream, and jelly blush! Innovation is key, and the focus is on effortless application and a healthy, glowing complexion. ✨
(Professor Glow-Getter leans in conspiratorially.)
The point is, blush has always been about enhancing our natural beauty and adding a touch of life to our faces. And let’s be honest, sometimes we need a little help in that department, especially after a late night binge-watching questionable reality TV. 🤫
II. Why Jelly Blush is the Bee’s Knees (and the Cat’s Pajamas!)
Okay, so why all the hype around jelly blush? What makes it so special? Let’s break it down:
- The Texture: Jelly blush boasts a unique, bouncy texture that feels incredibly lightweight and refreshing on the skin. It’s not quite a gel, not quite a cream – it’s a glorious hybrid that melts into the skin like a dream. ☁️
- The Finish: Say goodbye to powdery, cakey blush! Jelly blush typically delivers a dewy, radiant finish that mimics the natural flush of healthy skin. It’s like sunshine in a pot (or tube)! ☀️
- The Blendability: This stuff blends like a charm! The lightweight formula allows for seamless application, whether you’re using your fingers, a brush, or a sponge. No harsh lines or streaks here! 🚫
- The Longevity: While some jelly blushes may not have the same staying power as a highly pigmented powder blush, many formulas are designed to last for hours, providing a subtle, natural-looking flush throughout the day. ⏳
- The Hydration: Many jelly blush formulas are infused with hydrating ingredients like hyaluronic acid and glycerin, which help to plump and moisturize the skin. It’s like skincare and makeup all in one! 💧
(Professor Glow-Getter points to a table projected on the screen.)
Table 1: Jelly Blush vs. Other Blush Types
| Feature | Jelly Blush | Powder Blush | Cream Blush |
|---|---|---|---|
| Texture | Lightweight, bouncy, gel-cream hybrid | Powdered, dry | Creamy, emollient |
| Finish | Dewy, radiant, natural | Matte, satin, shimmer | Dewy, luminous, natural |
| Blendability | Excellent, easy to blend | Can be patchy if not blended properly | Generally easy to blend, can be greasy on oily skin |
| Longevity | Moderate, may require touch-ups | Long-lasting, can last all day | Moderate, may fade throughout the day |
| Hydration | Often contains hydrating ingredients | Can be drying | Can be hydrating, but may clog pores |
| Skin Type | Suitable for most skin types, especially dry & normal | Best for oily skin | Best for dry to normal skin |
| Best Feature | Natural-looking glow, hydrating | Long-lasting, wide variety of shades | Dewy finish, buildable color |
| Potential Drawback | May not be as pigmented as other types of blush | Can look cakey or powdery if applied too heavily | Can be greasy or clog pores, especially on oily skin |
(Professor Glow-Getter clears her throat.)
Now, I know what you’re thinking: "Sounds great, Professor, but how do I actually use this magical jelly stuff?" Fear not, my friends! I’m about to reveal the secrets to achieving the perfect jelly blush application.
III. Jelly Blush Application: A Masterclass in Dewy Perfection
Applying jelly blush is easier than ordering pizza online (and arguably more rewarding). Here’s a step-by-step guide:
- Prep Your Skin: Start with a clean, moisturized face. This will create a smooth canvas for your blush and help it blend seamlessly. 🧼
-
Choose Your Weapon: You can apply jelly blush with your fingers, a brush, or a sponge. Each method has its own advantages:
- Fingers: Provides the most natural, diffused finish. The warmth of your fingers helps the blush melt into the skin. 👍
- Brush: Offers more precision and control, especially for sculpting and defining the cheekbones. 🖌️
- Sponge: Creates a seamless, airbrushed effect. Great for layering and building intensity. 🧽
- Start Small: A little jelly blush goes a long way! Start with a small amount on the back of your hand and gradually build up the color until you achieve your desired intensity. 🤏
-
Placement is Key: Where you apply your blush can drastically change the shape and appearance of your face. Here are a few general guidelines:
- For a youthful flush: Apply the blush to the apples of your cheeks and blend upwards towards your temples. 🍎
- For a sculpted look: Apply the blush slightly below your cheekbones and blend along the natural contours of your face. 🦴
- For a sun-kissed glow: Apply the blush across the bridge of your nose and onto your cheeks. ☀️
- Blend, Blend, Blend!: The key to a natural-looking blush is seamless blending. Use circular motions to blend the blush into your skin until there are no harsh lines or edges. 🔄
- Layer and Build: If you want a more intense color, gradually layer the blush until you achieve your desired look. Remember, it’s always easier to add more than to take away! ➕
- Set (Optional): If you have oily skin or want your blush to last all day, you can set it with a light dusting of translucent powder. But be careful not to overdo it, as this can dull the dewy finish. 🌫️
(Professor Glow-Getter demonstrates the application techniques on a volunteer, showcasing the different effects.)
IV. Troubleshooting: Common Jelly Blush Concerns (and How to Fix Them!)
Even with the best techniques, you might encounter a few hiccups along the way. Here are some common jelly blush concerns and how to address them:
-
Problem: The blush is too sheer.
-
Problem: The blush is too sheer.
- Solution: Layer the blush gradually until you achieve your desired intensity. You can also try using a more pigmented shade.
-
Problem: The blush is too pigmented.
- Solution: Use a damp sponge to blend out the blush and diffuse the color. You can also try applying a small amount of foundation or concealer over the blush to tone it down.
-
Problem: The blush is fading throughout the day.
- Solution: Set the blush with a light dusting of translucent powder. You can also try using a longer-lasting jelly blush formula.
-
Problem: The blush is emphasizing texture on the skin.
- Solution: Make sure your skin is properly moisturized before applying the blush. You can also try using a blurring primer to smooth out the skin’s surface.
-
Problem: The blush is looking patchy.
- Solution: Use a clean brush or sponge to blend out the blush until there are no harsh lines or edges. You can also try exfoliating your skin regularly to remove dead skin cells and create a smoother canvas.
(Professor Glow-Getter nods sagely.)
Remember, practice makes perfect! Don’t be afraid to experiment with different shades and application techniques until you find what works best for you.
V. Choosing the Right Jelly Blush: A Color Theory Crash Course
With so many jelly blush shades available, choosing the right one can feel overwhelming. Here’s a quick guide to help you find the perfect match for your skin tone:
- Fair Skin: Opt for light pinks, peaches, and corals. These shades will add a subtle flush of color without looking too overpowering. 🌸
- Light Skin: Try rosy pinks, mauves, and light berries. These shades will enhance your natural complexion and add a touch of warmth. 🌷
- Medium Skin: Experiment with deeper pinks, corals, and berries. These shades will add a vibrant pop of color to your cheeks. 🌺
- Olive Skin: Go for warm peaches, bronzes, and terracotta shades. These shades will complement your skin’s natural undertones and add a healthy glow. 🍂
- Dark Skin: Embrace rich berries, plums, and oranges. These shades will provide a beautiful contrast and add a touch of drama to your look. 🍇
(Professor Glow-Getter presents a color wheel, highlighting the best blush shades for each skin tone.)
Table 2: Jelly Blush Shade Recommendations by Skin Tone
Skin Tone Recommended Shades Example Jelly Blush Names (Hypothetical) Fair Light Pink, Peach, Coral "Angel Kiss," "Sunrise Glow," "Peach Fizz" Light Rosy Pink, Mauve, Light Berry "Rose Petal," "Berry Bliss," "Dusty Mauve" Medium Deep Pink, Coral, Berry "Coral Crush," "Wild Berry," "Fuchsia Flush" Olive Warm Peach, Bronze, Terracotta "Golden Hour," "Terracotta Dream," "Sunset Kiss" Dark Rich Berry, Plum, Orange "Plum Paradise," "Berry Burst," "Orange Crush" (Professor Glow-Getter adds a final note.)
Consider your undertones! Are you cool, warm, or neutral? Cool undertones look great with pinks and berries, while warm undertones shine with peaches and corals.
VI. Jelly Blush: Beyond the Cheeks (Creative Uses!)
Jelly blush is surprisingly versatile! Here are a few unexpected ways to use it:
- Lip Tint: Dab a small amount of jelly blush onto your lips for a natural, stained effect. 💋
- Eye Shadow: Use a sheer wash of jelly blush on your eyelids for a subtle, monochromatic look. 👀
- Highlight: Mix a tiny amount of jelly blush with your favorite liquid highlighter for a custom, radiant glow. ✨
(Professor Glow-Getter demonstrates these creative uses with enthusiasm.)
VII. The Future of Blush: Jelly Reigns Supreme!
(Professor Glow-Getter beams, adjusting her glittery lab coat.)
We’ve reached the end of our jelly blush journey! I hope you’ve learned a thing or two about this amazing product and are inspired to experiment with it yourself.
The future of blush is bright, bouncy, and jelly-licious! As technology advances, we can expect to see even more innovative and exciting formulations, with enhanced hydration, longer-lasting wear, and a wider range of shades.
(Professor Glow-Getter raises a tube of shimmering jelly blush in the air.)
So go forth, my radiant revolutionaries, and embrace the bounce! Let your inner glow shine through with the magic of jelly blush! 💖
(The lecture hall erupts in applause as Professor Glow-Getter takes a bow, leaving a trail of iridescent glitter in her wake.)
For detailed product specifications and purchases, please go to :https://zenamakeup.com/products/jelly-liquid-blush-stick
-
Leave a Reply