Lecture: Long-wear Precision Gel Eyeliner Pen: Your Weapon for Crisp, Clean Lines That Define Your Eyes (and Maybe Your Entire Existence)
(Cue dramatic spotlight and triumphant music)
Alright, class, settle down! Today, we’re not dissecting frogs. We’re dissecting eyeliner. Specifically, the magnificent, the game-changing, the utterly essential… Long-wear Precision Gel Eyeliner Pen! 🏆
Forget everything you thought you knew about eyeliner. We’re not talking about smudgy pencils that migrate south by lunchtime, or liquid liners that require the steady hand of a brain surgeon (no offense to any brain surgeons in the audience). We’re talking about achieving eyeliner perfection, consistently, effortlessly, and without the need for years of art school training.
(Show a slide of a majestic cat with perfectly winged eyeliner. The cat looks unimpressed.)
Even Cleopatra would be jealous. (Okay, maybe. We weren’t there. Historical accuracy is so overrated.)
So, grab your notebooks (or your favorite tablet, we’re living in the future!), and let’s dive into the world of the long-wear precision gel eyeliner pen. We’ll cover everything from choosing the right pen to mastering the flick, and even troubleshoot those inevitable eyeliner mishaps.
I. The Gel Eyeliner Pen: A Revolutionary Tool (Finally!)
(Display a table comparing different types of eyeliner)
| Eyeliner Type | Pros | Cons | Difficulty Level | Staying Power | Best For |
|---|---|---|---|---|---|
| Pencil (Kohl) | Easy to apply, blendable, good for smoky eyes | Smudges easily, not very precise | Beginner | Low | Smoky eyes, tightlining |
| Liquid Liner | Precise lines, dramatic looks, long-lasting (sometimes) | Difficult to apply, requires a steady hand | Advanced | Medium to High | Dramatic wings, graphic liner |
| Gel Pot & Brush | Highly pigmented, versatile, long-lasting | Requires separate brush, can dry out, application can be tricky | Intermediate | High | Any look, from natural to dramatic |
| Long-wear Precision Gel Eyeliner Pen | Precise lines, easy application, long-lasting, beginner-friendly (!!!) | Can sometimes be less pigmented than a gel pot, may require layering | Beginner to Intermediate | High | Everyday looks, winged liner, tightlining |
Why the hype around the gel eyeliner pen?
- Precision is Key: The fine tip allows for incredibly precise lines, even if you’re as shaky as a chihuahua in a snowstorm. 🥶
- Long-wearing Formula: No more panda eyes! These formulas are designed to stay put through sweat, tears (from that rom-com you secretly love), and even a surprise rain shower. 🌧️
- Ease of Application: Unlike liquid liner, which can feel like wielding a weapon, gel pens are generally easier to control. It’s like drawing with a regular pen, but the stakes are much, much higher. (Because, let’s be honest, good eyeliner can make or break your day.)
- Beginner-Friendly: Seriously! Even if you’ve never successfully applied eyeliner in your life, you can probably manage a decent line with one of these. We’re talking fool-proof (almost).
II. Choosing Your Weapon: Selecting the Right Gel Eyeliner Pen
(Show a slide with various gel eyeliner pens, highlighting their features.)
Not all gel eyeliner pens are created equal. Just like finding the perfect partner, finding the right pen requires some trial and error (and maybe a few regrettable decisions along the way).
Here’s what to consider:
- Tip Size and Shape:
- Ultra-Fine Tip: Ideal for creating thin, precise lines, tightlining, and adding subtle definition. Think surgical precision. 🔪
- Slightly Thicker Tip: Great for creating bolder lines and winged liner. More forgiving for beginners.
- Formula:
- Highly Pigmented: Delivers intense color in one swipe. Perfect for making a statement. 🔥
- Build-able Formula: Allows you to layer the color for desired intensity. More forgiving for mistakes.
- Waterproof/Water-Resistant: Crucial for long-lasting wear and avoiding smudging. Especially important if you live in a humid climate or are prone to emotional outbursts. 😂
- Color:
- Black: The classic choice. Timeless and versatile.
- Brown: Softer and more natural-looking than black. Great for everyday wear.
- Colored Liners: Experiment with blues, greens, purples, and more! Adds a pop of color and personality. 🌈
- Price: You don’t have to break the bank to find a good gel eyeliner pen. There are excellent options available at various price points.
Pro-Tip: Read reviews! See what other users are saying about the pen’s performance, longevity, and ease of use. And don’t be afraid to try a few different brands before you find your holy grail.
III. Mastering the Application: From Novice to Eyeliner Ninja
(Display a step-by-step guide with images demonstrating eyeliner application techniques.)
Okay, you’ve chosen your weapon. Now it’s time to learn how to wield it! Here’s a breakdown of the basic techniques for applying gel eyeliner pen:
A. The Prep Work:
- Clean and Prime Your Lids: Ensure your eyelids are clean and dry. Use an eyeshadow primer to create a smooth base and prevent smudging. This is like prepping a canvas for a masterpiece (or at least a presentable eyeliner look).
- Gather Your Supplies: You’ll need your gel eyeliner pen, a mirror (preferably a magnifying mirror), and cotton swabs for cleanup. You might also want some makeup remover on hand, just in case. (Murphy’s Law applies to eyeliner, too.)
B. The Application Techniques:
- The Dot Method:
- Start by creating small dots along your lash line, from the inner corner of your eye to the outer corner.
- Connect the dots using short, smooth strokes.
- This method is great for beginners because it allows you to build the line gradually.
(Emoji: ➡️) (Dot Dot Dot)
- The Dash Method:
- Similar to the dot method, but instead of dots, you create short dashes along the lash line.
- Connect the dashes to create a continuous line.
(Emoji: ➖ ➖ ➖)
- The One-Stroke Method (Advanced):
- Place the pen at the inner corner of your eye and draw a smooth, continuous line along your lash line to the outer corner.
- This method requires a steady hand and a lot of practice. Don’t be discouraged if you don’t get it right away.
(Emoji: 🚀) (One smooth swipe!)
C. Creating the Wing:
(Show different wing styles and instructions for each.)
Ah, the wing. The holy grail of eyeliner application. It can be intimidating, but with practice, you can master the perfect flick.
- The Basic Wing:
- Extend the line from your lower lash line upwards, at a 45-degree angle. Imagine extending the line of your lower lash line upwards towards the end of your eyebrow.
- Connect the end of the wing to the outer corner of your upper lash line, creating a triangle.
- Fill in the triangle.
(Emoji: 📐) (Geometry is your friend!)
- The Subtle Wing:
- Extend the line from your upper lash line slightly outwards, creating a very small flick.
- This is a great option for a more natural, everyday look.
(Emoji: 😉) (Wink, wink, nudge, nudge.)
- The Dramatic Wing:
- Create a longer and more angled wing.
- This is perfect for a bold, statement look.
(Emoji: 💥) (Bam! Winged and ready!)
Pro-Tips for Wing Perfection:
- Use Tape as a Guide: Place a piece of tape at the desired angle of your wing. This will create a clean, sharp line.
- Use a Business Card: Hold a business card at the corner of your eye to create a straight edge.
- Practice, Practice, Practice! The more you practice, the better you’ll become at creating the perfect wing. Don’t be afraid to experiment and find what works best for you.
IV. Troubleshooting Eyeliner Mishaps: Rescue Missions for Your Face
(Display images of common eyeliner mistakes and how to fix them.)
Let’s face it, even the most experienced eyeliner artists make mistakes. The key is knowing how to fix them without having a complete meltdown.
Common Eyeliner Fails and How to Fix Them:
- Uneven Lines:
- Solution: Use a cotton swab dipped in makeup remover to even out the lines. Start with the thicker line and try to match the thinner one.
- Wobbly Lines:
- Solution: Use a cotton swab to clean up the edges and create a smoother line.
- Smudged Eyeliner:
- Solution: Use a cotton swab to remove the smudged eyeliner. Reapply eyeliner as needed.
- Uneven Wings:
- Solution: Use a cotton swab to adjust the wings until they are even. You can also use a small angled brush dipped in concealer to clean up the edges.
- The Dreaded Panda Eyes:
- Solution: Prevent this by using a long-wearing, waterproof formula and setting your under-eye area with powder. If it happens anyway, use a makeup remover wipe to clean up the smudges.
Remember: Eyeliner is a journey, not a destination. There will be good days and bad days. Don’t get discouraged if you don’t get it right away. Just keep practicing, and you’ll eventually achieve eyeliner mastery.
V. Caring for Your Gel Eyeliner Pen: Longevity and Sanity
(Show a slide with tips on how to care for your gel eyeliner pen.)
To ensure your gel eyeliner pen lasts and performs at its best, follow these tips:
- Store it Properly: Always store your gel eyeliner pen horizontally or tip-down. This will prevent the formula from drying out.
- Clean the Tip Regularly: Use a tissue to gently wipe the tip of the pen after each use. This will remove any excess product and prevent clogging.
- Replace the Cap Tightly: Always replace the cap tightly after each use. This will prevent the formula from drying out and extending its lifespan.
- Sharpen the Tip (if applicable): Some gel eyeliner pens have a built-in sharpener. Use it regularly to maintain a sharp, precise tip.
- Know When to Replace It: If the formula starts to dry out, clump, or become difficult to apply, it’s time to replace your gel eyeliner pen.
VI. Conclusion: Go Forth and Line!
(Cue upbeat music and a confetti shower (optional).)
Congratulations, class! You have now completed Eyeliner 101. You are armed with the knowledge and skills to conquer the world of gel eyeliner pens and create stunning eye looks.
Remember:
- Practice makes perfect.
- Don’t be afraid to experiment.
- Have fun!
Now go forth and line your eyes with confidence! And remember, if you ever need a little inspiration, just look to the majestic eyeliner cat. 😼
(End of lecture. Students are encouraged to practice their eyeliner skills immediately.)
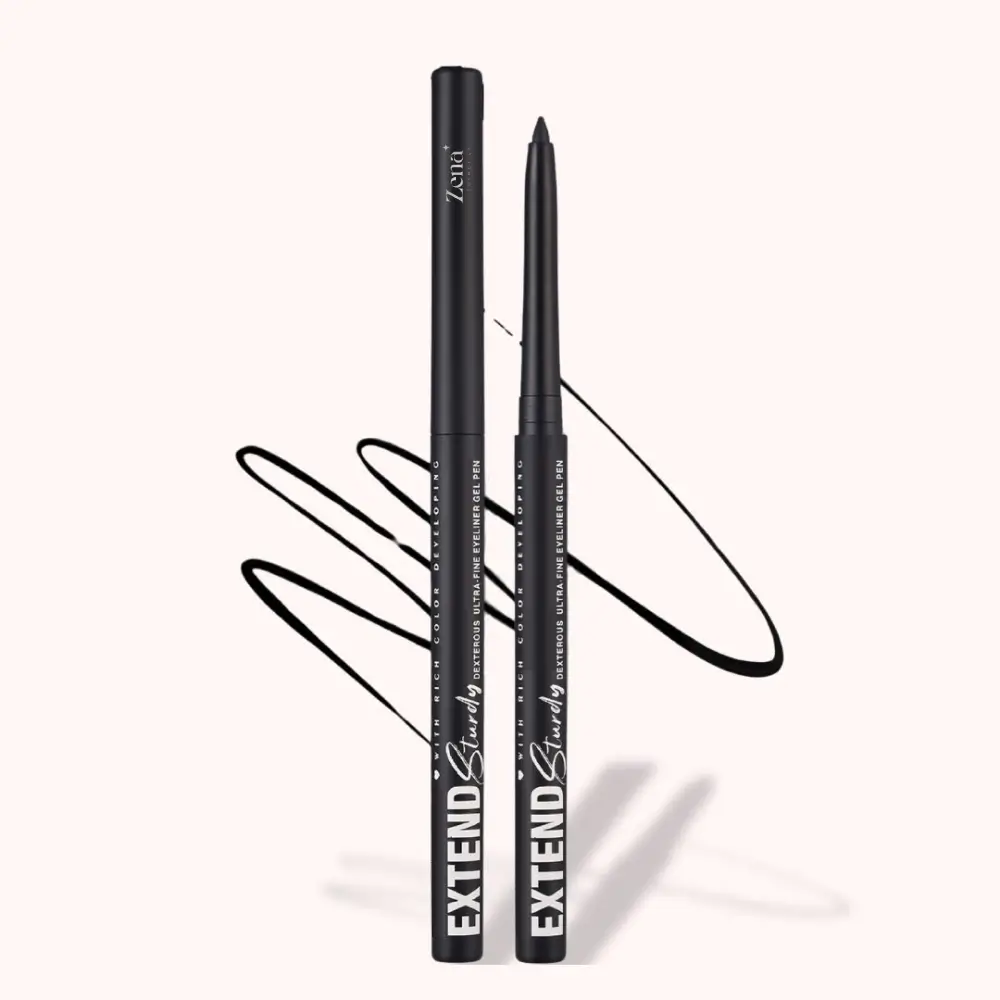
For detailed product specifications and purchases, please go to :https://zenamakeup.com/products/long-wear-precision-gel-eyeliner-pen
Leave a Reply