Get Unbeatable Precision: Long-wear Precision Gel Eyeliner Pen for the Sharpest, Most Defined Lines That Last
(A Lecture in Pursuit of the Perfect Wing)
(Professor: Dr. Linerly Sharp, PhD (Perfect Hues & Drama)
(Welcome, Future Eyeliner Architects! 🎓)
Alright, settle down, settle down! Welcome, bright-eyed (and soon to be sharply lined) students, to the only lecture that truly matters: Eyeliner 101. 📚 Ditch the calculus, forget the sonnets; today, we’re tackling the existential question plaguing makeup enthusiasts since Cleopatra herself: How do we achieve the perfect, long-lasting, "I woke up like this" (but definitely didn’t) eyeliner look?
Forget smudging, forget fading, forget the existential dread of uneven wings. We’re diving deep into the glorious world of the Long-wear Precision Gel Eyeliner Pen. Prepare to have your eyeliner game elevated from "blurry blob" to "razor-sharp runway ready." ✨
(Course Outline: From Eyeliner Embryo to Eyeliner Empress)
Today’s lecture will cover:
- I. The Eyeliner Evolution: From Kohl to Kingdom (A brief (and hilarious) history lesson)
- II. Why Gel Eyeliner Pens Reign Supreme: (Advantages & Disadvantages: The Truth, the Whole Truth, and Nothing But the Truth!)
- III. Anatomy of a Precision Gel Eyeliner Pen: (Decoding the Magic Wand)
- IV. Choosing Your Weapon: (Selecting the Perfect Pen for YOUR Eyes)
- V. Mastering the Technique: The Art of the Perfect Line (Step-by-Step Guide, Tips & Tricks, and Troubleshooting!)
- VI. Long-Wear Secrets: Ensuring Your Liner Lasts Through Anything! (Including zombie apocalypses and awkward family gatherings.)
- VII. Maintenance and Care: Keeping Your Pen in Tip-Top Shape (Don’t let your investment dry out!)
- VIII. Beyond the Basics: Creative Eyeliner Looks (Because sometimes, one line just isn’t enough!)
- IX. Q&A: Ask Dr. Linerly Anything! (No Eyeliner Question Too Silly!)
(I. The Eyeliner Evolution: From Kohl to Kingdom 👑)
Let’s take a quick trip down memory lane. Eyeliner, my friends, is ancient. We’re talking back-to-ancient-Egypt ancient. They used kohl (a mixture of ground galena, malachite, and other fun, toxic stuff – don’t try this at home, kids! ⚠️) for both cosmetic and medicinal purposes (supposedly, it protected their eyes from the sun).
Fast forward through the ages, and eyeliner has seen it all:
| Era | Eyeliner Style | Key Ingredients | Vibe |
|---|---|---|---|
| Ancient Egypt | Thick, dramatic lines extending towards the temples | Kohl, Galena, Malachite | Regal, Protective, Slightly Toxic! ☠️ |
| Roaring 20s | Dark, smudgy, dramatic – think silent film star! | Cake Eyeliner, Vaseline | Flapper, Mysterious, Smoldering |
| 1950s | Classic winged eyeliner – thanks, Marilyn! | Liquid Eyeliner, Steady Hand | Glamorous, Sophisticated, Iconic |
| 1960s | Bold, graphic, and often colorful – Twiggy’s influence was STRONG! | Cream Eyeliner, Eyeshadow, Creative Spirit | Mod, Youthful, Experimental |
| 1980s | Anything goes! Bright colors, thick lines, and lots of it! | Pencil Eyeliner, Gel Eyeliner (emerging!), Anything! | Bold, Expressive, Questionable Choices? |
| Today | A glorious mix of everything! From natural to avant-garde, the choice is yours! | Gel Eyeliner Pens, Liquid Liners, Pencils, Powders | Empowered, Versatile, On-Fleek! ✅ |
The moral of the story? Eyeliner is more than just makeup; it’s a statement. And today, we’re making a statement of unbeatable precision and long-lasting fierceness!
(II. Why Gel Eyeliner Pens Reign Supreme:👑)
So, why are we singing the praises of gel eyeliner pens? Let’s break it down:
Advantages:
- Precision, Precision, Precision! The fine tip allows for incredibly detailed work, perfect for creating everything from thin, natural lines to dramatic wings. Think of it as the calligraphy pen of the makeup world. ✍️
- Long-Wearing Powerhouse: Gel formulas are known for their staying power. We’re talking smudge-proof, waterproof, and life-proof (okay, maybe not literally life-proof, but close!). 💧
- Intense Pigmentation: Get ready for rich, vibrant color that pops! No more struggling to build up the intensity. One swipe and you’re good to go. 🎨
- Smooth Application: Gel formulas glide on effortlessly, minimizing tugging and skipping. This is especially important for those with sensitive skin around the eyes. 😌
- Beginner-Friendly (Relatively): While mastering eyeliner takes practice, gel pens are generally easier to use than traditional liquid liners or pots with brushes.
- Less Mess: No dipping into pots, no messy brushes to clean. Just twist (or click) and go! 🏃♀️
Disadvantages:
- The Learning Curve: While easier than some, it still takes practice to achieve perfect lines. Don’t be discouraged by initial wobbles! 🥴
- Drying Out: Gel formulas can dry out if not stored properly. We’ll cover maintenance later! ☝️
- Cost: Gel eyeliner pens can be slightly more expensive than traditional pencil eyeliners. But trust me, the investment is worth it! 💰
In conclusion, the pros far outweigh the cons. Gel eyeliner pens are the superheroes of the eyeliner world! 🦸♀️
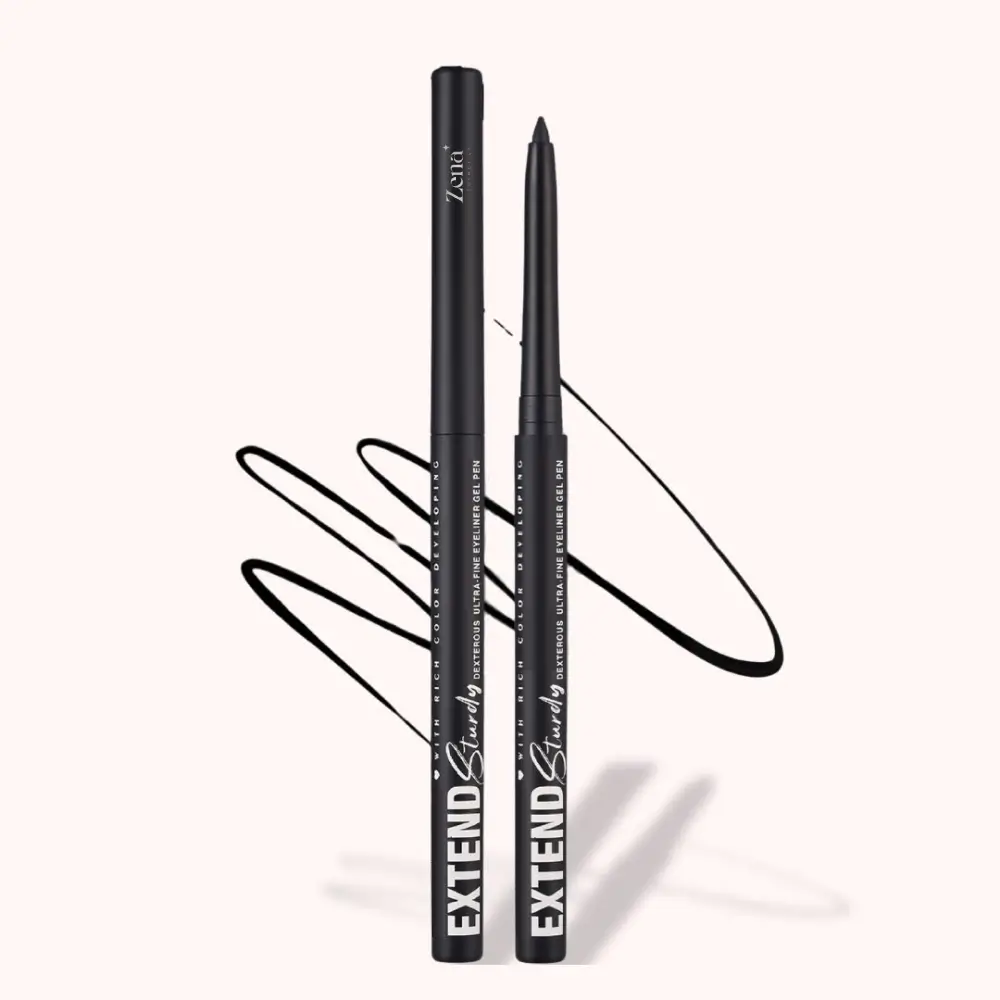
(III. Anatomy of a Precision Gel Eyeliner Pen: 🔬)
Let’s dissect our subject, shall we? Understanding the anatomy of your gel eyeliner pen will help you use it to its full potential.
- The Body: This is the main housing of the pen, usually made of plastic or metal.
- The Cartridge/Reservoir: This holds the precious gel eyeliner formula.
- The Delivery System: This is how the gel is dispensed. It could be a twist-up mechanism or a click-pen system.
- The Tip: This is the business end! The tip is usually made of a flexible material (like felt or silicone) that allows for precise application. The shape and size of the tip are crucial for achieving different looks.
- The Cap: Essential for keeping the tip from drying out! Treat it with respect! 🙏
(IV. Choosing Your Weapon: ⚔️)
Not all gel eyeliner pens are created equal. Here’s what to consider when selecting the perfect pen for YOU:
| Feature | Considerations | Recommendation |
|---|---|---|
| Tip Shape | Fine Point: For thin, precise lines. Paddle/Flat: For thicker, bolder lines.* Tapered: Versatile, can create both thin and thick lines. | Beginner: Tapered tip is a good starting point. Advanced: Experiment with different shapes to achieve specific looks. |
| Tip Material | Felt: Offers good control and precision. Silicone/Rubber: Can be more flexible and forgiving. | Felt: Great for creating sharp, defined lines. Silicone/Rubber: Good for blending and smudging. |
| Formula | Waterproof: Essential for long-wear and avoiding smudging. Highly Pigmented: Delivers intense color in one swipe.* Smudge-Proof: Prevents transfer and keeps your lines clean. | * Consider your skin type and lifestyle. If you have oily eyelids or live in a humid climate, waterproof and smudge-proof formulas are a must! |
| Color | Black: The classic choice. Brown: Softer, more natural look.* Colored: For adding a pop of fun and personality! | * Start with black or brown. Then, unleash your inner artist with colorful liners! 🌈 |
| Price | * Consider your budget. There are excellent gel eyeliner pens available at various price points. | * Don’t necessarily equate price with quality. Read reviews and experiment to find what works best for you. |
| Brand Reputation | Research the brand’s reviews and reputation for quality and performance. | Look for brands known for long-wearing formulas and precise applicators. |
(V. Mastering the Technique: The Art of the Perfect Line 🎨)
Alright, it’s showtime! Grab your chosen weapon and let’s get down to business.
Step-by-Step Guide:
- Prep Your Eyelid: Start with a clean, dry eyelid. Apply eyeshadow primer to create a smooth base and prevent smudging.
- Establish Your Baseline: Use a light-colored eyeshadow or eyeliner pencil to lightly sketch out the shape of your desired eyeliner look. This will act as a guide and help you achieve symmetry.
- Start Small: Begin by creating small, short dashes along your lash line, as close to the lashes as possible. Don’t try to draw one continuous line in one go.
- Connect the Dots: Once you have a series of dashes, carefully connect them to create a smooth, continuous line.
- Wing It (If Desired): For a winged eyeliner look, extend the line slightly upwards and outwards from the outer corner of your eye. Use the outer corner of your lower lash line as a guide.
- Fill It In: If you want a thicker line, carefully fill in the space between the lash line and the outer edge of your eyeliner.
- Clean Up: Use a cotton swab dipped in makeup remover to clean up any mistakes and sharpen the edges of your eyeliner.
- Repeat on the Other Eye: Repeat the process on the other eye, taking your time to ensure symmetry.
- Set It: Apply a thin layer of translucent powder over your eyeliner to set it and prevent smudging.
Tips & Tricks:
- Anchor Your Elbow: Rest your elbow on a stable surface to steady your hand.
- Look Down into a Mirror: This will give you a better view of your lash line.
- Practice Makes Perfect: Don’t get discouraged if your first few attempts aren’t perfect. Keep practicing, and you’ll get there!
- Use Eyeliner Tape: For perfectly symmetrical wings, use eyeliner tape as a guide.
- Don’t Stretch Your Eyelid: Stretching your eyelid can distort the shape of your eyeliner.
- Layer Your Eyeliner: If you want a more intense look, apply multiple thin layers of eyeliner instead of one thick layer.
- Embrace Imperfection: Remember, eyeliner is an art, not a science. Don’t strive for perfection; embrace the unique character of your own eyeliner style.
Troubleshooting:
- Wobbly Lines: Practice steadying your hand and using short, controlled strokes.
- Uneven Wings: Use eyeliner tape or a cotton swab to create symmetrical wings.
- Smudging: Use a waterproof formula and set your eyeliner with powder.
- Dry Eyeliner Pen: Store your pen properly (cap tightly closed) and try cleaning the tip with a damp cloth. If all else fails, it might be time for a new pen.
(VI. Long-Wear Secrets: Ensuring Your Liner Lasts Through Anything! 🛡️)
You’ve achieved the perfect line. Now, how do you make sure it stays put?
- Primer is Your Best Friend: Always start with an eyeshadow primer. It creates a smooth base and helps your eyeliner adhere to your eyelid.
- Waterproof Formula is Key: Opt for a waterproof gel eyeliner pen, especially if you have oily eyelids or live in a humid climate.
- Set It and Forget It: Apply a thin layer of translucent powder over your eyeliner to set it and prevent smudging.
- Blot Away Excess Oil: Throughout the day, blot away any excess oil from your eyelids with blotting papers.
- Avoid Touching Your Eyes: Resist the urge to rub or touch your eyes, as this can cause your eyeliner to smudge.
- Invest in a Good Makeup Setting Spray: A setting spray will help lock your eyeliner in place and prevent it from fading or transferring.
(VII. Maintenance and Care: Keeping Your Pen in Tip-Top Shape 🛠️)
Treat your gel eyeliner pen with respect, and it will reward you with flawless lines for months to come!
- Always Replace the Cap: This is the most important step! Leaving the cap off will cause the gel to dry out.
- Store Horizontally: Storing your pen horizontally can help prevent the gel from settling at one end.
- Clean the Tip Regularly: Use a damp cloth or makeup wipe to gently clean the tip of your pen.
- Avoid Extreme Temperatures: Don’t leave your pen in direct sunlight or extreme heat, as this can damage the formula.
- Replace When Necessary: Eventually, your gel eyeliner pen will run out of product or the tip will become worn down. Replace it when you notice a decline in performance.
(VIII. Beyond the Basics: Creative Eyeliner Looks 🎭)
Now that you’ve mastered the basics, let’s explore some fun and creative eyeliner looks!
- Double Winged Eyeliner: Add a second wing below the first for a dramatic and edgy look.
- Graphic Eyeliner: Create bold, geometric shapes around your eyes.
- Colored Eyeliner: Experiment with different colors to add a pop of fun and personality to your look.
- Smoked Out Eyeliner: Smudge your eyeliner for a soft, sultry look.
- Inner Corner Eyeliner: Apply eyeliner to the inner corner of your eye to make your eyes appear larger and brighter.
(IX. Q&A: Ask Dr. Linerly Anything! 🤔)
Alright, my eyeliner enthusiasts, the floor is yours! Any burning questions about achieving the perfect, long-lasting, precision eyeliner look? No question is too silly! Let’s hear them!
(Example Questions & Answers):
- Q: My eyeliner always transfers to my upper eyelid. What am I doing wrong?
- A: This is a common problem! Make sure you’re using a waterproof formula, setting your eyeliner with powder, and blotting away excess oil from your eyelids. Also, consider trying a different eyeliner primer.
- Q: I can never get my wings to match. Help!
- A: Eyeliner tape is your best friend! Also, practice makes perfect. Start with a light sketch using a light-colored pencil to guide you.
- Q: My gel eyeliner pen dried out. Can I save it?
- A: Sometimes, you can revive a dried-out pen by soaking the tip in warm water for a few minutes. However, if it’s completely dried out, it’s probably time for a new pen.
(Conclusion: Embrace the Power of Precision! 💪)
Congratulations, graduates! You’ve now completed Eyeliner 101! Go forth and create stunning, long-lasting eyeliner looks that will make heads turn and hearts flutter. Remember the principles of precision, practice, and proper maintenance, and you’ll be well on your way to becoming an eyeliner master!
Now, go out there and slay those wings! 🦅
For detailed product specifications and purchases, please go to :https://zenamakeup.com/products/long-wear-precision-gel-eyeliner-pen
Leave a Reply