Lecture Hall: Operation Bright Eyes – Conquering Under-Eye Shadows with PureCover Concealer
(Professor stands at the podium, adjusting glasses and beaming. A slide appears behind them with a picture of a perpetually tired-looking cat meme.)
Good morning, class! Welcome, welcome! Today, we embark on a critical mission, one that affects us all – the quest for the eternally youthful and awake under-eye. We’re not talking about sleeping for 12 hours a night (though that is a tempting thought 😴). No, we’re tackling those pesky under-eye shadows, the silent narrators of late nights, early mornings, and the general chaos of life.
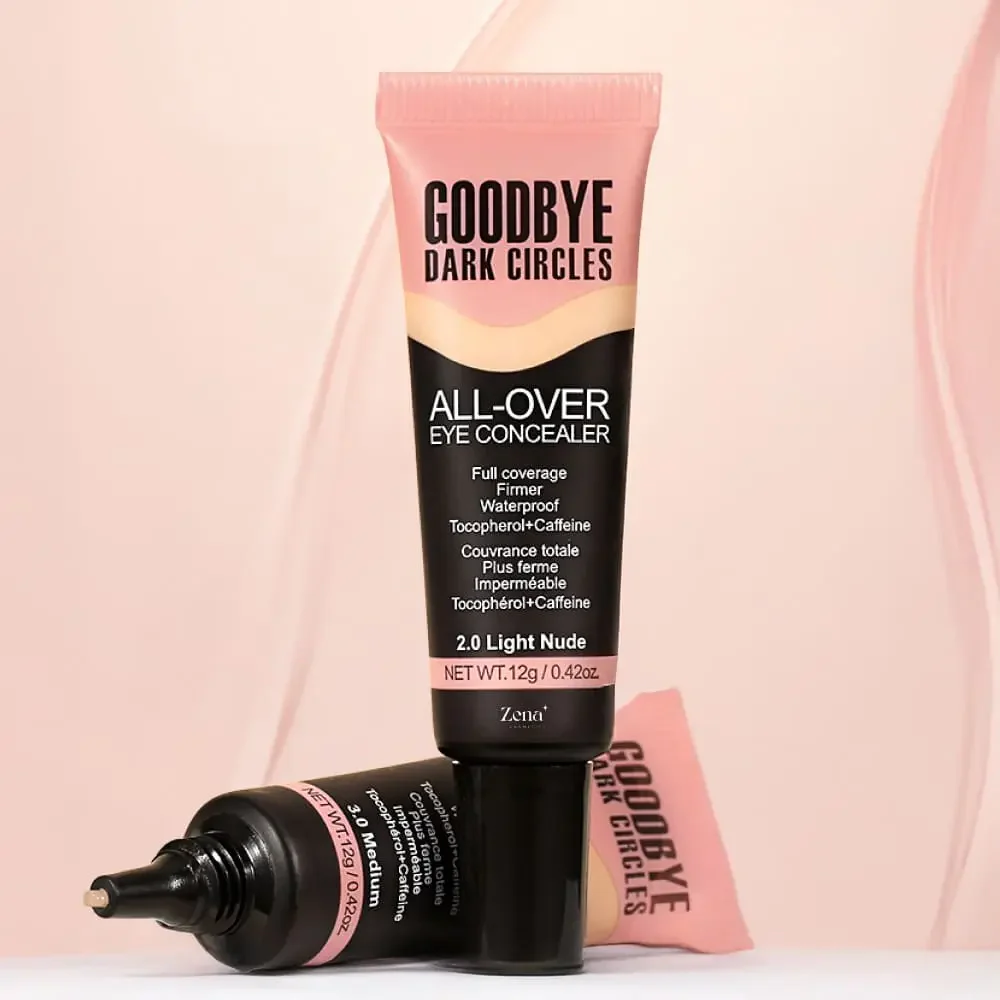
And our weapon of choice? The magnificent, the formidable, the utterly fabulous… PureCover Long-Lasting Concealer! 🦸♀️
(Slide changes to a picture of a tube of PureCover Concealer with a halo effect.)
Forget the filter, my friends. This isn’t about covering up; it’s about illuminating. It’s about transforming those dark circles from looking like you’ve been battling zombies all night (and losing) to looking like you just enjoyed a blissful spa weekend. (Even if the only spa treatment you had was a slightly longer shower than usual. We won’t tell.)
So, grab your metaphorical notebooks (or actual notebooks, if you’re that kind of overachiever 🤓) and let’s dive into the art and science of under-eye brightening with PureCover.
Lecture Outline:
I. Understanding the Enemy: The Anatomy of Under-Eye Shadows
II. Why PureCover? A Concealer Showdown!
III. The Prep Work: Laying the Foundation for Success
IV. Application Techniques: From Dab to Dazzle!
V. Setting the Stage: Ensuring Your Bright Eyes Last All Day
VI. Troubleshooting: Common Concealer Catastrophes (and How to Avoid Them!)
VII. Advanced Tactics: Taking Your Under-Eye Game to the Next Level
VIII. Q&A: Asking the Expert (That’s me!)
I. Understanding the Enemy: The Anatomy of Under-Eye Shadows
(Slide: A diagram of the skin around the eye, highlighting blood vessels and thin skin.)
Before we launch into battle, we must understand our foe. Under-eye shadows aren’t just one thing; they’re a complex cocktail of factors:
- Thin Skin: The skin around the eyes is incredibly delicate, the thinnest on your entire body. This means blood vessels are more visible, leading to that bluish-purple tint we all know and loathe. Think of it as the window to your soul… and also your veins.
- Blood Vessels: Speaking of veins, the capillaries under the eyes can dilate due to various reasons – allergies, lack of sleep, dehydration, even just genetics. The more dilated they are, the darker the under-eye area appears.
- Hyperpigmentation: Some of us are blessed (or cursed, depending on your perspective) with increased melanin production in the under-eye area. This can result in a brownish discoloration, particularly common in people with darker skin tones.
- Hollowing: As we age (gasp!), we lose collagen and fat pads under the eyes, creating a hollow or sunken appearance. This casts a shadow, making the area look darker. Think of it as the Grand Canyon of your face.
- Lifestyle Factors: Sleep deprivation, stress, poor diet, and excessive sun exposure all contribute to under-eye darkness. Basically, everything that makes life fun can also make you look perpetually exhausted. 🤷♀️
Understanding the root cause of your under-eye shadows is key to choosing the right approach and maximizing the effectiveness of your PureCover concealer.
II. Why PureCover? A Concealer Showdown!
(Slide: A comparison chart of different concealer types, highlighting PureCover’s strengths.)
Not all concealers are created equal! Some are thick and cakey, others disappear faster than free pizza at a college party. So, why PureCover? Let’s break it down:
| Feature | PureCover Long-Lasting Concealer | Other Concealers (Generic) | Benefit |
|---|---|---|---|
| Coverage | Medium to Full, Buildable | Varies | Customizable coverage – perfect for subtle brightening or full-on dark circle eradication. |
| Texture | Lightweight, Creamy | Varies | Blends seamlessly without feeling heavy or creasing. Goodbye, cake face! 👋 |
| Long-Lasting | Yes, Up to 12 Hours+ | Often Shorter | Stays put all day without fading, creasing, or needing constant touch-ups. Set it and forget it! |
| Ingredients | Skin-loving, Hydrating | Often Harsh | Won’t dry out the delicate under-eye area or cause irritation. Kind to your skin. ❤️ |
| Shade Range | Extensive, Inclusive | Often Limited | Finding your perfect match is a breeze! No more ghostly under-eyes. 👻 |
| Brightening Effect | Natural, Radiant | Can be Ashy or Artificial | Gives a healthy, luminous glow without looking like you’re wearing a spotlight on your face. ✨ |
| Crease-Resistance | High | Often Low | Formulated to resist settling into fine lines and wrinkles. Keeps you looking fresh all day. 💃 |
Key Takeaways: PureCover offers the perfect blend of coverage, longevity, and skin-loving ingredients, making it the ultimate weapon in your battle against under-eye shadows. It’s the superhero of concealers!
III. The Prep Work: Laying the Foundation for Success
(Slide: An image illustrating skincare steps for under-eye preparation: cleansing, hydrating serum, eye cream.)
Think of prepping your under-eye area as preparing a canvas before painting a masterpiece. Rushing this step is like trying to build a house on sand – it’s just not going to hold up!
- Cleanse: Gently cleanse your face to remove any dirt, oil, or makeup residue. Use a mild cleanser specifically formulated for the face. Avoid harsh soaps that can dry out the delicate under-eye area.
- Hydrate: This is crucial! A well-hydrated under-eye area is less prone to creasing and dryness. Apply a hydrating serum containing ingredients like hyaluronic acid or glycerin. Pat it in gently – no aggressive rubbing!
- Eye Cream: An eye cream is your best friend. Choose one that addresses your specific concerns, whether it’s hydration, dark circles, or fine lines. Apply a small amount with your ring finger (it has the lightest touch) in a gentle tapping motion. Give it a few minutes to absorb before moving on to the next step.
Pro Tip: Store your eye cream in the fridge for an extra de-puffing and cooling effect. It’s like a mini spa treatment every morning! 🧖♀️
IV. Application Techniques: From Dab to Dazzle!
(Slide: Step-by-step illustrations of different concealer application techniques: dotting, triangle of light, reverse triangle.)
Now for the fun part! Applying your PureCover concealer correctly can make all the difference between looking "meh" and looking "magnificent!"
Now for the fun part! Applying your PureCover concealer correctly can make all the difference between looking "meh" and looking "magnificent!"
1. Shade Selection: Choosing the right shade is paramount. Go one to two shades lighter than your skin tone for brightening. Avoid going too light, as it can look ashy or unnatural.
2. Application Tools: You can use your fingers, a makeup sponge, or a concealer brush. Each has its pros and cons:
- Fingers: Provide warmth and help to melt the product into the skin. Best for a natural, sheer finish.
- Makeup Sponge (Damp): Blends flawlessly for a seamless, airbrushed look.
- Concealer Brush: Offers precise application and buildable coverage.
3. Application Techniques:
- Dotting: Apply small dots of concealer under the eye, focusing on the darkest areas. Gently blend with your chosen tool, working from the inner corner outwards. This is great for light to medium coverage.
- Triangle of Light: Draw an inverted triangle with the base along your lower lash line and the point extending towards your cheekbone. Blend thoroughly. This technique creates a lifted and illuminated effect. It’s the most popular technique and works for most! 📐
- Reverse Triangle: Similar to the Triangle of Light, but the triangle is drawn with the point starting at the inner corner of the eye, extending outwards toward your cheekbone. Blend thoroughly. This is great for very dark under-eye circles and hollowing.
- "V" Shape: Apply concealer in a "V" shape, with the point of the "V" at the inner corner of the eye, and the arms of the "V" extending along the lower lash line and up towards the cheekbone. Blend thoroughly. This is good for those who need a little more coverage.
Important Note: Less is more! Start with a small amount of product and build up coverage as needed. Avoid applying too much concealer, as it can crease and look unnatural.
Pro Tip: Use a tapping or stippling motion when blending, rather than dragging. This helps to avoid disturbing the product and provides better coverage.
V. Setting the Stage: Ensuring Your Bright Eyes Last All Day
(Slide: Images of setting powder and a setting spray.)
So, you’ve achieved the perfect under-eye brightening. Now, let’s make sure it stays that way! Setting your concealer is crucial for preventing creasing, fading, and general mayhem.
- Setting Powder: Use a finely milled setting powder to set your concealer. Choose a translucent powder or a powder that matches your skin tone. Apply a small amount with a fluffy brush or a damp beauty sponge, focusing on the areas where concealer tends to crease. "Baking" (applying a thick layer of powder and letting it sit for a few minutes before dusting it off) can be effective for oily skin types.
- Setting Spray: A setting spray helps to lock everything in place and create a seamless finish. Choose a hydrating setting spray for dry skin or a mattifying setting spray for oily skin. Hold the bottle about 8-10 inches away from your face and spritz evenly.
Pro Tip: Don’t over-powder! Too much powder can make the under-eye area look dry and cakey. Use a light hand and focus on the areas that need the most setting.
VI. Troubleshooting: Common Concealer Catastrophes (and How to Avoid Them!)
(Slide: Images illustrating common concealer problems: creasing, cakey appearance, ashy undertone.)
Even with the best techniques, concealer mishaps can happen. Here’s how to troubleshoot some common problems:
- Creasing:
- Cause: Applying too much concealer, not setting properly, dry under-eye area.
- Solution: Use less concealer, set with a finely milled powder, hydrate your under-eye area thoroughly.
- Cakey Appearance:
- Cause: Applying too much concealer, using a thick or heavy formula, dry skin.
- Solution: Use a lightweight concealer like PureCover, exfoliate and moisturize regularly, use a damp beauty sponge for blending.
- Ashy Undertone:
- Cause: Using a concealer that is too light for your skin tone.
- Solution: Choose a concealer that is closer to your skin tone or has a warm undertone to neutralize the darkness.
- Concealer Disappearing:
- Cause: Oily skin, not setting properly, using a concealer that doesn’t have enough staying power.
- Solution: Use a mattifying primer, set with a setting powder, use a long-lasting concealer like PureCover, use a setting spray.
Remember: Practice makes perfect! Don’t be discouraged if you don’t get it right the first time. Experiment with different techniques and products until you find what works best for you.
VII. Advanced Tactics: Taking Your Under-Eye Game to the Next Level
(Slide: Images showcasing advanced concealer techniques like color correcting and highlighting.)
Ready to become a concealer pro? Here are some advanced techniques to elevate your under-eye game:
- Color Correcting: Use a color corrector to neutralize specific undertones before applying concealer. Peach or orange correctors are great for dark circles with a bluish or purplish hue, while yellow correctors can brighten dullness. Apply a thin layer of color corrector only to the areas that need it, then blend well before applying concealer.
- Highlighting: Apply a small amount of a brightening concealer (one shade lighter than your skin tone) to the inner corner of your eye and along the brow bone to create a more lifted and awake look. Blend well.
- Layering: If you need extra coverage, layer your concealer. Apply a thin layer, set with powder, and then apply another thin layer if needed. This will prevent the concealer from creasing or looking cakey.
- "Concealer Contouring": Use a concealer that is one shade darker than your skin tone to contour the area just below your under-eye bags. This will create the illusion of a more sculpted and defined face.
VIII. Q&A: Asking the Expert (That’s me!)
(Professor opens the floor for questions, gesturing enthusiastically.)
Alright, class! Now is your chance to unleash your burning questions. Don’t be shy! No question is too silly (except maybe "Is concealer edible?" The answer is no. Please don’t eat your makeup.)
(The professor spends the next several minutes answering questions from the "students," providing personalized advice and encouragement. A final slide appears: a picture of a smiling face with bright, illuminated under-eyes.)
Thank you for your participation, everyone! Remember, mastering the art of under-eye brightening is a journey, not a destination. With a little practice and the power of PureCover Long-Lasting Concealer, you’ll be rocking that radiant, awake look in no time. Go forth and conquer those dark circles! Class dismissed! 🎉
For detailed product specifications and purchases, please go to :https://zenamakeup.com/products/purecover-long-lasting-concealer
Leave a Reply