Get That Desirable Stain: Sexy Stained Lip Marker Tint for Effortless Application and Unbeatable Staying Power (A Lecture)
Welcome, Glamazons, to Lip Stain 101! 💋
Forget everything you think you know about lipstick. We’re ditching the heavy, the smudgy, the “did-I-just-eat-a-clown” look. Today, we’re diving headfirst into the delectable world of lip stain markers – your secret weapon for a pout that’s effortlessly chic, subtly alluring, and, dare I say, downright sexy.
Prepare to unlock the secrets to achieving that desirable stain, the kind that whispers, "I woke up like this," even if you actually woke up looking like you wrestled a badger. We’ll cover everything from understanding the science behind these magical markers to mastering application techniques, choosing the perfect shade, and keeping your stain looking fierce all day long. So, grab your notepads (or your phones, no judgment!), and let’s get staining!
Lecture Outline:
- What IS a Lip Stain Marker, Anyway? Demystifying the Tinted Truth. 🤔
- The Science of the Stain: Why They Last and Why We Love Them. 🧪💖
- Marker vs. Liquid vs. Balm: Decoding the Lip Stain Landscape. 🗺️
- Choosing Your Weapon: Selecting the Perfect Shade for Your Skin Tone and Style. 🎨
- Application Artistry: Mastering the Technique for a Flawless Finish. 🖌️
- Longevity Lockdown: Tips and Tricks for All-Day Stain Power. 🔒
- Troubleshooting Troubles: Common Lip Stain Issues and How to Solve Them. 🚑
- Beyond the Basics: Creative Ways to Use Your Lip Stain Marker. 💡
- Maintaining the Magic: Caring for Your Lip Stain Marker. 🛠️
- Product Recommendations: My Holy Grail Lip Stain Markers. 🙏
1. What IS a Lip Stain Marker, Anyway? Demystifying the Tinted Truth. 🤔
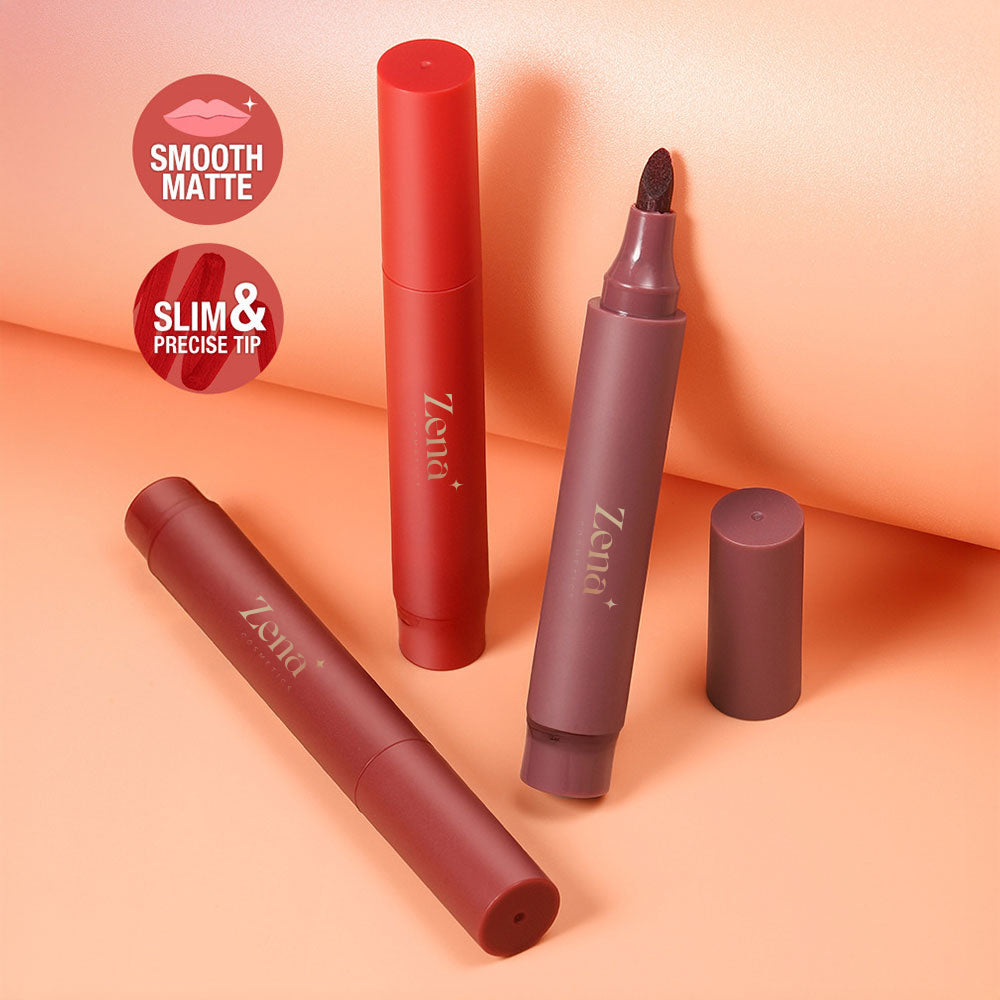
Imagine a magic marker, but instead of scribbling on your desk (please don’t!), it’s designed to paint a sheer, buildable wash of color onto your lips. That, my friends, is the essence of a lip stain marker. Unlike traditional lipsticks that sit on top of the lips, lip stain markers actually dye the surface layer of your skin. Think of it like a subtle tattoo, but temporary and far less painful!
These little wonders typically come in a pen-like applicator, making them incredibly precise and easy to use. The formula is usually water-based or gel-based, allowing for quick absorption and a lightweight feel. And the result? A natural-looking flush of color that lasts for hours, even after eating, drinking, and engaging in passionate conversations (or, you know, just yelling at your cat).
Key Characteristics of a Lip Stain Marker:
- Applicator: Pen-like with a felt tip or brush tip.
- Formula: Water-based or gel-based, lightweight and fast-absorbing.
- Finish: Sheer, buildable, matte or satin.
- Longevity: Long-lasting, transfer-resistant.
- Feel: Comfortable, lightweight, non-sticky.
2. The Science of the Stain: Why They Last and Why We Love Them. 🧪💖
Let’s get a little nerdy for a moment (don’t worry, I promise it won’t be too painful). The secret to a lip stain’s staying power lies in its unique formulation. Unlike lipsticks, which are composed of waxes, oils, and pigments that simply coat the lips, lip stains contain dyes that penetrate the upper layers of the skin.
Think of your lips as a sponge. Lipstick sits on top of the sponge, easily wiped away. Lip stain, however, soaks into the sponge, leaving behind a trace of color even after the excess is removed.
This dyeing process creates a "stain" that is far more resistant to fading and transfer than traditional lip products. The dye molecules essentially bind to the proteins in your skin, creating a long-lasting effect.
Why This Matters (and Why You Should Care):
- Long-lasting color: No more constant reapplication after every sip of coffee or bite of food.
- Transfer-proof: Say goodbye to lipstick stains on your coffee cups, your teeth, and your significant other’s face.
- Natural-looking finish: The sheer, buildable formula allows you to create a subtle, "just-kissed" look that’s both effortless and alluring.
- Lightweight feel: You’ll barely even notice you’re wearing anything on your lips.
3. Marker vs. Liquid vs. Balm: Decoding the Lip Stain Landscape. 🗺️
The world of lip stains is vast and varied, offering different textures, finishes, and application methods. Let’s break down the most common types:
| Type of Lip Stain | Applicator | Texture | Finish | Longevity | Best For |
|---|---|---|---|---|---|
| Marker | Pen-like with felt or brush tip | Water-based or gel-based | Matte or satin | Excellent | Precise application, natural-looking stain |
| Liquid | Doe-foot applicator | Water-based or gel-based | Matte, satin, or glossy | Excellent | Bold color, buildable intensity |
| Balm | Tube or pot | Balm-like with added pigment | Sheer and glossy | Moderate | Hydration and subtle color |
| Gel | Tube or pot | Gel-like | Sheer and glossy | Moderate | Hydration and subtle color |
Lip Stain Marker: As we’ve discussed, the marker offers precise application and a natural-looking stain. It’s perfect for creating a subtle, "no-makeup makeup" look.
Liquid Lip Stain: Liquid lip stains typically come with a doe-foot applicator, allowing for more precise application and bolder color payoff. They’re often more pigmented than markers and can be used to create a more dramatic look.
Lip Stain Balm: These are essentially tinted lip balms that provide a hint of color and hydration. They’re perfect for everyday wear and for those who prefer a more subtle, moisturizing option.
Which one should you choose? It depends on your personal preferences and desired outcome. If you’re looking for a natural-looking stain with precise application, a lip stain marker is an excellent choice. If you want more intense color and a bolder look, opt for a liquid lip stain. And if you prioritize hydration and a subtle wash of color, a lip stain balm is the way to go.
4. Choosing Your Weapon: Selecting the Perfect Shade for Your Skin Tone and Style. 🎨
Finding the right lip stain shade is like finding the perfect pair of jeans – it can take some trial and error, but once you find "the one," you’ll never look back. Here’s a guide to help you navigate the color spectrum:
Understanding Your Undertones:
Understanding Your Undertones:
Before you even think about specific shades, it’s crucial to understand your skin’s undertones. Are you warm, cool, or neutral?
- Warm Undertones: You likely have golden, yellow, or peach undertones. Gold jewelry looks great on you, and you tend to tan easily.
- Cool Undertones: You likely have pink, red, or blue undertones. Silver jewelry looks great on you, and you tend to burn easily.
- Neutral Undertones: You have a mix of warm and cool undertones. Both gold and silver jewelry look good on you.
Shade Recommendations Based on Skin Tone and Undertones:
| Skin Tone | Undertone | Recommended Shades | Avoid |
|---|---|---|---|
| Fair | Warm | Peachy nudes, light corals, soft pinks | Deep berries, dark reds |
| Fair | Cool | Light pinks, berry tones, rosy nudes | Orange-based shades |
| Light | Warm | Coral, peach, rose gold, warm pinks | Very dark shades |
| Light | Cool | Berry, mauve, cool pinks, rosy nudes | Yellow-based shades |
| Medium | Warm | Coral, orange-red, bronze, warm nudes | Very pale shades |
| Medium | Cool | Berry, mauve, plum, cool reds | Bright orange shades |
| Olive | Warm | Bronze, copper, terracotta, orange-reds | Pale pinks |
| Olive | Cool | Plum, berry, wine, cool reds | Yellow-based shades |
| Dark | Warm | Deep reds, berry, chocolate brown, warm nudes | Pale pinks |
| Dark | Cool | Deep berry, wine, plum, cool reds | Orange-based shades |
Beyond the Basics: Considering Your Style and Occasion:
- Everyday Wear: Opt for natural-looking nudes, light pinks, or peachy shades.
- Special Occasions: Experiment with bolder colors like reds, berries, or plums.
- Professional Setting: Choose sophisticated shades like rose, mauve, or muted berries.
- Night Out: Go for a statement lip with a vibrant red, deep burgundy, or bold fuchsia.
Pro Tip: Don’t be afraid to experiment! The best way to find your perfect shade is to try different colors and see what you like. Swatch the colors on the back of your hand or inner arm to get a better sense of how they’ll look on your skin.
5. Application Artistry: Mastering the Technique for a Flawless Finish. 🖌️
Applying lip stain marker is relatively straightforward, but mastering the technique can elevate your lip game to the next level.
Step-by-Step Guide:
- Prep Your Lips: Exfoliate your lips to remove any dry or flaky skin. This will ensure a smoother, more even application. You can use a lip scrub or a damp toothbrush.
- Hydrate: Apply a thin layer of lip balm to moisturize your lips. Allow the balm to absorb for a few minutes before applying the stain.
- Outline (Optional): If you want a more defined lip, use a lip liner that matches your natural lip color or the shade of your lip stain.
- Apply the Stain: Starting in the center of your lips, use the lip stain marker to draw short, even strokes. Work your way outwards, following the natural shape of your lips.
- Build the Color: For a more intense color, apply a second or third layer of stain. Allow each layer to dry slightly before applying the next.
- Blot (Optional): If you prefer a more matte finish, blot your lips with a tissue. This will remove any excess product and create a more natural-looking stain.
Tips and Tricks for a Flawless Finish:
- Start Light: It’s easier to add more color than to remove it. Start with a light layer of stain and build up the intensity as desired.
- Even Application: Ensure that the stain is applied evenly across your lips. Avoid leaving any streaks or patches.
- Avoid Overlapping: Be careful not to overlap the stain onto the skin around your lips. This can create a messy, uneven look.
- Clean Up: If you accidentally get stain on your skin, use a cotton swab dipped in makeup remover to clean it up.
- Embrace Imperfection: Remember, the goal is to create a natural-looking stain, not a perfectly painted lip. Don’t stress too much about being precise.
6. Longevity Lockdown: Tips and Tricks for All-Day Stain Power. 🔒
You’ve applied your lip stain to perfection, now it’s time to ensure it lasts all day long. Here are some tips and tricks for maximizing the staying power of your lip stain marker:
- Exfoliate Regularly: Exfoliating your lips helps to remove dead skin cells, which can prevent the stain from adhering properly.
- Hydrate, Hydrate, Hydrate: Dry lips tend to absorb color unevenly, leading to patchy staining. Keep your lips hydrated with lip balm throughout the day.
- Prime Your Lips: Use a lip primer to create a smooth, even base for your lip stain. This will help the stain to adhere better and last longer.
- Layer Your Products: For extra staying power, layer your lip stain with a similar-colored lip liner or lipstick.
- Avoid Oily Foods: Oily foods can break down the stain and cause it to fade more quickly.
- Reapply as Needed: Even the most long-lasting lip stains will eventually fade. Keep your lip stain marker with you and reapply as needed throughout the day.
7. Troubleshooting Troubles: Common Lip Stain Issues and How to Solve Them. 🚑
Even with the best application techniques and longevity strategies, you may encounter some common lip stain issues. Here’s how to troubleshoot them:
- Patchy Staining: This can be caused by dry lips, uneven application, or using a lip stain that’s too dark for your skin tone. Exfoliate your lips, hydrate them with lip balm, and apply the stain evenly.
- Uneven Color: This can be caused by applying too much stain in one area or not blending it properly. Start with a light layer of stain and build up the intensity as desired.
- Fading: This is a natural part of the staining process. Reapply the stain as needed throughout the day to maintain the desired color.
- Bleeding: This can occur if the stain is applied too close to the lip line. Use a lip liner to create a barrier and prevent the stain from bleeding.
- Dryness: Some lip stains can be drying. Use a hydrating lip balm throughout the day to keep your lips moisturized.
8. Beyond the Basics: Creative Ways to Use Your Lip Stain Marker. 💡
Lip stain markers are surprisingly versatile and can be used for more than just staining your lips. Here are some creative ways to use them:
- Cheek Tint: Dab a small amount of lip stain marker onto your cheeks and blend it out for a natural-looking flush of color.
- Eyelid Tint: Apply a light layer of lip stain marker to your eyelids for a subtle wash of color.
- Brow Tint: Use a lip stain marker that matches your eyebrow color to fill in sparse brows.
- Freckle Maker: Create faux freckles by dabbing small dots of lip stain marker onto your nose and cheeks.
9. Maintaining the Magic: Caring for Your Lip Stain Marker. 🛠️
To ensure that your lip stain marker lasts as long as possible, it’s important to care for it properly.
- Store It Properly: Store your lip stain marker in a cool, dry place, away from direct sunlight.
- Keep It Clean: Wipe the tip of the marker with a clean tissue after each use to prevent buildup.
- Close the Cap Tightly: Make sure to close the cap tightly after each use to prevent the marker from drying out.
- Don’t Share: Sharing your lip stain marker can spread bacteria.
10. Product Recommendations: My Holy Grail Lip Stain Markers. 🙏
And finally, here are a few of my all-time favorite lip stain markers that I highly recommend:
(Please note, specific product recommendations will depend on current market availability and personal preferences. Research and include at least 3-5 different brands, mentioning price point, pros, cons, shade range, and why you personally recommend them. Examples below.)
- Benefit Cosmetics Benetint Rose-Tinted Lip & Cheek Stain: (High-End, ~$20) A classic for a reason! This rose-tinted stain is incredibly versatile and provides a beautiful, natural-looking flush of color to both lips and cheeks. Pros: Long-lasting, buildable, iconic shade. Cons: Can be drying, pricier than drugstore options. I love this for achieving that "just kissed" look.
- Maybelline Color Sensational Lip Tint: (Drugstore, ~$8) An affordable and accessible option with a decent range of shades. The formula is lightweight and comfortable to wear. Pros: Budget-friendly, good color payoff, easy to find. Cons: Not as long-lasting as higher-end options, limited shade range. Perfect for experimenting with different colors without breaking the bank.
- Revlon ColorStay Matte Lite Crayon: (Drugstore, ~$10) While technically a crayon, the formula feels very similar to a stain and provides long-lasting, comfortable color. Pros: Easy application, comfortable matte finish, wide range of shades. Cons: More pigment than some traditional stains, requires more precise application. I recommend this for those who want a bolder look with stain-like longevity.
Conclusion:
Congratulations, graduates! You’ve officially completed Lip Stain 101. Now you’re armed with the knowledge and skills to achieve that desirable stain – a sexy, effortless pout that will turn heads and make you feel confident and beautiful. So go forth, experiment, and find your perfect lip stain marker. Remember, the best makeup is the kind that makes you feel good about yourself. Now go out there and rock that stain! 💋✨
For detailed product specifications and purchases, please go to :https://zenamakeup.com/products/sexy-stained-lip-marker-tint
Leave a Reply