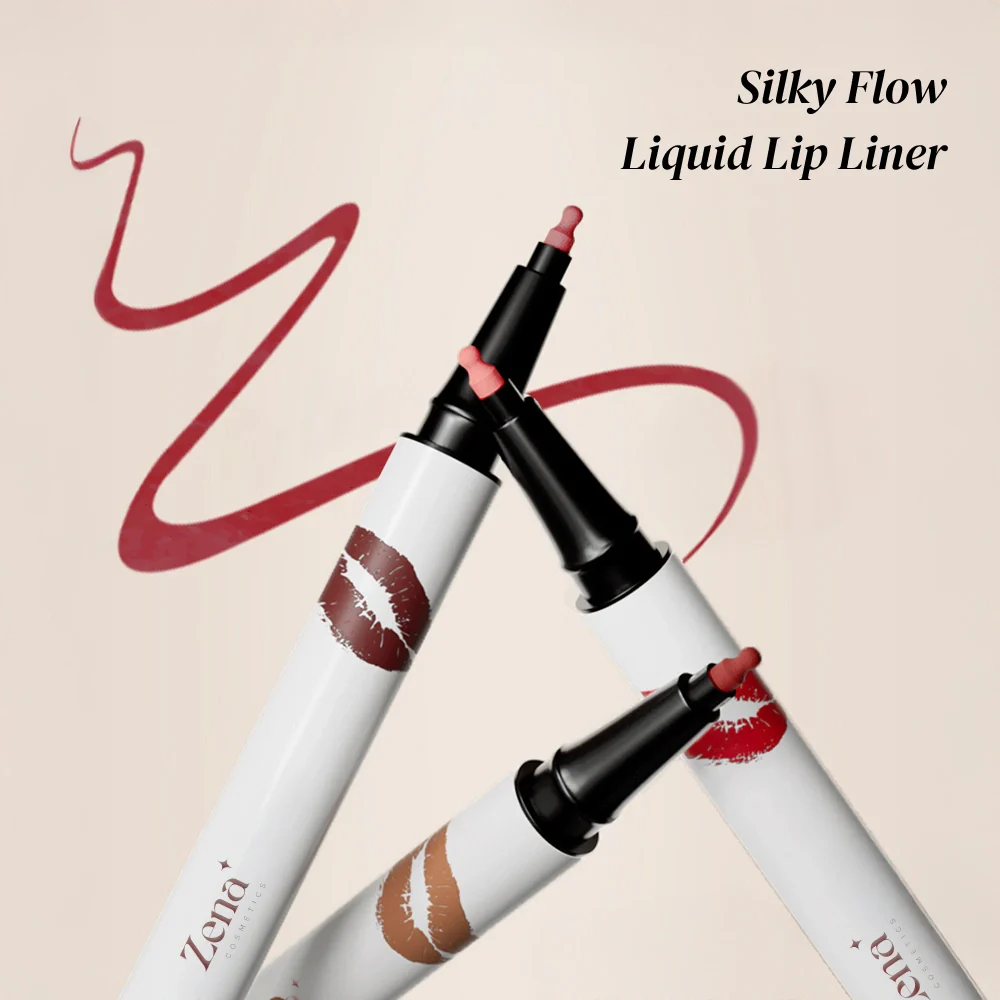
Define Your Smile with Silky Flow: Liquid Lip Liner for Clean Lines and Long-Lasting Lip Color
(A Lecture in Luscious Lips and Liner Logic)
Welcome, beauty enthusiasts, makeup mavens, and lip-liner novices! 👋 Gather ’round, because today we’re diving deep into the often-overlooked, yet undeniably powerful world of liquid lip liner. Think of it as the architectural blueprint for your perfect pout, the secret weapon against lipstick bleed, and the ultimate tool for achieving a long-lasting, envy-inducing lip look.
Forget the dry, crumbly pencils of yesteryear! We’re talking about the silky flow of liquid liner, the precision of a fine-tipped brush, and the transformative power it holds to redefine your smile. 💋
This isn’t just about drawing a line around your lips; it’s about sculpting, defining, and enhancing your natural beauty. So, buckle up, grab your favorite beverage (preferably something that won’t stain your teeth!), and let’s embark on this journey to lip-liner mastery!
I. The Liquid Lip Liner Renaissance: Why Now?
For years, lip liner has been relegated to the back of makeup drawers, perceived as a relic from the 90s (remember those overly-lined, dark-outlined lips? 😬 We’ll try to forget). However, like all good fashion trends, lip liner is back, and it’s better than ever. Why the resurgence?
- Longevity, Darling, Longevity! Liquid lip liners are formulated to last. They adhere to the lips like glue (the good kind, not the Elmer’s kind!), creating a base for your lipstick that extends its wear time significantly. No more midday lipstick fade! 🙌
- Precision is Key: The fine-tipped applicator of a liquid lip liner allows for unparalleled precision. You can create crisp, clean lines that define your lip shape with ease. Say goodbye to wobbly lines and uneven edges! 📏
- Prevents Lipstick Bleeding: This is perhaps the biggest benefit. Liquid lip liner acts as a barrier, preventing your lipstick from feathering or bleeding into the fine lines around your mouth. Think of it as a lip-shaped dam, holding back the tide of rogue lipstick. 🌊
- Versatility: Liquid lip liner isn’t just for lining! You can use it to fill in your entire lips for a long-lasting, matte color, or even create ombre effects. The possibilities are endless! 🎨
II. Understanding the Anatomy of a Liquid Lip Liner
Before we jump into application techniques, let’s dissect the anatomy of a liquid lip liner. Knowing the components will help you choose the right product and use it effectively.
| Component | Description | Importance |
|---|---|---|
| The Formula | This is the heart and soul of the product. Look for formulas that are long-wearing, smudge-proof, and transfer-resistant. Ingredients like polymers and film formers contribute to the longevity. Avoid overly drying formulas that can crack or feel uncomfortable. | Crucial for the overall performance and wearability of the liner. A good formula is comfortable, pigmented, and stays put. |
| The Applicator | Typically a fine-tipped brush or felt-tip applicator. The applicator determines the precision and ease of application. | A fine, flexible applicator allows for precise control and clean lines. Consider the length and stiffness of the bristles or felt tip. Some applicators are better suited for creating thin, subtle lines, while others are designed for bolder, more dramatic looks. |
| The Packaging | The container that holds the formula and applicator. Usually a small tube or pen-like dispenser. | The packaging should be airtight to prevent the formula from drying out. Look for packaging that dispenses the product evenly and avoids excessive leakage. Some packaging includes a built-in sharpener for the applicator. |
| The Pigment | The color of the liner. Available in a wide range of shades, from nudes and neutrals to bold reds and berries. | Choose a shade that complements your skin tone and lipstick colors. Consider the opacity of the pigment. Some liners are highly pigmented and provide full coverage in one swipe, while others are more sheer and require multiple layers. |
| The Preservatives | Added to prevent the growth of bacteria and mold. | Essential for the safety and shelf life of the product. Look for preservatives that are gentle and non-irritating, especially if you have sensitive skin. Common preservatives include parabens, phenoxyethanol, and potassium sorbate. (While parabens are often demonized, their concentration in cosmetics is generally considered safe by scientific consensus.) |
III. Choosing Your Weapon: Selecting the Right Liquid Lip Liner
Navigating the world of liquid lip liners can be overwhelming. Here’s a guide to help you choose the perfect one for your needs:
- Skin Tone & Lipstick Compatibility: Consider your skin tone and the lipsticks you frequently wear. Nude or neutral liners work well with a variety of shades, while bolder colors can be used to enhance specific lipstick colors. A general rule is to choose a liner that is slightly darker than your natural lip color, or matches your lipstick shade.
- Formula Matters:
- Long-Wearing: Ideal for all-day wear. Look for formulas that are smudge-proof, transfer-resistant, and waterproof.
- Matte: Provides a velvety finish. Can be slightly drying, so consider using a hydrating lip balm beforehand.
- Glossy/Satin: Offers a more subtle, natural look. Less likely to be as long-wearing as matte formulas.
- Hydrating: Contains moisturizing ingredients like hyaluronic acid or vitamin E. Great for dry or chapped lips.
- Applicator Preferences:
- Fine-Tipped Brush: Offers the most precision. Ideal for creating thin, defined lines. Requires a steady hand.
- Felt-Tip Applicator: Easier to control than a brush. Good for beginners. Can create thicker lines.
- Budget-Friendly vs. High-End: Don’t be afraid to experiment with both drugstore and high-end options. Many affordable liquid lip liners offer excellent performance. Look for reviews and swatches before making a purchase.
IV. The Art of Application: Mastering the Liquid Lip Liner Technique
Now for the fun part! Let’s get down to the nitty-gritty of applying liquid lip liner like a pro. Remember, practice makes perfect, so don’t get discouraged if you don’t nail it on your first try.
Step 1: Prep Your Canvas (aka Your Lips!)
Step 1: Prep Your Canvas (aka Your Lips!)
- Exfoliate: Gently exfoliate your lips to remove any dead skin. This will create a smooth surface for the liner and lipstick to adhere to. A simple sugar scrub works wonders! 🍬
- Hydrate: Apply a thin layer of lip balm to moisturize your lips. Allow the balm to absorb completely before applying the liner. 💧
- Prime (Optional): A lip primer can help to create a smooth, even base and extend the wear time of your lipstick.
Step 2: The Outline – Sculpting Your Shape
- Start with the Cupid’s Bow: This is the indentation in the center of your upper lip. Use the tip of the applicator to create a small "X" shape at the cupid’s bow. This will define the shape and create symmetry. 🎯
- Connect the Dots: Starting from the corners of your mouth, use short, light strokes to connect the "X" at the cupid’s bow. Follow your natural lip line as closely as possible.
- Lower Lip Line: Begin at the center of your lower lip and work your way outwards towards the corners. Use a single, smooth stroke if possible.
- Correct as You Go: Don’t be afraid to make mistakes! Use a cotton swab dipped in makeup remover to clean up any imperfections.
Step 3: Filling In (Optional – But Highly Recommended!)
- Extend the Wear Time: Fill in your entire lips with the liquid lip liner. This will create a base for your lipstick and prevent it from fading or bleeding.
- Layering: Apply multiple thin layers of liner instead of one thick layer. This will prevent the liner from cracking or feeling heavy.
Step 4: The Lipstick Finale!
- Apply Your Lipstick: Once the lip liner has dried completely, apply your favorite lipstick.
- Blot (Optional): Blot your lips with a tissue to remove any excess lipstick. This will help to prevent transfer and extend the wear time.
- Admire Your Masterpiece! Take a moment to admire your perfectly defined pout! 🤩
V. Pro Tips and Tricks for Liquid Lip Liner Success
- Steady Hand Required (or a Good Mirror!): A shaky hand can lead to uneven lines. Rest your elbow on a stable surface for better control. Use a magnifying mirror for extra precision.
- Less is More: Start with a small amount of product on the applicator. You can always add more if needed.
- Don’t Stretch Your Lips: Avoid stretching your lips while applying the liner. This can distort the shape and lead to uneven lines.
- Sharpen Your Skills: Practice on a piece of paper to get a feel for the applicator and the formula.
- Overlining (Use with Caution!): Overlining your lips can make them appear fuller, but it’s easy to go overboard. Start with a subtle overline and gradually build up the intensity. Focus on the center of the lips and avoid overlining the corners. Be aware of your natural lip shape and don’t stray too far from it.
- Ombre Lips: Create an ombre effect by using a darker lip liner and a lighter lipstick. Apply the liner to the outer edges of your lips and blend it inwards towards the center. Then, apply the lipstick to the center of your lips and blend it outwards.
- Clean Your Applicator Regularly: This will prevent the buildup of bacteria and ensure smooth application. Use a makeup brush cleaner or a gentle soap and water.
VI. Troubleshooting Common Liquid Lip Liner Problems
- Cracking or Flaking: This is usually caused by a dry formula or dry lips. Exfoliate and hydrate your lips before applying the liner. Choose a hydrating formula or apply a thin layer of lip balm underneath.
- Feathering or Bleeding: This can happen if the liner is too creamy or if you have fine lines around your mouth. Choose a long-wearing, smudge-proof formula. Use a lip primer to create a barrier.
- Uneven Lines: This is usually caused by a shaky hand or an unsteady applicator. Rest your elbow on a stable surface and use a magnifying mirror. Practice on a piece of paper to improve your technique.
- Drying Out: Make sure the packaging is airtight. Store the liner in a cool, dry place. If the formula starts to dry out, add a drop or two of lip gloss or oil-based serum (ensure it’s compatible with the formula).
VII. The Liquid Lip Liner Hall of Fame (Recommendations)
While personal preferences vary wildly, here are a few liquid lip liners that consistently receive rave reviews:
| Product Name | Formula | Applicator | Pros | Cons |
|---|---|---|---|---|
| [Insert High-End Brand Here] Liquid Lip Liner | Long-Wearing, Matte | Fine-Tipped Brush | Excellent pigmentation, long-lasting, precise application, wide range of shades | Can be drying, expensive |
| [Insert Drugstore Brand Here] Lip Contour Liner | Creamy, Satin | Felt-Tip Applicator | Affordable, easy to apply, comfortable to wear, good color selection | Not as long-lasting as matte formulas, can transfer |
| [Insert Indie Brand Here] Precision Lip Liner | Hydrating, Satin | Fine-Tipped Brush | Vegan, cruelty-free, hydrating formula, precise application, unique shades | Limited shade range, may require touch-ups |
(Disclaimer: These are just examples. Insert actual product names and brands based on your research and preferences.)
VIII. Conclusion: Embrace the Power of the Line!
Congratulations! You’ve officially completed your liquid lip liner crash course. Now you’re armed with the knowledge and techniques to create a perfectly defined, long-lasting lip look.
Remember, makeup is all about experimentation and self-expression. Don’t be afraid to try new things, play with different colors, and find what works best for you. And most importantly, have fun! 🎉
So, go forth and define your smile with silky flow! Let your lips do the talking! And remember, a perfectly lined lip is a sign of a woman who knows what she wants (and isn’t afraid to go after it!). 😉 Now go conquer the world, one perfectly lined lip at a time!
For detailed product specifications and purchases, please go to :https://zenamakeup.com/products/silky-flow-liquid-lip-liner
Leave a Reply