The Art & Science of the Silky Swipe: Deconstructing the Applicator Tip of Liquid Lip Liner
A Lecture on Precision, Pigment, and the Pursuit of the Perfect Pout.
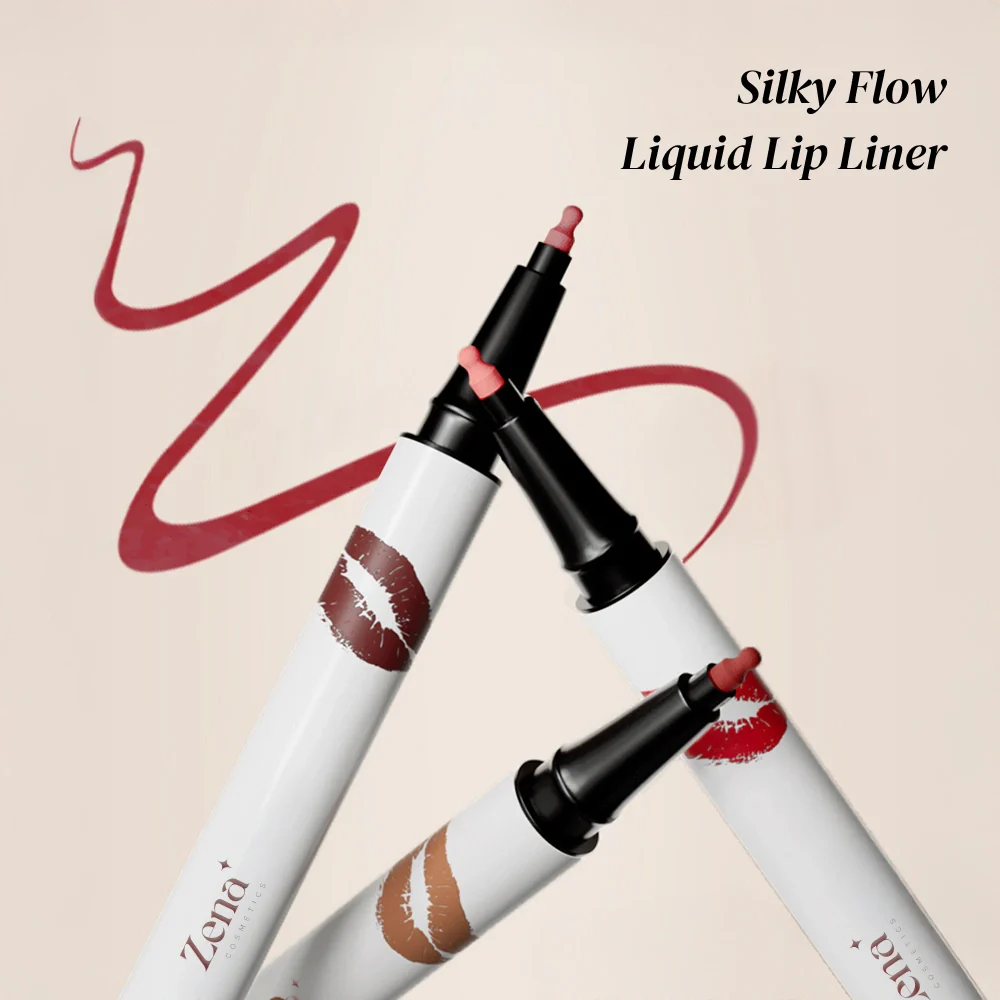
(Cue dramatic music and a spotlight on a giant, magnified image of a liquid lip liner applicator tip.)
Greetings, beauty buffs, makeup mavens, and lip liner aficionados! Welcome, welcome, welcome! I am your guide, your guru, your… well, let’s just say I’m obsessed with liquid lip liner. And today, we’re going to delve into the surprisingly fascinating world of the applicator tip. Forget the pigment, forget the formula for a moment. We’re here to dissect the unsung hero that’s responsible for that glorious, precise, and hopefully non-clown-like lip line: the applicator tip.
(Professor adjusts oversized glasses perched precariously on nose.)
Why? Because let’s face it, a fabulous formula can be utterly sabotaged by a sub-par applicator. It’s like having a Ferrari with square wheels. You might have the power, but you’re not going anywhere smoothly. So, grab your notebooks, sharpen your pencils (or, you know, open a new tab on your iPad), and prepare to be enlightened!
(Professor clicks to a slide titled "Anatomy of an Applicator Tip")
I. The Grand Tour: Deconstructing the Applicator Tip
Before we can truly appreciate the magic, we need to understand the anatomy. Think of it like this: we’re about to perform cosmetic surgery… on a brush.
(Professor winks. Audience groans playfully.)
Let’s break down the typical components:
| Component | Description | Function | Visual Representation (Emoji Style) |
|---|---|---|---|
| Handle/Wand | The part you hold, typically made of plastic, metal, or wood. | Provides grip and maneuverability. | 🪵/🔩/塑料 |
| Connector/Ferrule | The part that connects the handle to the brush/sponge tip. Often metal. | Secures the applicator tip to the wand, ensuring it doesn’t detach mid-lip-lining crisis. | 💍 |
| Applicator Tip | The business end! The actual surface that applies the product to your lips. | Delivers the formula with precision and control, defining the lip line and filling in color. | 🖌️/🧽 |
(Professor points to each part on the slide with a laser pointer shaped like a lipstick.)
Now, within the applicator tip itself, there’s even more to consider. The material, the shape, the size – all play a critical role in the final outcome. Let’s explore the most common types:
A. Brush Applicators:
- Construction: These typically consist of synthetic bristles (nylon or similar) arranged in a conical or tapered shape.
- Pros: Offer excellent control for precise lining, especially fine lines. The bristles can flex and contour to the lip shape, allowing for a more natural-looking application.
- Cons: Can be prone to fraying or splaying over time, reducing precision. Require regular cleaning to prevent product buildup and bacterial growth. Can sometimes feel scratchy if the bristles are not soft enough.
- Best For: Achieving sharp, defined lines, creating intricate lip designs, and working with highly pigmented formulas.
- Icon: 🖌️
B. Sponge Applicators:
- Construction: Usually made of a soft, porous material (foam, felt, or microfiber) shaped into a pointed or paddle-like form.
- Pros: Provide a smoother, more even application of product. The sponge material can hold a larger amount of product, allowing for quicker and easier filling in of the lips. Often feel softer and more comfortable on the lips than brush applicators.
- Cons: Can sometimes be less precise than brush applicators, especially for creating fine lines. May absorb too much product, leading to wastage. Can be difficult to clean thoroughly.
- Best For: Filling in the lips quickly and easily, creating a diffused or blurred lip look, and working with sheer or glossy formulas.
- Icon: 🧽
(Professor pauses for a dramatic sip of water from a bedazzled water bottle.)
“But Professor!” you cry, “What about the shape?!” Ah, yes, the shape! It’s just as crucial as the material. We have:
- Tapered/Pointed: Ideal for creating precise lines and defining the Cupid’s bow.
- Paddle-Shaped: Great for filling in the lips quickly and evenly.
- Angled: Offers versatility for both lining and filling.
- Micro-Brush: Extremely fine brushes for ultra-precise application, often used for detailed work.
(Professor displays a chart comparing different applicator shapes and their recommended uses.)
II. The "Silky Flow" Factor: How the Applicator Influences Texture and Application
Now, let’s talk about the "silky flow." We all crave that effortless glide, that seamless application that makes us feel like professional makeup artists. But what contributes to this elusive quality?
(Professor paces the stage, looking pensive.)
The applicator tip plays a pivotal role in determining the texture and application of the liquid lip liner. It’s not just about the formula; it’s about how the formula is delivered to the lips.
A. Brush Applicators and Texture:
- Bristle Density: Denser bristles tend to provide a smoother, more even application, reducing the appearance of streaks or patchiness. Sparse bristles can result in a more textured, uneven finish.
- Bristle Softness: Softer bristles feel more comfortable on the lips and prevent irritation. Stiffer bristles can feel scratchy and uncomfortable, especially on sensitive lips.
- Bristle Length: Longer bristles offer more flexibility and control, allowing for a more natural-looking application. Shorter bristles provide greater precision for creating sharp, defined lines.
- Impact on "Silky Flow": A well-constructed brush applicator with soft, dense bristles will deliver a smooth, even layer of product, creating a "silky flow" effect. The flexibility of the bristles allows the user to control the pressure and application, resulting in a more comfortable and precise experience.
B. Sponge Applicators and Texture:
- Pore Size: Smaller pores tend to provide a smoother, more even application. Larger pores can result in a more textured, uneven finish.
- Density: Denser sponges hold more product and provide a more saturated application. Less dense sponges can result in a sheerer, more diffused finish.
- Softness: Softer sponges feel more comfortable on the lips and prevent irritation. Stiffer sponges can feel rough and abrasive, especially on dry or chapped lips.
- Impact on "Silky Flow": A high-quality sponge applicator with small pores and a soft, dense texture will deliver a smooth, even layer of product, creating a "silky flow" effect. The sponge material conforms to the shape of the lips, allowing for a comfortable and effortless application.
(Professor uses a slow-motion video to demonstrate the difference between a good and a bad applicator, highlighting the "silky flow".)
Think of it like this: you’re painting a masterpiece (your face!). The applicator is your brush, and the formula is your paint. A high-quality brush (or sponge) allows you to blend, layer, and create dimension with ease. A poor-quality brush will leave streaks, clumps, and frustration.
(Professor sighs dramatically, remembering past lip liner disasters.)
III. Precision Power: How the Applicator Dictates Definition
Ah, precision! The holy grail of lip liner application. We all strive for that perfectly defined pout, that sharp Cupid’s bow that could cut glass. But how does the applicator tip contribute to this quest for lip perfection?
(Professor pulls out a magnifying glass and examines a series of lip liner swatches.)
A. Brush Applicators and Precision:
- Taper and Point: A finely tapered or pointed brush applicator allows for precise placement of the product along the lip line. The sharp tip enables the user to create fine lines and define the Cupid’s bow with accuracy.
- Bristle Control: The flexibility and control offered by brush applicators allow for precise manipulation of the product. The user can adjust the pressure and angle of the brush to create the desired level of definition.
- Line Weight: Brush applicators can be used to create both thin and thick lines, depending on the pressure and angle applied. This versatility allows for a range of lip looks, from natural definition to bold statement lips.
- Precision Example: Imagine trying to draw a detailed portrait with a blunt crayon. Impossible, right? The same principle applies to lip liner. A sharp, precise brush allows you to create intricate details and achieve a flawless finish.
B. Sponge Applicators and Precision:
- Shape and Angle: A pointed or angled sponge applicator can provide some level of precision, but generally not as much as a brush applicator. The shape of the sponge allows for targeted application, but the lack of flexibility can make it difficult to create fine lines.
- Product Absorption: Sponge applicators tend to absorb more product than brush applicators, which can make it challenging to create precise lines. The excess product can bleed or smudge, resulting in a less defined lip line.
- Best Use for Precision: Sponge applicators are better suited for creating a diffused or blurred lip look, rather than a sharp, defined line. They can be used to soften the edges of the lip line and create a more natural, effortless appearance.
- Precision Example: Think of using a sponge to paint a watercolor wash. It’s great for creating soft, blended effects, but not ideal for sharp, defined lines.
(Professor demonstrates different lip lining techniques using both brush and sponge applicators.)
The key takeaway here is that the applicator tip is not just a tool; it’s an extension of your hand, your artistry, your lip-defining destiny!
(Professor strikes a dramatic pose with a perfectly lined lip.)
IV. Material Matters: Exploring Applicator Tip Materials and Their Impact
We’ve talked about shape, we’ve talked about texture, we’ve talked about precision. Now, let’s dive into the nitty-gritty: the materials themselves. What are these applicators made of, and why does it matter?
(Professor puts on a lab coat and goggles.)
A. Brush Applicator Materials:
- Synthetic Bristles (Nylon, Taklon): The most common material for brush applicators. Synthetic bristles are durable, hygienic, and cruelty-free. They can be engineered to mimic the feel and performance of natural hair bristles.
- Pros: Durable, easy to clean, hypoallergenic, vegan.
- Cons: Can sometimes be less flexible than natural hair bristles.
- Natural Hair Bristles (Sable, Squirrel): Less common in liquid lip liner applicators due to ethical concerns and the availability of high-quality synthetic alternatives. Natural hair bristles are known for their softness and flexibility.
- Pros: Soft, flexible, provide excellent control.
- Cons: Expensive, not cruelty-free, require more careful cleaning.
B. Sponge Applicator Materials:
- Foam: A porous material that provides a soft, cushiony application.
- Pros: Affordable, readily available, provides good coverage.
- Cons: Can be difficult to clean thoroughly, may absorb too much product.
- Felt: A denser material that provides a more precise application.
- Pros: Provides good control, durable, less likely to absorb too much product.
- Cons: Can feel less soft and comfortable on the lips than foam.
- Microfiber: A super-soft material that provides a smooth, even application.
- Pros: Extremely soft and comfortable, provides excellent coverage, easy to clean.
- Cons: Can be more expensive than foam or felt.
(Professor presents a table comparing the properties of different applicator materials.)
| Material | Softness | Precision | Product Absorption | Durability | Cleaning Difficulty |
|---|---|---|---|---|---|
| Synthetic Brush | Medium | High | Low | High | Easy |
| Foam Sponge | High | Low | High | Medium | Difficult |
| Felt Sponge | Medium | Medium | Medium | High | Medium |
| Microfiber Sponge | High | Medium | Medium | Medium | Easy |
(Professor emphasizes the importance of choosing an applicator material that is both effective and comfortable.)
The material of the applicator tip directly impacts the "silky flow" and precision of the liquid lip liner. A high-quality material will deliver a smooth, even layer of product and allow for precise control. A poor-quality material can result in a streaky, uneven application and make it difficult to achieve the desired lip look.
(Professor removes the lab coat and goggles, returning to their flamboyant persona.)
V. The Care & Keeping of Your Applicator Tip: Ensuring Longevity and Hygiene
Okay, class, listen up! We’ve learned about the anatomy, the materials, the magic. But none of that matters if you treat your applicator tip like a forgotten sock at the bottom of your makeup bag.
(Professor shudders dramatically.)
Proper care and cleaning are essential for maintaining the performance and hygiene of your applicator tip. Think of it as preventative medicine for your pout!
(Professor displays a slide titled "Applicator Tip Hygiene: A Step-by-Step Guide.")
A. Cleaning Brush Applicators:
- Wipe Off Excess Product: After each use, gently wipe off any excess product from the bristles using a clean tissue or paper towel.
- Wash Regularly: At least once a week (or more often if you use your liquid lip liner frequently), wash the applicator with a mild soap and warm water.
- Rinse Thoroughly: Rinse the bristles thoroughly to remove all traces of soap.
- Reshape and Dry: Gently reshape the bristles and allow the applicator to air dry completely before storing it.
- Avoid Harsh Chemicals: Do not use harsh chemicals or alcohol-based cleaners, as these can damage the bristles.
B. Cleaning Sponge Applicators:
- Wipe Off Excess Product: After each use, gently wipe off any excess product from the sponge using a clean tissue or paper towel.
- Soak in Warm Water: Soak the applicator in warm water with a mild soap for several minutes.
- Gently Squeeze: Gently squeeze the sponge to release any trapped product.
- Rinse Thoroughly: Rinse the sponge thoroughly until the water runs clear.
- Air Dry Completely: Allow the sponge to air dry completely before storing it. Squeezing the sponge in a towel can help speed up the process.
- Consider Replacing: Sponge applicators can be difficult to clean thoroughly, so consider replacing them regularly to prevent bacterial growth.
(Professor provides a live demonstration of how to clean both brush and sponge applicators.)
Remember, a clean applicator is a happy applicator (and a happy mouth!). Neglecting to clean your applicator can lead to product buildup, bacterial growth, and potential lip infections. Ewww!
(Professor makes a disgusted face.)
VI. Conclusion: The Applicator Tip – A Tiny Detail with a Mighty Impact
And there you have it, my friends! We’ve journeyed through the fascinating world of the liquid lip liner applicator tip. We’ve dissected its anatomy, explored its materials, and uncovered its secrets to a "silky flow" and precision application.
(Professor beams proudly.)
The applicator tip is often overlooked, but it’s a crucial component of any liquid lip liner. It’s the bridge between the formula and your lips, the tool that allows you to express your creativity and achieve your desired lip look.
(Professor raises a glass of (sparkling) water in a toast.)
So, the next time you reach for your favorite liquid lip liner, take a moment to appreciate the humble applicator tip. Understand its role, care for it properly, and choose wisely. Because ultimately, the perfect pout starts with the perfect applicator!
(Professor takes a final bow as the dramatic music swells and the spotlight fades.)
(The End)
For detailed product specifications and purchases, please go to :https://zenamakeup.com/products/silky-flow-liquid-lip-liner
Leave a Reply