Lecture: The Gospel of the Flawless Finish: Translucent Powder and the Art of Crease-Free Concealer
(Professor Emilia Vanishington III, D.Litt, Esq., F.R.S., stands before a slightly disheveled class of aspiring makeup mavens, a cloud of translucent powder perpetually clinging to her elaborately feathered boa.)
Alright, darlings, settle down, settle down! Today, we delve into the sacred art of setting concealer. Not just any setting, mind you, but setting it to perfection. We’re talking about banishing those pesky under-eye creases, the bane of every selfie-taker’s existence! 😱
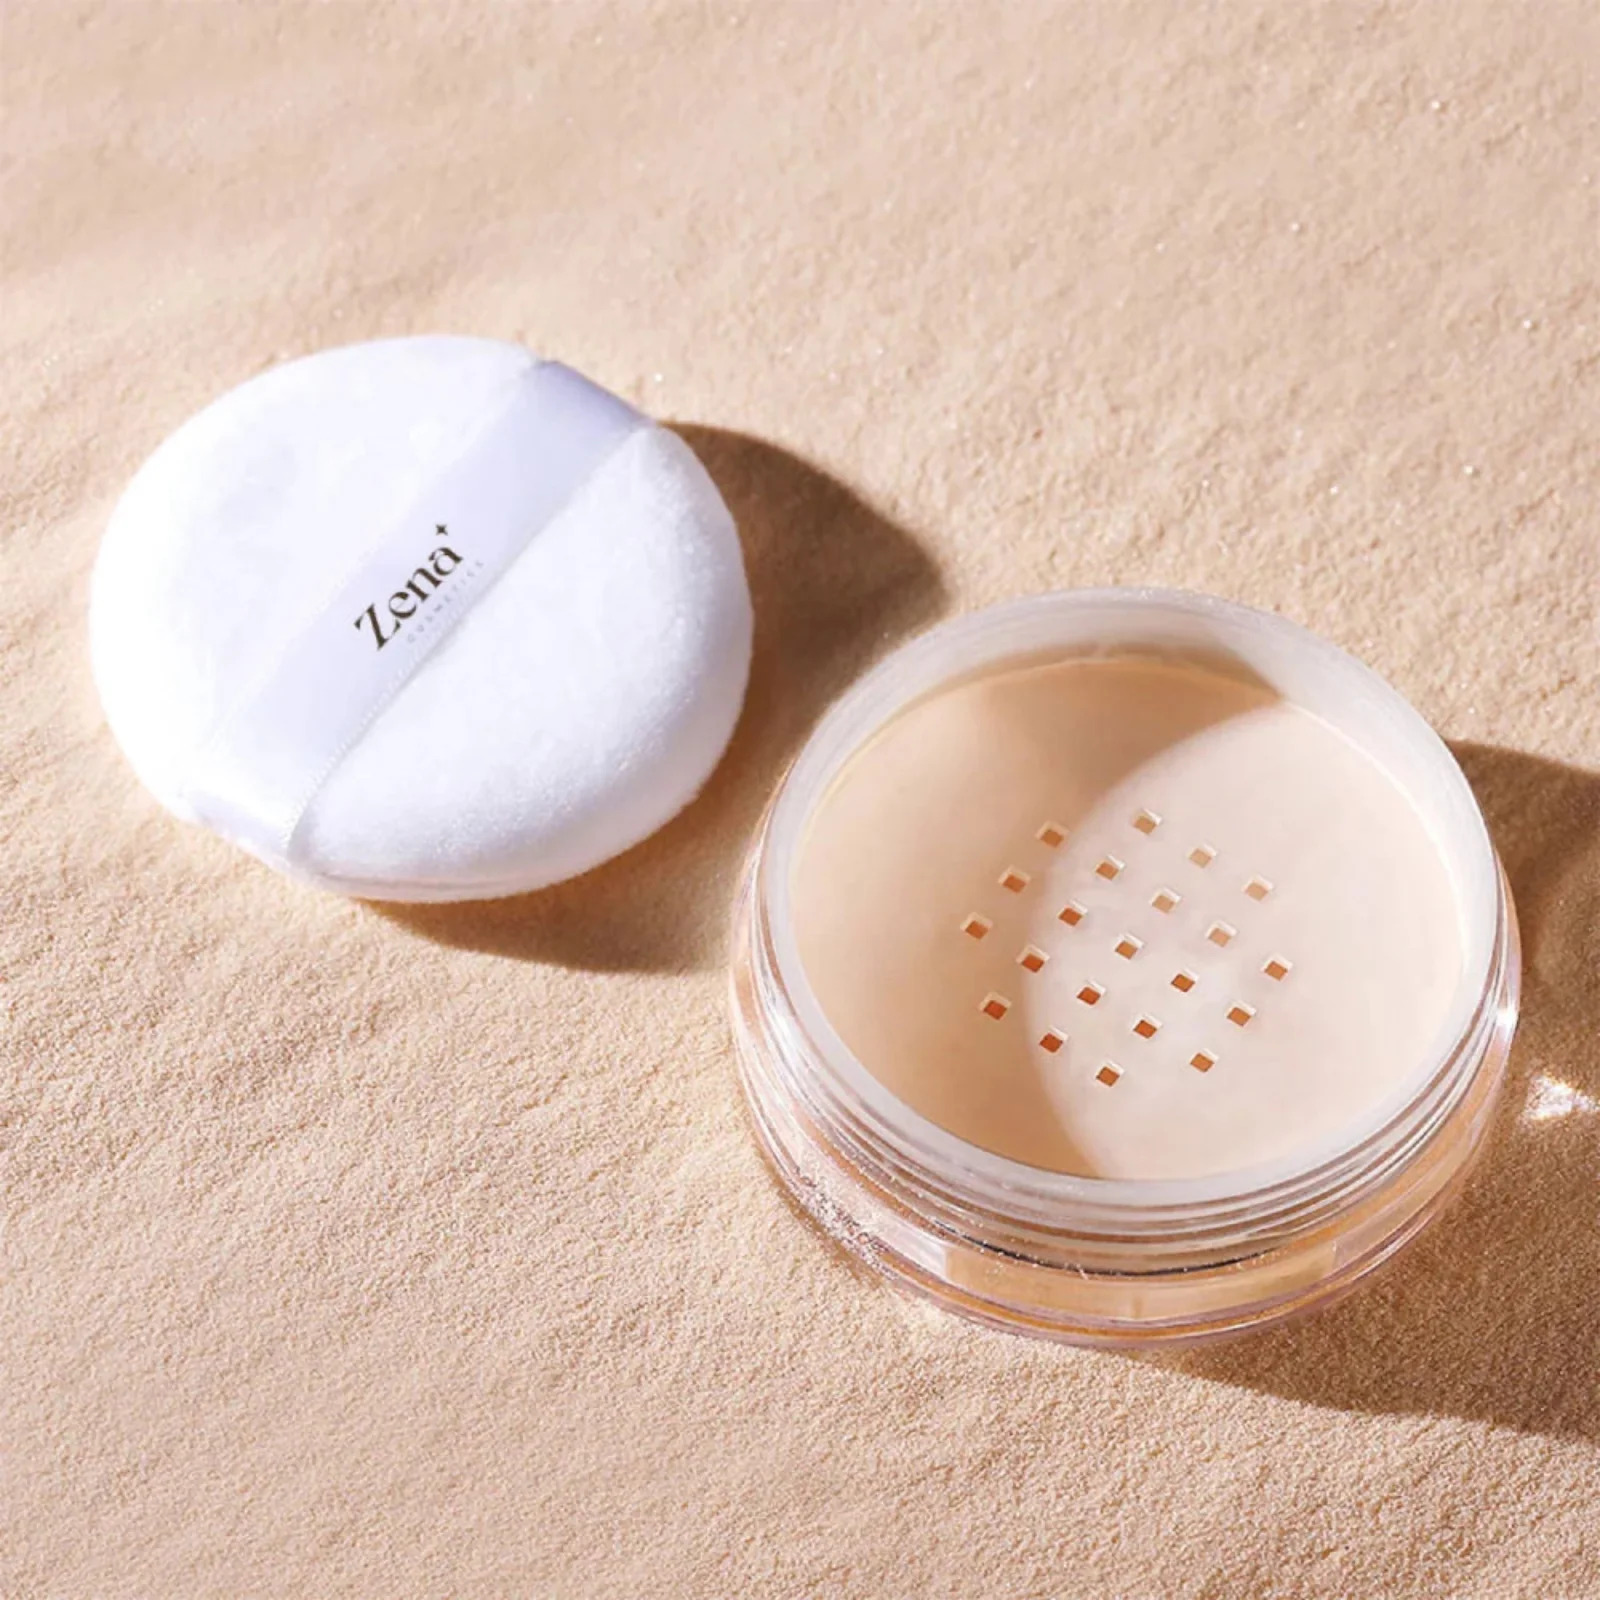
And our champion in this noble quest? The Flawless Finish Translucent Loose Setting Powder.
(Professor Vanishington gestures dramatically towards a jar of powder on the table, sparkling under the stage lights.)
Yes, my loves, this seemingly innocuous jar holds the key to unlocking a world of radiant, crease-free, and perpetually youthful-looking under-eyes. But fear not, for mastering its power requires more than just a fluffy brush and a prayer. We must understand its properties, its application, and its potential pitfalls. Consider this your initiation into the Order of the Undereye Eternal!
I. The Concealer Conundrum: Why Does it Crease?!
Before we can conquer the crease, we must understand its fiendish nature. Why, oh why, does that perfectly applied concealer decide to settle into every fine line and wrinkle, transforming you from a youthful dewy goddess into a map of the Grand Canyon? 🏜️
The answer, my darlings, is multifaceted, like a particularly intricate cut of diamond:
-
Moisture Migration: Your under-eye area, bless its delicate heart, is naturally dry. The skin is thin, and prone to dehydration. Concealers, especially creamy ones, are packed with oils and emollients to provide coverage. This inherent moisture disparity leads to the concealer migrating into any available space, namely those pesky lines. Think of it like water finding its level.
-
Facial Expressions: The Crease Culprit: We blink, we smile, we furrow our brows in intense concentration (especially during my lectures!). Every movement compresses and stretches the skin, creating micro-folds. The concealer, being a foreign substance, is pushed and pulled along with these movements, inevitably settling into the crevices. Blame your amazing personality and expressive face! 😜
-
Product Overload: Too much concealer is a recipe for disaster. It creates a thick layer that’s more prone to sliding and creasing. Less is truly more, especially in the delicate under-eye region. Think of it like trying to cram too many marshmallows into your mouth. The outcome isn’t pretty. 🫣
-
Improper Prep: Neglecting skincare before applying concealer is like building a house on sand. A well-hydrated and primed under-eye area provides a smooth canvas for the concealer to adhere to, minimizing the chance of slippage.
II. Enter the Translucent Loose Setting Powder: Our Crease-Fighting Champion!
This is where our star player, the Flawless Finish Translucent Loose Setting Powder, enters the stage! But what is it, exactly? And why is it so effective against the dreaded crease?
-
What it is: Translucent loose setting powder is a finely milled powder designed to:
- Set makeup: It absorbs excess oil and moisture, locking concealer and foundation in place.
- Blur imperfections: The fine particles diffuse light, minimizing the appearance of fine lines, pores, and texture.
- Provide a matte finish: It helps control shine and create a smooth, even complexion.
- Extend makeup wear: By preventing makeup from sliding and fading, it ensures your look lasts longer.
-
Why it works: The magic lies in its ability to create a barrier between the concealer and the environment. It absorbs the excess oils in the concealer, preventing it from migrating into fine lines. The blurring properties also help to soften the appearance of any existing creases. It’s basically a tiny army of invisible warriors fighting the good fight against under-eye wrinkles. ⚔️
III. The Anatomy of a Flawless Finish: Choosing the Right Powder
Not all translucent powders are created equal! To achieve that coveted flawless finish, you need to choose the right powder for your skin type and concerns.
| Feature | Description | Considerations |
|---|---|---|
| Milling | The fineness of the powder particles. | Finer milling = smoother finish, less likely to look cakey. Look for powders described as "micro-fine" or "ultra-fine." |
| Ingredients | The components that make up the powder. | Silica: Excellent for absorbing oil and blurring imperfections. Talc: Can provide a smooth finish but may be drying for some skin types. Rice powder: A natural alternative that absorbs oil and provides a soft, matte finish. Be mindful of sensitivities and allergies. |
| Finish | The overall look the powder provides (e.g., matte, satin, luminous). | Matte: Best for oily skin and those who want to minimize shine. Satin: Provides a subtle glow without being overly shiny. Luminous: Contains light-reflecting particles for a radiant finish. Not ideal for oily skin. |
| Flashback | The appearance of a white cast in flash photography. | Can be caused by ingredients like silica and titanium dioxide. Test the powder under flash photography before using it for special events. Avoid powders marketed as "HD" as they are more prone to flashback. A slight tint in the powder can help avoid this. |
| Color/Tint | Most translucent powders are white or slightly tinted. | White: Can sometimes leave a white cast on darker skin tones. Slightly tinted: Can help to brighten the complexion and avoid flashback. Choose a tint that complements your skin tone. Yellow-toned powders are generally good for brightening. |
| Skin Type | Your individual skin characteristics (e.g., oily, dry, sensitive). | Oily: Look for matte powders with oil-absorbing ingredients like silica. Dry: Choose a satin or luminous powder to avoid emphasizing dryness. Sensitive: Opt for fragrance-free and hypoallergenic formulas. |
| Price Point | The cost of the powder. | High price doesn’t always equal high quality. Read reviews and compare ingredients to find the best powder for your budget. Many drugstore brands offer excellent translucent powders. 💸💰 |
| Application Method | How the powder is best applied (e.g., brush, sponge). | Some powders are better suited for specific application methods. Experiment to find what works best for you. |
| Longevity | How long the powder lasts before needing to be reapplied. | Look for powders that are long-wearing and can control oil throughout the day. |
IV. The Art of Application: Achieving the Undereye Nirvana
Now that we’ve armed ourselves with knowledge and the perfect powder, it’s time to master the art of application. This is where the magic truly happens!
-
Prep is Key: Begin with a clean, moisturized under-eye area. Apply a hydrating eye cream and allow it to fully absorb before applying concealer. Think of it as prepping a canvas before painting a masterpiece. 🎨
-
Conceal Strategically: Apply a thin layer of concealer only where needed, focusing on areas of darkness or discoloration. Use a light hand to avoid product buildup. Remember, less is more!
-
Blend, Blend, Blend!: Use a damp beauty sponge or a small, fluffy brush to blend the concealer seamlessly into your skin. Ensure there are no harsh lines or visible edges.
-
The "Baking" Technique (Optional, but Highly Recommended): This involves applying a generous layer of translucent powder to the under-eye area and allowing it to "bake" for several minutes. The heat from your skin helps the powder to absorb excess oil and set the concealer.
-
The "Baking" Technique (Optional, but Highly Recommended): This involves applying a generous layer of translucent powder to the under-eye area and allowing it to "bake" for several minutes. The heat from your skin helps the powder to absorb excess oil and set the concealer.
- Application: Use a damp beauty sponge to press a thick layer of powder onto the concealed area.
- Baking Time: Allow the powder to sit for 5-10 minutes. Use this time to do your eye makeup or contour.
- Dust Off: After the baking time, use a large, fluffy brush to gently dust away the excess powder.
- Buff and Blend: Use a smaller, more precise brush to buff the remaining powder into the skin.
Caution! Over-baking can lead to dryness and cakiness. Adjust the baking time based on your skin type.
-
The "Dusting" Technique (For a Lighter Finish): If baking feels too heavy or time-consuming, you can simply dust a thin layer of translucent powder over the concealed area.
- Application: Swirl a fluffy brush into the powder, tap off the excess, and lightly dust over the concealed area.
- Buff and Blend: Use the same brush to buff the powder into the skin.
-
Set the Rest of Your Face: Don’t forget to set the rest of your face with a light dusting of translucent powder to create a cohesive and long-lasting look.
-
Hydrate and Refresh: After setting your makeup, use a hydrating facial mist to rehydrate the skin and melt the powder into the skin for a more natural finish.
V. Troubleshooting the Translucent Powder Tango: Avoiding Common Pitfalls
Even with the best powder and the most meticulous application, things can sometimes go awry. Here are some common issues and how to fix them:
-
Cakiness: This can be caused by using too much powder, applying it to dry skin, or using a powder that’s too heavy.
- Solution: Use a lighter hand when applying powder. Ensure your skin is well-moisturized before applying makeup. Switch to a finer-milled powder. Use a hydrating facial mist to melt the powder into the skin.
-
Dryness: Translucent powders can sometimes be drying, especially for those with dry skin.
- Solution: Choose a satin or luminous powder instead of a matte one. Use a hydrating eye cream and primer before applying concealer. Avoid baking for too long. Use a facial oil to add moisture back to the skin.
-
Flashback: This occurs when the powder reflects light from a camera flash, creating a white cast in photos.
- Solution: Avoid powders marketed as "HD" or containing high levels of silica. Test the powder under flash photography before using it for special events. Choose a tinted powder that complements your skin tone. Apply the powder sparingly.
-
Creasing: Even with translucent powder, creasing can still occur if your skin is particularly dry or if you’re using a concealer that’s too heavy.
- Solution: Ensure your skin is well-hydrated. Use a lightweight concealer. Apply a thin layer of powder and reapply as needed throughout the day. Consider using a setting spray to lock everything in place.
VI. The Tools of the Trade: Brushes and Sponges
The right tools can make all the difference in achieving a flawless finish. Here’s a breakdown of the best brushes and sponges for applying translucent powder:
| Tool | Description | Best For |
|---|---|---|
| Fluffy Brush | A large, soft brush with loosely packed bristles. | Applying a light dusting of powder all over the face. Blending and buffing powder into the skin. |
| Tapered Brush | A brush with a pointed tip and slightly denser bristles. | Applying powder to targeted areas, such as the under-eye area and around the nose. |
| Pencil Brush | A small, precise brush with a pointed tip. | Applying powder to very small areas, such as the inner corner of the eye. |
| Beauty Sponge (Damp) | A soft, porous sponge that can be used wet or dry. | Applying a generous layer of powder for baking. Blending concealer seamlessly into the skin. |
| Powder Puff | A plush, velvety pad used for applying powder. | Applying a controlled amount of powder. Pressing powder into the skin for a long-lasting finish. Great for those who prefer a more traditional application method. |
VII. Beyond the Basics: Advanced Techniques and Considerations
-
The "Reverse Baking" Technique: This involves applying translucent powder before concealer. The powder creates a barrier that prevents the concealer from sinking into fine lines. This technique is best suited for those with very dry skin.
-
Mixing Powders: Experiment with mixing different translucent powders to customize the finish. For example, you can mix a matte powder with a luminous powder to create a satin finish.
-
Setting Spray: A setting spray can help to lock in your makeup and prevent creasing. Choose a hydrating setting spray for dry skin and a mattifying setting spray for oily skin.
-
Touch-Ups: Carry a compact of translucent powder with you for touch-ups throughout the day. Blot away excess oil with blotting papers before reapplying powder.
VIII. Conclusion: Embrace the Flawless Finish!
(Professor Vanishington surveys her students, a twinkle in her eye.)
And there you have it, my dears! The gospel of the flawless finish, as preached by yours truly. Mastering the art of setting concealer with translucent powder is a journey, not a destination. Experiment, practice, and don’t be afraid to make mistakes. With patience and perseverance, you too can achieve the coveted crease-free complexion of your dreams! ✨
Now, go forth and conquer those creases! And remember, always blend, blend, blend! Class dismissed!
(Professor Vanishington blows a kiss and disappears in a cloud of translucent powder, leaving her students buzzing with excitement and armed with the knowledge to banish those pesky under-eye wrinkles forever.)
For detailed product specifications and purchases, please go to :https://zenamakeup.com/products/flawless-finish-translucent-loose-setting-powder
Leave a Reply