Lecture: Achieving Airbrushed Dreams on Textured Skin: A Deep Dive into Flawless Finish Translucent Loose Setting Powder
(🔔 Class bell rings dramatically)
Alright, settle down, settle down! Welcome, beauty enthusiasts, to "Operation: Erase Texture, Embrace Radiance"! Today, we’re tackling a challenge that plagues us all: achieving that elusive airbrushed finish, especially when our skin has a personality of its own, i.e., texture. And our weapon of choice? The legendary, the ever-so-popular, Flawless Finish Translucent Loose Setting Powder.
(✨ Sparkling animation of Flawless Finish Powder container)
Now, before we dive in, let’s be brutally honest. We’ve all been there. We see those flawless Instagram faces, and we think, "Why can’t my skin look like that?!" The truth is, darling, filters are a powerful tool, and lighting is a magician. But fear not! With the right knowledge, techniques, and a healthy dose of self-acceptance, we can significantly minimize texture and achieve a beautiful, even-toned complexion.
This isn’t a magic wand, mind you. It’s about understanding how this powder works, what tools to use, and how to tailor your application to your specific skin needs. So, grab your notebooks, sharpen your pencils (or open your Notes app), and let’s get started!
I. Understanding Texture: The Enemy We Must Know
(🧐 Professor character with oversized glasses peering intensely)
First things first, let’s define "texture." When we talk about textured skin, we’re referring to any unevenness in the skin’s surface. This can manifest in various forms:
- Pores (Large and In Charge): These are the tiny openings for our hair follicles and oil glands. Sometimes they’re subtle, sometimes they resemble tiny craters.
- Fine Lines and Wrinkles: The inevitable signs of aging (or sometimes just dehydration). They add character, but can also create shadows and texture.
- Scars (Acne Scars, Chicken Pox Scars, Life Scars): These can range from shallow discoloration to deep, pitted marks.
- Bumps and Unevenness (Keratosis Pilaris, Milia, Closed Comedones): These can be caused by a variety of factors, from genetics to clogged pores.
- Dry Patches and Flakiness: Dehydrated skin can appear rough and uneven.
(🖼️ Table summarizing different types of skin texture)
| Texture Type | Description | Common Causes |
|---|---|---|
| Large Pores | Enlarged openings of hair follicles, often visible around the nose and cheeks. | Genetics, excess oil production, aging, sun damage. |
| Fine Lines/Wrinkles | Shallow creases and folds in the skin. | Aging, sun exposure, dehydration, repetitive facial movements. |
| Acne Scars | Depressions or raised areas caused by previous acne breakouts. | Severe acne, picking and squeezing blemishes. |
| Keratosis Pilaris (KP) | Small, rough bumps, often found on the upper arms and thighs. | Genetic predisposition, buildup of keratin. |
| Dry Patches/Flakiness | Rough, uneven areas caused by lack of moisture in the skin. | Dehydration, harsh skincare products, weather changes. |
The key takeaway here is that texture is normal! We all have it to some extent. The goal isn’t to completely eliminate it (which is often impossible without invasive procedures), but to minimize its appearance and create a smoother, more even canvas for our makeup.
II. Flawless Finish: The Powder, The Legend
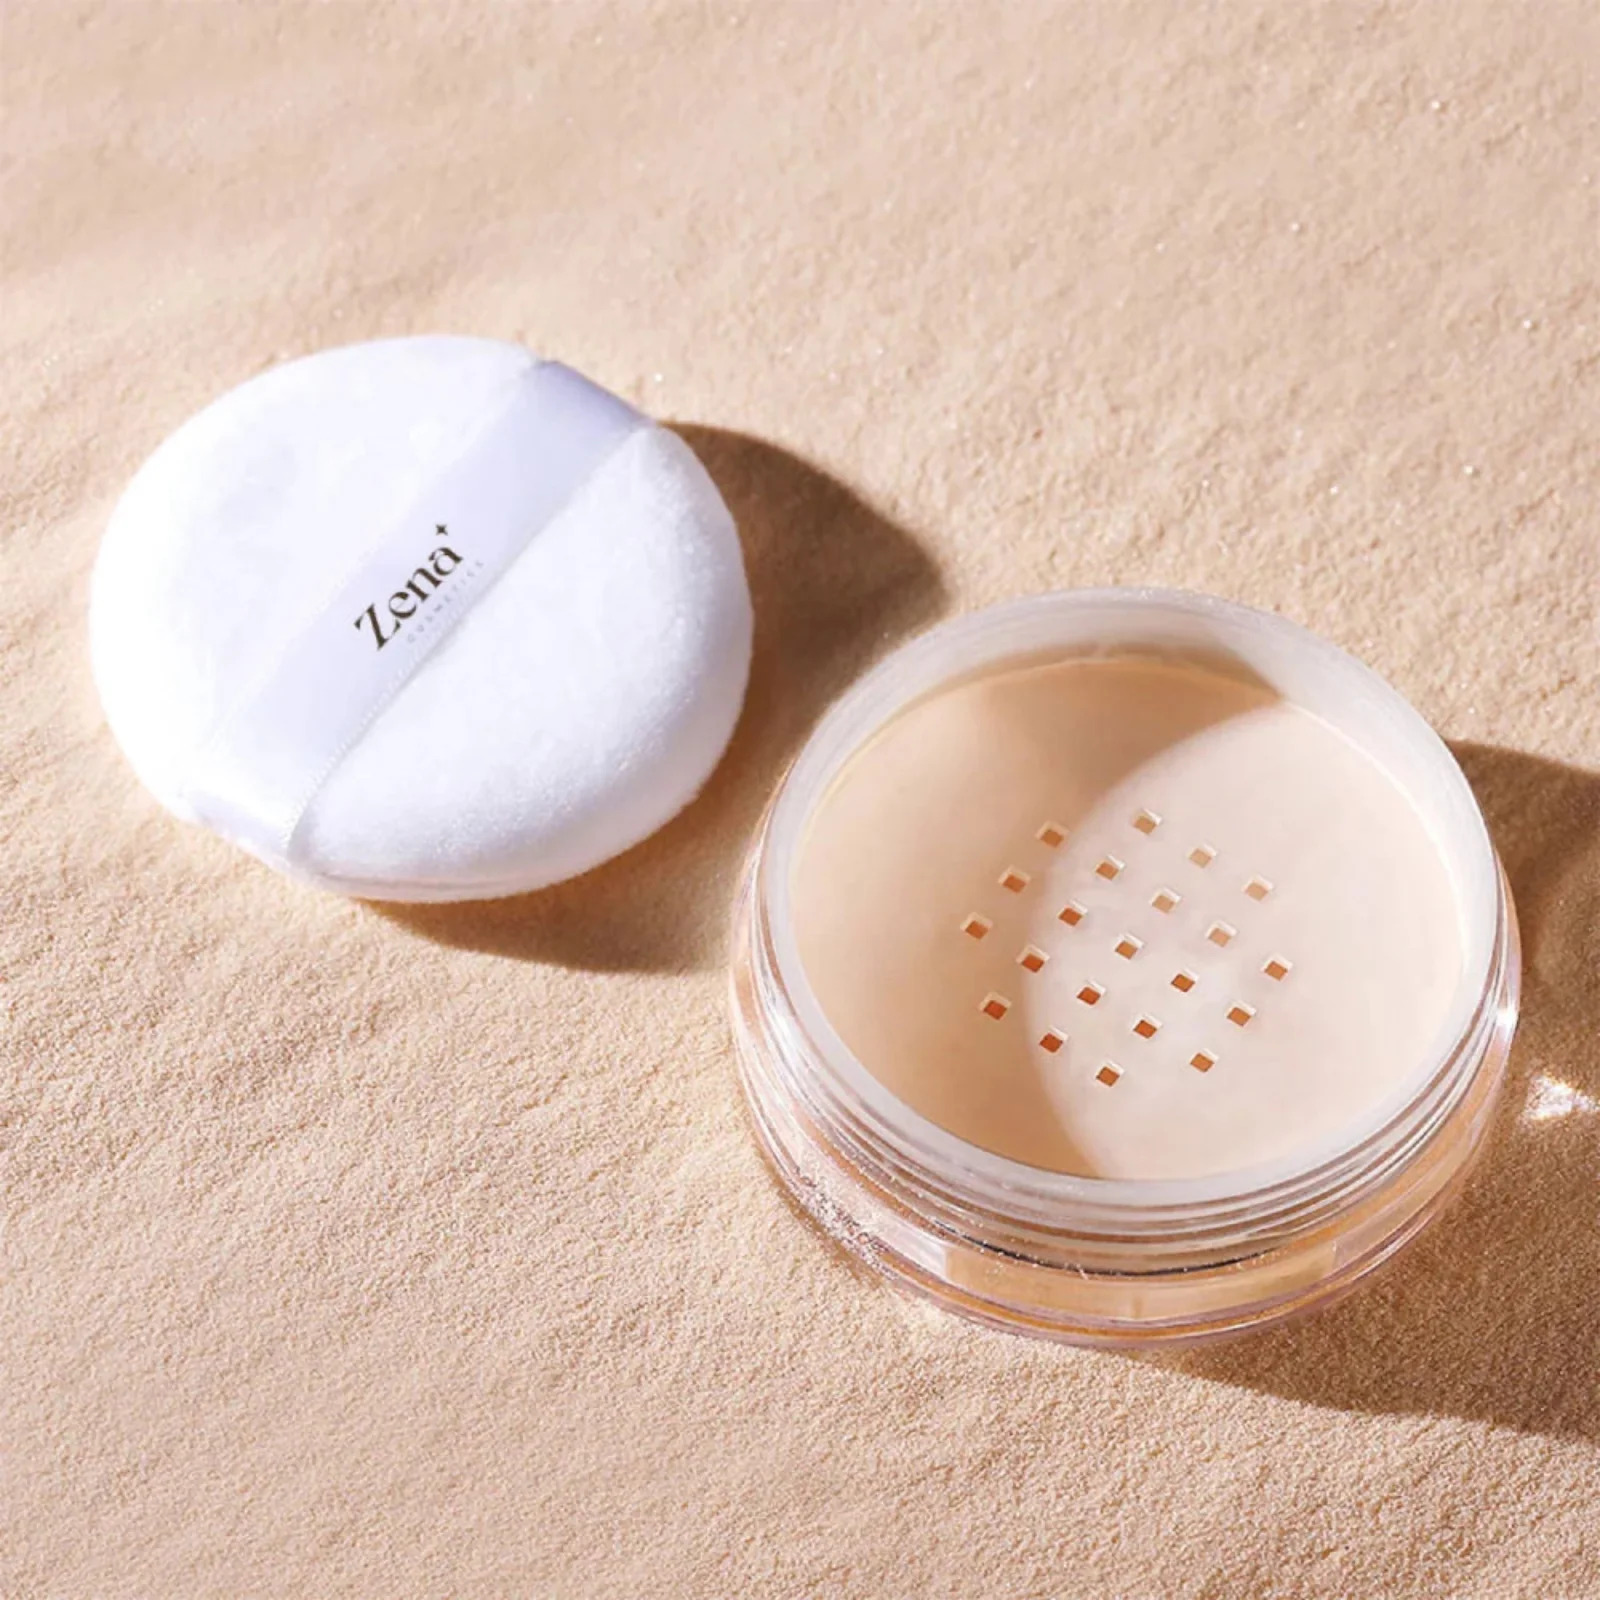
(👑 Close-up shot of the Flawless Finish Powder, illuminated with a spotlight)
Now, let’s talk about our star of the show: the Flawless Finish Translucent Loose Setting Powder. This powder is praised for its:
- Finely Milled Texture: This is crucial! A finely milled powder is less likely to settle into fine lines and pores, accentuating texture.
- Translucent Finish: A translucent powder shouldn’t add color to your skin, making it suitable for a wide range of skin tones. However, it’s essential to test it under different lighting to ensure it doesn’t leave a white cast, especially on deeper complexions. (More on that later!)
- Oil Absorption: It helps to control shine and keep your makeup in place.
- Blurring Effect: Many users rave about its ability to blur imperfections and create a smoother appearance.
(💡 Icon of a lightbulb) Important Note: While the "translucent" claim is generally true, some powders can still leave a subtle cast, especially on darker skin tones. Always swatch and test under different lighting conditions (natural light, indoor light, flash) to ensure it doesn’t look ashy or create a white cast.
III. Prepping the Battlefield: Skincare is Key
(🧴 Animated skincare routine: cleanser, serum, moisturizer)
Before you even think about picking up that powder puff, let’s talk about skincare. A smooth, hydrated canvas is essential for achieving an airbrushed finish. Think of it like painting a masterpiece – you wouldn’t start on a cracked, dusty canvas, would you?
Here’s a basic skincare routine to prep your skin:
- Cleanse: Remove all traces of makeup, dirt, and oil. Choose a gentle cleanser that doesn’t strip your skin of its natural moisture.
- Exfoliate (Gently!): Regular exfoliation helps to remove dead skin cells, revealing smoother skin underneath. Opt for a gentle chemical exfoliant (like AHA or BHA) or a mild physical exfoliant (like a soft scrub). Don’t over-exfoliate! This can irritate your skin and worsen texture.
- Hydrate: Apply a hydrating serum or essence to replenish moisture. Look for ingredients like hyaluronic acid, glycerin, or ceramides.
- Moisturize: Seal in the hydration with a moisturizer that’s appropriate for your skin type. If you have oily skin, opt for a lightweight, gel-based moisturizer. If you have dry skin, choose a richer cream.
- Prime (Optional, But Recommended): A good primer can help to smooth out the skin’s surface, fill in pores, and create a barrier between your skin and your makeup. Look for primers that specifically address your texture concerns (e.g., pore-filling primers, smoothing primers).
(⚠️ Icon of a warning sign) Pro Tip: If you have dry patches or flakiness, gently exfoliate those areas and apply a thicker layer of moisturizer to those spots before applying makeup.
IV. The Application Arsenal: Tools of the Trade
(🧰 Animated toolbox opening to reveal various brushes and sponges)
Now that our skin is prepped and ready, let’s talk about the tools we’ll need for applying the Flawless Finish Powder. The right tools can make all the difference in achieving a smooth, even finish.
- Powder Puff (The Classic Choice): A powder puff is great for pressing the powder into the skin, which can help to fill in pores and create a smoother appearance. Choose a soft, plush puff.
- Large Fluffy Brush (For Light Coverage): A large, fluffy brush is ideal for dusting the powder lightly over the face for a more natural finish.
- Tapered Brush (For Targeted Application): A tapered brush can be used to apply the powder to specific areas, such as the under-eye area or the T-zone.
- Beauty Sponge (Dampened, For Baking): A dampened beauty sponge can be used to "bake" the powder, which involves applying a thick layer of powder and allowing it to sit on the skin for a few minutes before dusting it off. This technique can help to set your makeup and create a more matte finish.
(🖼️ Table summarizing application tools and their uses)
| Tool | Best For | Application Technique | Coverage Level |
|---|---|---|---|
| Powder Puff | Pressing powder into the skin, filling pores, baking (for oily skin) | Press and roll the puff into the powder, then press it firmly into the skin. | Medium to Full |
| Large Fluffy Brush | Lightly dusting powder over the face, setting makeup, blurring imperfections. | Swirl the brush into the powder, tap off excess, and lightly dust over the face using circular motions. | Light |
| Tapered Brush | Targeted application, setting concealer, baking under the eyes. | Dip the brush into the powder, tap off excess, and apply to specific areas using a gentle tapping motion. | Medium |
| Damp Beauty Sponge | Baking (for all skin types, but especially oily), pressing powder into the skin. | Dampen the sponge, dip it into the powder, and press it firmly into the skin, focusing on areas where you want to set makeup. | Medium to Full |
V. The Art of Application: Techniques for Texture
(🎨 Animated hand applying makeup with precision)
Now for the fun part! Let’s put our knowledge into practice and explore different application techniques for achieving an airbrushed finish on textured skin.
-
The "Press and Roll" Technique (For Filling Pores):
- This technique is ideal for minimizing the appearance of large pores.
- Use a powder puff.
- Press and roll the puff into the powder, picking up a generous amount.
- Gently press the puff into the skin, using a rolling motion. This helps to work the powder into the pores, filling them in and creating a smoother surface.
- Be careful not to drag the puff across the skin, as this can disrupt your makeup and accentuate texture.
-
The "Dust and Buff" Technique (For Light Coverage):
- This technique is perfect for those who prefer a more natural finish.
- Use a large fluffy brush.
- Swirl the brush into the powder, tap off excess.
- Lightly dust the powder over the face, using circular motions.
- Buff the powder into the skin to blend it seamlessly.
-
The "Baking" Technique (For Oily Skin and Maximum Blur):
- This technique is great for setting makeup, controlling shine, and blurring imperfections.
- Use a dampened beauty sponge or a powder puff.
- Apply a thick layer of powder to the areas you want to bake (typically the under-eye area, the T-zone, and the chin).
- Let the powder sit on the skin for 5-10 minutes.
- Dust off the excess powder with a large fluffy brush.
-
The "Targeted Application" Technique (For Specific Areas):
- This technique is useful for setting concealer under the eyes or controlling shine in the T-zone.
- Use a tapered brush.
- Dip the brush into the powder, tap off excess.
- Apply the powder to the specific area using a gentle tapping motion.
(📝 Bullet-pointed list of application tips)
- Start with a thin layer: It’s always better to start with a thin layer of powder and build up coverage as needed. Too much powder can look cakey and accentuate texture.
- Tap off excess: Before applying the powder to your face, always tap off the excess from your brush or puff. This will prevent you from applying too much powder at once.
- Use a light hand: Avoid applying too much pressure when applying the powder. Use a light hand to blend the powder seamlessly into the skin.
- Don’t forget the neck: Blend the powder down onto your neck to avoid a harsh line of demarcation.
- Set your makeup spray: After applying the powder, finish with a setting spray to melt the powder into the skin and create a more natural finish.
VI. Troubleshooting: Common Powder Problems and Solutions
(🛠️ Animated wrench fixing a makeup palette)
Even with the best techniques, you might encounter some common powder problems. Let’s troubleshoot some of these issues:
-
White Cast/Ashiness:
- Problem: The powder looks too light on your skin, creating a white or ashy appearance.
- Solution:
- Use a smaller amount of powder.
- Blend the powder thoroughly.
- Try a tinted translucent powder.
- Use a setting spray to melt the powder into the skin.
- If all else fails, the powder might simply not be the right shade for your skin tone. Consider trying a different powder.
-
Cakey Finish:
- Problem: The powder looks thick and uneven, settling into fine lines and pores.
- Solution:
- Use a smaller amount of powder.
- Exfoliate your skin regularly.
- Hydrate your skin well.
- Use a setting spray to melt the powder into the skin.
-
Dryness:
- Problem: The powder makes your skin feel dry and tight.
- Solution:
- Hydrate your skin well.
- Use a moisturizing primer.
- Use a hydrating setting spray.
- Consider using a powder with a more hydrating formula.
-
Accentuated Texture:
- Problem: The powder makes your pores and fine lines look more noticeable.
- Solution:
- Use a smaller amount of powder.
- Apply the powder using the "press and roll" technique.
- Use a pore-filling primer.
- Try a blurring powder.
(🖼️ Table summarizing common powder problems and solutions)
| Problem | Solution |
|---|---|
| White Cast/Ashiness | Use less powder, blend thoroughly, try a tinted powder, use setting spray, consider a different powder. |
| Cakey Finish | Use less powder, exfoliate regularly, hydrate skin well, use setting spray. |
| Dryness | Hydrate skin well, use moisturizing primer, use hydrating setting spray, consider a more hydrating powder formula. |
| Accentuates Texture | Use less powder, apply with press-and-roll, use pore-filling primer, try a blurring powder. |
VII. The Verdict: Is Flawless Finish the Right Choice for You?
(⚖️ Animated scales weighing the pros and cons)
So, is the Flawless Finish Translucent Loose Setting Powder the holy grail for textured skin? The answer, as always, is: it depends.
Pros:
- Finely milled texture
- Translucent finish (for most skin tones)
- Oil absorption
- Blurring effect
Cons:
- Can leave a white cast on deeper skin tones if not applied carefully.
- May be drying for some skin types.
- May accentuate texture if applied too heavily.
Ultimately, the best way to determine if this powder is right for you is to try it for yourself! Experiment with different application techniques and see what works best for your skin.
VIII. Beyond the Powder: A Holistic Approach to Smooth Skin
(🧘♀️ Animated character meditating)
Remember, an airbrushed finish isn’t just about the powder. It’s about taking a holistic approach to your skin.
- Healthy Lifestyle: Eat a balanced diet, drink plenty of water, and get enough sleep.
- Sun Protection: Protect your skin from the sun’s harmful rays by wearing sunscreen every day.
- Consistent Skincare Routine: Establish a consistent skincare routine that addresses your specific skin concerns.
- Acceptance and Self-Love: Embrace your natural skin texture. No one has perfect skin, and that’s okay!
(💖 Emoji of a heart)
IX. Final Thoughts: Embrace the Journey!
(🎓 Professor throws graduation cap in the air)
Achieving an airbrushed finish on textured skin is a journey, not a destination. It takes time, patience, and experimentation to find what works best for you. Don’t get discouraged if you don’t see results overnight. Keep practicing, keep learning, and most importantly, keep loving your skin!
Now go forth and conquer! And remember, a little bit of powder and a whole lot of confidence is the most beautiful combination of all.
(🔔 Class bell rings again)
Class dismissed! See you all next week for "Contouring for Beginners: Sculpting Those Cheekbones Like a Pro!" Don’t be late!
For detailed product specifications and purchases, please go to :https://zenamakeup.com/products/flawless-finish-translucent-loose-setting-powder
Leave a Reply