Lecture: The Translucent Veil of Dreams: Applying Loose Setting Powder After Skincare for a Blurred Effect (aka, How to Look Like You Have a Real-Life Instagram Filter)
Welcome, beauty aficionados, makeup mavens, and skincare scholars! 👋 Today, we’re diving deep into a topic that’s near and dear to my (and hopefully, soon to be your) heart: the strategic, artful, and downright magical application of translucent loose setting powder after skincare, specifically for achieving that coveted blurred, airbrushed effect.
Forget filters, forget pricey photo editing apps, and definitely forget those awkward selfies you take trying to find the perfect angle. We’re going to learn how to achieve a complexion so smooth and radiant, people will swear you’ve made a pact with a benevolent skincare fairy godmother! ✨
Before we proceed, let’s address the elephant in the room: Yes, there are approximately 7,453,982 YouTube tutorials and blog posts about setting powder. But are they all good? Are they all funny? Do they all understand the deep and profound connection between skincare and powder application? I think not! (Okay, maybe some are good. But this one is definitely funnier.)
This lecture is structured like a delicious, multi-layered cake (because everything is better with cake):
🍰 Layer 1: The Foundation – Understanding Your Skincare Canvas
🍰 Layer 2: The Ingredients – Choosing the Right Translucent Loose Setting Powder
🍰 Layer 3: The Technique – Mastering the Art of Powder Application
🍰 Layer 4: Troubleshooting – Common Pitfalls and How to Avoid Them
🍰 Layer 5: The Grand Finale – Achieving the Ultimate Blurred Perfection
So, grab your notebooks, sharpen your wit, and let’s embark on this journey to complexion perfection!
🍰 Layer 1: The Foundation – Understanding Your Skincare Canvas
Think of your skin as a canvas. A blank canvas is great, but a primed and moisturized canvas is chef’s kiss perfection! Before we even think about touching that fluffy brush to our powder, we need to ensure our skincare routine is on point.
Why is this important? Because applying powder to dry, flaky skin is like trying to paint a masterpiece on sandpaper. It won’t blend, it will emphasize imperfections, and you’ll end up looking like you’ve aged 20 years in the past 5 minutes. (Not the goal, I assure you!) 👵➡️👧
Here’s a basic skincare routine checklist to consider:
| Step | Purpose | Product Examples (Feel free to adapt to YOUR skin!) | Frequency | Important Note |
|---|---|---|---|---|
| Cleanser | Removes dirt, oil, and makeup. A clean slate is essential! | Gentle Cleansing Lotion, Micellar Water, Cleansing Oil | Daily | Choose a cleanser appropriate for your skin type. Avoid harsh, stripping cleansers. We want happy, hydrated skin, not squeaky clean! 🧼 |
| Exfoliant | Sloughs off dead skin cells, revealing brighter, smoother skin. | Chemical Exfoliants (AHAs, BHAs), Gentle Scrubs | 1-3x/week | Don’t over-exfoliate! It’s tempting, but trust me, you’ll regret it. Red, irritated skin is not the vibe. 🚫 |
| Toner | Balances skin’s pH, preps skin for serums and moisturizers. Think of it as a hydration handshake. | Hydrating Toner, Balancing Toner, Essence | Daily | This step is optional, but a good toner can make a HUGE difference in how your skin absorbs subsequent products. Consider it an upgrade! ⬆️ |
| Serum | Delivers concentrated ingredients to address specific skin concerns. This is where the magic happens! | Hyaluronic Acid Serum, Vitamin C Serum, Niacinamide Serum | Daily | Choose serums that target your individual needs. Hydration? Brightening? Anti-aging? The possibilities are endless! ✨ |
| Moisturizer | Hydrates and protects the skin’s barrier. The glue that holds it all together! | Lightweight Moisturizer, Rich Cream, Facial Oil | Daily | This is non-negotiable! Even oily skin needs moisturizer. Dehydrated skin produces more oil, so don’t fall into that trap. 🪤 |
| Sunscreen | Protects skin from harmful UV rays. The ultimate anti-aging weapon! | Broad Spectrum SPF 30+ | Daily | Even on cloudy days! Sun damage is cumulative. Protect your investment! ☀️ |
The "Sweet Spot":
The goal is to find the sweet spot between hydrated and slightly tacky skin. You want your moisturizer to be fully absorbed, but not so absorbed that your skin feels dry. A little bit of tackiness is good because it gives the powder something to grip onto, helping it to blend seamlessly.
Pro Tip: Wait a few minutes after applying your moisturizer before moving on to powder. Give your skin time to drink it all in. Think of it as letting your skin enjoy a delicious smoothie before you ask it to run a marathon. 🏃♀️
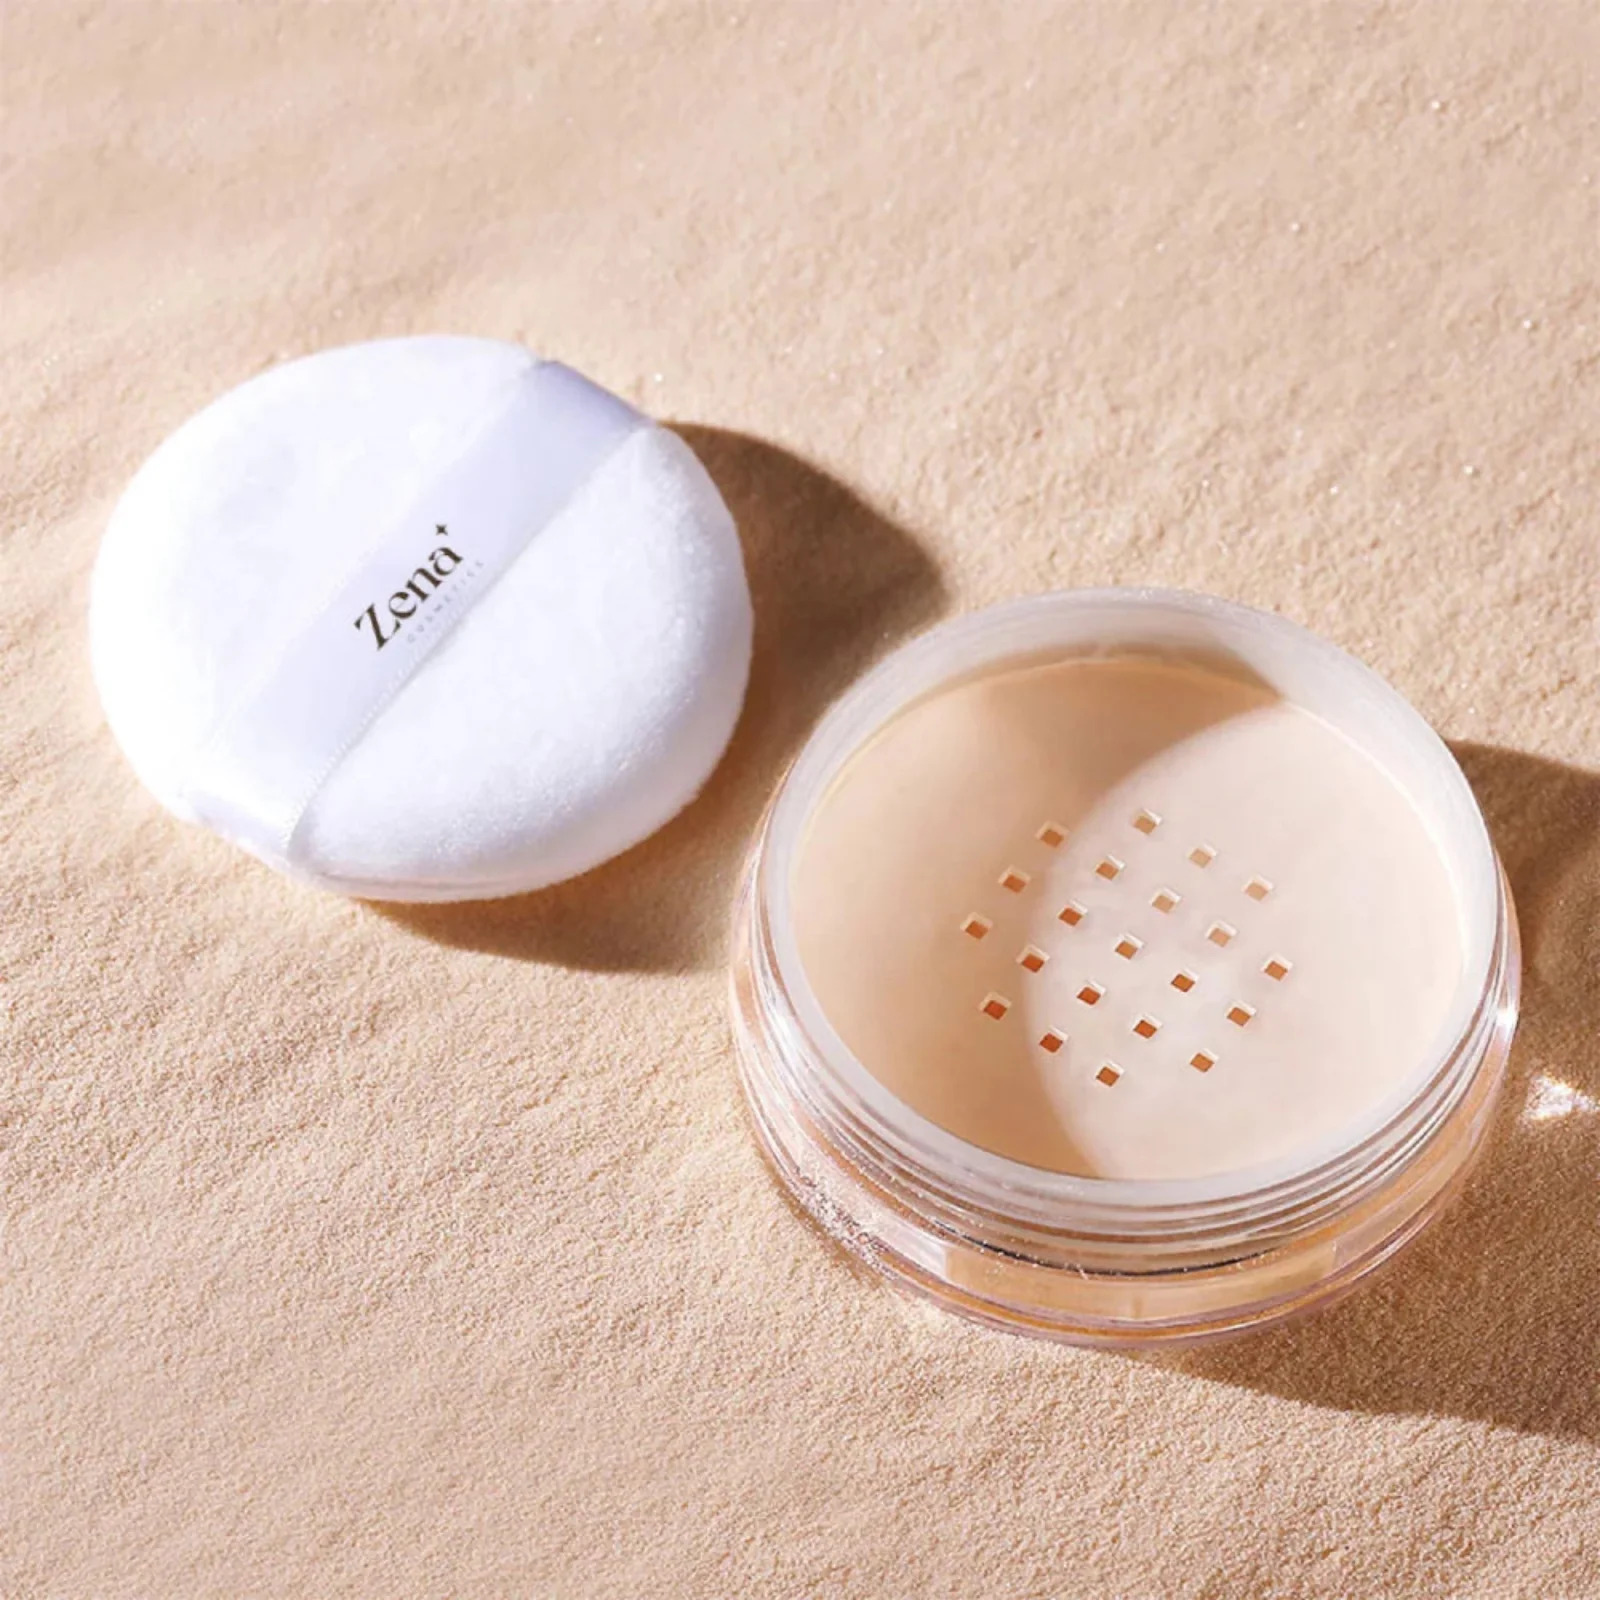
🍰 Layer 2: The Ingredients – Choosing the Right Translucent Loose Setting Powder
Not all translucent loose setting powders are created equal. Choosing the right one is crucial for achieving that blurred effect, and avoiding the dreaded "ghost face" or cakey finish.
What to Look For:
- Finely Milled Texture: This is non-negotiable. A finely milled powder will blend seamlessly into the skin and won’t settle into fine lines or pores. Think of it as the difference between flour and sand. We want flour! 🍚
- Truly Translucent: The powder should be colorless and not alter the shade of your foundation or skincare underneath. Some "translucent" powders have a slight tint that can oxidize or make you look ashy. Test it on the back of your hand before applying it to your face.
- Oil Absorbing Properties: A good setting powder should help to control shine without drying out your skin. Look for ingredients like silica or rice powder.
- Flashback Tested: This is especially important if you plan on taking photos. Flashback occurs when the powder reflects light from a camera flash, making you look like you’re wearing a mask. Look for powders that are specifically formulated to be flashback-free.
- Ingredients: Be mindful of your skin type and any sensitivities. Some powders contain ingredients like talc, which can be irritating to some people.
Different Types of Translucent Loose Setting Powders:
| Type | Description | Best For | Potential Drawbacks |
|---|---|---|---|
| Silica-Based | Very finely milled, excellent for blurring and oil absorption. | Oily to combination skin, blurring pores, creating a matte finish. | Can be drying if overused, may cause flashback in photos if not formulated correctly. |
| Rice Powder-Based | Gentle, lightweight, and naturally absorbent. | Sensitive skin, dry skin, setting makeup without drying it out. | May not be as effective at controlling oil as silica-based powders. |
| Talc-Based | Inexpensive, readily available, and provides a smooth finish. | Budget-friendly option, setting makeup. | Can be irritating to some skin types, may clog pores, potential health concerns associated with talc. (Research before use!) |
| Mineral-Based | Contains minerals like zinc oxide and titanium dioxide, which can provide some sun protection. | Sensitive skin, those looking for a natural option, setting makeup with added sun protection (though not a replacement for dedicated sunscreen!). | May not be as blurring as silica-based powders, can sometimes leave a slight white cast. |
My Personal Favorites (because I’m generous like that):
- Laura Mercier Translucent Loose Setting Powder: A classic for a reason. Finely milled, blurring, and flashback-free. The queen of setting powders! 👑
- Hourglass Veil Translucent Setting Powder: A luxurious option with light-reflecting particles that create a radiant, airbrushed finish. Prepare to be bougie! ✨
- RCMA No-Color Powder: A makeup artist favorite. Affordable, finely milled, and works on all skin tones. The workhorse of setting powders! 🐴
The Bottom Line: Do your research, read reviews, and consider your skin type before investing in a translucent loose setting powder. It’s like finding the perfect partner – you want someone who complements you, not complicates things! 💖
🍰 Layer 3: The Technique – Mastering the Art of Powder Application
Now for the fun part! This is where we put our knowledge into action and transform our faces from "blah" to "blurred."
Tools You’ll Need:
- Translucent Loose Setting Powder (duh!)
- Powder Brush: A large, fluffy brush is ideal for all-over application. Think cloud-like softness. ☁️
- Powder Puff (optional): Great for pressing powder into specific areas for extra oil control and blurring.
- Setting Spray (optional): To lock everything in and melt the powder into the skin. Consider it the final seal of approval! ✅
The Application Process (aka, the "Blurification"):
- Prep Your Skin: As we discussed in Layer 1, make sure your skincare routine is complete and your moisturizer is fully absorbed but slightly tacky.
- Load Your Brush (or Puff): Gently swirl your brush into the powder, tapping off any excess. You want a light, even dusting of powder on your brush, not a mountain of powder ready to avalanche onto your face. 🏔️
- Apply in Sections: Don’t just slap the powder all over your face like you’re dusting a cake. Work in sections, focusing on areas that tend to get oily, like the T-zone (forehead, nose, and chin).
- Press and Roll (or Just Dust): There are two main techniques:
- Press and Roll: Use a powder puff to gently press the powder into the skin, then roll the puff to blend it out. This is great for blurring pores and creating a long-lasting matte finish. It’s like giving your skin a gentle massage with powder! 💆♀️
- Dust and Buff: Use your fluffy brush to lightly dust the powder over your skin, then buff it in using circular motions. This is a more natural-looking option that’s great for dry skin. It’s like whispering secrets to your skin with a brush! 🤫
- "Baking" (Optional, But Potentially Delicious): For extra oil control and a super-blurred finish, you can "bake" your powder. This involves applying a thicker layer of powder to areas that crease or get oily (like under the eyes) and letting it sit for 5-10 minutes. The heat from your skin helps the powder to set and absorb excess oil. After baking, dust away the excess powder with a clean brush. Be careful not to over-bake, or you’ll end up looking dry and cakey. Baking is like letting your powder marinate in your skin’s deliciousness! 🤤
- Blend, Blend, Blend!: This is crucial! Make sure there are no harsh lines or patches of powder. Use your fluffy brush to blend everything together seamlessly. Blend like your life depends on it! 🏃♀️
- Setting Spray (Optional): If you want to lock everything in and melt the powder into the skin, spritz on a setting spray. Hold the bottle about 8-10 inches away from your face and mist evenly. Setting spray is like the final boss in your makeup routine. Defeat it, and you win! 🏆
Important Considerations:
- Less is More: Start with a small amount of powder and build up as needed. It’s easier to add more powder than it is to remove it.
- Focus on Problem Areas: You don’t need to powder your entire face if you don’t need to. Focus on areas that get oily or where your makeup tends to crease.
- Don’t Forget Under the Eyes: Setting powder is essential for preventing concealer from creasing under the eyes. Use a small, pointed brush to apply powder to this delicate area.
- Experiment!: The best way to find what works for you is to experiment with different techniques and products. Don’t be afraid to try new things!
🍰 Layer 4: Troubleshooting – Common Pitfalls and How to Avoid Them
Even the most skilled makeup artists encounter problems from time to time. Here are some common pitfalls and how to avoid them:
| Problem | Cause | Solution |
|---|---|---|
| Cakey Finish | Applying too much powder, using a powder that’s too heavy, or applying powder to dry skin. | Use a lighter hand, choose a finely milled powder, and make sure your skin is properly moisturized. Use a damp beauty sponge to press the powder into the skin instead of a brush. |
| Dry, Flaky Skin | Using a powder that’s too drying, over-exfoliating, or not using enough moisturizer. | Choose a hydrating powder, reduce your exfoliation frequency, and use a richer moisturizer. Add a facial oil to your moisturizer for extra hydration. |
| Ghost Face (Flashback) | Using a powder that contains silica or titanium dioxide, which can reflect light from a camera flash. | Use a powder that’s specifically formulated to be flashback-free. Test your powder by taking a photo with flash before applying it to your face. |
| Powder Settling into Lines | Using a powder that’s not finely milled, applying too much powder, or having dry skin. | Choose a finely milled powder, use a light hand, and make sure your skin is properly moisturized. Use a damp beauty sponge to gently press the powder into the lines. |
| Uneven Application | Not blending properly, using a brush that’s too small, or applying powder in poor lighting. | Use a large, fluffy brush and blend thoroughly. Apply powder in good lighting so you can see where you’re applying it. |
| Powder Looking Patchy | Applying powder to skin that isn’t properly prepped or that is still damp from skincare. | Ensure skincare is fully absorbed and skin has a slightly tacky feel before applying powder. Try using a damp beauty sponge to press the powder into the skin for a more even application. |
Remember: Mistakes happen! Don’t beat yourself up if you don’t get it right the first time. Practice makes perfect! And even if you don’t achieve perfection, you’ll still look fabulous. 😉
🍰 Layer 5: The Grand Finale – Achieving the Ultimate Blurred Perfection
Congratulations! You’ve made it to the final layer of our cake (and hopefully, haven’t gained any weight in the process!). Now it’s time to put everything we’ve learned together and achieve that ultimate blurred perfection.
Key Takeaways:
- Skincare is King (or Queen): A well-hydrated and prepped canvas is essential for a flawless finish.
- Choose Wisely: Selecting the right translucent loose setting powder is crucial. Consider your skin type and desired finish.
- Technique Matters: Master the art of powder application. Less is more, blend thoroughly, and experiment with different techniques.
- Troubleshoot Like a Pro: Identify common pitfalls and learn how to avoid them.
- Practice Makes Perfect: Don’t be afraid to experiment and find what works best for you.
Final Tips for Blurred Perfection:
- Use a Light Hand: Resist the urge to pile on the powder. A light dusting is all you need.
- Focus on the Center of Your Face: This is where you want the most blurring and oil control.
- Set Your Makeup Throughout the Day: Carry a small compact of translucent powder with you for touch-ups.
- Embrace Imperfection: Nobody is perfect! Don’t strive for flawless perfection. Embrace your natural beauty and let your inner radiance shine through. ✨
You are now officially equipped to conquer the world of translucent loose setting powder! Go forth and blur, my friends! Go forth and be fabulous! 🎉
And if all else fails, remember: there’s always the Instagram filter. Just kidding! (Mostly.) 😉
For detailed product specifications and purchases, please go to :https://zenamakeup.com/products/flawless-finish-translucent-loose-setting-powder
Leave a Reply