Achieving a Perfectly Coordinated Eye Look (Even if You’re a Makeup Klutz!) – A Lecture in Eye-tastic Transformation ✨
(Welcome, aspiring eye artists! Prepare for a journey into the land of perfectly coordinated peepers, where even the most makeup-challenged can emerge victorious. Grab your coffee ☕, buckle up, and let’s dive in!)
Introduction: The Myth of the Makeup Magician
Let’s face it: the world of eye makeup can seem daunting. We’re bombarded with images of flawlessly blended eyeshadows, perfectly winged liner, and lashes so voluminous they practically whisper sweet nothings. It’s easy to feel like you need a degree in Art History and a fairy godmother to achieve anything remotely similar.
But I’m here to tell you – that’s hogwash! 🐴 Achieving a coordinated eye look isn’t about being a makeup magician; it’s about understanding a few key principles, having the right tools (and a good sense of humor!), and practicing, practicing, practicing. And with the right complete set, the path becomes even smoother!
(Think of it like learning to ride a bike 🚲. You might wobble a bit at first, maybe even faceplant into a rose bush 🌹, but eventually, you’ll be cruising down the street like a pro!)
Lecture Outline:
- Deconstructing the "Coordinated" Eye Look: What Does It Even Mean?
- The Complete Set: Your Arsenal of Beauty
- Color Theory 101: Matching, Complementing, and Avoiding Disaster 🌈
- Step-by-Step Guide: From Zero to Hero in Minutes!
- Troubleshooting: Common Mistakes and How to Fix Them (Without Crying)
- Beyond the Basics: Elevating Your Eye Game
- Practice Makes Perfect: Embrace the Experimentation!
1. Deconstructing the "Coordinated" Eye Look: What Does It Even Mean?
So, what exactly constitutes a "coordinated" eye look? It’s more than just slapping on some random colors and hoping for the best. (Although, sometimes that can work too! 🤪)
A coordinated eye look generally means:
- Harmony: The colors used work well together, creating a visually pleasing effect. They don’t clash, fight, or make you look like you got dressed in the dark.
- Balance: The application is even and symmetrical (or intentionally asymmetrical if that’s your vibe!). One eye shouldn’t overpower the other.
- Purpose: The overall look complements your skin tone, eye color, and the occasion. You wouldn’t wear a neon green smokey eye to a funeral, right? (Unless you’re attending a very avant-garde funeral, in which case, go for it! 🤘)
- Definition: Highlights and shadows are strategically placed to enhance your eye shape and create dimension. This makes your eyes pop! 💥
Essentially, a coordinated eye look is a polished and intentional look that enhances your natural beauty.
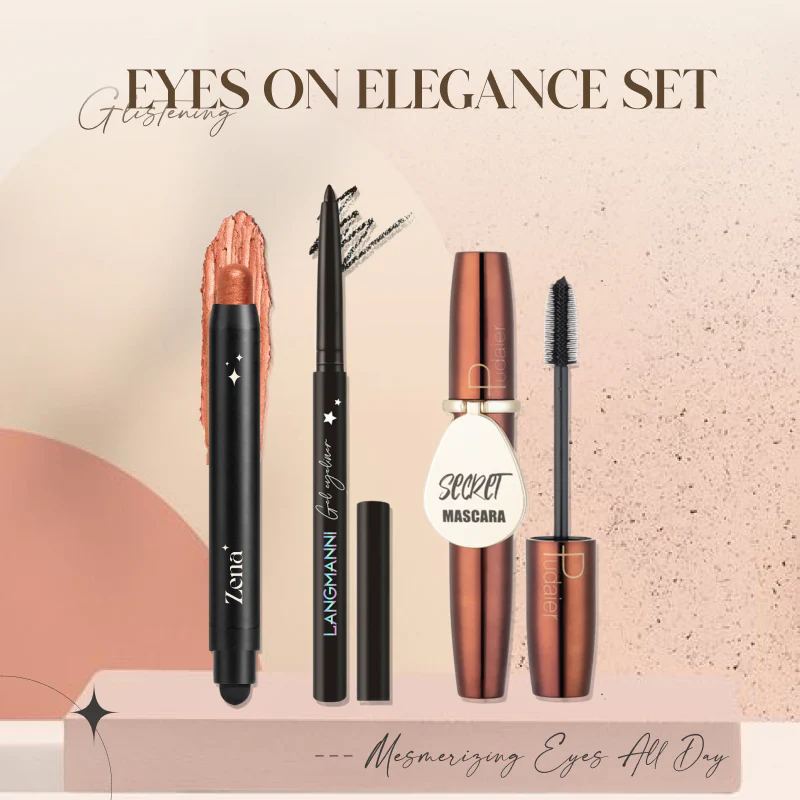
2. The Complete Set: Your Arsenal of Beauty
A complete eye makeup set is your secret weapon in this quest. It takes the guesswork out of choosing individual products and ensures that the colors are already designed to work together. But not all sets are created equal! Here’s what to look for:
| Feature | Description | Why It Matters |
|---|---|---|
| Eyeshadow Palette | A collection of eyeshadows in various shades, finishes (matte, shimmer, satin), and usually arranged in a way that suggests coordinated looks. Look for a palette with a good mix of light, medium, and dark shades. | The foundation of your eye look. Provides color, dimension, and allows for endless creativity. Having a variety of shades is crucial for creating depth and blending. |
| Eyeliner | Comes in various forms (pencil, gel, liquid), used to define the lash line and create different effects (winged, tightlined, smudged). Look for one that’s long-lasting, waterproof (if you’re prone to crying at rom-coms 😭), and easy to apply. | Adds definition and drama to the eyes. Can make lashes appear thicker and eyes look bigger. Different types of eyeliner offer different levels of precision and intensity. |
| Mascara | Used to lengthen, thicken, and darken eyelashes. Look for one that doesn’t clump, flake, or smudge. Consider your desired effect: lengthening, volumizing, or both. | Finishes the eye look and makes lashes stand out. Can dramatically enhance eye size and shape. A good mascara is a game-changer! |
| Eyebrow Pencil/Powder/Gel | Used to fill in and shape eyebrows. Look for a shade that matches your natural brow color. | Frames the face and enhances the eyes. Well-groomed brows can make a huge difference in your overall appearance. Think of them as the curtains for your beautiful eye windows! 🖼️ |
| Brushes | A set of brushes specifically designed for applying eyeshadow, eyeliner, and eyebrow products. Look for brushes made of soft, synthetic bristles. Common brushes include: blending brush, shader brush, pencil brush, angled brush. | Essential for precise application and blending. Different brush shapes and sizes are designed for different purposes. Having the right brushes makes the process much easier and more effective. |
| Primer | Applied to the eyelids before eyeshadow to create a smooth base and prevent creasing. | Extends the wear time of your eyeshadow and makes the colors appear more vibrant. Prevents your eyeshadow from disappearing into the abyss of your eyelid creases. |
| Makeup Remover | Essential for removing makeup at the end of the day. Look for a gentle, oil-based remover that won’t irritate your skin. | Crucial for maintaining healthy skin. Sleeping in makeup can clog pores and lead to breakouts. Treat your skin with kindness! ❤️ |
3. Color Theory 101: Matching, Complementing, and Avoiding Disaster 🌈
Understanding basic color theory is essential for creating a coordinated eye look. Don’t worry, you don’t need to be Picasso! Just a few simple concepts:
- Monochromatic: Using different shades of the same color. This is a foolproof way to achieve a coordinated look. Think: light pink, medium pink, dark pink.
- Analogous: Using colors that are next to each other on the color wheel. For example, blue and green, or orange and yellow.
- Complementary: Using colors that are opposite each other on the color wheel. For example, blue and orange, or green and red. (This can be tricky, so start with muted versions of these colors!)
- Neutral: Using shades like brown, beige, gray, and black. These are versatile and can be paired with almost any other color.
Table of Color Combinations:
| Color Family | Safe Bets (For Beginners) | Adventurous Options | Colors to Approach with Caution |
|---|---|---|---|
| Browns | Beige, Taupe, Gold | Olive Green, Navy Blue | Bright Pink, Neon Orange |
| Pinks | Gray, Silver, Mauve | Purple, Burgundy | Neon Green, Yellow |
| Blues | Gray, Silver, White | Copper, Bronze | Bright Red, Orange |
| Greens | Brown, Gold, Bronze | Purple, Plum | Hot Pink, Neon Yellow |
| Purples | Gray, Silver, Black | Green, Teal | Bright Orange, Yellow |
(Remember: These are just guidelines! The best way to learn is to experiment and see what you like. Don’t be afraid to break the rules!)
Avoiding Disaster:
Avoiding Disaster:
- Too much glitter: A little glitter can be fun, but too much can make you look like a disco ball. 🪩
- Unblended eyeshadow: Harsh lines and patchy color are a major no-no. Blend, blend, blend!
- Clashing colors: Avoid pairing colors that fight each other, like neon pink and bright orange.
- Overdoing it: Sometimes, less is more. A simple, well-executed eye look is often more effective than a complicated one.
4. Step-by-Step Guide: From Zero to Hero in Minutes!
Okay, let’s get practical! Here’s a step-by-step guide to creating a simple, coordinated eye look using your complete set:
- Prime Your Lids: Apply a thin layer of eyeshadow primer to your eyelids. This will create a smooth base and prevent creasing. Let it dry for a few seconds.
(Think of it like prepping a canvas before painting. You wouldn’t paint on a bumpy surface, would you?) - Apply a Base Shade: Choose a light, neutral shade from your eyeshadow palette (e.g., beige, cream). Apply it all over your eyelid, from lash line to brow bone, using a shader brush.
(This acts as a blank canvas and helps the other colors blend more easily.) - Apply a Transition Shade: Choose a medium shade from your palette (e.g., taupe, light brown). Apply it to your crease, using a blending brush. Blend, blend, blend!
(This creates depth and dimension. Imagine it as the soft shadow that defines the shape of your eye.) - Apply a Lid Shade: Choose a slightly darker or more shimmery shade from your palette (e.g., bronze, rose gold). Apply it to your eyelid, focusing on the center of the lid.
(This adds the main pop of color and draws attention to your eyes.) - Apply a Darker Shade (Optional): If you want more drama, choose a dark shade from your palette (e.g., dark brown, black). Apply it to the outer corner of your eye, using a pencil brush. Blend carefully to create a smokey effect.
(This adds depth and intensity. Remember to blend, blend, blend!) - Highlight: Apply a light, shimmery shade to your brow bone and the inner corner of your eye.
(This brightens the eyes and creates a lifted effect.) - Eyeliner: Apply eyeliner to your upper lash line, using your preferred method (pencil, gel, liquid). You can create a winged liner or simply define your lash line.
(This adds definition and makes lashes appear thicker.) - Mascara: Apply two coats of mascara to your upper and lower lashes.
(This finishes the eye look and makes lashes stand out.) - Eyebrows: Fill in and shape your eyebrows using your eyebrow pencil/powder/gel.
(This frames the face and enhances the eyes.)
(Voilà! You’ve created a perfectly coordinated eye look! Give yourself a pat on the back and admire your handiwork in the mirror. ✨)
5. Troubleshooting: Common Mistakes and How to Fix Them (Without Crying)
Even with the best intentions, mistakes happen. Here are some common problems and how to fix them:
| Problem | Solution |
|---|---|
| Uneven Eyeshadow | Use a blending brush to soften the edges and blend the colors together. |
| Too Much Eyeshadow | Use a clean blending brush to buff away excess eyeshadow. You can also use a makeup wipe to clean up any fallout. |
| Clumpy Mascara | Wipe off excess mascara from the wand before applying. Use a lash comb to separate your lashes. |
| Smudged Eyeliner | Use a cotton swab dipped in makeup remover to clean up the smudge. You can also set your eyeliner with eyeshadow to prevent it from smudging. |
| Overdrawn Eyebrows | Use a spoolie brush to blend out the eyebrow product and soften the lines. |
| Eyeshadow Fallout | Apply eyeshadow before foundation. This way, you can easily clean up any fallout without ruining your base makeup. Alternatively, use eyeshadow shields under your eyes during application. |
| Creasing Eyeshadow | Make sure you’re using an eyeshadow primer. Also, avoid applying too much eyeshadow to your eyelids. Setting your eyeshadow with a translucent powder can also help prevent creasing. |
(Remember: Makeup is all about experimentation! Don’t be afraid to make mistakes and learn from them. It’s just makeup – you can always wash it off and start again! 💦)
6. Beyond the Basics: Elevating Your Eye Game
Once you’ve mastered the basics, you can start experimenting with more advanced techniques:
- Cut Crease: A dramatic eye look that involves creating a sharp line in the crease of your eye.
- Halo Eye: A technique that involves placing a shimmery shade in the center of your eyelid to create a halo effect.
- Smokey Eye: A classic eye look that involves blending dark eyeshadows to create a smoldering effect.
- Graphic Liner: Using eyeliner to create bold, geometric shapes.
- Using Different Textures: Experiment with layering different eyeshadow textures, like matte, shimmer, and glitter.
(The possibilities are endless! Let your creativity run wild and have fun with it!)
7. Practice Makes Perfect: Embrace the Experimentation!
The key to mastering any skill is practice. Don’t be afraid to experiment with different colors, techniques, and styles. Try different looks on different days and see what you like best.
- Set aside time to practice: Even just 15-20 minutes a day can make a big difference.
- Watch tutorials: There are tons of great makeup tutorials on YouTube and other platforms.
- Take inspiration from others: Look at photos of eye makeup looks you admire and try to recreate them.
- Don’t be afraid to make mistakes: Mistakes are part of the learning process.
- Most importantly: Have fun!
(Remember, makeup should be enjoyable! Don’t put too much pressure on yourself to be perfect. Just relax, experiment, and have fun! 🎉)
Conclusion: Eye-mazing Potential Unleashed!
Congratulations! You’ve now completed your crash course in achieving perfectly coordinated eye looks. You’ve learned the basics of color theory, the importance of a complete set, and the step-by-step process of creating a flawless eye look.
(Now go forth and conquer the world, one perfectly coordinated eye look at a time! 🌎 And remember, even if you’re a makeup klutz, you have the potential to create eye-mazing looks that will make you feel confident and beautiful. Believe in yourself, embrace the process, and have fun! You got this! 💪)
For detailed product specifications and purchases, please go to :https://zenamakeup.com/products/glam-essentials-glitter-cream-eyeshadow-mascara-eyeliner-set
Leave a Reply