Lecture: Achieving a Perfectly Defined and Long-Lasting Eye Look Even with Limited Eyeliner Experience! 👁️✨
(Professor Glitter Sparkle, PhD in All Things Sparkly and Liner-ifically Fabulous, takes the stage, adjusting her oversized glasses.)
Alright, my beautiful beings! Welcome, welcome! To the hallowed halls of Liner-topia! 🎓 Today, we embark on a journey – a journey to conquer the dreaded eyeliner! 🐉 Fear not, for even if your current eyeliner skills resemble a toddler wielding a crayon during an earthquake 🌍, by the end of this lecture, you’ll be strutting around with wings sharp enough to cut diamonds! 💎
(Professor Sparkle gestures dramatically)
Forget those Instagram tutorials that make it look like effortless magic! We’re diving deep, peeling back the layers, and revealing the secrets to achieving a flawlessly defined and long-lasting eye look, even if your previous experience mostly involved stabbing yourself in the eyeball. (We’ve all been there. No judgement. 🙈)
Lecture Outline: The Liner-tastic Curriculum
Here’s what we’ll be covering today, future Liner Maestros:
- Liner Linguistics: Understanding the Language of Eyeliner. (Types, formulas, brushes – oh my!)
- Pre-Liner Prep: Laying the Foundation for Liner Longevity. (Priming, prepping, and preventing the dreaded smudge-fest!)
- Liner Application 101: From Chicken Scratch to Cat-Eye Confidence. (Techniques, tips, and tricks for beginners!)
- Troubleshooting Liner Tribulations: Fixing Common Mistakes and Avoiding Disaster. (Smudges, uneven lines, and the case of the disappearing wing!)
- Liner Longevity: Sealing the Deal for All-Day (and All-Night) Glam. (Setting, layering, and the power of waterproof formulas!)
- Beyond the Basics: Exploring Advanced Techniques and Liner Styles. (Winged liner variations, graphic liner, and more!)
- Practice Makes Perfect: Your Homework Assignment! (Don’t worry, it’s fun! Mostly.)
(Professor Sparkle winks)
1. Liner Linguistics: Understanding the Language of Eyeliner 🗣️
Think of eyeliner as a foreign language. You can’t just jump in and expect to be fluent! You need to learn the vocabulary and grammar. Let’s break down the key terms:
| Eyeliner Type | Description | Pros | Cons | Best For | Difficulty Level |
|---|---|---|---|---|---|
| Pencil | Creamy or waxy formula in a stick form. Available in retractable and sharpenable options. | Easy to use, blendable, forgiving. Great for tightlining and creating a smoky eye. Widely available and affordable. | Can smudge easily, not as precise as other types, may require frequent sharpening. Not ideal for sharp, defined wings. | Beginners, smoky eye looks, tightlining, everyday wear. | Easy |
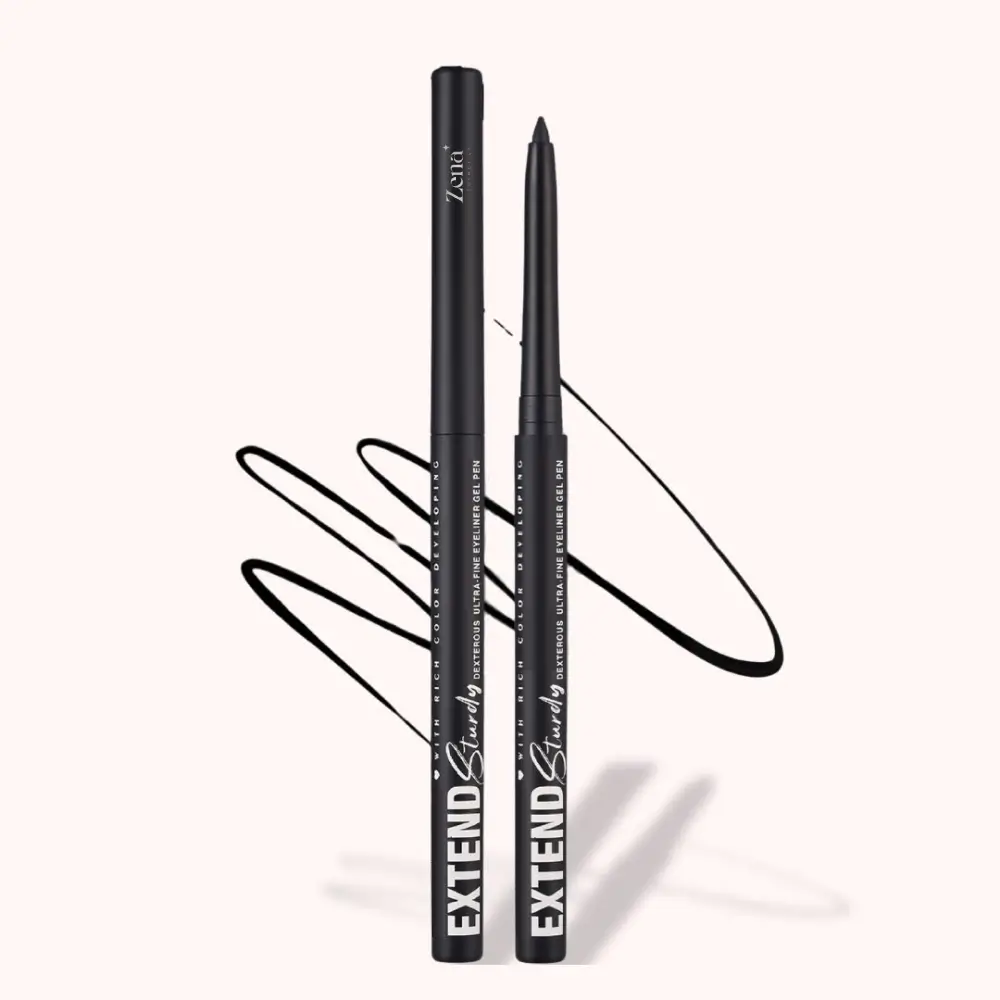
| Gel | Creamy, pigmented formula that comes in a pot or pencil form. Applied with a brush. | Long-lasting, highly pigmented, versatile. Can create both subtle and dramatic looks. | Requires a brush, can dry out quickly if not properly stored, takes practice to master. | Defined lines, winged liner, dramatic looks, oily eyelids. | Medium |
| Liquid | Thin, watery formula that comes in a pen or bottle with a brush applicator. | Creates the sharpest, most defined lines. Long-lasting, highly pigmented. | Can be tricky to apply, requires a steady hand, unforgiving of mistakes. Prone to flaking if not applied properly. | Sharp wings, graphic liner, dramatic looks, experienced users. | Hard |
| Felt Tip Liner | Liquid liner in a pen format with a felt tip applicator. | Easier to control than traditional liquid liner, precise application, good for beginners wanting to try liquid liner. | Can dry out quicker than brush-tip liquid liners, tip can fray over time, less flexible for creating very thin lines. | Beginners wanting to try liquid liner, defined lines, everyday wear. | Medium |
| Eyeshadow | Powdered pigment that can be used as eyeliner when applied with a damp brush. | Versatile, allows for soft, smoky looks, customizable colors. | Requires a specific brush, not as long-lasting as other types, can be prone to fallout. | Soft, smoky looks, subtle definition, experimenting with color. | Easy |
(Professor Sparkle pulls out a variety of eyeliners, showcasing each one)
Formula Focus:
- Waterproof: ☔️ Your best friend if you’re prone to watery eyes, live in a humid climate, or plan on crying dramatically during a rom-com. 😭
- Smudge-proof: 💪 Prevents your liner from migrating to your under-eye area and turning you into a raccoon. 🐼
- Long-wearing: ⏳ Designed to stay put for hours without fading or smudging.
- Highly Pigmented: 🎨 Delivers intense color payoff with minimal application.
Brush Breakdown (For Gel & Eyeshadow Liners):
- Angled Brush: 📐 Perfect for creating wings and defining the outer corner of the eye.
- Fine-Point Brush: 🖋️ Ideal for creating thin, precise lines and filling in the lash line.
- Smudge Brush: ☁️ Great for blending and creating a smoky effect.
2. Pre-Liner Prep: Laying the Foundation for Liner Longevity 🧱
Think of your eyelids as a canvas. You wouldn’t paint a masterpiece on a dirty, uneven surface, would you? (Unless you’re going for that abstract, "I woke up like this" look. 😉)
Essential Steps:
- Cleanse: 🧼 Remove any excess oil or makeup from your eyelids with a gentle cleanser.
- Prime: ✨ Apply an eyeshadow primer to create a smooth, even surface and prevent creasing. This is CRUCIAL for liner longevity. Think of it as the glue that holds everything together.
- Set (Optional): ⏳ If you have particularly oily eyelids, set your primer with a translucent powder.
(Professor Sparkle demonstrates each step on a volunteer from the audience)
Pro Tip: Avoid using oily moisturizers or eye creams on your eyelids before applying eyeliner. They can cause the liner to slip and slide. 😫
3. Liner Application 101: From Chicken Scratch to Cat-Eye Confidence 🐥➡️🐱
Okay, deep breaths everyone! This is where the magic (and potentially some frustration) happens. But fear not, I’m here to guide you through the process.
General Tips for All Liner Types:
- Start Small: Don’t try to create a dramatic wing on your first attempt. Begin with a thin, subtle line and gradually build up the intensity.
- Work in Sections: Instead of trying to draw one continuous line, break it down into smaller sections. This will give you more control and prevent mistakes.
- Use a Mirror: Position the mirror below your eye level. This will allow you to see your eyelid more clearly and avoid having to crane your neck.
- Brace Yourself: Rest your elbow on a table or counter to stabilize your hand. A shaky hand is the enemy of a perfect eyeliner! 🫨
- Don’t Stretch Your Eyelid: This can distort the shape of your eye and make it difficult to create a straight line.
- Q-Tips are Your Friend: Keep Q-tips handy to clean up any mistakes. Dip them in makeup remover for extra precision. 🪄
Specific Techniques:
- Pencil Liner:
- Start by tightlining (lining the upper waterline). This will create a fuller lash line and make your lashes appear thicker.
- Draw a thin line along your upper lash line, starting from the inner corner of your eye and working your way outwards.
- Smudge the line with a brush or your finger for a softer, more natural look.
- Gel Liner:
- Dip your angled brush into the gel liner. Wipe off any excess product.
- Start by creating a small wing at the outer corner of your eye. Use a dotting motion to create the shape, then connect the dots.
- Draw a line along your upper lash line, starting from the inner corner of your eye and connecting it to the wing.
- Liquid/Felt Tip Liner:
- Start by creating a small wing at the outer corner of your eye. Use short, light strokes to create the shape.
- Draw a line along your upper lash line, starting from the inner corner of your eye and connecting it to the wing.
- Keep the liner as close to your lash line as possible.
(Professor Sparkle demonstrates each technique on the volunteer, providing step-by-step instructions)
4. Troubleshooting Liner Tribulations: Fixing Common Mistakes and Avoiding Disaster 🚑
Even the most experienced makeup artists make mistakes. The key is to know how to fix them quickly and efficiently.
Even the most experienced makeup artists make mistakes. The key is to know how to fix them quickly and efficiently.
Common Issues and Solutions:
| Problem | Solution |
|---|---|
| Smudged Liner | Use a Q-tip dipped in makeup remover to gently clean up the smudge. If the smudge is extensive, you may need to reapply your base makeup. |
| Uneven Lines | Use a Q-tip or a fine-point brush to even out the lines. You can also use a small amount of concealer to clean up the edges. |
| Uneven Wings | Use a Q-tip or a fine-point brush to adjust the shape and size of the wings. You can also use a piece of tape as a guide. (More on that later!) |
| Disappearing Wing | This usually happens due to oily eyelids or hooded eyes. Make sure you’re using a good eyeshadow primer and setting it with powder. You may also need to use a waterproof or long-wearing formula. Consider drawing the wing slightly higher than you think it needs to be. |
| Liner Transferring to Lid | This often happens when using pencil liners on hooded or oily eyelids. Set the liner with eyeshadow of the same color. Consider using a gel or liquid liner instead. |
| Liner Looking Too Harsh | Use a smudge brush or a Q-tip to soften the edges of the liner. You can also apply a small amount of eyeshadow over the liner to create a softer, more blended look. |
(Professor Sparkle demonstrates how to fix common eyeliner mistakes on the volunteer)
Tape Trick for Perfect Wings:
- Cut two small pieces of tape.
- Place the tape at the outer corner of your eye, angling it upwards towards the end of your eyebrow.
- Use the tape as a guide to create your wing.
- Remove the tape and admire your perfectly symmetrical wings! 🎉
5. Liner Longevity: Sealing the Deal for All-Day (and All-Night) Glam 🔒
You’ve conquered the application process! Now, let’s make sure your masterpiece stays put all day (or night!).
Key Steps to Liner Longevity:
- Setting with Eyeshadow: Use a small, angled brush to apply eyeshadow in the same color as your eyeliner over the liner. This will help to set the liner and prevent it from smudging.
- Waterproof Topcoat: Consider using a waterproof topcoat specifically designed for eyeliner. This will create a barrier that protects your liner from moisture and oil.
- Layering: Layering different types of eyeliner can also help to increase longevity. For example, you can apply a pencil liner as a base, then layer a gel or liquid liner on top.
(Professor Sparkle demonstrates each step on the volunteer)
Pro Tip: Avoid touching your eyes throughout the day. This can transfer oil and dirt to your eyelids and cause your liner to smudge. 🙅♀️
6. Beyond the Basics: Exploring Advanced Techniques and Liner Styles 🚀
Congratulations! You’ve mastered the basics. Now, let’s get creative!
Winged Liner Variations:
- Classic Wing: The traditional winged liner look, perfect for adding drama and definition to your eyes.
- Fishtail Wing: A double-winged liner look that creates a unique and edgy effect.
- Smoked Wing: A softer, more blended version of the classic wing, perfect for everyday wear.
- Floating Wing: A winged liner look that doesn’t connect to the lash line, creating a graphic and modern effect.
Graphic Liner:
- Involves creating bold, geometric shapes around the eyes using eyeliner. This can be a fun and expressive way to experiment with makeup.
(Professor Sparkle showcases examples of different liner styles on models)
Experiment with Color!
- Don’t be afraid to try different colors of eyeliner. Navy blue, emerald green, and burgundy can all be beautiful and unexpected choices.
7. Practice Makes Perfect: Your Homework Assignment! 📝
(Professor Sparkle smiles encouragingly)
Now it’s your turn to put everything you’ve learned into practice!
Your assignment is to:
- Choose your favorite eyeliner type and color.
- Practice applying eyeliner every day for a week.
- Experiment with different techniques and styles.
- Take pictures of your progress and share them on social media using the hashtag #LinerLover.
(Professor Sparkle winks)
Don’t be discouraged if you don’t get it right away. It takes time and practice to master the art of eyeliner. But with patience and perseverance, you’ll be creating flawless eye looks in no time!
(Professor Sparkle bows as the audience applauds)
And that, my beautiful beings, concludes our Liner-tastic Lecture! Go forth and conquer the world, one perfectly winged eye at a time! ✨💖
For detailed product specifications and purchases, please go to :https://zenamakeup.com/products/long-wear-precision-gel-eyeliner-pen
Leave a Reply