Sparkling Eyes, Zero Stress: Your Foolproof Guide to Professional-Looking Eye Makeup with Stick Sets (Even If You’re a Makeup Klutz!)
Welcome, Glamazons! ✨
Alright, gather ’round, makeup newbies and seasoned pros looking for a quicker, easier route to dazzling peepers! Today’s lecture is all about unlocking the magic of stick eyeshadow sets. Forget the complicated palettes, the endless brush options, and the fear of looking like a raccoon who lost a fight with a glitter bomb. We’re diving headfirst into the wonderful world of effortless, professional-looking eye makeup, all thanks to the humble yet mighty eyeshadow stick.
Think of me as your fairy godmother, but instead of a pumpkin carriage, I’m giving you the power to transform your eyes from "blah" to "BAM!" in minutes. And trust me, even if your previous attempts at eye makeup have resulted in more tears than compliments, I promise you’ll be rocking a sparkling, sophisticated look by the end of this session.
So, grab your favorite beverage ☕ (wine is perfectly acceptable!), settle in, and let’s get ready to glow!
Lecture Outline:
- The Eyeshadow Stick Revolution: Why We’re Obsessed! (The benefits laid bare)
- Decoding the Stick Set: What to Look For (Navigating the options like a pro)
- Tools of the Trade: Beyond the Stick (Essential companions for stick success)
- Mastering the Techniques: Application Secrets Revealed! (Step-by-step guide for flawless results)
- Color Theory for Stick Newbies: Avoiding the Clown Effect (Choosing the right shades for your eye color)
- Troubleshooting Your Stick: Common Mistakes and How to Fix Them (Don’t panic! We’ve got you covered)
- Beyond the Basics: Advanced Techniques and Creative Looks (Level up your stick game!)
- The Ultimate Stick Set Shopping Guide: Our Top Recommendations! (Spoil yourself with the best)
- Practice Makes Perfect: Your Homework Assignment! (Yes, there will be homework, but it’s fun!)
1. The Eyeshadow Stick Revolution: Why We’re Obsessed! 💖
Let’s be honest, traditional eyeshadow palettes can be intimidating. So many colors! So many brushes! So much potential for epic fails! Eyeshadow sticks, on the other hand, are the superheroes of the makeup world – they swoop in, save the day, and leave you looking fabulous with minimal effort.
Here’s why we’re completely and utterly obsessed with them:
- Speed Demon: Forget spending half an hour blending and buffing. Eyeshadow sticks are all about speed. Swipe, blend (maybe!), and go! Perfect for busy mornings, last-minute dates, or when you just can’t be bothered with a full-blown makeup routine.
- Beginner-Friendly Bliss: If you’re new to eye makeup, eyeshadow sticks are your best friend. They’re incredibly easy to use, requiring minimal skill and precision. No more fearing the dreaded "panda eyes"! 🐼
- Portability Powerhouse: These babies are perfect for travel. Toss them in your purse, your gym bag, or your carry-on – no need to lug around a bulky palette.
- Creamy Dreamy Texture: The creamy formula of most eyeshadow sticks blends like a dream, creating a smooth, even finish. No more chalky, patchy eyeshadow!
- Versatility Vibes: Eyeshadow sticks can be used in so many ways – as an all-over lid color, as a liner, as a highlighter, or even as a base for powder eyeshadow.
- Minimal Fallout, Maximum Impact: Say goodbye to annoying eyeshadow fallout that ends up all over your cheeks. Eyeshadow sticks tend to have less fallout than powder shadows, keeping your complexion clean and radiant.
- Affordable Awesomeness: You can find fantastic eyeshadow stick sets at a variety of price points, making them accessible to everyone. No need to break the bank for gorgeous eyes! 💰
In short, eyeshadow sticks are the lazy girl’s (or busy woman’s) secret weapon for achieving a professional-looking eye makeup look in minutes.
2. Decoding the Stick Set: What to Look For 🧐
Not all eyeshadow stick sets are created equal. To ensure you’re getting the best bang for your buck, consider these factors:
| Feature | Description | Why It Matters |
|---|---|---|
| Color Range | The variety of shades included in the set. | A good set should offer a mix of neutral shades (browns, beiges, creams) for everyday wear, as well as some bolder colors (blues, greens, purples) for special occasions. Consider what colors you tend to wear most often. |
| Pigmentation | The intensity of the color payoff. | You want highly pigmented sticks that deliver vibrant color with just one or two swipes. Look for swatches online or in reviews to gauge the pigmentation. |
| Blendability | How easily the formula blends on the skin. | A blendable formula is crucial for creating a seamless, professional-looking finish. Read reviews to see what users say about the blendability of the sticks. |
| Longevity | How long the eyeshadow stays put without creasing, fading, or smudging. | Look for long-wearing, crease-resistant formulas that will keep your eye makeup looking fresh all day long. Using an eyeshadow primer underneath can also help with longevity. |
| Texture | The consistency of the formula (e.g., creamy, waxy, powdery). | Creamy textures tend to be the easiest to blend, while powdery textures may be more prone to fallout. Experiment to find a texture that you like. |
| Packaging | The design and functionality of the packaging. | Look for sticks that are easy to grip and apply. Some sticks come with built-in sharpeners, which can be a bonus. Also, consider how easily the packaging can be stored and transported. |
| Ingredients | The list of ingredients in the formula. | If you have sensitive skin or allergies, be sure to check the ingredient list carefully. Look for hypoallergenic, fragrance-free formulas. |
| Price | The cost of the set. | Eyeshadow stick sets range in price from very affordable to quite expensive. Determine your budget and look for sets that offer good value for the money. Don’t always assume that the most expensive set is the best. |
Pro Tip: Read reviews! See what other users have to say about the performance of the stick set. Look for reviews that mention blendability, pigmentation, longevity, and ease of use.
3. Tools of the Trade: Beyond the Stick 🧰
While eyeshadow sticks are designed to be user-friendly, a few extra tools can help you achieve a truly flawless finish. Don’t worry, we’re not talking about a full-blown makeup artist kit here. Just a few essentials:
- Eyeshadow Primer: This is your secret weapon for long-lasting, crease-free eyeshadow. Apply a thin layer to your eyelids before applying your eyeshadow stick. It creates a smooth canvas and helps the color adhere better.
- Blending Brush: While you can blend eyeshadow sticks with your fingers, a blending brush will give you a more diffused, seamless finish. Opt for a soft, fluffy brush.
- Pencil Brush: This small, tapered brush is perfect for smudging eyeshadow along the lash line or for applying color to the inner corner of the eye.
- Cotton Swabs: Essential for cleaning up any mistakes or smudges.
- Makeup Remover Wipes: For those "oops" moments, makeup remover wipes are a lifesaver.
- Eyelash Curler (Optional): If you want to add extra oomph to your lashes, an eyelash curler is a great tool to have.
- Mascara (Essential!): No eye makeup look is complete without mascara!
Think of these tools as your trusty sidekicks, helping you conquer the world of eyeshadow sticks like a true pro.
4. Mastering the Techniques: Application Secrets Revealed! 🎬
Alright, the moment you’ve been waiting for! Let’s get into the nitty-gritty of applying eyeshadow sticks like a boss.
Basic Application (The "One-and-Done" Look):
- Prime Time: Apply a thin layer of eyeshadow primer to your eyelids.
- Swipe Right: Choose your desired eyeshadow stick shade and swipe it directly onto your eyelid, starting from the inner corner and working your way outwards.
- Blend, Baby, Blend!: Use your finger or a blending brush to blend the edges of the eyeshadow, softening any harsh lines.
- Lash Out: Apply mascara to your top and bottom lashes.
That’s it! Seriously! You’ve just created a beautiful, effortless eye makeup look in minutes.
Pro Tips for Basic Application:
- Start with a light hand: It’s always easier to add more color than to take it away.
- Work quickly: Eyeshadow sticks tend to set quickly, so blend as soon as you apply the color.
- Don’t be afraid to layer: You can layer different shades of eyeshadow stick to create a more complex look.
Advanced Application (Taking It to the Next Level):
- Prime Time (Again!): Never skip the primer!
- Base Color: Apply a neutral eyeshadow stick shade (like a beige or cream) all over your eyelid as a base.
- Crease Color: Choose a slightly darker shade of eyeshadow stick and apply it to your crease (the area where your eyelid folds). Blend well.
- Lid Color: Apply your desired eyeshadow stick shade to your eyelid.
- Highlight: Apply a light, shimmery eyeshadow stick shade to your inner corner and brow bone. This will brighten your eyes and make them look more awake.
- Liner (Optional): Use a dark eyeshadow stick shade to line your upper and lower lash lines. Smudge the liner with a pencil brush for a softer look.
- Mascara Magic: Apply mascara to your top and bottom lashes.
Step-by-Step Table for Advanced Application:
| Step | Action | Shade Type | Purpose | Tool Recommendation |
|---|---|---|---|---|
| 1 | Apply Primer | N/A | Create smooth canvas, enhance longevity | Finger |
| 2 | Base Color Application | Neutral (Beige/Cream) | Even out skin tone, prepare for other colors | Eyeshadow Stick/Finger |
| 3 | Crease Color Application | Medium (Brown/Taupe) | Define the crease, add dimension | Eyeshadow Stick/Blending Brush |
| 4 | Lid Color Application | Desired Shade | Main color focus on the eyelid | Eyeshadow Stick/Finger |
| 5 | Highlight Application | Light/Shimmery | Brighten the inner corner & brow bone | Eyeshadow Stick/Pencil Brush |
| 6 | Liner (Optional) | Dark (Brown/Black) | Define the lash line | Eyeshadow Stick/Pencil Brush |
| 7 | Mascara | Black/Brown | Complete the look, define lashes | Mascara Wand |
Pro Tips for Advanced Application:
- Use a light touch: Build up the color gradually to avoid overdoing it.
- Blend, blend, blend!: Blending is key to creating a seamless, professional-looking finish.
- Experiment with different color combinations: Don’t be afraid to try new things!
- Use a mirror with good lighting: This will help you see what you’re doing and avoid any mistakes.
5. Color Theory for Stick Newbies: Avoiding the Clown Effect 🤡
Choosing the right eyeshadow stick shades for your eye color can make all the difference. Here’s a quick guide to help you navigate the color wheel and avoid looking like you just escaped from the circus:
- Blue Eyes: Warm, earthy tones like browns, golds, peaches, and oranges will make your blue eyes pop. Avoid cool-toned colors like blues and greens, which can make your eyes look washed out.
- Green Eyes: Purples, plums, mauves, and bronzes will enhance the green in your eyes. Avoid greens that are too similar to your eye color, as they can make your eyes blend in.
- Brown Eyes: Lucky you! Brown eyes can pull off almost any color. Experiment with different shades to see what you like best. Coppers, golds, greens, and blues are all great choices.
- Hazel Eyes: Hazel eyes are a chameleon, changing color depending on what you’re wearing. Experiment with different colors to bring out the green or brown tones in your eyes. Purples, golds, and greens are all good options.
Color Table based on Eye Color
| Eye Color | Complementary Colors (Stick Shades) | Colors to Avoid (Usually) |
|---|---|---|
| Blue | Warm Browns, Golds, Peaches, Coppers | Cool Blues, Greens, Silvers (unless used sparingly) |
| Green | Purples, Plums, Bronzes, Mauves | Greens (too close to eye color), Neon Pinks |
| Brown | Gold, Bronze, Copper, Green, Blue, Purple, Teal | Almost anything works! Experiment! |
| Hazel | Purples, Golds, Greens, Browns, Coppers | Depends on the dominant color of the hazel eye (experiment!) |
Remember, these are just guidelines. Don’t be afraid to experiment and find what works best for you!
6. Troubleshooting Your Stick: Common Mistakes and How to Fix Them 🛠️
Even with the best intentions, mistakes can happen. Here are some common eyeshadow stick mishaps and how to fix them:
- Creasing: This usually happens when your eyelids are oily or you’re using a formula that’s not long-wearing. Solution: Use an eyeshadow primer and opt for a crease-resistant formula. You can also try setting your eyeshadow with a light dusting of translucent powder.
- Smudging: This can happen if you’re not careful when applying your eyeshadow or if you’re using a formula that’s too creamy. Solution: Use a light hand when applying your eyeshadow and blend well. You can also try setting your eyeshadow with a light dusting of translucent powder.
- Uneven Application: This can happen if you’re not using a consistent pressure when applying your eyeshadow stick. Solution: Practice applying your eyeshadow stick evenly. You can also use a blending brush to even out the color.
- Too Much Color: This can happen if you’re too heavy-handed with your eyeshadow stick. Solution: Start with a light hand and build up the color gradually. You can also use a blending brush to diffuse the color.
- Fallout: While eyeshadow sticks tend to have less fallout than powder shadows, it can still happen. Solution: Apply your eyeshadow before your foundation to avoid messing up your complexion. You can also use a tissue to catch any fallout.
Don’t beat yourself up over mistakes! Everyone makes them. Just learn from them and keep practicing.
7. Beyond the Basics: Advanced Techniques and Creative Looks 🎨
Once you’ve mastered the basics, you can start experimenting with more advanced techniques and creative looks. Here are a few ideas to get you started:
- Smoky Eye: Use a dark eyeshadow stick shade (like black or brown) to create a smoky eye. Apply the color to your eyelid and crease, then blend well. Add a touch of shimmer to the inner corner for extra impact.
- Halo Eye: Create a halo effect by applying a dark eyeshadow stick shade to the outer and inner corners of your eyelid, leaving the center of your eyelid bare. Apply a light, shimmery eyeshadow stick shade to the center of your eyelid to create a halo effect.
- Cut Crease: Define your crease by applying a dark eyeshadow stick shade to your crease, then using a concealer to carve out a sharp line above your crease. Apply a light eyeshadow stick shade to your eyelid.
- Graphic Liner: Use a dark eyeshadow stick shade to create a graphic liner look. Experiment with different shapes and lines.
The possibilities are endless! Let your creativity run wild and have fun!
8. The Ultimate Stick Set Shopping Guide: Our Top Recommendations! 🛍️
Now that you know everything there is to know about eyeshadow sticks, it’s time to go shopping! Here are a few of our top recommendations:
- [Brand A] Eyeshadow Stick Set: (Affordable option with great color payoff)
- [Brand B] Long-Wearing Eyeshadow Stick Set: (Perfect for all-day wear with minimal creasing)
- [Brand C] Luxury Eyeshadow Stick Set: (High-end option with a creamy, blendable formula)
- [Brand D] Eyeshadow Stick Set for Sensitive Skin: (Hypoallergenic and fragrance-free)
Remember to consider your budget, your skin type, and your desired color range when choosing an eyeshadow stick set.
9. Practice Makes Perfect: Your Homework Assignment! 📝
Congratulations, you’ve reached the end of our lecture! Now it’s time to put your newfound knowledge to the test.
Your homework assignment is to create at least three different eye makeup looks using your eyeshadow stick set.
- Look #1: The Basic "One-and-Done" Look
- Look #2: The Advanced Everyday Look
- Look #3: A Creative Look of Your Choice (Smoky Eye, Halo Eye, Graphic Liner, etc.)
Take pictures of your creations and share them with me (virtually, of course!). I can’t wait to see what you come up with!
Final Thoughts:
Remember, makeup is all about having fun and expressing yourself. Don’t be afraid to experiment, make mistakes, and learn from them. With a little practice, you’ll be rocking professional-looking eye makeup in no time!
Now go forth and sparkle! ✨
Class dismissed! 👩🏫🎉
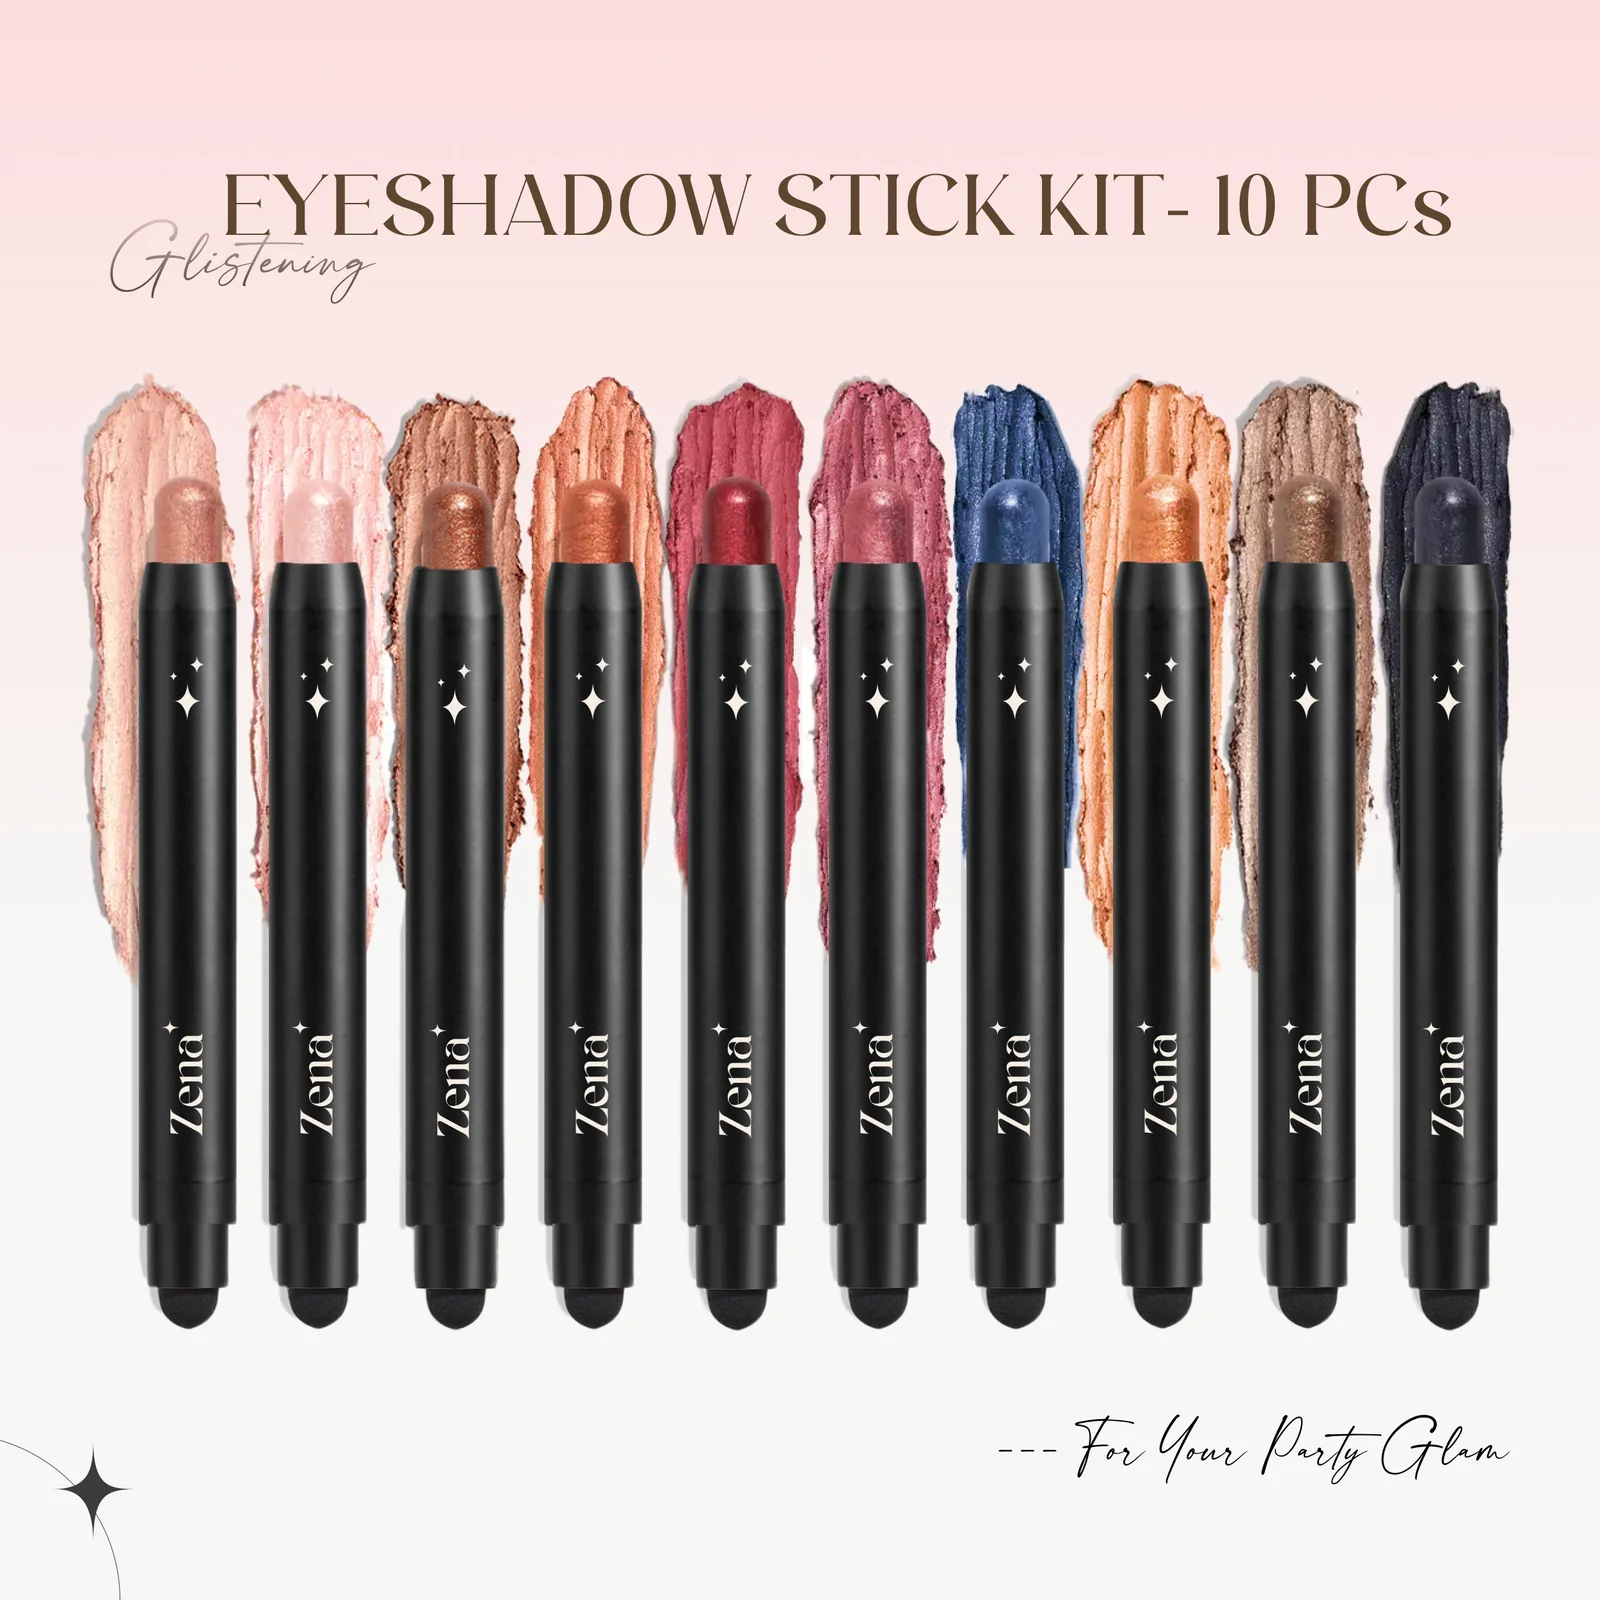
For detailed product specifications and purchases, please go to :https://zenamakeup.com/products/dazzle-collection-10-piece-glitter-cream-eyeshadow-stick-set
Leave a Reply