Achieving Flawless, Crease-Free Eyeshadow That Stays Vibrant All Day with This Easy-to-Use Set: A Masterclass in Lid Perfection 🎓
Alright, darling makeup mavens and eyeshadow aficionados! Welcome, welcome, to my exclusive lecture on the art of achieving eyeshadow perfection. Forget everything you thought you knew about battling the dreaded crease monster and wrestling with faded pigment. Today, we’re unlocking the secrets to eyeshadow that’s not just good, but downright gorgeous, lasts all day, and looks like it was applied by a professional… even if the closest you’ve gotten to a professional is watching them on YouTube. 😜
We’re ditching the frustration, embracing the fun, and empowering you with the knowledge and techniques to create eyeshadow looks that will turn heads and boost your confidence. And yes, we’ll be talking about a particularly fabulous "Easy-to-Use Set" that will make your life infinitely easier. Think of it as your secret weapon in the battle against blah.
So, grab your coffee ☕ (or wine 🍷, no judgment!), settle in, and let’s dive into the wonderful world of crease-free, vibrant eyeshadow!
Lecture Outline:
- The Anatomy of an Eyeshadow Disaster: Why Does My Eyeshadow Crease & Fade? (Understanding the Enemy)
- The Foundation is Key: Priming for Success (Building a Solid Base)
- Brush Up on Your Skills: Mastering Brush Selection and Techniques (The Tools of the Trade)
- Color Theory 101: Choosing Shades That Flatter (Unlocking Your Inner Artist)
- Eyeshadow Application: A Step-by-Step Guide to Perfection (The Grand Finale)
- Introducing the Star: The "Easy-to-Use Set" Advantage (Your Secret Weapon)
- Troubleshooting: Common Eyeshadow Woes and How to Fix Them (The Emergency Room)
- Sealing the Deal: Setting Sprays and Longevity Tips (Long-Lasting Love)
- Practice Makes Perfect: Embracing the Learning Curve (Homework!)
1. The Anatomy of an Eyeshadow Disaster: Why Does My Eyeshadow Crease & Fade? (Understanding the Enemy)
Before we can conquer the crease, we need to understand its origins. Think of it like diagnosing a patient before prescribing medication. Why is your eyeshadow staging a rebellion and deserting your lids faster than you can say "blend, blend, blend"? Here are the usual suspects:
- Oily Lids: The biggest culprit! Your eyelids naturally produce oil, and eyeshadow loves to mingle with it… in the worst way. This creates a slippery surface that causes your eyeshadow to migrate, crease, and generally misbehave. 😫
- Lack of Primer: Applying eyeshadow without a primer is like building a house without a foundation. It’s just not going to hold up. Primer acts as a barrier, absorbing excess oil and creating a smooth, even surface for your eyeshadow to grip onto.
- Poor Quality Eyeshadow: Let’s be honest, not all eyeshadows are created equal. Some are chalky, poorly pigmented, and prone to fading and creasing, no matter how much you try. Investing in quality eyeshadows is an investment in your sanity. 💸
- Over-Application: Piling on layer after layer of eyeshadow can actually cause creasing. It creates a thick, heavy layer that’s more likely to shift and settle into fine lines. Less is often more!
- Not Blending Properly: Harsh lines and unblended edges are not only aesthetically displeasing, but they can also contribute to creasing. Blending is key to a seamless, long-lasting eyeshadow look. 🖌️
- Environmental Factors: Humidity, heat, and even excessive blinking can contribute to eyeshadow breakdown.
Think of it this way: Your eyelid is like a tiny, oily slip-n-slide. Your eyeshadow is the unsuspecting participant. Without the proper preparation (primer!), they’re destined for a bumpy, crease-filled ride.
2. The Foundation is Key: Priming for Success (Building a Solid Base)
Now that we know why eyeshadows go rogue, let’s talk about the solution: Primer! This is non-negotiable. Think of it as the scaffolding that holds your eyeshadow masterpiece together.
Why Primer is Your BFF:
- Oil Control: Absorbs excess oil, creating a matte surface for your eyeshadow to adhere to.
- Smooths Texture: Fills in fine lines and imperfections, creating a smooth canvas.
- Enhances Pigment: Makes your eyeshadow colors appear more vibrant and true to their pan color.
- Increases Longevity: Extends the wear time of your eyeshadow, preventing fading and creasing.
Types of Primers:
| Type of Primer | Best For | Texture | Benefits |
|---|---|---|---|
| Traditional Eyeshadow Primer | Most skin types | Creamy, slightly tacky | Excellent for oil control, smoothing texture, and enhancing pigment. |
| Tinted Eyeshadow Primer | Evening out skin tone, concealing veins | Creamy, pigmented | Provides a base color and conceals imperfections, reducing the need for additional concealer. |
| Glitter Glue | Glitter eyeshadows | Sticky, clear | Specifically designed to hold glitter in place, preventing fallout and creasing. |
| Concealer as Primer | (In a pinch) | Creamy, varies depending on concealer | Can work in a pinch, but may not provide the same level of oil control and longevity as a dedicated eyeshadow primer. Use sparingly and set with powder. |
Application Technique:
- Cleanse and Moisturize: Start with a clean, moisturized eyelid.
- Apply a Small Amount: A little primer goes a long way! Use your fingertip or a small brush to apply a thin, even layer to your entire eyelid, from lash line to brow bone (if you plan on applying eyeshadow that high).
- Let it Set: Allow the primer to dry completely before applying eyeshadow. This usually takes about 30 seconds. You’ll know it’s ready when it feels slightly tacky to the touch.
Pro Tip: If you have extremely oily lids, consider setting your primer with a translucent powder before applying eyeshadow. This will further absorb oil and create an even more secure base.
3. Brush Up on Your Skills: Mastering Brush Selection and Techniques (The Tools of the Trade)
Using the right brushes is like having the right tools for any job. You wouldn’t try to paint a masterpiece with a toothbrush, would you? (Okay, maybe some abstract expressionists would, but you get the point!).
Essential Eyeshadow Brushes:
- Blending Brush: Fluffy, tapered bristles for seamlessly blending eyeshadow colors together. This is your workhorse brush! 🐴
- Crease Brush: Smaller, more precise blending brush for defining the crease of your eye.
- Flat Shader Brush: Flat, dense bristles for packing eyeshadow onto the lid.
- Pencil Brush: Small, pointed brush for applying eyeshadow to the lower lash line or inner corner of the eye.
- Angled Brush: For applying brow powder or eyeliner.
Brush Materials:
- Natural Bristles: Best for powder products, pick up and deposit pigment well.
- Synthetic Bristles: Best for cream and liquid products, less likely to absorb product.
Brush Cleaning:
- Regular Cleaning: Clean your brushes at least once a week with a brush cleanser or mild soap and water. Dirty brushes can harbor bacteria and lead to breakouts. 🦠
- Deep Cleaning: Deep clean your brushes every few weeks with a brush cleaning mat or glove to remove stubborn residue.
Brush Techniques:
- Packing: Pat the eyeshadow onto the lid with a flat shader brush. This technique is best for applying base colors and shimmers.
- Blending: Use a blending brush in small, circular motions to blend the edges of different eyeshadow colors together.
- Wiping: Use a clean brush or tissue to wipe away excess eyeshadow or fallout.
Pro Tip: Invest in a good quality brush set. It will make a world of difference in your eyeshadow application. Think of it as a long-term investment in your beauty arsenal.
4. Color Theory 101: Choosing Shades That Flatter (Unlocking Your Inner Artist)
Choosing eyeshadow colors can feel overwhelming, but it doesn’t have to be! Understanding basic color theory can help you select shades that complement your eye color and skin tone.
Key Concepts:
- Complementary Colors: Colors that are opposite each other on the color wheel (e.g., blue and orange, green and red). Using complementary colors can make your eyes pop. 💥
- Analogous Colors: Colors that are next to each other on the color wheel (e.g., blue, blue-green, green). Using analogous colors creates a harmonious and subtle look.
- Neutral Colors: Colors like brown, beige, gray, and black that can be used as a base or to add depth and dimension.
Eyeshadow Colors for Different Eye Colors:
| Eye Color | Complementary Colors | Neutral Options |
|---|---|---|
| Blue | Warm browns, oranges, peaches, golds | Taupe, gray, black |
| Green | Purples, reds, pinks, bronzes | Brown, taupe, charcoal |
| Brown | Blues, greens, purples, golds | Brown, taupe, bronze |
| Hazel | Greens, purples, golds, browns (hazel eyes can pull off a wide range of colors!) | Brown, taupe, bronze |
Eyeshadow Colors for Different Skin Tones:
- Fair Skin: Light and pastel shades, avoid overly dark or heavy colors.
- Medium Skin: A wide range of colors, experiment with different shades and finishes.
- Olive Skin: Warm and earthy tones, golds, bronzes, greens.
- Dark Skin: Rich and vibrant colors, jewel tones, metallics.
Pro Tip: Don’t be afraid to experiment! The best way to find out what colors look good on you is to try them out. Play around with different palettes and combinations until you find your signature look.
5. Eyeshadow Application: A Step-by-Step Guide to Perfection (The Grand Finale)
Alright, it’s showtime! Let’s put all of our newfound knowledge into practice and create a stunning eyeshadow look.
Alright, it’s showtime! Let’s put all of our newfound knowledge into practice and create a stunning eyeshadow look.
Basic Eyeshadow Application Steps:
- Apply Primer: As we discussed, this is crucial!
- Apply Base Color: Use a flat shader brush to apply a neutral base color all over your eyelid, from lash line to brow bone (if desired). This will create a smooth, even canvas for your other eyeshadows.
- Apply Crease Color: Use a crease brush to apply a slightly darker shade to the crease of your eye. Blend well to create depth and dimension.
- Apply Lid Color: Use a flat shader brush to apply your desired lid color to the center of your eyelid.
- Blend, Blend, Blend: Use a blending brush to blend all of the colors together, ensuring there are no harsh lines or edges.
- Highlight: Apply a light, shimmery shade to the inner corner of your eye and under your brow bone to highlight and brighten.
- Lower Lash Line (Optional): Use a pencil brush to apply a small amount of eyeshadow to your lower lash line.
- Eyeliner (Optional): Apply eyeliner to your upper lash line to define your eyes.
- Mascara: Apply mascara to your upper and lower lashes to complete the look.
Eyeshadow Looks for Different Occasions:
- Everyday Look: Neutral shades, matte finish.
- Night Out Look: Smoky eye, shimmery shades, bold eyeliner.
- Special Occasion Look: Dramatic colors, glitter, false lashes.
Pro Tip: Use a light hand when applying eyeshadow. It’s always easier to add more color than it is to remove it.
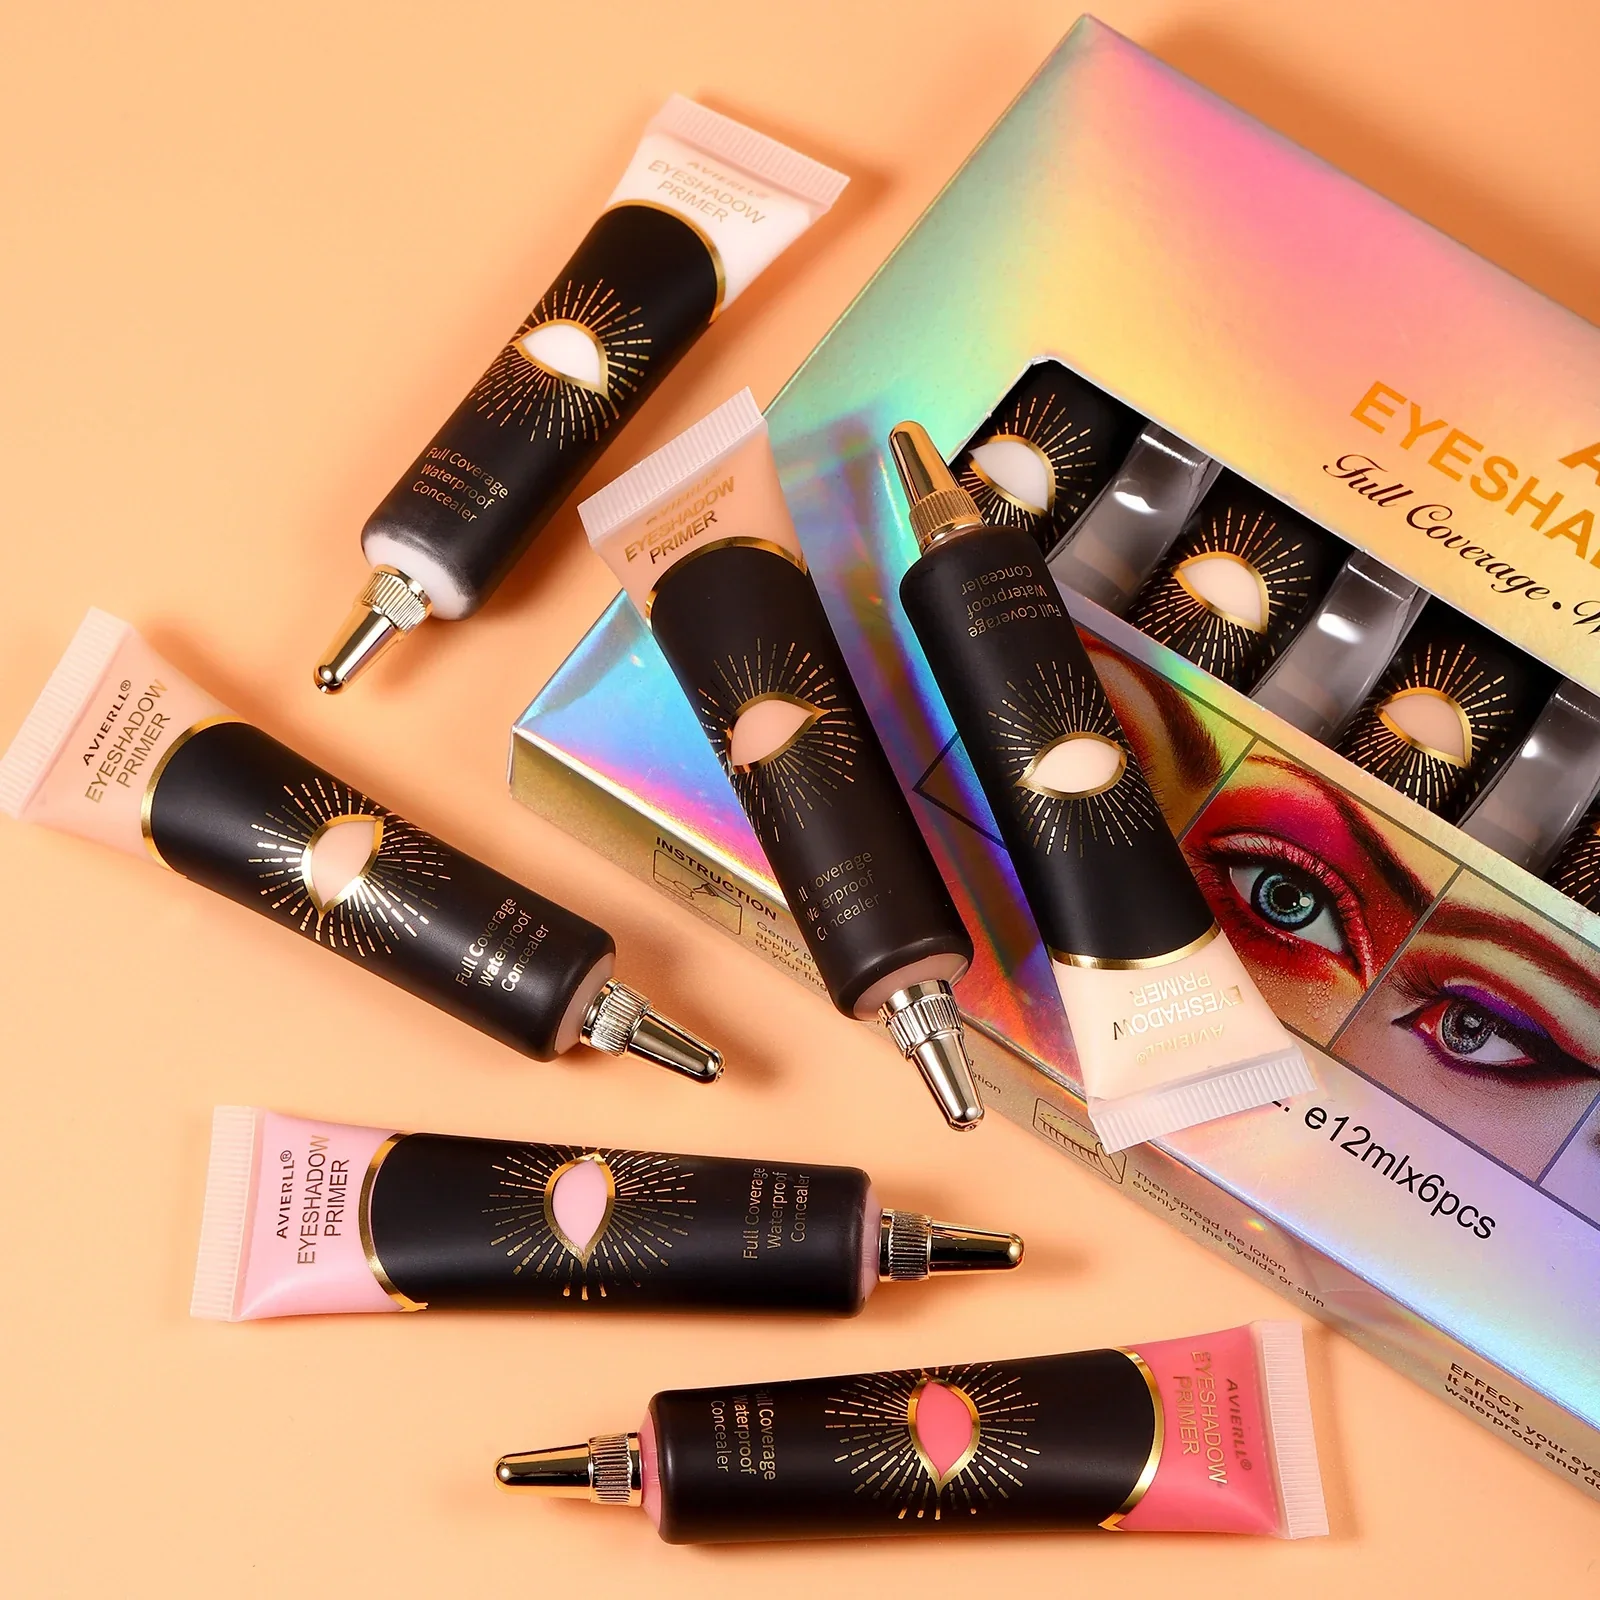
6. Introducing the Star: The "Easy-to-Use Set" Advantage (Your Secret Weapon)
Now, let’s talk about the star of the show: the "Easy-to-Use Set." This isn’t just any collection of eyeshadows; it’s a curated selection of high-quality, blendable shades designed to simplify the eyeshadow application process.
What Makes This Set So Special?
- Curated Color Palette: The set includes a range of complementary shades that are easy to mix and match, taking the guesswork out of choosing colors.
- High-Quality Formula: The eyeshadows are highly pigmented, blendable, and long-lasting, minimizing creasing and fading.
- Beginner-Friendly: The set comes with a step-by-step guide and tutorial videos, making it easy for beginners to create stunning eyeshadow looks.
- Convenient Packaging: The compact and travel-friendly packaging makes it easy to take your eyeshadow collection on the go.
Example Set Features (Illustrative):
| Feature | Description | Benefit |
|---|---|---|
| Shade Range | Includes 8-12 complementary shades in matte, shimmer, and satin finishes, ranging from light neutrals to rich jewel tones. | Provides versatility for creating a wide range of looks, from everyday natural to dramatic evening. |
| Formula | Highly pigmented, finely milled, and blendable formula that applies smoothly and evenly. Formulated with long-wearing ingredients to prevent creasing and fading. | Ensures vibrant color payoff, effortless blending, and all-day wear. Reduces the need for touch-ups. |
| Packaging | Compact and durable palette with a built-in mirror and magnetic closure. Includes a step-by-step guide and QR code for accessing tutorial videos. | Offers convenience for on-the-go application and provides easy-to-follow instructions for beginners. |
| Brush Included (Optional) | May include a dual-ended eyeshadow brush with a flat shader brush on one end and a blending brush on the other. | Provides essential tools for applying and blending eyeshadows, making the set even more beginner-friendly. |
How to Use the "Easy-to-Use Set":
- Follow the Guide: Start with the step-by-step guide or tutorial videos provided with the set.
- Experiment: Don’t be afraid to experiment with different color combinations and techniques.
- Have Fun! Eyeshadow application should be enjoyable, so relax and let your creativity flow.
Pro Tip: This set is a great starting point, but feel free to supplement it with other eyeshadows and tools as you become more comfortable with eyeshadow application.
7. Troubleshooting: Common Eyeshadow Woes and How to Fix Them (The Emergency Room)
Even with the best techniques and tools, eyeshadow mishaps can happen. Here’s how to troubleshoot some common eyeshadow woes:
| Problem | Solution |
|---|---|
| Eyeshadow Creasing | Use a good quality eyeshadow primer, set your primer with powder, apply eyeshadow in thin layers, and avoid over-applying. |
| Eyeshadow Fading | Use a good quality eyeshadow primer, choose highly pigmented eyeshadows, and set your finished look with a setting spray. |
| Eyeshadow Fallout | Tap off excess eyeshadow from your brush before applying, apply eyeshadow before foundation, and use a tissue to catch any fallout. |
| Harsh Lines | Use a blending brush to blend the edges of different eyeshadow colors together. |
| Muddy Colors | Clean your brushes regularly, use separate brushes for different colors, and avoid over-blending. |
| Uneven Application | Apply eyeshadow in thin layers, build up the color gradually, and use a light hand. |
Pro Tip: Keep a few cotton swabs and makeup remover on hand to clean up any mistakes.
8. Sealing the Deal: Setting Sprays and Longevity Tips (Long-Lasting Love)
You’ve created a masterpiece! Now, let’s make sure it stays put all day long. Setting sprays are your final defense against creasing, fading, and general eyeshadow mayhem.
Why Use a Setting Spray?
- Locks in Makeup: Helps to set your eyeshadow and other makeup in place, preventing it from moving or fading.
- Increases Longevity: Extends the wear time of your eyeshadow, keeping it looking fresh and vibrant for hours.
- Controls Oil: Some setting sprays contain ingredients that help to control oil production, preventing your eyeshadow from creasing.
- Hydrates Skin: Some setting sprays also contain hydrating ingredients that help to keep your skin looking healthy and radiant.
Types of Setting Sprays:
- Matte Setting Spray: Best for oily skin, helps to control shine and keep your makeup in place.
- Dewy Setting Spray: Best for dry skin, adds a subtle glow and keeps your makeup looking hydrated.
- Long-Wearing Setting Spray: Designed to extend the wear time of your makeup, ideal for special occasions.
Application Technique:
- Hold the Bottle Away: Hold the setting spray bottle about 8-10 inches away from your face.
- Close Your Eyes: Close your eyes tightly before spraying.
- Spray Evenly: Spray your entire face in a "T" and "X" motion to ensure even coverage.
- Let it Dry: Allow the setting spray to dry completely before touching your face.
Other Longevity Tips:
- Avoid Touching Your Eyes: Touching your eyes can transfer oil and dirt, causing your eyeshadow to fade and crease.
- Use Blotting Papers: If you have oily skin, use blotting papers throughout the day to absorb excess oil.
- Reapply Setting Spray (If Needed): If you’re going to be out for a long time, consider reapplying setting spray every few hours.
Pro Tip: Choose a setting spray that is specifically designed for your skin type.
9. Practice Makes Perfect: Embracing the Learning Curve (Homework!)
Congratulations! You’ve completed our masterclass on achieving flawless, crease-free eyeshadow. But remember, knowledge is power, and practice is the key to mastering any skill.
Your Homework Assignment:
- Experiment with Different Looks: Try creating different eyeshadow looks using the "Easy-to-Use Set" and other eyeshadows you have.
- Practice Your Blending Techniques: Focus on blending your eyeshadow seamlessly to avoid harsh lines.
- Troubleshoot Common Problems: Pay attention to any issues you encounter and try to apply the solutions we discussed.
- Document Your Progress: Take photos of your eyeshadow looks to track your progress and identify areas for improvement.
Remember: Everyone starts somewhere! Don’t get discouraged if your eyeshadow doesn’t look perfect right away. The more you practice, the better you’ll become.
Final Thoughts:
Achieving flawless, crease-free eyeshadow is within your reach! With the right knowledge, tools, and techniques, you can create stunning looks that will boost your confidence and turn heads. Embrace the learning curve, experiment with different colors and styles, and most importantly, have fun!
Now go forth and conquer the world, one perfectly blended eyeshadow look at a time! ✨
For detailed product specifications and purchases, please go to :https://zenamakeup.com/products/no-crease-boosting-set-6-creamy-eye-primers
Leave a Reply