Liquid Alchemy: Mastering Versatile Eye Looks with Your Dual-Ended Shadow Stick 🧙♀️✨
Alright, class, settle down! Today, we’re diving deep into the surprisingly powerful world of the dual-ended liquid eyeshadow stick. Yes, I know, it looks unassuming. Like a fancy marker your toddler would use to redecorate your walls. 🎨 But trust me, this little gizmo is capable of far more than just adding a haphazard shimmer to your lids. We’re talking about unlocking a whole universe of eye looks, from the "I woke up like this" natural glow to the "I’m ready to conquer the world (or at least the club)" smoky drama. 🌍
Why the Liquid Dual-End Eyeshadow Stick? 🤔
Before we delve into techniques, let’s address the elephant in the room: why bother with this particular format? Why not just stick to our trusty palettes with a million shades we never use? 🤷♀️
Here’s the lowdown:
- Convenience is King (or Queen!): This is your one-stop shop for a quick and easy eye look. No brushes required (though you can use them!), no juggling multiple products, no accidentally dropping your palette and shattering your favorite shade. 💥(Been there, cried about that).
- Effortless Application: Liquid formulas are generally super blendable, making them forgiving for beginners. Think of it as watercolor painting for your eyelids – easy to adjust and layer.
- Pigment Powerhouse: Liquid shadows often pack a serious punch in the pigment department. A little goes a long way, meaning your stick will last longer than you think. 💰
- Travel-Friendly: Throw it in your purse, your gym bag, your carry-on… it’s the perfect companion for on-the-go glam.✈️
- Versatility Unleashed: The dual-ended design opens up a world of possibilities. Think contrasting shades, highlighting combos, and easy gradient effects.
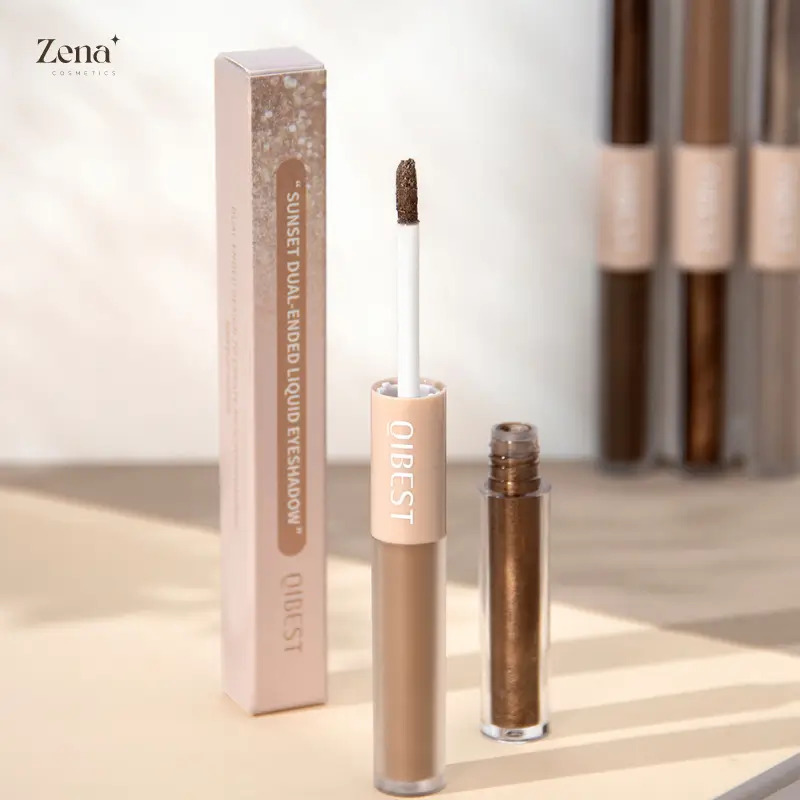
The Anatomy of the Dual-Ended Wonder 👁️👁️
Let’s get familiar with our weapon of choice. Your typical dual-ended liquid eyeshadow stick features:
- Two Complementary Shades: Usually, one shade is lighter and brighter for highlighting, while the other is deeper and richer for adding dimension. Think light champagne and warm bronze, or shimmering rose gold and sultry plum.
- A Creamy, Blendable Formula: This is key! You want a formula that glides on smoothly and blends easily without creasing or fading. Read reviews, my friends! 📝
- A Precise Applicator: The applicator is usually a doe-foot or a small brush, designed for controlled application.
Decoding the Shades: Picking Your Perfect Pair 🎨
Choosing the right color combination is crucial for achieving the looks you desire. Here’s a cheat sheet:
| Shade Category | Description | Ideal for | Look Ideas |
|---|---|---|---|
| Neutrals | Classic and timeless. Think browns, taupes, beiges, and champagnes. | Everyday wear, creating a natural look, complementing any outfit. | Light champagne all over the lid, with a soft taupe in the crease. Warm bronze on the outer corner, blended into a light beige on the inner corner. |
| Pinks & Roses | Romantic and feminine. Includes rose golds, mauves, and dusty pinks. | Adding a touch of sweetness, enhancing green or hazel eyes. | Rose gold all over the lid, with a deeper mauve in the outer corner. Dusty pink on the lid, blended into a shimmering champagne on the inner corner. |
| Purples & Plums | Sultry and sophisticated. Includes shades like lavender, eggplant, and deep plum. | Creating a smoky eye, making brown eyes pop. | Shimmering lavender on the lid, with a deep plum in the crease and outer corner. Eggplant all over the lid, blended into a light lilac on the inner corner. |
| Golds & Bronzes | Warm and radiant. Includes shades like gold, bronze, copper, and amber. | Adding warmth and glow, enhancing blue eyes. | Bright gold on the inner corner, blended into a warm bronze on the outer corner. Copper all over the lid, blended into a shimmering gold on the brow bone. |
| Greens & Blues | Bold and adventurous. Includes shades like emerald green, sapphire blue, and teal. (Use with caution if you’re a beginner!) | Making a statement, complementing specific eye colors (green for brown eyes, blue for blue eyes). | Emerald green on the lid, with a deeper forest green in the crease. Sapphire blue all over the lid, blended into a lighter turquoise on the inner corner. (Practice makes perfect with these bolder shades!) |
Pro-Tip: Consider your skin tone when choosing your shades. Warmer skin tones look amazing with golds, bronzes, and warm browns, while cooler skin tones shine with silvers, purples, and cool browns. 💁♀️
Mastering the Techniques: From Basic to Bold 🚀
Now for the fun part! Let’s explore some techniques for creating stunning eye looks with our dual-ended liquid eyeshadow stick. Remember, practice makes perfect! Don’t be afraid to experiment and find what works best for you.
1. The Quick & Easy Wash of Color:
- Target Audience: Those mornings when you’re running late and need a polished look in under 5 minutes. 🏃♀️
- How-To:
- Apply the lighter shade all over the lid, from lash line to brow bone.
- Apply the deeper shade to the outer corner of the eye.
- Use your finger or a blending brush to gently blend the two shades together.
- Add mascara and you’re good to go!
- Pro-Tip: For extra staying power, prime your lids with an eyeshadow primer before applying the liquid shadow.
- Emoji Mood: 😴➡️🤩
2. The Classic Gradient Eye:
- Target Audience: Anyone wanting a subtle yet sophisticated eye look with a touch of dimension. ✨
- How-To:
- Apply the lighter shade to the inner half of the lid.
- Apply the deeper shade to the outer half of the lid.
- Use a blending brush to gently blend the two shades together in the middle of the lid, creating a seamless gradient.
- Add eyeliner (optional) and mascara.
- Pro-Tip: Use a small, fluffy brush for precise blending.
- Emoji Mood: 🌇
3. The Halo Eye (Easy Edition):
- Target Audience: Those who want to create a brighter, more open-eyed look. 😇
- How-To:
- Apply the deeper shade to the inner and outer corners of the lid, leaving the center bare.
- Apply the lighter shade to the center of the lid.
- Blend the edges of the lighter shade into the deeper shades to create a soft, diffused halo effect.
- Add eyeliner (optional) and mascara.
- Pro-Tip: Use a shimmer or metallic shade for the center of the lid to really make the halo pop.
- Emoji Mood: 🌟
4. The Smoky Eye (Simplified):
- Target Audience: Anyone craving a dramatic, sultry eye look without the fuss. 🔥
- How-To:
- Apply the deeper shade all over the lid, concentrating the color at the lash line.
- Use a blending brush to blend the shadow upwards and outwards, creating a smoky effect.
- Apply the lighter shade to the inner corner of the eye to brighten the look.
- Smudge the deeper shade along the lower lash line.
- Add eyeliner (optional) and lots of mascara!
- Pro-Tip: Start with a small amount of product and build up the intensity gradually. You can always add more, but it’s harder to take away!
- Emoji Mood: 😈
5. The Cut Crease (Cheat Code):
- Target Audience: Those who want to create a defined crease without the complicated techniques. ✂️
- How-To:
- With your eyes open and looking straight ahead, use the deeper shade to draw a line along your crease, slightly above your natural crease.
- Close your eyes and blend the line upwards with a blending brush.
- Apply the lighter shade to the lid below the crease.
- Blend the edges of the two shades together.
- Add eyeliner (optional) and mascara.
- Pro-Tip: Use a concealer or eyeshadow primer to create a clean base for the lighter shade on the lid.
- Emoji Mood: 😎
Table: Troubleshooting Common Liquid Eyeshadow Woes
| Problem | Solution |
|---|---|
| Creasing | Use an eyeshadow primer. Apply a thin layer of powder eyeshadow over the liquid shadow to set it. Avoid applying too much product at once. Choose a long-wearing, crease-resistant formula. |
| Fading | Use an eyeshadow primer. Set the liquid shadow with a powder eyeshadow. Choose a long-wearing formula. Avoid touching your eyes throughout the day. |
| Uneven Application | Apply the liquid shadow in small dots and blend them together. Use a blending brush to smooth out any harsh lines. * Practice makes perfect! |
| Too Much Shimmer | Use a matte eyeshadow to tone down the shimmer. Apply the shimmer shade sparingly. * Choose a formula with a more subtle shimmer. |
| Shadow dries too fast. | Work quickly, blending as you go. Apply the product to the back of your hand and apply it to the lid with your finger or a brush. * Consider spraying your brush with setting spray. |
Beyond the Lids: Creative Uses for Your Dual-Ended Stick 🎨
Don’t limit yourself to just the eyelids! Your dual-ended liquid eyeshadow stick can be used for other creative purposes:
- Highlighting the Inner Corner: Use the lighter shade to add a pop of brightness to the inner corner of your eye, making you look more awake and refreshed. 🌞
- Lining the Lower Lash Line: Use the deeper shade to create a soft, smoky liner along your lower lash line.
- Contouring the Nose: (Use with caution and a very light hand!) The deeper shade can be used to subtly contour the sides of your nose.
- Highlighting the Brow Bone: Use the lighter shade to highlight your brow bone and create a more lifted look.
- Creating a Graphic Liner: Use the darker shade with an angled brush to create a graphic eyeliner look.
The Takeaway: Embrace the Experimentation! 🧪
The dual-ended liquid eyeshadow stick is a versatile and convenient tool for creating a wide range of eye looks. Don’t be afraid to experiment with different techniques, colors, and placements to find what works best for you.
So go forth, my beauty-loving students, and unleash your inner artist! Don’t be afraid to make mistakes – that’s how you learn. And remember, the most important thing is to have fun and express yourself! ✨
Final Exam Question (Just Kidding!):
Describe in detail, with examples, how you would use a dual-ended liquid eyeshadow stick to create a "festival-ready" eye look. Bonus points for glitter! 🎉
Class dismissed! 📚
For detailed product specifications and purchases, please go to :https://zenamakeup.com/products/liquid-dual-end-matte-glitter-fusion-eyeshadow
Leave a Reply