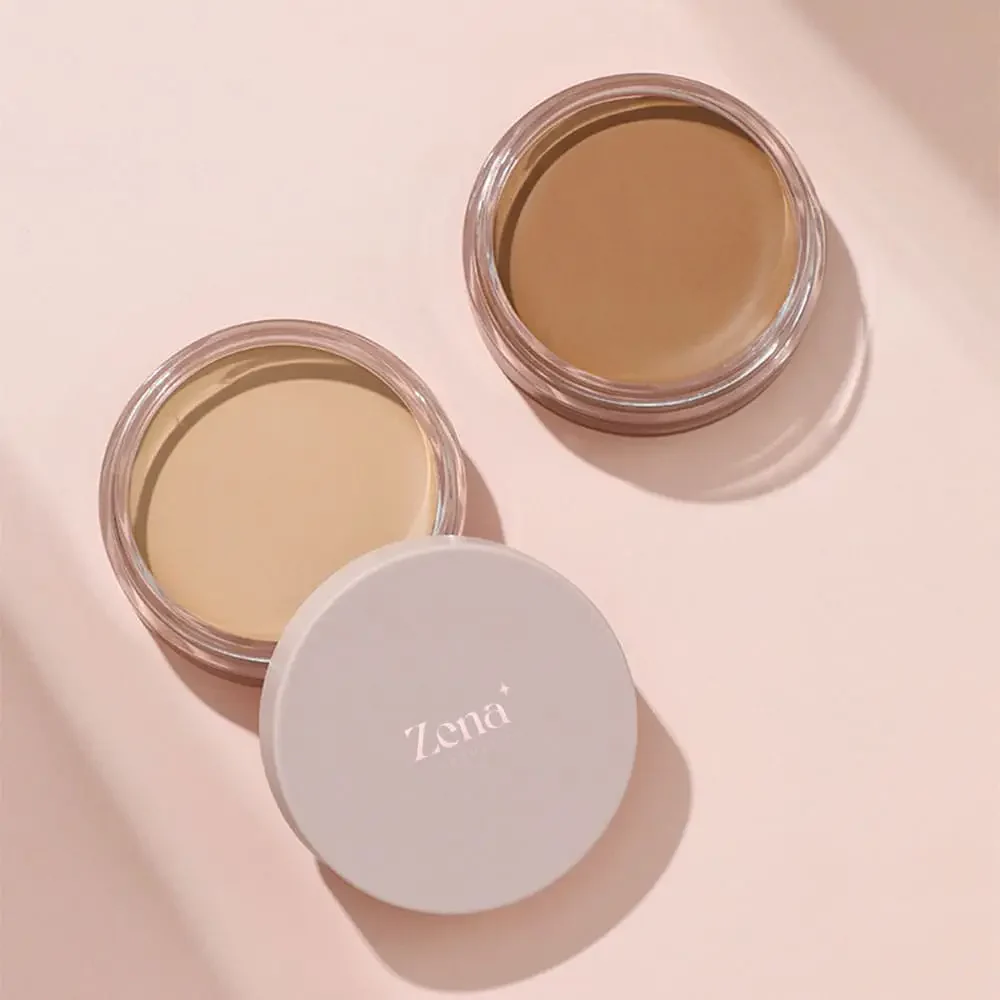
Applying Instant-Awaken Under Eye Brightener: A Lecture on Banishishing Those Bags for a Fresh & Radiant Look That Lasts! 😴➡️🤩
(Professor Winkleton adjusts her spectacles, a mischievous glint in her eye. A slide appears on the screen: a photo of a raccoon with exceptionally prominent dark circles.)
Alright, class! Settle in, settle in! Today, we’re not dissecting frogs (thankfully), but something far more vital: the art and science of conquering the dreaded under-eye shadows! We’re diving deep into the world of Instant-Awaken Under Eye Brighteners. Forget that 8 am lecture look; we’re aiming for "just-back-from-a-week-long-beach-vacation" radiance. 🏖️
(Professor Winkleton clicks to the next slide: a close-up of a tired-looking eye next to a perfectly brightened one.)
Why bother with under-eye brighteners, you ask? Because, my dears, the eyes are the windows to the soul! And if your windows are looking like they haven’t been washed since the Victorian era, well…let’s just say you’re not exactly projecting "youthful vitality."
(Professor Winkleton pauses for dramatic effect, then throws her hands up in exasperation.)
We’ve all been there! Late nights studying, early mornings wrestling with that snooze button, binge-watching that one show until 3 am… the consequences show up right under our eyes. But fear not! This lecture will arm you with the knowledge and techniques to banish those bags and achieve a radiant, wide-awake look that lasts all day.
Lecture Outline: Your Guide to Bright-Eyed Glory!
I. Understanding the Enemy: Why Do We Get Under-Eye Circles & Shadows? (Spoiler alert: it’s more complex than just lack of sleep!)
II. The Arsenal: Types of Under-Eye Brighteners & Their Strengths (Cream, liquid, stick – oh my!)
III. Prep Work: Laying the Foundation for Success (Skincare is KEY, people!)
IV. The Application Process: From Dab to Dazzle! (Techniques, tools, and tricks of the trade)
V. Setting for Success: Locking in Your Brightened Look (Powder power!)
VI. Troubleshooting: Common Mistakes & How to Avoid Them (Cakey concealer? We’ve got you covered!)
VII. Maintenance & Care: Extending the Life of Your Brightener (Keep it fresh!)
VIII. Brightening Beyond Brightener: Lifestyle Hacks for Naturally Radiant Eyes (Because prevention is better than cure, darlings!)
I. Understanding the Enemy: Why Do We Get Under-Eye Circles & Shadows?
(Slide: A diagram of the skin around the eye, highlighting blood vessels and thin skin.)
First things first, let’s understand why those pesky shadows appear in the first place. It’s not always just because you traded sleep for a marathon of TikTok videos (though that certainly doesn’t help!). There are several factors at play:
- Thin Skin: The skin under our eyes is incredibly delicate – some of the thinnest skin on our entire body! This means that blood vessels underneath are more visible, creating that bluish or purplish hue we associate with dark circles. Think of it like trying to hide a blueberry under a sheet of tissue paper. Not gonna happen! 🫐
- Blood Vessel Congestion: Poor circulation can lead to blood pooling under the eyes, making those blood vessels even more prominent and causing darkness.
- Hyperpigmentation: Sometimes, increased melanin production in the under-eye area can cause darkening. This is often genetic or triggered by sun exposure. Think of it as a permanent tan…but not in a good way. ☀️
- Shadows from Hollows: As we age, we lose collagen and fat, causing the under-eye area to become hollow. These hollows cast shadows, making us look tired, even when we’re not. This is like the Grand Canyon of your face…but less majestic. 🏜️
- Allergies & Eczema: Inflammation caused by allergies or eczema can also contribute to dark circles. Itchy eyes = angry eyes = tired-looking eyes. 🤧
- Lack of Sleep (Yes, it’s true!): While not always the sole culprit, lack of sleep certainly exacerbates the appearance of dark circles. Your body needs rest to repair and rejuvenate, and your under-eye area is often the first place to show the strain. 😴
Key Takeaway: Understanding the underlying cause of your dark circles is crucial for choosing the right brightening strategy. Are they primarily due to thin skin and visible blood vessels? Or are they caused by hyperpigmentation? This knowledge will guide your product selection!
II. The Arsenal: Types of Under-Eye Brighteners & Their Strengths
(Slide: A collage of different types of under-eye brighteners: creams, liquids, sticks, and color correctors.)
Now for the fun part: exploring the vast and wonderful world of under-eye brighteners! Think of this as your makeup superhero team, each with their own special powers.
| Type of Brightener | Texture & Coverage | Key Benefits | Ideal For | Potential Drawbacks |
|---|---|---|---|---|
| Cream Brighteners | Rich, hydrating, blendable | Hydrates dry skin, provides buildable coverage, often contains skincare ingredients | Mature skin, dry skin, moderate to significant dark circles | Can be too heavy for oily skin, may crease if not set properly |
| Liquid Brighteners | Lightweight, blendable, buildable | Natural-looking coverage, good for layering, often contains light-reflecting particles | All skin types, subtle brightening, highlighting | May not provide enough coverage for very dark circles |
| Stick Brighteners | Creamy, convenient, portable | Easy to apply on-the-go, good for targeted application, often provides medium to full coverage | Travel, quick touch-ups, concealing blemishes as well as dark circles | Can be less hydrating than cream brighteners, may require more blending |
| Color Correctors (Peach/Orange/Yellow) | Thin, often liquid or creamy | Neutralizes blue/purple tones under the eyes, preps the skin for concealer | Dark circles caused by visible blood vessels, hyperpigmentation on deeper skin tones | Can look ashy if not properly blended or if the wrong shade is chosen |
(Professor Winkleton winks.)
Pro-Tip: Consider your skin type and the severity of your dark circles when choosing a brightener. Someone with dry skin might prefer a hydrating cream, while someone with oily skin might opt for a lightweight liquid. And don’t be afraid to experiment! Finding the perfect brightener is a journey, not a destination.
(Professor Winkleton pulls out a tube of peach color corrector and raises it dramatically.)
A Note on Color Correctors: These little gems are your secret weapon against stubborn dark circles! Peach or orange correctors are fantastic for neutralizing blue or purple tones under the eyes, especially on deeper skin tones. Yellow correctors work well for lighter skin tones. Think of it as canceling out the bad vibes with a burst of sunshine! ☀️
III. Prep Work: Laying the Foundation for Success
(Slide: A photo of a meticulously curated skincare routine, including cleanser, serum, eye cream, and sunscreen.)
Before you even think about applying your brightener, you need to prep the canvas! Remember, makeup looks best on healthy, hydrated skin. Think of it like painting a masterpiece on a cracked, peeling wall. It’s just not going to work. 🧱
The Holy Trinity of Under-Eye Prep:
- Cleanse: Gently cleanse your face to remove any dirt, oil, or makeup residue. Use a mild cleanser specifically formulated for the face. Don’t scrub! Treat your delicate under-eye area with the respect it deserves. Think gentle whispers, not aggressive yelling! 🗣️
- Hydrate: This is non-negotiable! A well-hydrated under-eye area is essential for a smooth, crease-free finish. Apply a hydrating eye cream or serum specifically designed for the under-eye area. Look for ingredients like hyaluronic acid, peptides, and ceramides. Pat, don’t rub!
- Protect: Sunscreen is crucial, even on cloudy days! The sun can damage the delicate skin around your eyes and worsen hyperpigmentation. Use a broad-spectrum sunscreen with an SPF of 30 or higher. Choose a lightweight formula that won’t irritate your eyes. Sunglasses are also your best friend! 😎
(Professor Winkleton shakes her head disapprovingly.)
Don’t skip the skincare, people! It’s the foundation upon which your brightened masterpiece will be built. A good skincare routine will not only improve the appearance of your dark circles but also prevent them from getting worse in the first place.
IV. The Application Process: From Dab to Dazzle!
(Slide: A series of step-by-step photos demonstrating the proper application of under-eye brightener.)
Alright, let’s get down to business! Here’s where the magic happens. Follow these steps for a flawless application:
Alright, let’s get down to business! Here’s where the magic happens. Follow these steps for a flawless application:
- Prime Time (Optional): If you have particularly dry or textured skin, consider using an under-eye primer. This will create a smooth base for your brightener and prevent it from settling into fine lines.
- Less is More: Start with a tiny amount of brightener. You can always add more, but it’s much harder to take away excess product. Think of it like seasoning food – you can always add more salt, but you can’t take it out! 🧂
-
Application Technique:
- Dot, Dot, Dot: Use your fingertip, a small brush, or a sponge to apply small dots of brightener under your eyes, following the curve of your dark circles. Avoid applying the brightener directly to your lash line, as this can cause it to migrate into your eyes.
- The Triangle of Light: A popular technique is to apply the brightener in an inverted triangle shape, starting from the inner corner of your eye and extending down towards your cheekbone. This helps to brighten the entire area and create a lifting effect. △
- Blend, Blend, Blend: Use your fingertip, a damp makeup sponge, or a small blending brush to gently blend the brightener into your skin. Avoid dragging or rubbing, as this can irritate the delicate under-eye area. Use a patting motion to press the product into your skin.
- Layering (If Needed): If you need more coverage, apply a second thin layer of brightener. Remember, less is more! Build up the coverage gradually to avoid looking cakey.
(Professor Winkleton pulls out a makeup sponge and demonstrates the patting motion.)
Tool Time: The right tool can make all the difference!
- Fingertips: Your fingertips are a great option for applying and blending brightener, as the warmth of your fingers helps to melt the product into the skin.
- Makeup Sponge: A damp makeup sponge provides a soft, diffused finish and is ideal for blending out the brightener seamlessly.
- Blending Brush: A small, fluffy blending brush can be used to apply and blend the brightener with precision.
V. Setting for Success: Locking in Your Brightened Look
(Slide: A photo of a translucent setting powder and a fluffy brush.)
Congratulations! You’ve successfully applied your under-eye brightener. But the journey doesn’t end there! To prevent creasing and ensure your brightened look lasts all day, you need to set it with powder.
- Choose the Right Powder: Opt for a finely milled, translucent setting powder. Avoid heavy or cakey powders, as these can accentuate fine lines and wrinkles. Look for powders that contain light-reflecting particles to further enhance the brightening effect. ✨
- Apply with a Light Hand: Use a fluffy brush or a makeup sponge to lightly dust the powder over your under-eye area. Avoid using too much powder, as this can create a dry, cakey look.
- Baking (Optional): For extra long-lasting wear, you can try "baking" your under-eye area. This involves applying a generous amount of powder to the under-eye area and letting it sit for 5-10 minutes before dusting off the excess. This allows the powder to absorb any excess oil and create a crease-proof finish. However, be careful not to overdo it, as baking can be drying and accentuate fine lines.
(Professor Winkleton cautions.)
Remember: The key to setting your under-eye area is to use a light hand and a finely milled powder. You want to lock in your brightened look without making it look heavy or cakey.
VI. Troubleshooting: Common Mistakes & How to Avoid Them
(Slide: A series of photos showcasing common under-eye brightener mistakes, such as cakey concealer, creasing, and the wrong shade.)
Even with the best intentions, mistakes can happen. Here are some common under-eye brightener blunders and how to avoid them:
- Cakey Concealer: This is often caused by using too much product, applying it too thickly, or using a formula that’s too heavy.
- Solution: Start with a tiny amount of brightener and build up the coverage gradually. Use a lightweight formula and blend it thoroughly. Set with a finely milled powder, but avoid over-powdering.
- Creasing: This happens when the brightener settles into fine lines and wrinkles.
- Solution: Hydrate your under-eye area well before applying brightener. Use a lightweight formula that won’t settle into lines. Set with a translucent powder. Consider using an under-eye primer to create a smooth base.
- The Wrong Shade: Using a brightener that’s too light can make you look ashy or ghostly. Using a shade that’s too dark can accentuate dark circles.
- Solution: Choose a brightener that’s one or two shades lighter than your natural skin tone. Test the shade on your jawline to ensure it blends seamlessly. If you’re using a color corrector, choose a shade that neutralizes the undertones of your dark circles.
- Applying Brightener Too Close to the Lash Line: This can cause the brightener to migrate into your eyes and cause irritation.
- Solution: Apply the brightener under your eyes, following the curve of your dark circles, but avoid applying it directly to your lash line.
- Not Blending Properly: Poorly blended brightener can look patchy and unnatural.
- Solution: Use your fingertip, a damp makeup sponge, or a small blending brush to blend the brightener thoroughly into your skin. Use a patting motion to press the product into your skin.
(Professor Winkleton sighs dramatically.)
Practice makes perfect, my dears! Don’t be discouraged if you don’t get it right the first time. Keep experimenting with different products and techniques until you find what works best for you.
VII. Maintenance & Care: Extending the Life of Your Brightener
(Slide: A photo of a clean makeup brush and a bottle of makeup brush cleaner.)
To keep your brightener performing at its best, you need to take care of it (and your application tools!).
- Clean Your Brushes Regularly: Dirty makeup brushes can harbor bacteria and transfer it to your skin, leading to breakouts and irritation. Clean your brushes at least once a week with a gentle brush cleanser.
- Store Your Brightener Properly: Store your brightener in a cool, dry place away from direct sunlight. This will prevent it from drying out or melting.
- Check the Expiration Date: Like all makeup products, brighteners have an expiration date. Pay attention to the expiration date and discard the product when it expires. Using expired makeup can lead to skin irritation and infections.
(Professor Winkleton emphasizes.)
Taking care of your makeup and tools is essential for maintaining healthy skin and ensuring your brightener performs at its best.
VIII. Brightening Beyond Brightener: Lifestyle Hacks for Naturally Radiant Eyes
(Slide: A collage of photos depicting healthy lifestyle habits, such as getting enough sleep, drinking water, eating healthy foods, and using cold compresses.)
While under-eye brighteners are fantastic for masking dark circles, they’re not a substitute for a healthy lifestyle. Here are some lifestyle hacks for naturally radiant eyes:
- Get Enough Sleep: Aim for 7-8 hours of sleep per night. This will give your body time to repair and rejuvenate, reducing the appearance of dark circles.
- Stay Hydrated: Drink plenty of water throughout the day. Dehydration can make your skin look dull and accentuate dark circles.
- Eat a Healthy Diet: A diet rich in fruits, vegetables, and antioxidants can help to improve your skin’s overall health and radiance.
- Use Cold Compresses: Applying cold compresses to your under-eye area can help to reduce swelling and inflammation. Try using chilled cucumber slices or tea bags.
- Elevate Your Head While Sleeping: This can help to prevent fluid from pooling under your eyes.
- Manage Allergies: If allergies are contributing to your dark circles, take antihistamines or use allergy eye drops.
- Protect Yourself from the Sun: Wear sunscreen and sunglasses to protect your skin from sun damage, which can worsen hyperpigmentation.
(Professor Winkleton smiles.)
Remember, beauty comes from within! A healthy lifestyle will not only improve the appearance of your under-eye area but also boost your overall health and well-being.
(Professor Winkleton gathers her notes.)
And that, my dears, concludes our lecture on conquering under-eye circles with the power of Instant-Awaken Under Eye Brighteners! Now go forth and illuminate the world with your radiant, wide-awake eyes! ✨
(Professor Winkleton winks again and dismisses the class. The slide changes to a photo of a bright-eyed, smiling student.)
For detailed product specifications and purchases, please go to :https://zenamakeup.com/products/instant-awaken-under-eye-brightener
Leave a Reply