Lecture: Applying Jelly Essence Blush Stick to Brighten a Tired Complexion Instantly: A Guide to Blush-tastic Resurrection 🪦➡️💃
Alright, class, settle down! You look like you’ve been wrestling alligators in a swamp filled with tax returns. 😩 Don’t worry, I’m here to administer a dose of beauty CPR. Today’s lecture? How to wield the power of the Jelly Essence Blush Stick to transform yourselves from the undead to utterly dazzling. ✨
Forget expensive spa treatments, forget that 8-hour sleep you only dream about. We’re talking instant gratification, people! This isn’t just about slapping on some color; it’s about strategically injecting life back into your face. Think of it as a targeted blush-bomb designed to obliterate dullness and reveal your inner radiance. 💣💥
So, grab your notebooks, your coffee (because let’s be honest, you need it), and let’s dive into the wonderful world of blush resurrection!
I. Introduction: The Blush Stick Savior (and Why You Need One)
Let’s face it: life happens. Late nights, early mornings, demanding bosses, screaming kids, the never-ending saga of folding laundry… all these things conspire to drain the color from our cheeks and leave us looking like we’ve been embalmed. 🧟♀️
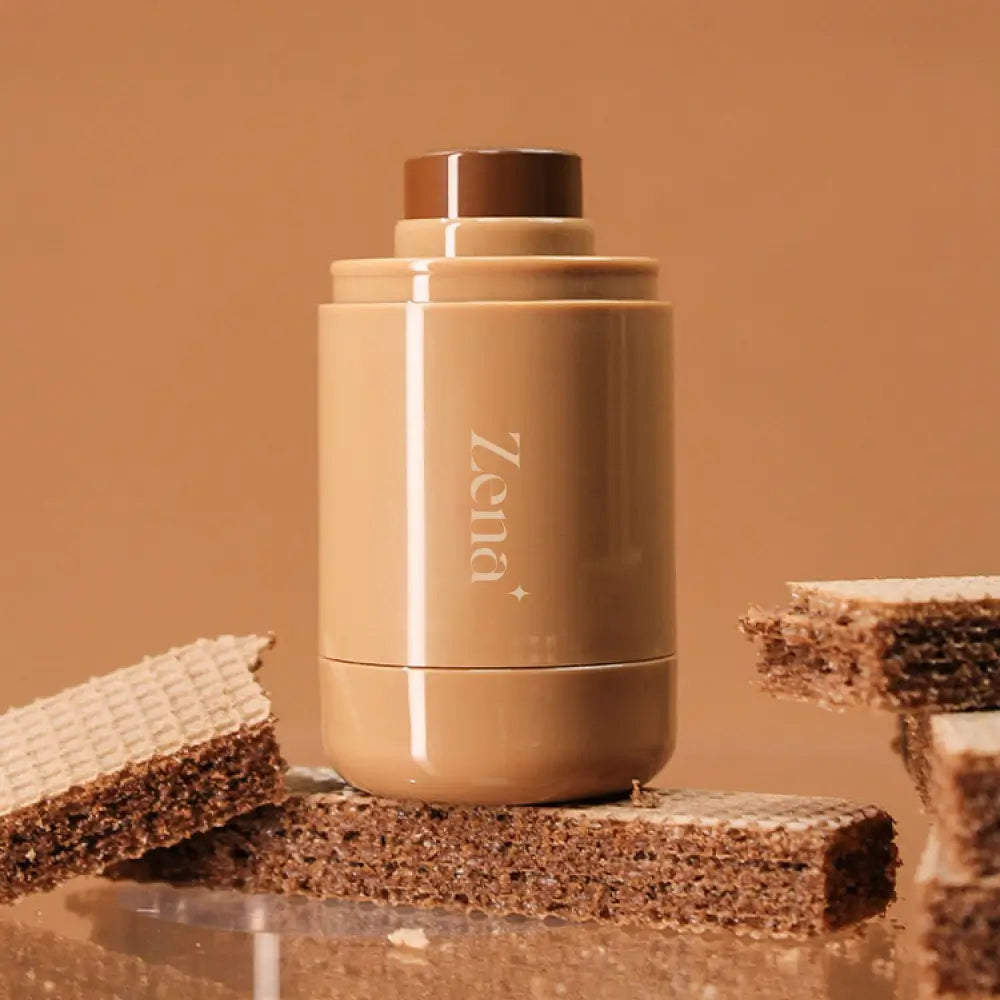
But fear not! The Jelly Essence Blush Stick is here to answer your prayers. Why a stick? Why jelly? Because it’s:
- Easy to Use: We’re talking beginner-friendly, even if your makeup skills peaked in the 90s with blue eyeshadow and frosted lipstick. (No judgement… okay, maybe a little.)
- Portable: Toss it in your purse, your gym bag, your glove compartment – blush on the go! Perfect for those "Oh dear God, I have a meeting in 5 minutes and I look like I haven’t slept since 1998" moments.
- Buildable: Go from "I just woke up" to "I’m a bronzed goddess who just stepped off a yacht" with a few strategic swipes.
- Blendable: Jelly formulas are typically super forgiving, melting seamlessly into the skin for a natural, radiant flush. No harsh lines or clown-like stripes here! 🤡❌
- Hydrating: Many jelly formulas contain hydrating ingredients, leaving your skin looking and feeling supple, not cakey.
II. Understanding Your Canvas: Identifying Your Skin Tone and Undertone
Before we start painting masterpieces on our faces, we need to understand our canvas. Knowing your skin tone and undertone is crucial for choosing the right blush shade and achieving that perfect, "I’m naturally flushed" look. 🌸
-
Skin Tone: This refers to the surface color of your skin.
- Fair: Lightest skin tone, often burns easily in the sun.
- Light: Lighter skin tone, can tan but still prone to burning.
- Medium: Balanced skin tone, tans easily and rarely burns.
- Tan: Deeper skin tone, tans very easily and rarely burns.
- Deep: Darkest skin tone, very rarely burns.
-
Undertone: This refers to the subtle color beneath the surface of your skin. It can be:
- Warm: Yellow, golden, or peachy undertones.
- Cool: Pink, red, or blue undertones.
- Neutral: A combination of warm and cool undertones.
How to Determine Your Undertone:
There are a few ways to figure out your undertone:
- The Vein Test: Look at the veins on your wrist in natural light.
- Blue/Purple Veins: Likely cool undertones.
- Green Veins: Likely warm undertones.
- Blue-Green Veins: Likely neutral undertones.
- The Jewelry Test: Which metal looks better against your skin?
- Gold: Likely warm undertones.
- Silver: Likely cool undertones.
- Both: Likely neutral undertones.
- The Color Test: What colors make you look radiant?
- Warm Colors (reds, oranges, yellows): Likely warm undertones.
- Cool Colors (blues, greens, purples): Likely cool undertones.
III. Choosing Your Weapon: Selecting the Right Jelly Essence Blush Stick Shade
Now that you know your skin tone and undertone, let’s talk blush shades! Choosing the right shade can make or break your look. Think of it like finding the perfect pair of shoes – it has to fit just right! 👠
Here’s a handy guide:
Here’s a handy guide:
| Skin Tone | Undertone | Recommended Blush Shades | Avoid | Why? |
|---|---|---|---|---|
| Fair | Cool | Light pinks, berry shades, cool mauve | Bright oranges, overly warm corals | Cool shades complement the cool undertones, while warm shades can look muddy. |
| Fair | Warm | Peachy pinks, light corals, apricot | Deep reds, bright fuchsias | Warm shades enhance the warm undertones, while deep, cool shades can be overwhelming. |
| Light | Cool | Rosy pinks, plum shades, berry hues | Deep oranges, overly bronzed shades | Cool shades provide a natural flush, while overly warm shades can look unnatural. |
| Light | Warm | Warm pinks, peachy corals, light bronzes | Very pale pinks, cool mauves | Warm shades enhance the warm undertones, while cool shades can make the skin look ashen. |
| Medium | Cool | Mauves, berry shades, rosy plums | Light corals, pastel pinks | Cool shades provide a sophisticated flush, while light, warm shades can disappear. |
| Medium | Warm | Bronzed pinks, warm corals, berry-toned bronzes | Very pale pinks, overly bright fuchsias | Warm shades add a healthy glow, while pale pinks can wash out the complexion. |
| Tan | Cool | Deep berry shades, plums, deep rosy hues | Light pinks, pastel corals | Deep shades provide a striking flush, while light shades may not show up well. |
| Tan | Warm | Terracotta, warm bronzes, deep corals | Pale pinks, cool mauves | Warm shades enhance the warm undertones and provide a sun-kissed glow, while cool shades can look dull. |
| Deep | Cool | Deep plums, berry shades, rich reds | Light pinks, pastel colors | Deep, saturated colors pop beautifully on deeper skin tones, while light shades may not be visible. |
| Deep | Warm | Rich bronzes, terracotta, deep corals | Pale pinks, cool mauves | Warm shades enhance the warm undertones and provide a natural-looking flush, while cool shades can look ashy. |
Pro-Tip: When in doubt, go for a shade that mimics the natural flush you get after a workout or a brisk walk in the cold. 🏃♀️💨
IV. The Application Technique: From Tired to Terrific in 60 Seconds (or Less!)
Alright, soldiers, it’s time to paint! Here’s the step-by-step guide to applying your Jelly Essence Blush Stick like a pro:
- Prep Your Skin: Start with a clean, moisturized face. Foundation and concealer (if you’re using them) should be applied before blush. Think of it as prepping your canvas before you start painting. 🎨
- Smile! (Seriously, Do It!) Smiling helps you identify the apples of your cheeks – the fleshy part that pops out when you grin. This is where you’ll start applying the blush. 😄
- Apply the Blush: Lightly swipe the blush stick directly onto the apples of your cheeks. You can also apply it to the high points of your cheekbones for a more sculpted look. Remember, less is more! You can always build up the color.
- Blend, Blend, Blend! This is the key to a natural-looking flush. Use your fingers, a damp makeup sponge, or a blush brush to blend the blush outwards and upwards, towards your temples. The goal is to create a seamless transition between the blush and your skin.
- Fingers: Great for a natural, dewy finish. The warmth of your fingers helps the blush melt into the skin.
- Makeup Sponge: Provides a more airbrushed look. Make sure your sponge is damp to avoid absorbing too much product.
- Blush Brush: Offers more precision and control. Use a fluffy, tapered brush for best results.
- Check Your Reflection: Step back and take a look in the mirror. Does the blush look natural and balanced? If not, add more color or blend further until you achieve your desired look.
- Optional: Add a Touch of Highlight: For an extra boost of radiance, apply a highlighter to the high points of your cheekbones, just above the blush. ✨
Application Techniques for Different Face Shapes:
- Round Face: Apply blush along the cheekbones, blending upwards towards the temples to create definition and slim the face. Avoid applying blush directly on the apples of your cheeks, as this can make your face look rounder.
- Oval Face: Lucky you! You can wear blush in almost any way. Experiment with different placements to find what works best for you. A classic application on the apples of the cheeks is always a good choice.
- Square Face: Apply blush on the apples of your cheeks, blending outwards towards the temples to soften the angles of your face.
- Heart-Shaped Face: Apply blush on the outer corners of your cheekbones, blending inwards towards the center of your face to balance the wider forehead.
- Long Face: Apply blush horizontally across the apples of your cheeks to add width and make your face appear shorter.
V. Troubleshooting: Common Blush Mistakes and How to Avoid Them
Even the most seasoned makeup artists make mistakes. Here are some common blush blunders and how to correct them:
- Too Much Blush: We’ve all been there. You accidentally apply too much blush and suddenly look like a clown. 🤡 The solution? Use a clean makeup sponge or brush to blend the blush further until it’s more subtle. You can also apply a light layer of foundation or powder over the blush to tone it down.
- Uneven Blush: One cheek is rosier than the other. The fix? Apply more blush to the lighter cheek until it matches the other.
- Harsh Lines: Your blush looks like it’s been applied with a Sharpie. Blend, blend, blend! Use a makeup sponge or brush to soften the edges and create a seamless transition.
- Wrong Shade: The blush looks unnatural or clashes with your skin tone. Experiment with different shades until you find one that complements your complexion. Refer back to our handy shade guide!
- Blush Disappears: Your blush fades away within a few hours. Set your blush with a translucent powder to increase its longevity.
VI. Beyond the Cheeks: Creative Ways to Use Your Jelly Essence Blush Stick
The Jelly Essence Blush Stick is more than just a cheek color – it’s a multi-tasking marvel! Here are some creative ways to use it:
- Lip Tint: Dab a small amount of blush onto your lips for a natural, stained effect. Add a clear gloss for extra shine. 💋
- Eye Shadow: Apply a light wash of blush to your eyelids for a soft, monochromatic look.
- Contour: Use a deeper shade of blush to create subtle contouring along your cheekbones and jawline.
- Body Glow: Mix a small amount of blush with your body lotion for a subtle, all-over glow. ✨
VII. Conclusion: Embrace the Blush-tastic Power!
So there you have it, class! Your crash course in transforming a tired complexion with the magic of the Jelly Essence Blush Stick. Remember, practice makes perfect. Don’t be afraid to experiment with different shades and techniques until you find what works best for you.
Now go forth and conquer the world, one radiant cheek at a time! 🎉
Final Exam (Just Kidding… Sort Of):
- What are the benefits of using a jelly essence blush stick?
- How do you determine your skin tone and undertone?
- What are some common blush mistakes and how can you avoid them?
- Name three creative ways to use your jelly essence blush stick beyond the cheeks.
- Bonus points: Demonstrate your blush application skills in class next week! (Just kidding… again. Unless…?) 😉
Class dismissed! Now go get your blush on! 💖
For detailed product specifications and purchases, please go to :https://zenamakeup.com/products/jelly-essence-blush-stick
Leave a Reply