Applying the Glided-on Waterproof Kajal Eyeliner for a Quick and Intense Eye Makeup Look On the Go: A Lecture for the Chronically Late (and Fabulous)
(Professor: Your friendly neighborhood makeup enthusiast, armed with caffeine and a kajal pencil)
(Lecture Hall: Anywhere you can whip out a compact mirror – the bus, the bathroom, the back of your Uber)
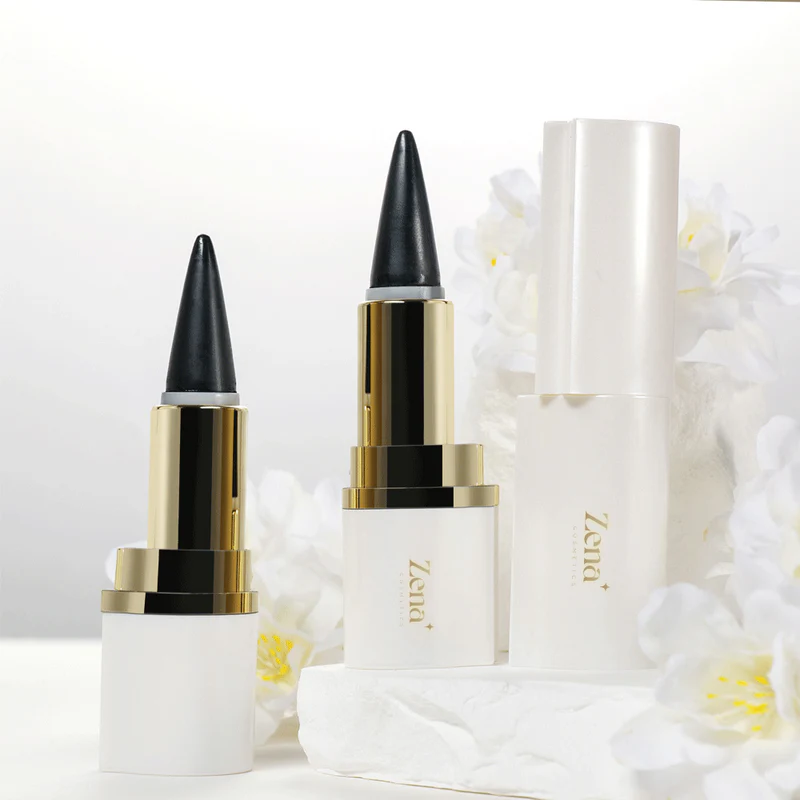
(Required Text: Your Glided-on Waterproof Kajal Eyeliner – treat it with respect, it’s about to become your best friend)
Welcome, students, to the most crucial class you’ll ever attend: "Kajal Kaos Control: From Zero to Superhero Eyes in 60 Seconds (or Less!)". I see a lot of familiar faces – the "snooze button survivors," the "running-on-dry-shampoo divas," the "I-swear-I-left-the-house-on-time-but-time-just-moved-faster-today" crowd. Don’t worry, I understand. Life happens. But your makeup doesn’t have to suffer!
Today, we’re conquering the age-old dilemma: How to achieve a stunning eye look when you’re perpetually running late. Our weapon of choice? The mighty, the magnificent, the marvelously glided-on waterproof kajal eyeliner. Forget multi-step eyeshadow palettes and complicated blending techniques. We’re going for maximum impact with minimal effort. Think of it as the "espresso shot" of eye makeup.
Why Kajal? Why Now? (Besides the Obvious Time Crunch)
Let’s be honest, kajal isn’t a new invention. Cleopatra rocked it. Your grandma probably rocked it. So, why are we dedicating an entire lecture to it? Because this isn’t your grandma’s kajal. Modern formulas are:
- Waterproof & Smudge-Proof (Mostly): We’re talking through-tears-and-accidental-face-plants-proof (okay, maybe not the face plant). But seriously, they last.
- Highly Pigmented: One swipe and you’re in business. No need to layer and build.
- Super Blendable (Sometimes): Depending on the formula, you can create a smoky, sultry look in seconds.
- Travel-Friendly: Small, lightweight, and requires no brushes. Perfect for your purse, pocket, or even… between your teeth (don’t do that). 🤫
In short, kajal is the ultimate multi-tasker for the time-strapped beauty enthusiast.
Lecture Outline: From "Deer in Headlights" to "Smoldering Siren"
We’ll break down this mastery into easily digestible, bite-sized chunks:
- The Kajal Commandments: Choosing the Right Weapon (Your Kajal Pencil)
- Prep Talk: Setting the Stage for Success (Even if it’s on a Moving Train)
- *The Basic Btch Kajal Application: The Classic Lined Look**
- Level Up: Smoky Eyes in Seconds (Because Who Has Time for Blending?)
- Pro Tips & Tricks: Hacks for the Truly Desperate (And the Exceptionally Lazy)
- Troubleshooting: Fixing Common Kajal Catastrophes (Don’t Panic!)
- Kajal Cleansing & Care: Keeping Your Weapon Sharp (and Your Eyes Healthy)
- Bonus Round: Beyond the Basics – Exploring Advanced Kajal Techniques (For When You Actually Have 5 Extra Minutes)
1. The Kajal Commandments: Choosing the Right Weapon (Your Kajal Pencil)
Not all kajal pencils are created equal. You wouldn’t bring a butter knife to a sword fight, would you? (Okay, maybe you would if you were really hungry, but that’s beside the point). Choosing the right kajal pencil is crucial. Here’s your cheat sheet:
| Feature | What to Look For | What to Avoid |
|---|---|---|
| Formula | Creamy, smooth, highly pigmented, waterproof (or water-resistant), smudge-proof (test it!), long-lasting. | Hard, dry, crumbly, poorly pigmented, easily smudged, short-lasting. 😭 |
| Texture | Glides on easily without tugging or pulling. | Feels scratchy or uncomfortable on the delicate skin around your eyes. |
| Sharpness | Can be sharpened to a fine point for precision. | Breaks easily when sharpened. |
| Ingredients | Look for ingredients like beeswax, carnauba wax, and natural oils. Avoid harsh chemicals, parabens, and fragrances if you have sensitive eyes. | Contains ingredients that cause irritation, redness, or allergic reactions. Consult a dermatologist if you’re unsure. |
| Packaging | Retractable or sharpenable pencil. Consider a built-in sharpener for on-the-go convenience. | Flimsy packaging that breaks easily, making the pencil unusable. |
| Color | Black is a classic, but explore other shades like brown, navy, emerald green, or plum for different looks. | Colors that fade or bleed easily. |
| Price | Doesn’t have to be the most expensive, but invest in a quality product that performs well. | Super cheap kajal pencils often sacrifice quality and longevity. You get what you pay for. 💸 |
Pro-Tip: Always do a patch test on your arm before applying any new product to your eyes. Better safe than sorry (and swollen).
2. Prep Talk: Setting the Stage for Success (Even if it’s on a Moving Train)
Okay, you’ve chosen your weapon. Now, let’s prepare the battlefield (your eyelids). Even a quick kajal application requires a teeny bit of prep. Don’t worry, we’re talking seconds here.
- Cleanse: Wipe away any excess oil or makeup with a makeup wipe or cotton pad soaked in micellar water. This will help the kajal adhere better and prevent smudging. 🧼
- Prime (Optional, But Recommended): If you have oily lids, a quick swipe of eyeshadow primer will significantly extend the wear of your kajal. Think of it as the "sticky tape" for your eyeliner.
- Conceal (Optional): If you have dark circles or redness around your eyes, a little concealer can brighten the area and make your kajal pop. Think of it as Photoshop for your face. ✨
Pro-Tip: If you’re really pressed for time, skip the primer and concealer. A quick blot with blotting paper or tissue will do the trick.
*3. The Basic Btch Kajal Application: The Classic Lined Look**
This is your bread and butter, your go-to, your "I-woke-up-like-this" (even though you didn’t). The classic lined look is simple, elegant, and universally flattering.
Steps:
- The Lower Lash Line: This is where the magic happens. Gently lift your upper eyelid (or lower eyelid, depending on what line you are starting with) and line your lower lash line with the kajal pencil. Start from the outer corner and work your way inwards. Aim for a thin, even line. Don’t be afraid to go over it a few times to build intensity.
- The Upper Lash Line (Optional): This is where you can customize the look.
- For a subtle look: Tightline – Gently lift your upper eyelid and apply the kajal to the waterline. This will define your eyes without adding a visible line.
- For a more defined look: Line your upper lash line as close to your lashes as possible. Start thin at the inner corner and gradually thicken the line towards the outer corner. You can create a small wing for extra drama.
- Smudge (Optional): If you want a softer, more lived-in look, gently smudge the liner with a cotton swab or your fingertip.
Pro-Tip: Use short, feathery strokes to apply the kajal. This will prevent the line from looking too harsh or uneven. Practice makes perfect!
4. Level Up: Smoky Eyes in Seconds (Because Who Has Time for Blending?)
Okay, so you’ve mastered the basic lined look. Now, let’s take it up a notch with a quick and dirty smoky eye. This is perfect for date night, a last-minute party, or when you just want to look extra fierce.
Steps:
- Apply Kajal Liberally: Line your upper and lower lash lines generously with the kajal pencil. Don’t worry about being too precise.
- Smudge, Smudge, Smudge: Immediately after applying the kajal, use a smudge brush, cotton swab, or your fingertip to blend the liner upwards and outwards. Focus on blending the edges to create a soft, smoky effect.
- Add Depth (Optional): If you want a more intense smoky eye, add a dark eyeshadow (like brown or black) to the outer corner of your eye and blend it into the kajal.
- Mascara: Finish with a generous coat of mascara on your upper and lower lashes.
Pro-Tip: Work quickly! The longer you wait, the harder it will be to blend the kajal. If the kajal sets too quickly, warm it up by holding it between your fingers for a few seconds.
5. Pro Tips & Tricks: Hacks for the Truly Desperate (And the Exceptionally Lazy)
- The Business Card Trick: Hold a business card or piece of tape at the outer corner of your eye to create a sharp, clean wing.
- The Eyelash Curler Hack: Apply kajal to the base of your eyelash curler and then curl your lashes. This will deposit a thin line of kajal along your upper lash line.
- The Lighter Trick: Gently warm the tip of your kajal pencil with a lighter for a few seconds. This will soften the formula and make it glide on more easily. (Be careful not to burn yourself or melt the pencil!) 🔥
- The Q-Tip Savior: Keep a pack of Q-tips handy for cleaning up mistakes. Dip them in micellar water for extra cleaning power.
- The White Eyeliner Trick: Apply white eyeliner to your waterline to make your eyes look bigger and brighter.
6. Troubleshooting: Fixing Common Kajal Catastrophes (Don’t Panic!)
- Smudging: Prevent smudging by using a waterproof kajal, priming your eyelids, and setting the kajal with a translucent powder.
- Uneven Lines: Use short, feathery strokes to apply the kajal. If the line is still uneven, use a Q-tip to clean up the edges.
- Kajal Transferring to Upper Lid: This is common for people with hooded eyes. Set the kajal with a translucent powder and avoid applying too much product to the waterline.
- Irritation: If your eyes are sensitive to kajal, try using a hypoallergenic formula.
7. Kajal Cleansing & Care: Keeping Your Weapon Sharp (and Your Eyes Healthy)
- Remove Your Kajal Every Night: Don’t sleep in your makeup! Use a gentle eye makeup remover to thoroughly cleanse your eyes. 😴
- Sharpen Your Pencil Regularly: A sharp pencil will give you a more precise application.
- Store Your Kajal in a Cool, Dry Place: Avoid storing it in direct sunlight or heat, which can cause it to melt or dry out.
8. Bonus Round: Beyond the Basics – Exploring Advanced Kajal Techniques (For When You Actually Have 5 Extra Minutes)
- Reverse Cat Eye: Apply kajal to your lower lash line and extend it outwards to create a dramatic, elongated shape.
- Inner Corner Highlight: Apply a light, shimmery eyeshadow to the inner corner of your eye to brighten your eyes.
- Colored Kajal Liner: Experiment with different colors of kajal to create unique and eye-catching looks.
Conclusion: Go Forth and Conquer (Your Day, and Your Eye Makeup)
Congratulations, students! You’ve now graduated from Kajal 101. You are equipped with the knowledge and skills to create a quick and intense eye makeup look on the go. Remember, practice makes perfect. Don’t be afraid to experiment and find what works best for you. Now go forth and conquer your day, one perfectly lined (or perfectly smudged) eye at a time!
(Class Dismissed! Now, go get that espresso shot… and your kajal pencil!) ☕️ 💄
For detailed product specifications and purchases, please go to :https://zenamakeup.com/products/glided-on-waterproof-kajal-eyeliner
Leave a Reply