Lecture Hall: Dewy Delights – Mastering Jelly Glow Liquid Blush for the Radiant Goddess Within ✨
(Professor Dewdrop, a flamboyant figure with a permanent shimmer and a lab coat dusted with iridescent pigments, strides confidently to the podium. A disco ball hangs precariously above, occasionally catching the light.)
Alright, settle down, settle down my darling dew-kissed disciples! Welcome to Blush 101 – specifically, the advanced seminar on unlocking the ethereal magic hidden within the humble Jelly Glow Liquid Blush! 💖
Forget everything you think you know about blush. Powder? Sniff. Cream? A touch pedestrian. Today, we’re diving headfirst into the glorious, bouncy, and utterly transformative world of jelly blush. We’re not just aiming for a flush; we’re aiming for a glow-up that’ll make even Aphrodite jealous.
(Professor Dewdrop dramatically gestures to a table laden with various jelly blushes in every shade imaginable.)
Now, before we begin our ascent to dewy deity status, let’s lay down some ground rules. This isn’t a free-for-all where you slap on blush and hope for the best. Nay, my friends! This is a science! A beautiful, shimmering, cheekbone-defining science! So, grab your notebooks, sharpen your pencils, and prepare to be enlightened!💡
Lecture Outline:
- Jelly Blush 101: What IS this bouncy sorcery? (A brief overview of jelly blush, its unique texture, and why it’s a dewy dream.)
- The Canvas: Prep is Key, Darling! (Preparing your skin for optimal jelly blush application.)
- The Toolkit: Your Arsenal of Application Allies. (Exploring the best brushes, sponges, and finger techniques for jelly blush perfection.)
- Application Techniques: From Subtle Sheen to Blushing Bombshell. (Step-by-step guides for various application methods, tailored to different skin types and desired looks.)
- Troubleshooting: Avoiding the Blush Blunders. (Common mistakes and how to fix them.)
- Jelly Blush Beyond the Cheeks: Unleashing its Versatile Potential. (Exploring unconventional uses for jelly blush.)
- The Grand Finale: Locking in the Dewy Dream. (Setting and maintaining your radiant jelly blush finish.)
1. Jelly Blush 101: What IS this Bouncy Sorcery? 🧙♀️
(Professor Dewdrop picks up a pot of shimmering pink jelly blush, gently poking it with a bejeweled finger.)
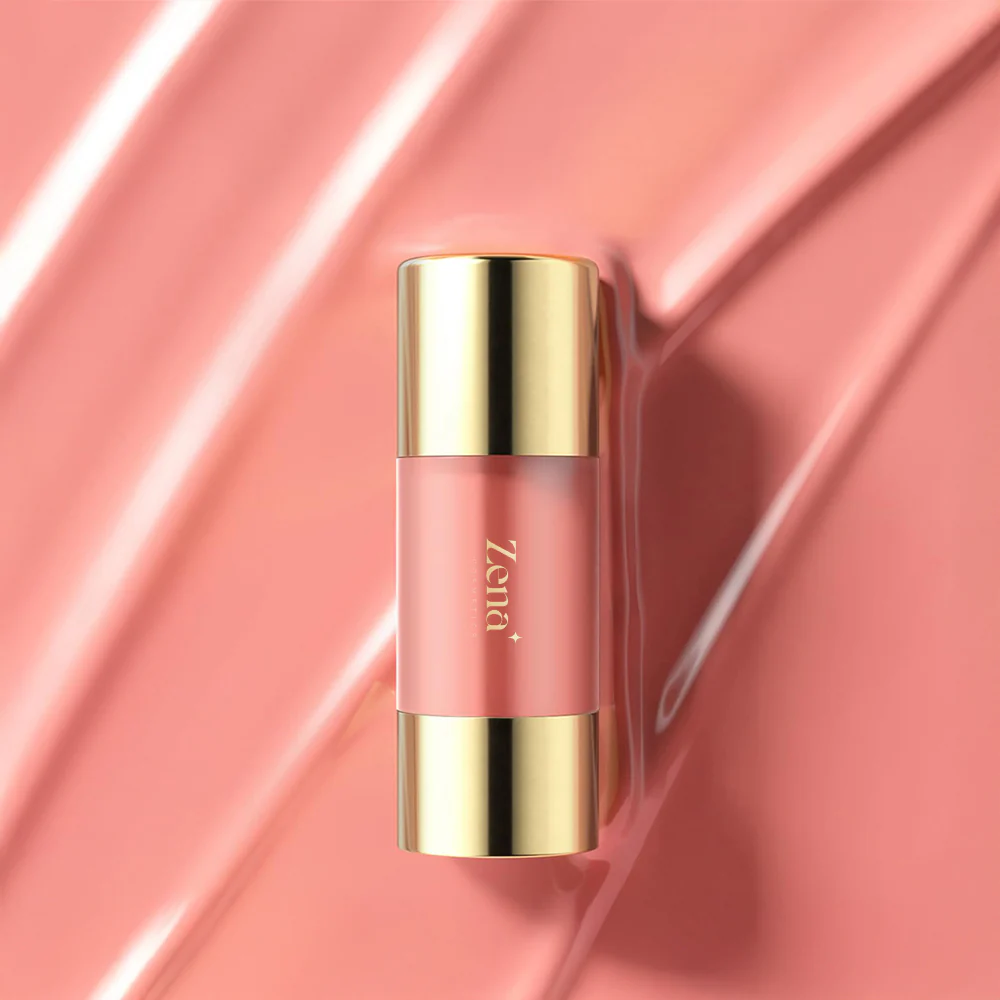
Jelly blush, my dears, is exactly what it sounds like: a bouncy, gel-like blush formulation that delivers a sheer wash of color with an unparalleled dewy finish. Think of it as the love child of a cream blush and a highlighter, but with a texture that’s infinitely more fun. It’s lightweight, buildable, and often infused with hydrating ingredients, making it a dream for dry and mature skin.
Why is it a dewy dream?
- Water-based formulas: Often packed with humectants that draw moisture to the skin, creating a naturally radiant look.
- Sheer pigmentation: Easier to control and blend than traditional blushes, minimizing the risk of looking like a clown. 🤡
- Light-reflecting particles: Many jelly blushes contain subtle shimmer or light-reflecting pigments that enhance the dewy effect.
- Buildable: Allows you to customize the intensity of your blush, from a subtle flush to a more dramatic pop of color.
Think of it this way:
| Blush Type | Texture | Finish | Dewy Factor | Best For |
|---|---|---|---|---|
| Powder Blush | Dry, powdery | Matte or satin | Low | Oily skin |
| Cream Blush | Creamy, emollient | Natural or dewy | Medium | Normal to dry skin |
| Jelly Blush | Bouncy, gel-like | Dewy, luminous | High | Normal to dry skin (especially mature skin) |
| Liquid Blush | Fluid, often pigmented | Varies, from matte to dewy | Medium to High | All skin types (depending on formula) |
2. The Canvas: Prep is Key, Darling! 🎨
(Professor Dewdrop snaps her fingers, and a giant skincare routine diagram appears on the screen.)
Before you even think about dipping your brush into that glorious jelly, you need to prepare your skin. Think of your face as a canvas. A smooth, hydrated canvas is crucial for a flawless, long-lasting jelly blush application.
The Pre-Blush Ritual:
- Cleanse: Start with a gentle cleanser to remove any dirt, oil, and makeup residue. Don’t skip this step! A clean canvas is a happy canvas. 😊
- Hydrate: This is the most crucial step for a dewy finish. Use a hydrating toner, serum, and moisturizer. Look for ingredients like hyaluronic acid, glycerin, and squalane. The more hydrated your skin, the more luminous your blush will look.
- Prime (Optional): If you have large pores or oily skin, a primer can help create a smooth base and prolong the wear of your blush. Opt for a hydrating or illuminating primer for an extra boost of dewiness. But remember, less is more! We don’t want to counteract the jelly’s natural glow.
- Base Makeup (Optional): Apply your foundation and concealer as usual. Choose a lightweight foundation with a dewy or natural finish to complement the jelly blush. If you’re going for a no-makeup makeup look, you can skip this step entirely and apply the jelly blush directly onto bare skin.
Pro Tip: For extra hydration, apply a hydrating sheet mask for 15-20 minutes before starting your makeup routine. Your skin will thank you! 🙏
3. The Toolkit: Your Arsenal of Application Allies 🧰
(Professor Dewdrop unveils a collection of brushes, sponges, and her own impeccably manicured fingers.)
Now, let’s talk tools! The right application tool can make all the difference between a radiant flush and a blotchy mess. Here’s a breakdown of your options:
- Fingers: Don’t underestimate the power of your fingertips! The warmth of your fingers helps melt the jelly blush into the skin for a seamless, natural finish. This is my personal favorite for a quick and easy application. Plus, it’s free! 💸
- Damp Beauty Sponge: A damp beauty sponge is perfect for blending out the jelly blush for a soft, diffused look. The dampness prevents the sponge from absorbing too much product, ensuring that the blush stays on your cheeks.
- Stippling Brush: A stippling brush has soft, flexible bristles that allow you to build up the color gradually without disturbing your base makeup. This is a great option for those who prefer a more precise application.
- Duo-Fibre Brush: Similar to a stippling brush, a duo-fibre brush has two types of bristles: short, dense bristles for picking up product and long, fluffy bristles for blending. This brush is ideal for creating a natural, airbrushed finish.
- Small, Dense Brush: A small, dense brush can be used for targeted application, such as on the apples of the cheeks or along the cheekbones. This brush is also helpful for building up the color intensity.
Tool Comparison Table:
| Tool | Application | Finish | Control | Best For |
|---|---|---|---|---|
| Fingers | Gentle patting and blending | Natural, seamless | Medium | Quick application, sheer coverage |
| Damp Beauty Sponge | Stippling and bouncing | Soft, diffused | Medium | Blending, sheer to medium coverage |
| Stippling Brush | Stippling and swirling | Buildable, airbrushed | High | Precise application, medium coverage |
| Duo-Fibre Brush | Buffing and swirling | Natural, airbrushed | High | Blending, medium coverage |
| Small, Dense Brush | Patting and pressing | Targeted, intense | High | Building color, precise placement |
Pro Tip: No matter which tool you choose, always start with a small amount of product and build up the color gradually. Remember, it’s easier to add more blush than to remove it! 😅
4. Application Techniques: From Subtle Sheen to Blushing Bombshell 💋
(Professor Dewdrop demonstrates various application techniques on a live model, much to the amusement of the audience.)
Alright, my blushing beauties, let’s get down to the nitty-gritty! Here are some of my favorite application techniques for achieving the perfect dewy finish with jelly glow liquid blush:
A. The Finger Tap Technique (For the Natural Glow):
- Dot, Dot, Dot: Using your fingertip, gently dab a small amount of jelly blush onto the apples of your cheeks. Start with a few dots and add more as needed.
- Tap and Blend: Use your fingertip to gently tap and blend the blush into your skin. Use light, circular motions to avoid dragging or pulling on your skin.
- Build the Intensity: If you want a more intense flush, add another layer of blush and repeat the tapping and blending process.
Best For: Dry skin, natural makeup looks, beginners.
B. The Sponge Bounce Technique (For the Diffused Radiance):
B. The Sponge Bounce Technique (For the Diffused Radiance):
- Dot and Dab: Dot the jelly blush onto the back of your hand.
- Sponge It Up: Dip your damp beauty sponge into the blush.
- Bounce and Blend: Gently bounce the sponge onto the apples of your cheeks, blending the blush outwards towards your temples.
- Build the Color: Add more blush as needed, using the same bouncing and blending technique.
Best For: All skin types, medium coverage, seamless blending.
C. The Stippling Brush Swirl (For the Precise Placement):
- Dip and Tap: Dip your stippling brush into the jelly blush. Tap off any excess product.
- Stipple and Swirl: Gently stipple the brush onto the apples of your cheeks, then swirl the brush in a circular motion to blend the blush outwards.
- Build the Color: Add more blush as needed, using the same stippling and swirling technique.
Best For: Oily skin, precise application, buildable coverage.
D. The "C" Shape Technique (For the Sculpted Flush):
- Dot Along the Cheekbone: Use your fingertip or a small brush to dot the jelly blush along your cheekbone, starting from the apple of your cheek and extending towards your temple.
- Blend Upwards: Blend the blush upwards towards your temple, creating a "C" shape.
- Soften the Edges: Use a clean brush or your fingertip to soften the edges of the blush for a seamless finish.
Best For: Adding definition to the cheekbones, creating a sculpted look.
Remember! Placement is KEY! Consider your face shape:
- Round Face: Apply blush along the cheekbones and blend upwards towards the temples to create the illusion of a more sculpted face.
- Oval Face: Apply blush to the apples of your cheeks for a classic, natural look.
- Square Face: Apply blush to the apples of your cheeks and blend in circular motions to soften the angles of your face.
- Heart-Shaped Face: Apply blush to the apples of your cheeks and blend outwards towards your temples to balance out your features.
5. Troubleshooting: Avoiding the Blush Blunders 🚨
(Professor Dewdrop projects a series of comical images depicting common blush application mistakes.)
Even the most experienced makeup artists can make mistakes. Here are some common jelly blush blunders and how to avoid them:
- Blotchy Application: This usually happens when you apply too much product at once or don’t blend it properly. To fix this, use a damp beauty sponge to blend out the blush until it’s seamless.
- Uneven Application: Make sure to apply the blush evenly on both sides of your face. Use a mirror to check your work and adjust as needed.
- Clown Cheeks: Applying blush too low on your cheeks can make you look like a clown. To avoid this, apply the blush to the apples of your cheeks and blend upwards towards your temples.
- Too Much Shimmer: If your jelly blush is too shimmery, you can tone it down by applying a translucent powder over the top.
- Fading Blush: If your blush fades throughout the day, try setting it with a setting spray or a light dusting of translucent powder.
Troubleshooting Table:
| Problem | Cause | Solution |
|---|---|---|
| Blotchy application | Applying too much product, improper blending | Use a damp sponge to blend, apply in thin layers |
| Uneven application | Inconsistent application technique | Use a mirror, practice application technique |
| "Clown Cheeks" | Applying blush too low | Apply blush to apples of cheeks, blend upwards |
| Too much shimmer | Overly shimmery formula | Apply translucent powder on top |
| Fading Blush | Insufficient setting, dry skin | Use setting spray, hydrate skin beforehand |
Pro Tip: If you accidentally apply too much blush, don’t panic! Use a clean brush or sponge to blend it out. You can also apply a small amount of foundation or concealer over the blush to tone it down. Breathe! You got this! 💪
6. Jelly Blush Beyond the Cheeks: Unleashing its Versatile Potential 🚀
(Professor Dewdrop winks mischievously.)
Who says jelly blush is only for cheeks? This versatile product can be used in a variety of ways to create a dewy, radiant look all over your face.
- Lip Tint: Dab a small amount of jelly blush onto your lips for a sheer wash of color and a subtle sheen.
- Eyeshadow: Apply a thin layer of jelly blush onto your eyelids for a dewy, monochromatic look.
- Highlighter: Use a shimmery jelly blush as a highlighter on your cheekbones, brow bone, and cupid’s bow.
- Body Glow: Mix a small amount of jelly blush with your body lotion for an all-over dewy glow.
Jelly Blush Multitasking:
| Use | Application | Benefit |
|---|---|---|
| Lip Tint | Dab onto lips | Sheer color, dewy finish |
| Eyeshadow | Apply to eyelids | Monochromatic look, dewy sheen |
| Highlighter | Apply to high points of face | Dewy glow, subtle shimmer |
| Body Glow | Mix with lotion | All-over radiance |
Pro Tip: When using jelly blush on your lips or eyes, make sure to use a primer to prevent it from creasing or fading.
7. The Grand Finale: Locking in the Dewy Dream 💎
(Professor Dewdrop strikes a glamorous pose, radiating dewy perfection.)
Congratulations, my dears! You’ve mastered the art of jelly blush application. But before you go off and conquer the world with your newfound radiance, let’s talk about how to lock in that dewy dream.
- Setting Spray: A setting spray is essential for prolonging the wear of your blush and keeping your skin looking fresh and dewy. Choose a hydrating or illuminating setting spray for an extra boost of glow.
- Translucent Powder (Strategically): If you have oily skin, you can use a light dusting of translucent powder to set your blush and prevent it from fading. However, be careful not to overdo it, as too much powder can dull the dewy finish. Apply only to areas that tend to get oily, such as the T-zone.
- Hydrating Mist: Throughout the day, you can use a hydrating mist to refresh your skin and rehydrate your blush.
Dewy Dream Maintenance:
| Step | Product | Benefit |
|---|---|---|
| Setting | Hydrating/Illuminating Setting Spray | Prolongs wear, enhances dewy finish |
| Powder (Optional) | Translucent Powder (lightly) | Controls oil, prevents fading (use sparingly) |
| Refresh | Hydrating Mist | Rehydrates skin, revitalizes blush |
Pro Tip: Avoid touching your face throughout the day, as this can transfer oil and dirt onto your skin and cause your blush to fade.
(Professor Dewdrop beams, the disco ball reflecting in her perfectly dewy cheeks.)
And that, my darlings, concludes our lecture on mastering jelly glow liquid blush! Now go forth and shine! Remember, the key to a perfect dewy finish is hydration, technique, and a little bit of confidence. Go out there and embrace your inner goddess! Class dismissed! ✨💖
(Professor Dewdrop blows a kiss to the audience as the lights fade and the disco ball spins one last time.)
For detailed product specifications and purchases, please go to :https://zenamakeup.com/products/jelly-liquid-blush-stick
Leave a Reply