Lecture: Unlock the Secrets to Lip Stain Nirvana: Mastering Your Sexy Lip Marker Tint
(Professor Lipstick 💋 strides onto the stage, adjusts her oversized glasses, and beams at the eager audience.)
Alright, darling lipstick lovers! Welcome, welcome to Stainology 101! Today, we’re diving deep – real deep – into the juicy world of lip marker tints. Forget your grandma’s blush-stained tissues; we’re talking about achieving that coveted, effortlessly chic, "just-bitten" look that lasts longer than your last relationship!
(Professor Lipstick winks.)
We’re not just slapping on color here, people. We’re sculpting masterpieces, achieving legendary lip longevity, and unlocking the true potential of your Sexy Lip Marker Tint. So grab your notebooks (or, you know, your phone’s notes app), and let’s get started!
I. The Lip Stain Landscape: Understanding Your Weapon of Choice
Before we unleash our inner Picasso, let’s understand what we’re dealing with. Lip marker tints are different beasts compared to lipsticks, glosses, or even traditional lip stains. They’re often water-based or gel-based, delivering a sheer, buildable color that stains the lips rather than sitting on top of them.
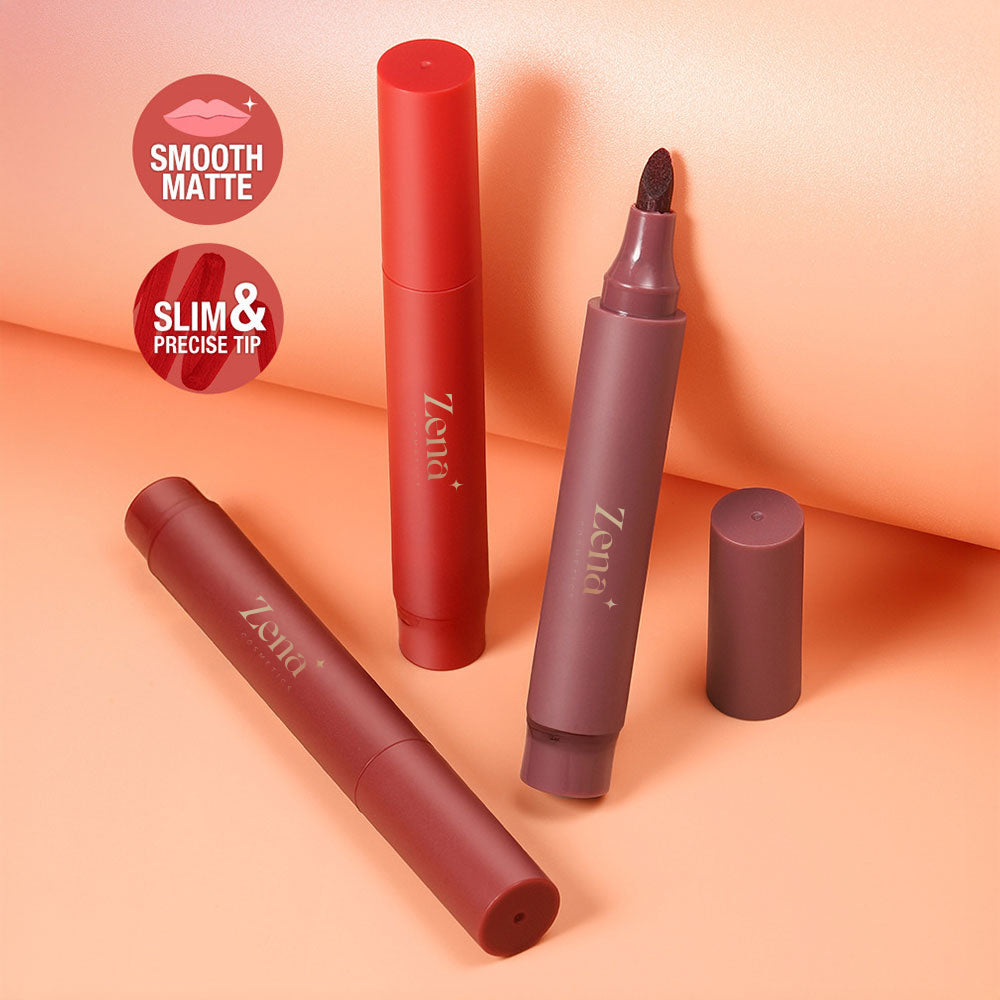
(Professor Lipstick holds up a sleek lip marker tint.)
Think of it like this: it’s like dyeing fabric. You’re impregnating the lip skin with pigment, creating a natural-looking flush that resists fading and smudging. This is fantastic news for anyone who’s tired of reapplying lipstick every five minutes or fearing lipstick on their teeth. (We’ve all been there. 😬)
Key Advantages of Lip Marker Tints:
- Longevity: Oh honey, this is the main draw. Properly applied, these things can last through coffee, cocktails, and even a passionate make-out session (disclaimer: individual results may vary… and I am not responsible for any resulting scandals 😉).
- Natural Look: Forget the heavy, cakey feeling of some lipsticks. Lip marker tints offer a light, barely-there feel and a natural, "your lips but better" effect.
- Smudge-Proof: Say goodbye to lipstick stains on your coffee cup, your partner’s cheek, or your own face (the horror!). These tints are notoriously smudge-resistant.
- Buildable Color: Want a subtle hint of color? Done. Want a bold, statement lip? Also done. You control the intensity.
- Low Maintenance: Apply and forget! No need for constant touch-ups or blotting.
II. The Pre-Game Ritual: Preparing Your Canvas for Stain Success
Like any good artist knows, a flawless masterpiece starts with a perfectly prepared canvas. Your lips are no different!
(Professor Lipstick dramatically gestures to the audience.)
Step 1: Exfoliation – The Scrub-a-Dub-Dub for Kissable Lips
Dry, flaky lips are the enemy of a smooth, even stain. Imagine trying to paint a masterpiece on a cracked wall – the results would be… less than ideal.
(Professor Lipstick shudders.)
Exfoliation removes dead skin cells, creating a smooth surface for the pigment to adhere to.
Methods of Exfoliation:
| Method | Description | Frequency | Pros | Cons |
|---|---|---|---|---|
| Lip Scrub | Use a commercially available lip scrub (sugar-based is a good choice) or make your own using sugar, honey, and olive oil. Gently massage onto lips in circular motions for 1-2 minutes. | 2-3 times per week | Effective, easy to use, often contains moisturizing ingredients. | Can be abrasive if used too vigorously, may contain ingredients you’re sensitive to. |
| Toothbrush | Use a soft-bristled toothbrush to gently buff away dead skin. | 1-2 times per week | Readily available, inexpensive. | Can be harsh if not used carefully, requires a very gentle touch. |
| Washcloth | Dampen a soft washcloth and gently rub it over your lips in circular motions. | Daily | Gentle, convenient. | Less effective than other methods for removing stubborn flakes. |
(Professor Lipstick emphasizes, "Gentle is key! We’re not sanding down furniture here!")
Step 2: Hydration – Quenching Your Lips’ Thirst
Hydrated lips are happy lips, and happy lips hold stain better. Think of it like a sponge: a dry sponge won’t absorb water as well as a damp one. Apply a generous layer of lip balm to your lips after exfoliating. Look for balms containing ingredients like:
- Hyaluronic Acid: This moisture magnet draws water to the lips, keeping them plump and hydrated.
- Shea Butter: A rich emollient that soothes and softens dry lips.
- Vitamin E: An antioxidant that helps protect the lips from environmental damage.
(Professor Lipstick warns, "Avoid lip balms with irritating ingredients like menthol or camphor, which can actually dry out your lips in the long run! Read those labels, darlings!")
Step 3: Priming (Optional, But Recommended!) – Creating the Ultimate Stain Foundation
While not strictly necessary, a lip primer can create a smooth, even surface for the stain to adhere to and can also help to prevent the stain from settling into fine lines. Look for a lip primer that is:
- Lightweight: You don’t want to feel like you’re wearing a mask.
- Hydrating: Adds another layer of moisture.
- Colorless: Won’t interfere with the color of your stain.
(Professor Lipstick whispers conspiratorially, "A little bit of concealer can also work in a pinch! Just make sure it’s not too drying.")
III. The Art of Application: Unleashing Your Inner Lip Stain Artist
Now for the fun part! Applying your Sexy Lip Marker Tint like a pro.
(Professor Lipstick grabs a mirror and demonstrates.)
Step 1: The First Layer – Light and Even
Apply the lip marker tint in a thin, even layer across your entire lip surface. Think of it like watercolor painting – start with a light wash of color.
(Professor Lipstick cautions, "Don’t over-saturate the applicator! A little goes a long way. You can always add more, but it’s harder to take away.")
Application Techniques:
- Dotting Method: Apply small dots of the tint across your lips and then blend them together with your finger or the applicator. This is great for beginners as it prevents over-application.
- Outline and Fill: Outline your lips with the tip of the marker and then fill in the rest of the lip area. This is a good technique for creating a more defined lip shape.
- Center-Outward: Start applying the tint in the center of your lips and then blend it outwards towards the edges. This creates a natural, gradient effect.
Step 2: The Wait Game – Patience is a Virtue (and a Stain-Enhancer!)
This is crucial! Allow the first layer of tint to dry completely before applying any additional layers. This allows the pigment to properly stain the lips.
(Professor Lipstick dramatically checks her watch.)
How long should you wait? Typically 30 seconds to a minute is sufficient. You’ll know it’s dry when the lips feel slightly tacky and the color has deepened slightly.
(Professor Lipstick groans dramatically.)
(Professor Lipstick groans dramatically.)
I know, I know, patience is a virtue, and we’re all in a hurry. But trust me, the wait is worth it. Skipping this step can lead to streaky, uneven results.
Step 3: Building the Intensity – Layering for Perfection
If you want a more intense color, apply a second or even a third layer of tint, allowing each layer to dry completely before applying the next.
(Professor Lipstick demonstrates, building the color gradually.)
Remember, you’re in control! Go slowly and build the color until you achieve your desired intensity.
Step 4: Defining the Edges (Optional) – Sharpening Your Cupid’s Bow
For a more polished look, you can use a lip liner in a shade that closely matches your lip color or the lip tint to define the edges of your lips after applying the tint.
(Professor Lipstick emphasizes, "This is optional, but it can really elevate your look, especially if you have uneven lip lines.")
IV. Troubleshooting: Conquering Common Lip Stain Challenges
Even the most seasoned lip stain aficionados can encounter challenges. Let’s tackle some common problems and their solutions.
(Professor Lipstick puts on her serious professor face.)
Problem 1: Uneven Application/Streaky Stain
Possible Causes:
- Dry, flaky lips.
- Applying the tint to wet or oily lips.
- Not allowing each layer of tint to dry completely.
- Using a faulty applicator.
Solutions:
- Exfoliate and hydrate your lips before applying the tint.
- Ensure your lips are clean and dry before application.
- Be patient and allow each layer to dry completely.
- Try a different lip marker tint with a better applicator.
Problem 2: Stain Fading Too Quickly
Possible Causes:
- Not exfoliating your lips properly.
- Not hydrating your lips enough.
- Eating oily foods.
- Using a low-quality lip marker tint.
Solutions:
- Exfoliate and hydrate your lips more frequently.
- Blot your lips after eating oily foods.
- Invest in a high-quality lip marker tint with better staying power.
- Apply a lip sealant or setting spray over the tint to prolong its wear.
Problem 3: Stain Settling into Fine Lines
Possible Causes:
- Dry lips.
- Using a lip marker tint that is too drying.
- Not using a lip primer.
Solutions:
- Hydrate your lips thoroughly.
- Use a lip marker tint with a more moisturizing formula.
- Apply a lip primer before applying the tint.
- Gently blot your lips after applying the tint to remove any excess product that may settle into fine lines.
Problem 4: Stain Transferring to Teeth
Possible Causes:
- Applying too much product.
- Not allowing the tint to dry completely.
Solutions:
- Apply the tint in thin, even layers.
- Allow the tint to dry completely before closing your mouth.
- Blot your lips gently with a tissue after applying the tint.
- Use a finger to check for any product on the inner rim of your lips and remove it.
V. Beyond the Basics: Advanced Lip Stain Techniques
(Professor Lipstick grins mischievously.)
Ready to take your lip stain game to the next level? Let’s explore some advanced techniques.
- Gradient Lips: Create a Korean-inspired gradient lip by applying the tint to the center of your lips and then blending it outwards. This creates a soft, youthful look.
- Ombre Lips: Use two different shades of lip marker tint to create an ombre effect. Apply the darker shade to the outer edges of your lips and the lighter shade to the center.
- Lip Contouring: Use a lip liner that is slightly darker than your natural lip color to contour your lips before applying the tint. This can create the illusion of fuller, more defined lips.
- Mixing and Matching: Experiment with mixing different shades of lip marker tint to create your own custom colors.
VI. The Grand Finale: Maintaining Your Lip Stain Masterpiece
(Professor Lipstick dramatically removes her glasses.)
Congratulations, my dears! You’ve reached the final stage of your lip stain journey. But the work doesn’t stop here!
To keep your lip stain looking its best, follow these tips:
- Reapply Lip Balm: Keep your lips hydrated throughout the day by reapplying lip balm as needed.
- Avoid Oily Foods: Oily foods can break down the lip stain and cause it to fade more quickly. If you eat oily foods, blot your lips afterwards.
- Gently Blot: If you notice your lips getting shiny or greasy, gently blot them with a tissue.
- Reapply (If Necessary): While lip marker tints are long-lasting, they may need to be reapplied after eating or drinking.
- Remove at Night: While the stain is designed to last, it’s still important to remove it at night to allow your lips to breathe. Use a gentle makeup remover to remove any remaining pigment.
(Professor Lipstick smiles warmly.)
And there you have it, my beautiful students! You are now equipped with the knowledge and skills to master the art of lip marker tints. Go forth and create stunning, long-lasting lip looks that will turn heads and leave them wondering, "How does she do it?"
(Professor Lipstick blows a kiss to the audience.)
Class dismissed! Now go stain those lips! 💋💄✨
For detailed product specifications and purchases, please go to :https://zenamakeup.com/products/sexy-stained-lip-marker-tint
Leave a Reply