The Art of the Second Blush: Mastering the Jelly Essence Blush Stick Reapplication
(A Lecture for Aspiring Blush Aficionados)
(Professor Blushington, Chair of the Department of Radiant Cheeks, takes the stage, adjusting her oversized, glitter-encrusted spectacles. A single, perfectly-placed jelly blush dot graces each cheek.)
Good morning, my radiant revolutionaries! Welcome, welcome to Blush 201: Reapplication Revelations! I see many eager faces, and I trust you’ve all completed Blush 101: The Foundation of Flushed Perfection. (If not, see me after class – remedial blush application is available).
Today, we delve into the sacred art of the second blush. We’re not talking about mere touch-ups, darlings. We’re talking about a strategic, sophisticated, and frankly, essential skill for maintaining that "just-kissed-by-a-unicorn" glow throughout the trials and tribulations of daily life. Specifically, we’re going to tackle the magnificent, malleable, and sometimes mystifying: Jelly Essence Blush Stick.
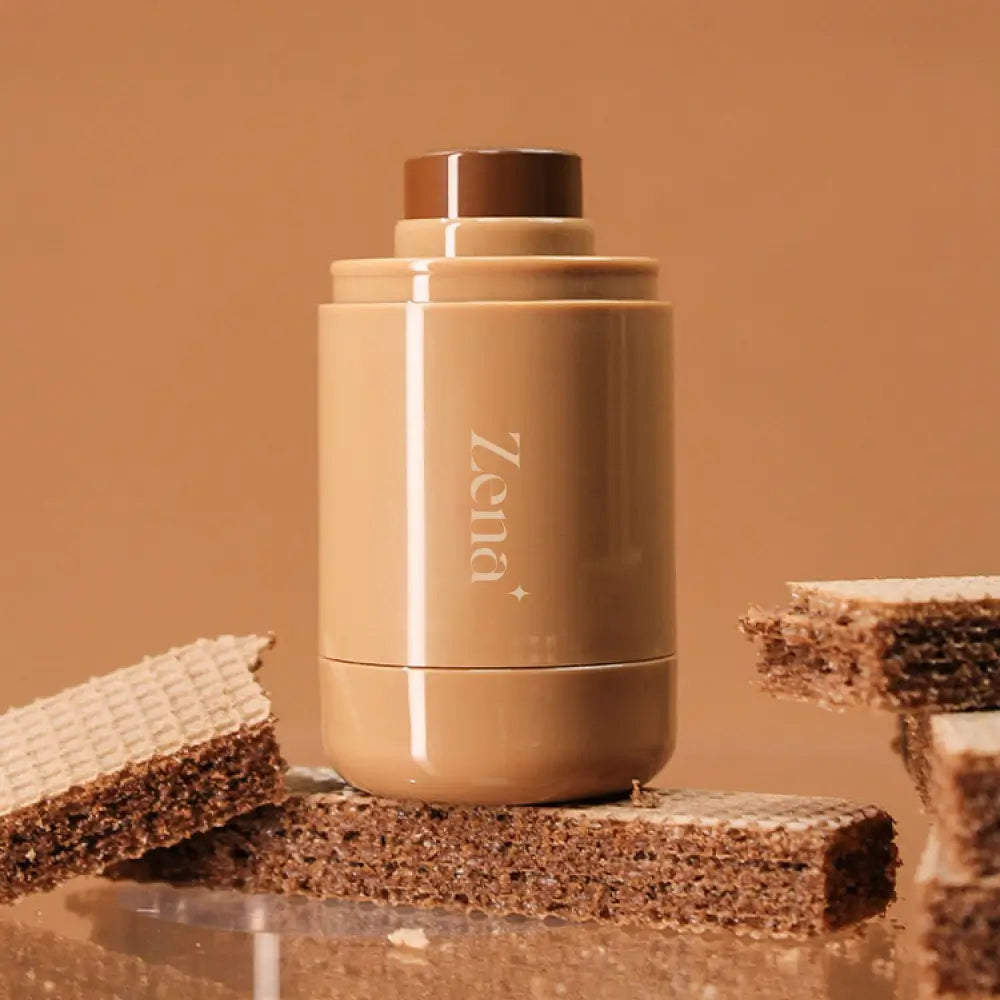
(Professor Blushington dramatically flourishes a shimmering Jelly Essence Blush Stick.)
Ah, the Jelly Essence Blush Stick! A product so delightful, so dewy, so delightfully affordable, it’s practically a moral imperative to own at least three. But mastering its reapplication? That’s where the artistry comes in!
Why Bother Reapplying Anyway? The Case for Continued Radiance
Let’s be honest, life happens. Your morning blush application, however flawless, is a fragile thing. It’s up against:
- The Daily Grind: Think meetings, commuting, the sheer existential dread of Mondays… all blush-killers!
- The Elements: Wind, sun, rain, rogue pigeons… nature’s a harsh critic when it comes to makeup longevity.
- The Hydration Paradox: While you’re diligently drinking your water (good for you!), all that internal moisture can sometimes soften and fade your blush.
- The "Oops" Factor: Accidental cheek-rubbing, face-touching, or that moment you leaned a little too enthusiastically into a hug.
Ignoring these threats is simply unacceptable. We cannot allow our inner radiance to be dimmed!
(Professor Blushington pauses for dramatic effect, adjusting her spectacles.)
Reapplication isn’t about vanity, my friends. It’s about self-care. It’s about projecting confidence. It’s about ensuring that your cheeks remain a beacon of joy in a world that desperately needs it. Think of it as a little mid-day pick-me-up, a visual espresso shot for your face! ☕
The Jelly Essence Blush Stick Advantage: Why It’s Perfect for Reapplication
Before we dive into techniques, let’s acknowledge why the Jelly Essence Blush Stick is such a champion for reapplication:
- Portable Perfection: Small, sleek, and stick-shaped – easily fits in your purse, pocket, or even your bra (though I wouldn’t necessarily recommend that). 👜
- Creamy Dreamy Texture: Melts into the skin beautifully, even over existing makeup. No caking, no creasing (mostly!).
- Buildability Bliss: You control the intensity. Go from a subtle flush to a full-blown, "I just climbed Mount Everest of Joy" glow with ease.
- Forgiving Formula: Blends like a dream, minimizing the risk of harsh lines or patchy application.
- Hydrating Hero: Many formulas boast hydrating ingredients, giving your skin a little boost of moisture throughout the day.
The Reapplication Rulebook: Techniques for Flawless Results
Now, let’s get down to the nitty-gritty. Here are my top techniques for reapplying your Jelly Essence Blush Stick like a pro:
1. The "Tap-and-Blend" Technique (For Light Coverage Refresh)
-
Best For: Maintaining a subtle, natural flush; touching up minimal fading.
-
The Process:
- Assess the Situation: Take a quick glance in the mirror. Where has your blush faded the most?
- Gentle Application: Lightly tap the blush stick directly onto the areas that need a boost. Think small dots, not aggressive swipes.
- Blend, Blend, Blend: Use your fingertips, a beauty sponge, or a small blush brush to gently blend the product into your existing makeup. Focus on diffusing the edges.
- Mirror Check: Step back and admire your refreshed radiance!
-
Tools of the Trade:
- Fingertips: Warm, natural, and readily available! Best for a soft, diffused look.
- Beauty Sponge (Damp): Creates a seamless, airbrushed finish.
- Small, Dense Blush Brush: Provides more targeted application and buildable coverage.
-
Pro-Tip: If you’re using your fingers, pat, don’t rub. Rubbing can disrupt your foundation and create a patchy mess.
2. The "Brush-and-Buff" Technique (For Medium Coverage and Precision)
-
Best For: Adding more noticeable color; contouring and defining cheekbones.
-
Best For: Adding more noticeable color; contouring and defining cheekbones.
-
The Process:
- Prep Your Brush: Choose a blush brush that’s slightly angled or tapered for precise application.
- Load the Brush: Lightly swipe the blush stick onto the bristles of your brush. Don’t overload! You can always add more.
- Targeted Application: Apply the blush to the apples of your cheeks, sweeping upwards towards your temples.
- Buff to Perfection: Use circular motions to blend the blush seamlessly into your skin.
- Layer as Needed: Build up the color gradually until you achieve your desired intensity.
-
Tools of the Trade:
- Angled Blush Brush: Perfect for sculpting and defining cheekbones.
- Tapered Blush Brush: Ideal for precise application and controlled blending.
- Stippling Brush: Creates a natural, diffused look with minimal product.
-
Pro-Tip: For a more sculpted look, apply the blush slightly higher on your cheekbones, blending towards your temples.
3. The "Stick-to-Skin" Technique (For Maximum Pigment and Impact)
-
Best For: Bold color payoff; creating a dramatic, statement blush look.
-
The Process:
- Direct Application: Gently swipe the blush stick directly onto your cheeks, focusing on the areas where you want the most color.
- Swift Blending: Immediately blend the product using your fingertips, a beauty sponge, or a brush. Work quickly to prevent the blush from setting.
- Diffuse the Edges: Pay extra attention to blending the edges of the blush to avoid harsh lines.
- Set with Powder (Optional): If you have oily skin or want to ensure long-lasting wear, lightly dust a translucent powder over your blush.
-
Tools of the Trade:
- Fingertips: For a quick and easy blend.
- Beauty Sponge (Damp): For a seamless, airbrushed finish.
- Synthetic Brush: Synthetic bristles are less absorbent and will help to maximize color payoff.
-
Pro-Tip: This technique is best suited for those with dry or normal skin, as it can be more prone to creasing on oily skin.
The Troubleshooting Toolkit: Common Reapplication Challenges and Solutions
Even the most skilled blush artist encounters challenges. Here’s a guide to navigating common reapplication hurdles:
Challenge Solution Emoji Blush looks patchy Ensure you’re blending thoroughly. Use a damp beauty sponge or a brush with soft bristles. Try using a lighter hand when applying the blush stick. 😩 Blush looks cakey You may be applying too much product. Use a lighter hand and build up the color gradually. Try using a damp beauty sponge to sheer out the blush. Consider using a hydrating setting spray to melt the makeup together. 🍰 Blush fades too quickly Set your blush with a translucent powder. Choose a long-wearing formula. Consider using a blush primer. 💨 Blush transfers onto everything Set your blush with a translucent powder. Avoid touching your face throughout the day. Use a setting spray to lock your makeup in place. 💋 My skin looks oily after reapplication Blot away excess oil with blotting papers before reapplying. Use a mattifying primer underneath your makeup. Choose a powder blush instead of a cream blush. 🛢️ I’m wearing foundation with SPF, will reapplying blush mess it up? Apply SPF separately from your foundation. Use a light touch when reapplying the blush and blend carefully to avoid disrupting the foundation. Consider using a powder SPF for touch-ups throughout the day. ☀️ Beyond the Basics: Advanced Blush Techniques
Once you’ve mastered the fundamentals, you can explore these advanced techniques to take your blush game to the next level:
- The "Blush Draping" Technique: Extend your blush up towards your temples to create a sculpted, lifted effect.
- The "Sun-Kissed Glow" Technique: Apply blush across the bridge of your nose and cheeks to mimic a natural sun-kissed flush.
- The "Monochromatic Makeup" Technique: Use the same blush shade on your cheeks, lips, and eyelids for a cohesive and harmonious look.
(Professor Blushington winks.)
Remember, darlings, makeup is an art, not a science. Experiment, play, and find what works best for you!
The Golden Rules of Jelly Essence Blush Stick Reapplication
To summarize, here are the golden rules to live by:
- Start Small: Less is always more. You can always add more product, but it’s harder to take it away.
- Blend, Blend, Blend: Seamless blending is the key to a natural-looking blush.
- Choose the Right Tools: Select the tools that work best for your skin type and desired look.
- Consider Your Skin Type: Adjust your technique and product choices based on your skin’s needs.
- Don’t Be Afraid to Experiment: Try different techniques and shades to find what you love.
- Carry blotting paper: Especially if you have oily skin.
- Don’t forget to clean your tools! Dirty brushes and sponges can harbor bacteria and lead to breakouts.
- Check the mirror in natural light: To make sure your blush is blended and even.
- Embrace imperfections: Makeup is meant to enhance your natural beauty, not to create a flawless mask.
- Have Fun! Blush is meant to be joyful. Enjoy the process of creating your perfect radiant glow. ✨
(Professor Blushington beams, her cheeks positively glowing.)
Conclusion: Go Forth and Blush!
Congratulations, my radiant rebels! You are now equipped with the knowledge and skills to conquer the world of Jelly Essence Blush Stick reapplication. Go forth, embrace your inner artist, and never let your cheeks lose their sparkle!
(Professor Blushington bows to thunderous applause. She then proceeds to hand out miniature Jelly Essence Blush Sticks as a parting gift. Class dismissed!)
For detailed product specifications and purchases, please go to :https://zenamakeup.com/products/jelly-essence-blush-stick
-
Leave a Reply