Festive & Fabulous: Creating Glamorous Eye Makeup Looks in Minutes with a Convenient Stick Set (A Lecture)
(🔔 Lecture Bell Rings, cue dramatic music fading in and out 🔔)
Alright, glamour goblins and sparkle sirens! Settle down, settle down! Your professor of pizzazz, the maestro of mascara, is here to unlock the secrets to eye makeup that’s faster than a speeding glitter bullet. Forget hours of painstaking blending and a mountain of palettes that rival Everest! We’re entering the age of the stick – the eye makeup stick, that is!
Today’s lecture is all about harnessing the power of convenient eye makeup stick sets to achieve festive and glamorous looks in mere minutes. We’ll dissect techniques, explore product pairings, and troubleshoot common stick-related snafus. Get ready to ditch the daunting and embrace the dazzling!
(✨ Sparkle emoji flashes across the screen ✨)
I. Introduction: Why Sticks? The Rise of the On-the-Go Goddess
(🤔 Thinking face emoji 🤔)
Let’s be honest, how many of us have envisioned a perfectly sculpted smoky eye, only to be thwarted by the tyranny of time? Between work, errands, social commitments, and that desperate attempt to finally learn the TikTok dance everyone’s doing, who has hours to dedicate to eye makeup?
Enter the glorious eye makeup stick! These convenient, often creamy, color-packed wonders offer a solution for the time-strapped glamour enthusiast. Here’s why they’re taking the beauty world by storm:
- Speed Demon Approved: Application is lightning-fast. Swipe, blend (or even smudge!), and you’re done.
- Travel-Friendly Superstar: Compact and mess-free, perfect for throwing in your purse or travel bag. Goodbye, shattered palettes!
- Beginner’s Best Friend: Easier to control than loose powders, making them ideal for beginners or those with shaky hands (we’ve all been there after that third cup of coffee).
- Color Coordination Simplified: Many sets are curated with complementary colors, eliminating the guesswork of choosing shades that work together.
- Versatile Visionary: Sticks can be used as eyeshadow bases, liners, highlighters, and even all-over lid color.
(💃 Dancing lady emoji 💃)
II. Decoding the Stick Set: Understanding Your Arsenal of Awesomeness
Not all stick sets are created equal! Let’s break down the common types and what you can expect from each:
| Stick Type | Texture | Finish | Best For | Pros | Cons |
|---|---|---|---|---|---|
| Cream Eyeshadow Stick | Creamy, blendable | Matte, shimmer, metallic | All-over lid color, base for powder eyeshadow | Highly pigmented, easy to blend, long-lasting (often waterproof/smudge-proof) | Can crease if not set with powder, may require primer for oily lids |
| Chunky Eyeliner Stick | Creamy or waxy | Matte, shimmer, glitter | Thick eyeliner, smoky liner, inner corner highlight | Bold color payoff, easy to create winged liner (with practice), versatile for different liner looks | Can be difficult to create precise lines, may smudge if not set |
| Highlighter Stick | Creamy, pearlescent | Shimmer, glowy | Inner corner highlight, brow bone highlight, all-over lid shimmer | Adds instant luminosity, blends seamlessly into skin, can be used on other areas of the face | Can be too shimmery for some, may emphasize texture |
| Contour Stick | Creamy, blendable | Matte | Defining the crease, adding depth to the outer corner | Easy to sculpt the eye, creates a natural-looking shadow, can be used on other areas of the face | May require blending to avoid harsh lines, color match is crucial |
(💡 Lightbulb emoji 💡)
III. Mastering the Application: Techniques for Stick-tacular Results
Now, let’s get down to the nitty-gritty: how to actually use these magical sticks!
(A) The All-Over Lid Wash:
- Prime Time: Always start with an eyeshadow primer, especially if you have oily lids. This prevents creasing and ensures longevity.
- Swipe & Conquer: Apply the eyeshadow stick directly to your eyelid, from lash line to crease.
- Blend Like You Mean It: Use a blending brush (synthetic works best for cream products) or your fingertip (clean, of course!) to blend the color upwards and outwards, diffusing any harsh lines.
- Set It & Forget It: Set with a translucent powder or a powder eyeshadow in a similar shade to prevent creasing.
(B) The Smoky Eye Shortcut:
- Line & Define: Use a dark eyeshadow stick (black, brown, navy) to line your upper and lower lash lines, creating a thick, smudged line.
- Smudge Master: Immediately (before the product sets!) use a smudging brush or a cotton swab to soften the edges of the liner, blending it upwards towards the crease.
- Intensify the Crease: Use a contour stick or a slightly darker eyeshadow stick to define the crease, blending it well to create depth.
- Highlight & Brighten: Apply a highlighter stick to the inner corner of the eye and the brow bone to add dimension and brightness.
- Lash Out Loud: Finish with mascara (lots of it!) to complete the smoky eye.
(C) The Winged Wonder:
- Anchor Point: Start by creating a small "anchor point" at the end of where you want your wing to be. This will help guide your line.
- Connect the Dots: Use a chunky eyeliner stick to connect the anchor point to your upper lash line, creating the wing shape.
- Fill ‘Er Up: Fill in the wing with the eyeliner stick.
- Clean Up Crew: Use a cotton swab dipped in makeup remover to clean up any mistakes and sharpen the wing.
- Seal the Deal: Set with a powder eyeshadow in a similar shade to prevent smudging.
(D) The Halo Eye Hack:
- Darken the Corners: Apply a darker eyeshadow stick to the outer and inner corners of your eyelid, leaving the center of the lid bare.
- Blend, Blend, Blend: Blend the darker colors inwards, creating a soft gradient.
- Spotlight Stealer: Apply a light, shimmery eyeshadow stick to the center of the eyelid, creating a "halo" effect.
- Seamless Transition: Blend the edges of the shimmer with the darker colors to create a seamless transition.
- Lash Line Definition: Line your upper lash line with a dark eyeliner stick to add definition.
(⚠️ Warning sign emoji ⚠️)
IV. Troubleshooting: Stick-Related Snafus and Solutions
Even with their user-friendly nature, eye makeup sticks can sometimes present challenges. Here’s how to overcome common obstacles:
| Problem | Solution | Pro Tip |
|---|---|---|
| Creasing | Use an eyeshadow primer. Set with a translucent powder or a powder eyeshadow in a similar shade. Avoid applying too much product. | Blot excess oil from your eyelids throughout the day with blotting papers. |
| Smudging | Choose waterproof or smudge-proof formulas. Set with a powder eyeshadow. Avoid touching your eyes. | Use a setting spray to lock your makeup in place. |
| Uneven Application | Apply in thin layers and blend well. Use a brush or fingertip to smooth out any unevenness. | Warm the stick on the back of your hand before applying for smoother application. |
| Difficulty Blending | Work quickly before the product sets. Use a blending brush with soft bristles. | Dampen your blending brush slightly to help the product blend more easily. |
| Color Transfer to the Crease | Use an eyeshadow primer. Avoid applying eyeshadow stick directly to the crease. Instead, apply to the lid and blend upwards. | Use a crease brush to precisely apply and blend the color in the crease. |
| Stick Breaks | Don’t extend the stick too far out of the tube. Store in a cool, dry place. | If the stick breaks, try gently heating the broken pieces with a hairdryer and pressing them back together. Refrigerate to harden. |
(🎨 Artist palette emoji 🎨)
V. Creative Color Combinations: Unleashing Your Inner Artist
The beauty of stick sets is their curated color palettes, but don’t be afraid to experiment! Here are some festive and glamorous color combinations to inspire you:
- Golden Goddess: Gold shimmer stick on the lid, bronze contour stick in the crease, champagne highlighter stick in the inner corner.
- Emerald Envy: Emerald green shimmer stick on the lid, deep brown contour stick in the crease, gold highlighter stick in the inner corner.
- Berry Beautiful: Berry-toned eyeshadow stick on the lid, plum contour stick in the crease, rose gold highlighter stick in the inner corner.
- Smoky Sapphire: Navy blue eyeshadow stick on the lid, charcoal gray contour stick in the crease, silver highlighter stick in the inner corner.
- Rose Gold Romance: Rose gold shimmer stick on the lid, warm brown contour stick in the crease, champagne highlighter stick in the inner corner.
(🛒 Shopping cart emoji 🛒)
VI. Product Recommendations: Navigating the Stick Set Landscape
With so many options on the market, choosing the right stick set can feel overwhelming. Here are a few recommendations based on different needs and preferences:
- Budget-Friendly Beauty: [Insert affordable brand name and product name here] – Offers a great range of colors and decent quality for the price.
- High-End Glamour: [Insert luxury brand name and product name here] – Known for its luxurious textures, intense pigmentation, and long-lasting formulas.
- Natural Beauty: [Insert clean beauty brand name and product name here] – Formulated with natural and organic ingredients, perfect for sensitive skin.
- Multi-Tasking Marvel: [Insert brand name with versatile sticks here] – Sticks that can be used on the eyes, lips, and cheeks for a monochromatic look.
VII. Beyond the Basics: Advanced Stick Techniques
(🎓 Graduation cap emoji 🎓)
Ready to take your stick game to the next level? Here are some advanced techniques to try:
- Color Blocking: Use multiple eyeshadow sticks in contrasting colors to create a bold, graphic eye look.
- Ombre Eyes: Blend two or more eyeshadow sticks together to create a seamless ombre effect.
- Double Winged Liner: Use two different colored eyeliner sticks to create a dramatic double winged liner look.
- Inner Corner Pop: Use a bright, shimmery highlighter stick to make your eyes appear larger and more awake.
- Reverse Cat Eye: Use a dark eyeliner stick to line your lower lash line and extend it outwards, creating a reverse cat eye effect.
(🎉 Party popper emoji 🎉)
VIII. Conclusion: Embrace the Stick, Unleash Your Inner Glamazon!
Congratulations, you’ve successfully completed Eye Makeup Stick 101! You are now equipped with the knowledge and techniques to create festive and glamorous eye makeup looks in minutes, thanks to the power of these convenient little wonders.
So go forth, embrace the stick, and unleash your inner glamazon! Remember, makeup is all about having fun and expressing yourself. Don’t be afraid to experiment, try new things, and find what works best for you.
(🎤 Mic drop emoji 🎤)
(🔔 Lecture Bell Rings Again, cue upbeat music fading in 🔔)
Class dismissed! Now go forth and conquer the world, one perfectly blended eyeshadow stick at a time! And remember, if all else fails, just add glitter! 😉
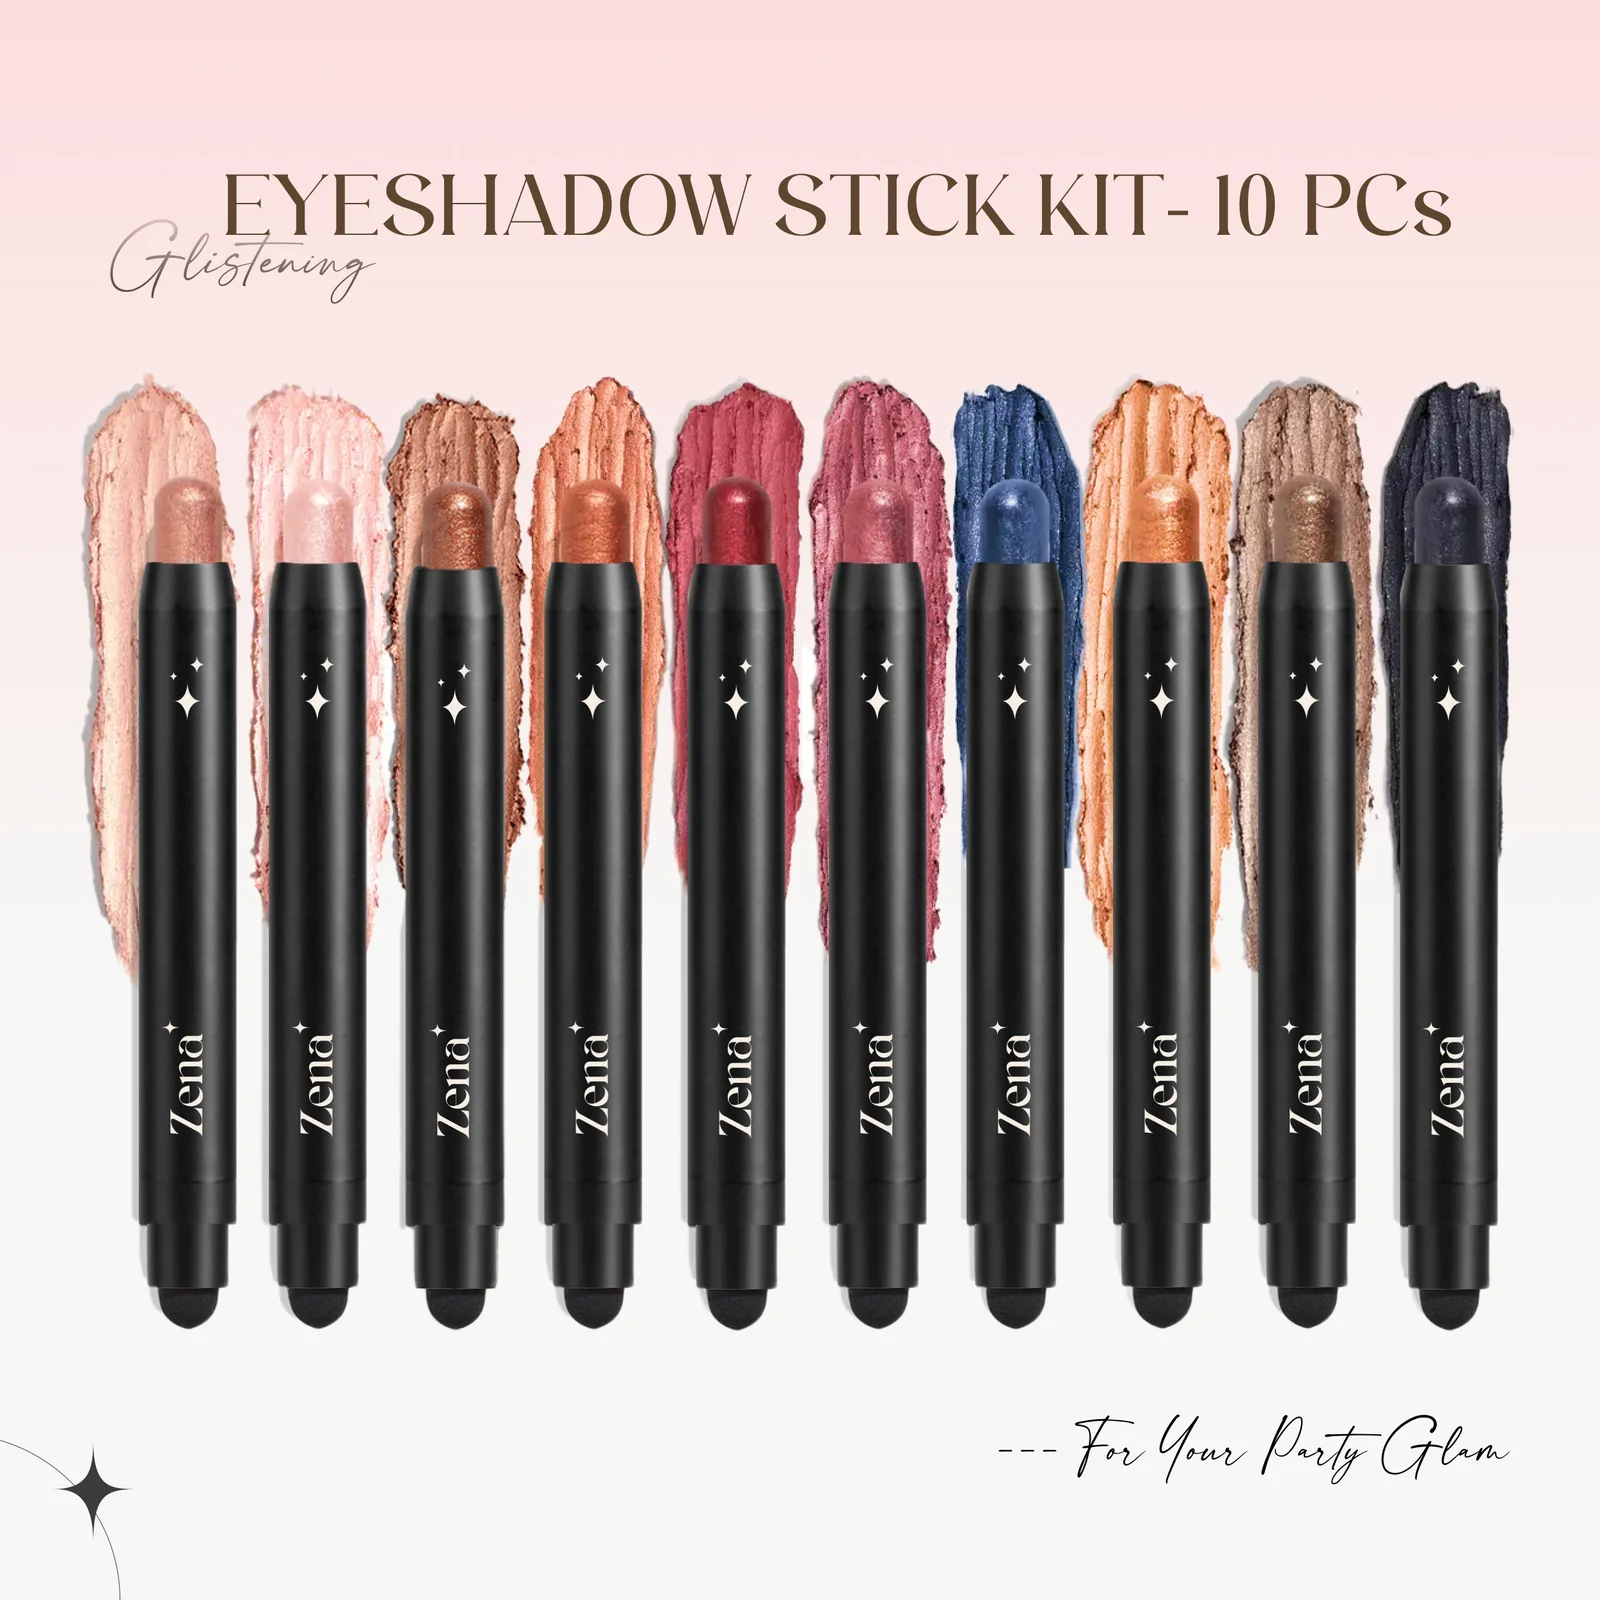
For detailed product specifications and purchases, please go to :https://zenamakeup.com/products/dazzle-collection-10-piece-glitter-cream-eyeshadow-stick-set
Leave a Reply