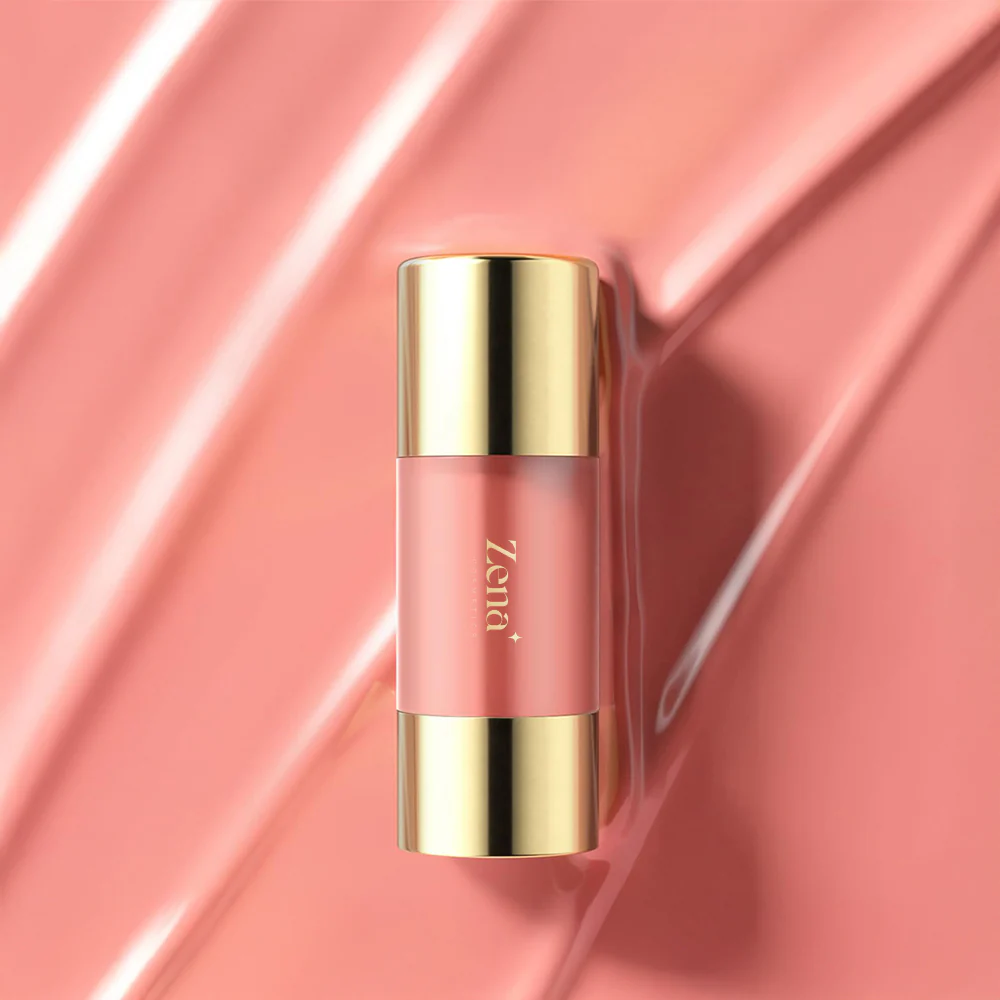
Effortless Blending, Luminous Results: Discover How Easy It Is to Use Jelly Glow Liquid Blush for a Seamless Look
(Imagine a spotlight illuminating a glamorous individual standing at a podium, gesturing enthusiastically. That’s me, your guide to the glorious world of Jelly Glow Liquid Blush!)
Hello, blush enthusiasts, makeup mavens, and those simply tired of looking like they haven’t seen the sun in five years! Welcome, welcome, one and all! Today, we’re diving headfirst into the delightful, dewy, and dare I say, downright delicious world of Jelly Glow Liquid Blush.
Forget the chalky powders of yesteryear. Forget the stressing over perfect placement. We’re talking about a product so user-friendly, so forgiving, and so frankly fabulous, that even your clumsy friend who can’t draw a straight line will achieve a flushed-from-within glow that rivals a summer romance.
(A playful wink emoji pops up on the screen.) 😉
This isn’t just a lecture; it’s a revolution! A blush-olution, if you will! So, grab your favorite beverage (mine’s a sparkling rosé, thank you very much!), settle in, and prepare to be amazed.
Part 1: Why Jelly Glow Liquid Blush? The Dawn of a New Era
(Background image changes to a sunrise over a field of wildflowers.)
For too long, blush has been the neglected stepchild of the makeup routine. Often misunderstood, frequently misused, and sometimes, let’s be honest, entirely skipped. Why? Because traditional blush formulations can be tricky! Powder blushes can cling to dry patches, look cakey, and require the precision of a brain surgeon to blend seamlessly. Cream blushes, while promising, can sometimes feel heavy or greasy, leading to a less-than-desirable "disco ball" effect.
Enter: Jelly Glow Liquid Blush. ✨
This revolutionary formulation combines the best of both worlds – the lightweight feel of a liquid with the buildable pigment of a cream, all wrapped up in a delightfully bouncy, jelly-like texture. It’s the Goldilocks of blush, perfectly balanced and just right!
Here’s a quick rundown of why you need Jelly Glow Liquid Blush in your life:
| Feature | Benefit | Why It Matters To You |
|---|---|---|
| Jelly-Like Texture | Bouncy, lightweight formula that glides effortlessly onto the skin. | Makes application a breeze, even for beginners. No more struggling with stiff brushes or dragging on the skin! |
| Buildable Pigment | From a sheer wash of color to a more intense pop, you control the intensity. | Perfect for any look, from a natural "no makeup" makeup to a full-glam evening look. No more accidental clown cheeks! 🤡 |
| Seamless Blending | Melts into the skin like a dream, creating a natural, diffused finish. | Say goodbye to harsh lines and visible edges! You’ll look like you’re naturally flushed, not like you just applied makeup. |
| Luminous Finish | Contains light-reflecting particles that impart a subtle, healthy glow. | Adds dimension and radiance to your complexion, making you look instantly more awake and refreshed. Who needs sleep when you have Jelly Glow? 😉 |
| Long-Lasting Wear | Formulated to stay put throughout the day without fading or settling into fine lines. | Your blush will stay vibrant and fresh, even after hours of wear. No more midday touch-ups! |
| Versatile Application | Can be applied with fingers, a brush, or a sponge. | Choose the application method that works best for you. Flexibility is key! |
| Hydrating Formula | Often contains hydrating ingredients like hyaluronic acid or glycerin. | Helps to keep your skin looking plump and healthy, preventing dryness and flakiness. |
(A cartoon graphic of a happy face with rosy cheeks appears on the screen.) 😄
In short, Jelly Glow Liquid Blush is the answer to all your blush-related prayers! It’s easy to use, flattering on all skin tones, and creates a luminous, natural-looking finish that will make you feel like the best version of yourself.
Part 2: The Anatomy of Jelly Glow Liquid Blush: What Makes It Tick?
(Background image changes to a close-up shot of the jelly-like texture of the blush.)
Let’s take a closer look at what makes this magical elixir so special. The key lies in its unique formulation:
- Water-Based Formula: This is what gives Jelly Glow Liquid Blush its lightweight and breathable feel. It allows the pigment to disperse evenly and blend seamlessly into the skin.
- Gelling Agents: These are the ingredients that create the signature jelly-like texture. They provide a bouncy, cushiony feel that makes application a joy.
- Emollients: These ingredients help to soften and smooth the skin, preventing the blush from clinging to dry patches.
- Pigments: These provide the color! Look for blushes that use finely milled pigments for a smooth and even application.
- Light-Reflecting Particles: These are the secret to the luminous finish. They scatter light to create a subtle, healthy glow.
- Hydrating Ingredients (Optional): Many Jelly Glow Liquid Blushes contain hydrating ingredients like hyaluronic acid or glycerin to help keep your skin looking plump and healthy.
(A diagram appears on the screen, labeling each of the ingredients mentioned above within a jar of Jelly Glow Liquid Blush.)
Think of it like this: It’s like a bouncy, hydrating, light-reflecting hug for your cheeks! Who wouldn’t want that?
Part 3: The Application Process: From Novice to Natural-Looking Glow in Minutes
(Background image changes to a step-by-step tutorial on applying Jelly Glow Liquid Blush.)
Alright, class, time to get our hands dirty (metaphorically, of course! Keep your hands clean!). Applying Jelly Glow Liquid Blush is surprisingly easy, even for the most makeup-challenged among us. Here’s a step-by-step guide to achieving a flawless, natural-looking glow:
Step 1: Prep Your Skin
As with any makeup application, starting with a clean and moisturized base is crucial. Apply your usual skincare routine, including moisturizer and sunscreen.
(A checklist icon appears on the screen: 🗸 Cleanse 🗸 Moisturize 🗸 SPF)
Step 2: Apply Your Base Makeup
Apply your foundation, concealer, and any other base makeup you typically use. This will create a smooth and even canvas for your blush.
Step 3: Dispense a Small Amount of Blush
This is where the "less is more" mantra comes into play. Jelly Glow Liquid Blush is highly pigmented, so you only need a tiny amount. Start with a pea-sized dot on the back of your hand or directly onto your cheek.
(A visual of a small pea-sized amount of blush is shown.)
Step 4: Choose Your Application Method
You have several options here, depending on your preference:
- Fingers: This is the most beginner-friendly option. Use your fingertips to gently tap and blend the blush into your cheeks. The warmth of your fingers will help the blush melt into the skin.
- Brush: A stippling brush or a fluffy blush brush works well for applying Jelly Glow Liquid Blush. Use light, circular motions to blend the blush into the skin.
- Sponge: A damp beauty sponge can be used to create a sheer, natural finish. Bounce the sponge over the blush to blend it into the skin.
(Icons representing fingers, a brush, and a sponge appear on the screen.)
Step 5: Apply to the Apples of Your Cheeks
Smile to find the apples of your cheeks. This is where you want to apply the blush. Start at the apples and blend outwards towards your temples.
(A diagram shows the correct placement of blush on the cheeks.)
Step 6: Blend, Blend, Blend!
This is the most important step! Make sure to blend the blush seamlessly into your skin, avoiding any harsh lines or visible edges. Keep blending until the blush looks like it’s naturally a part of your skin.
(A GIF of someone blending blush with a brush appears on the screen.)
(A GIF of someone blending blush with a brush appears on the screen.)
Step 7: Build the Intensity (If Desired)
If you want a more intense pop of color, apply another small amount of blush and blend. Remember, it’s always easier to add more blush than to take it away!
Step 8: Set with Powder (Optional)
If you have oily skin or prefer a matte finish, you can set your blush with a light dusting of translucent powder.
(A powder puff icon appears on the screen.)
Tips and Tricks for Flawless Application:
- Start small! It’s always better to start with a small amount of blush and build up the intensity gradually.
- Blend upwards! Blending upwards towards your temples will help to lift your face and create a more youthful appearance.
- Don’t forget your ears! For a truly natural look, blend a tiny bit of blush onto your earlobes. This will tie the whole look together. (Trust me on this one!)
- Experiment with different placements! Try applying the blush higher on your cheekbones for a more sculpted look, or lower on your cheeks for a more youthful look.
- Clean your application tools regularly! This will help to prevent the buildup of bacteria and ensure a smooth and even application.
(A lightbulb icon appears on the screen, indicating a helpful tip.) 💡
Part 4: Choosing the Right Shade: Finding Your Perfect Match
(Background image changes to a selection of different shades of Jelly Glow Liquid Blush.)
Finding the perfect shade of Jelly Glow Liquid Blush can seem daunting, but it doesn’t have to be! Here are a few tips to help you choose the right shade for your skin tone:
Understanding Undertones:
The first step is to understand your skin’s undertones. Undertones are the subtle hues that lie beneath the surface of your skin. There are three main types of undertones:
- Warm: Warm undertones are typically golden, yellow, or peachy.
- Cool: Cool undertones are typically pink, red, or blue.
- Neutral: Neutral undertones are a mix of warm and cool.
Here’s a quick trick to determine your undertone:
- Look at the veins on your wrist. If they appear blue or purple, you likely have cool undertones. If they appear green, you likely have warm undertones. If you can’t tell, you likely have neutral undertones.
- Think about how your skin reacts to the sun. If you tan easily, you likely have warm undertones. If you burn easily, you likely have cool undertones.
Choosing the Right Shade Based on Your Undertones:
- Warm Undertones: Opt for blushes in shades of peach, coral, gold, or bronze. These shades will complement your warm complexion and enhance your natural glow.
- Cool Undertones: Opt for blushes in shades of pink, berry, rose, or plum. These shades will brighten your complexion and add a touch of radiance.
- Neutral Undertones: You’re lucky! You can wear almost any shade of blush. Experiment with different colors to find what you like best.
(A table appears on the screen, summarizing the best blush shades for each undertone.)
| Undertone | Recommended Blush Shades |
|---|---|
| Warm | Peach, Coral, Gold, Bronze, Terracotta |
| Cool | Pink, Berry, Rose, Plum, Mauve |
| Neutral | Almost anything! Experiment and have fun! |
Considering Your Skin Tone:
In addition to undertones, you should also consider your skin tone when choosing a blush shade.
- Fair Skin: Opt for light and delicate shades of pink, peach, or rose. Avoid shades that are too dark or intense, as they can overwhelm your complexion.
- Medium Skin: You can wear a wider range of shades, including pink, peach, coral, and berry. Experiment with different colors to find what you like best.
- Olive Skin: Opt for shades of peach, coral, bronze, or gold. These shades will complement your warm complexion and add a touch of radiance.
- Dark Skin: Opt for shades of berry, plum, wine, or deep rose. These shades will show up beautifully on your skin and add a pop of color.
(A visual representation of different skin tones with corresponding blush recommendations is displayed.)
Don’t Be Afraid to Experiment!
The best way to find the perfect shade of Jelly Glow Liquid Blush is to experiment! Try different shades and see what looks best on your skin. Don’t be afraid to step outside of your comfort zone and try something new. You might be surprised at what you discover!
(A rainbow icon appears on the screen, encouraging experimentation.) 🌈
Part 5: Troubleshooting: Common Mistakes and How to Avoid Them
(Background image changes to a comic strip illustrating common blush application mistakes.)
Even with the user-friendly nature of Jelly Glow Liquid Blush, there are a few common mistakes that people make. Here’s how to avoid them:
- Applying Too Much Blush: This is the most common mistake. Remember, start with a small amount and build up the intensity gradually.
- Solution: Use a light hand and blend thoroughly. If you accidentally apply too much, use a damp beauty sponge to blot away the excess.
- Applying Blush in the Wrong Place: Applying blush too low on your cheeks can make your face look droopy.
- Solution: Apply blush to the apples of your cheeks and blend upwards towards your temples.
- Not Blending Enough: Failure to blend properly can result in harsh lines and visible edges.
- Solution: Blend, blend, blend! Use a brush or your fingertips to blend the blush seamlessly into your skin.
- Choosing the Wrong Shade: Wearing a blush shade that doesn’t complement your skin tone can make you look washed out or unnatural.
- Solution: Follow the guidelines in Part 4 to choose the right shade for your skin tone.
- Using the Wrong Application Tools: Using the wrong brush or sponge can make it difficult to apply the blush evenly and blend it seamlessly.
- Solution: Experiment with different application tools to find what works best for you. A stippling brush, a fluffy blush brush, or a damp beauty sponge are all good options.
(A table appears on the screen, summarizing common mistakes and their solutions.)
| Mistake | Solution |
|---|---|
| Applying Too Much Blush | Use a light hand, blend thoroughly, blot away excess with a damp sponge. |
| Applying Blush in the Wrong Place | Apply to the apples of your cheeks and blend upwards towards your temples. |
| Not Blending Enough | Blend, blend, blend! Use a brush or your fingertips to blend the blush seamlessly into your skin. |
| Choosing the Wrong Shade | Follow the guidelines in Part 4 to choose the right shade for your skin tone. |
| Using the Wrong Application Tools | Experiment with different application tools to find what works best for you. |
(A red "X" icon appears next to each mistake, and a green checkmark icon appears next to each solution.)
Part 6: Beyond the Cheeks: Creative Uses for Jelly Glow Liquid Blush
(Background image changes to a collage of different makeup looks using Jelly Glow Liquid Blush.)
Jelly Glow Liquid Blush isn’t just for cheeks! It’s a versatile product that can be used in a variety of ways to create different makeup looks:
- Lip Tint: Apply a small amount of blush to your lips for a natural-looking flush of color.
- Eyeshadow: Use a sheer wash of blush on your eyelids for a monochromatic look.
- Highlighter: Mix a tiny bit of blush with your highlighter for a luminous, rosy glow.
(Icons representing lips, eyes, and a highlighter appear on the screen.)
Get creative and experiment with different ways to use your Jelly Glow Liquid Blush! The possibilities are endless!
Conclusion: Embrace the Glow!
(Background image changes back to the sunrise over a field of wildflowers.)
Congratulations, graduates! You’ve officially completed your Jelly Glow Liquid Blush masterclass! You are now armed with the knowledge and skills to achieve a flawless, natural-looking glow that will make you feel confident and radiant.
So, go forth and embrace the glow! Experiment with different shades, application techniques, and creative uses. Don’t be afraid to make mistakes – that’s how you learn! And most importantly, have fun!
(A confetti cannon icon appears on the screen, celebrating the completion of the lecture.) 🎉
Remember, makeup is about self-expression and enhancing your natural beauty. Jelly Glow Liquid Blush is a powerful tool that can help you achieve your makeup goals. So, go out there and shine!
(Final image: The glamorous individual at the podium winks again, giving a final wave.)
For detailed product specifications and purchases, please go to :https://zenamakeup.com/products/jelly-liquid-blush-stick
Leave a Reply