Lecture: Experience Buildable Color: Customize the Intensity of Your Flush with the Versatile Jelly Glow Liquid Blush
(Welcome screen pops up with a winking jelly bean emoji and upbeat music)
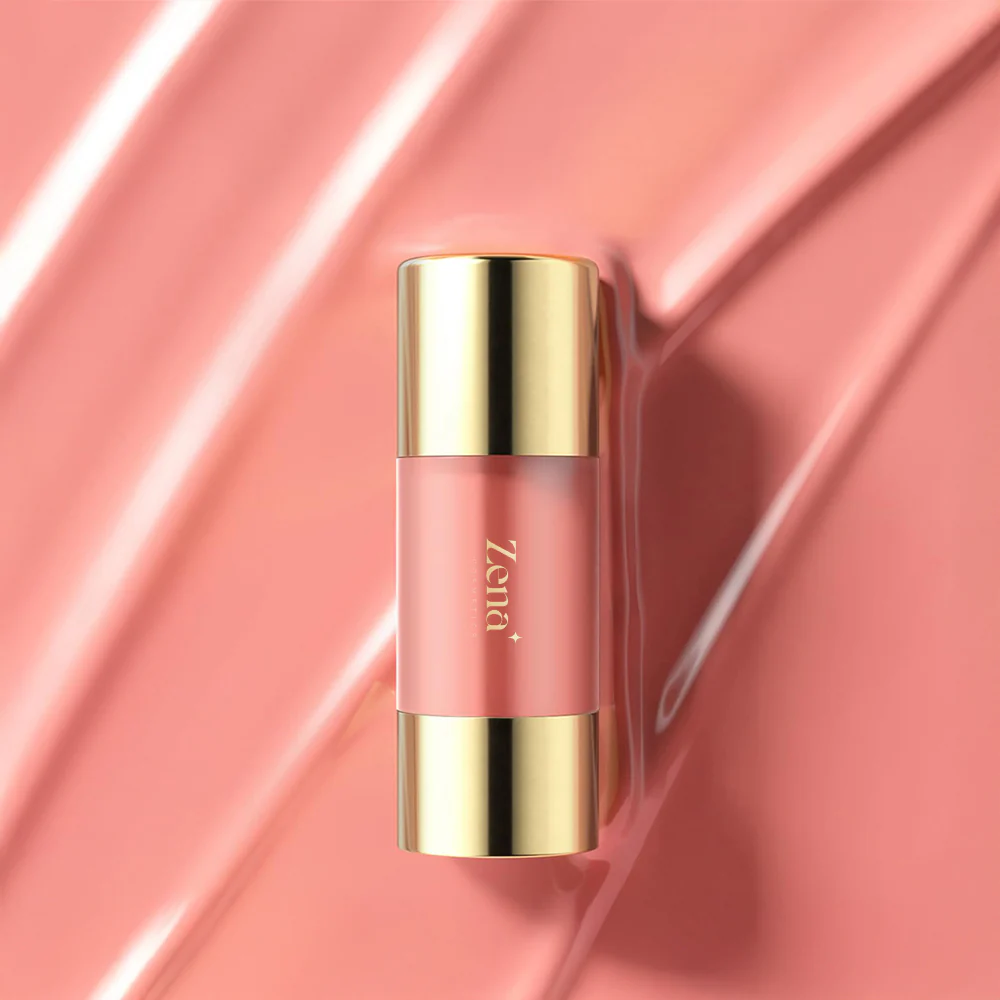
Good morning, beauty aficionados! 💄 Welcome, welcome! Grab your metaphorical coffee (or mimosa, I’m not judging! 🥂) because today we’re diving deep into the wonderful, wiggly world of Jelly Glow Liquid Blush!
Forget everything you thought you knew about blush. We’re not talking about your grandma’s powdery, chalky rose petals anymore. We’re talking about a revolution! A Jelly-fication! 💃
(Slide changes to a picture of a sad, dusty powder blush next to a vibrant, dewy Jelly Glow blush.)
For too long, blush application has been a tightrope walk. Too little, and you look like you just saw a ghost. Too much, and you resemble a clown who lost his way to the circus. 🤡 (No offense to clowns, you bring joy to children, but that’s not the look we’re going for today).
But fear not! The Jelly Glow Liquid Blush is here to save the day (and your cheekbones!) with its incredibly buildable, customizable intensity. We’re going to explore why it’s so amazing, how to use it like a pro, and why you need to add this little pot of joy to your makeup bag, stat! 🏃♀️
(Slide: Title "What Makes Jelly Glow Liquid Blush So Special?")
So, what exactly is a Jelly Glow Liquid Blush and why should you care? Let’s break it down:
1. The Texture: Jelly, Glorious Jelly! 🍮
The name says it all, doesn’t it? This isn’t your average liquid or cream blush. The texture is, well, jelly-like. It’s bouncy, squishy, and almost… edible looking (but please, don’t eat it! Save it for your cheeks!)
This unique texture is key to its buildability. It’s lightweight, blends seamlessly into the skin, and doesn’t feel heavy or cakey. Think of it like applying a hydrating, plumping kiss to your cheeks. 💋
(Table: Comparing Jelly Glow to other Blush Types)
| Blush Type | Texture | Pigmentation | Buildability | Finish | Longevity | Pros | Cons |
|---|---|---|---|---|---|---|---|
| Jelly Glow | Bouncy, Lightweight Jelly | Sheer to Medium | Excellent | Dewy, Natural Glow | Good | Easy to blend, buildable, hydrating, natural-looking, forgiving | Can be sticky if over-applied, requires a specific application technique |
| Powder Blush | Dry, Fine Powder | Sheer to Opaque | Moderate | Matte to Satin | Excellent | Long-lasting, good for oily skin, easy to find in various shades | Can look chalky, emphasizing texture, can be difficult to blend evenly |
| Cream Blush | Creamy, Rich | Medium to Opaque | Good | Dewy to Satin | Moderate | Hydrating, good for dry skin, can double as a lip color | Can be greasy, prone to creasing, requires careful blending |
| Liquid Blush | Liquid, Lightweight | Sheer to Intense | Good | Dewy to Matte | Good | Long-lasting, highly pigmented, can be used as a stain | Can be drying, requires quick blending, can be unforgiving |
2. The Pigmentation: From "Barely There" to "Blushing Bride" 👰
The pigmentation in Jelly Glow blushes is generally sheer to medium. This might sound disappointing to those who like a serious pop of color, but trust me, it’s a good thing! This allows for incredible buildability.
You can start with a whisper of color, a subtle hint of rosy cheeks, and then gradually layer it up to your desired intensity. Want a natural, "I just went for a brisk walk" flush? Easy! Want a bold, dramatic look for a night out? Done! 💅
(Slide: Images showing different levels of blush intensity – from a subtle flush to a bolder, more dramatic look.)
3. The Finish: Dewy, Dreamy, and Oh-So-Glowy! ✨
Forget flat, matte finishes! Jelly Glow blushes are all about that healthy, radiant glow. They impart a dewy, luminous finish that makes your skin look like it’s lit from within.
This dewy finish is particularly flattering on dry or mature skin, as it helps to plump up the skin and minimize the appearance of fine lines and wrinkles. Think of it as a mini-facelift in a pot! 👵➡️👩
(Slide: Close-up shot of skin with Jelly Glow blush, highlighting the dewy finish.)
4. The Formula: Hydration is Key! 💧
Many Jelly Glow blushes are formulated with hydrating ingredients like hyaluronic acid, glycerin, and fruit extracts. This means they not only add color to your cheeks but also help to moisturize and nourish your skin.
No more dry, flaky blush clinging to your face! These blushes glide on smoothly, leaving your skin feeling soft, supple, and hydrated.
(Slide: List of common hydrating ingredients found in Jelly Glow blushes.)
5. The Forgiveness Factor: Beginner-Friendly! 😇
Unlike some other blushes that require a surgeon’s precision to apply, Jelly Glow blushes are incredibly forgiving. Their sheer pigmentation and blendable texture make them virtually foolproof.
Even if you accidentally apply too much, you can easily blend it out with your fingers or a damp sponge. They’re perfect for makeup newbies and seasoned pros alike!
(Slide: Image of someone joyfully applying Jelly Glow blush with their fingers.)
(Slide: Title "Application Techniques: Unlock the Jelly Glow Magic!")
Okay, now that we’ve established why Jelly Glow blushes are amazing, let’s talk about how to use them. Here are a few tried-and-true application techniques:
1. The Finger Dab: The Easiest Method Ever! 👍
This is the simplest and most intuitive method. Simply dip your fingertip into the pot, pick up a small amount of product, and dab it onto the apples of your cheeks. Blend it out with your fingertips using gentle, circular motions.
This is the simplest and most intuitive method. Simply dip your fingertip into the pot, pick up a small amount of product, and dab it onto the apples of your cheeks. Blend it out with your fingertips using gentle, circular motions.
- Pros: Quick, easy, and requires no tools.
- Cons: Can be less precise than other methods, may transfer bacteria from your fingers to the product (so make sure your hands are clean!)
(Image: Step-by-step images showing the finger dab application method.)
2. The Brush Buff: For a Seamless Blend! 🖌️
Use a fluffy, tapered blush brush to pick up a small amount of product. Tap off any excess and buff the blush onto the apples of your cheeks, blending it outwards towards your temples.
- Pros: Provides a more even and controlled application, blends seamlessly into the skin.
- Cons: Requires a good quality blush brush, can be more time-consuming than the finger dab method.
(Image: Step-by-step images showing the brush buff application method.)
3. The Sponge Bounce: For a Dewy, Airbrushed Finish! 🧽
Dampen a makeup sponge (like a Beauty Blender) and use it to pick up a small amount of product. Bounce the sponge onto the apples of your cheeks, blending the blush into the skin.
- Pros: Creates a dewy, airbrushed finish, perfect for dry skin.
- Cons: Requires a damp makeup sponge, can sheer out the color more than other methods.
(Image: Step-by-step images showing the sponge bounce application method.)
4. The Pro Tip: Layering is Key! 🔑
Remember, the key to achieving the perfect flush with Jelly Glow blush is layering. Start with a small amount of product and gradually build up the color until you reach your desired intensity.
It’s always easier to add more product than it is to take it away!
(Slide: Animated GIF showing the layering process, gradually building up the blush intensity.)
5. Placement is Everything! 📍
Where you place your blush can dramatically change the shape of your face. Here are a few general guidelines:
- For a youthful, lifted look: Apply blush to the apples of your cheeks and blend upwards towards your temples.
- For a sculpted, defined look: Apply blush along your cheekbones, blending it outwards towards your ears.
- For a natural, sun-kissed look: Apply blush across the bridge of your nose and the apples of your cheeks.
(Slide: Diagram showing different blush placement techniques for different face shapes and desired effects.)
(Slide: Title "Troubleshooting: Common Jelly Glow Blush Problems and Solutions")
Even with the forgiving nature of Jelly Glow blushes, you might encounter a few hiccups along the way. Here are some common problems and their solutions:
1. Problem: Blush looks patchy or uneven.
- Solution: Make sure your skin is properly hydrated before applying blush. Use a good moisturizer or primer. Also, ensure you are blending the blush thoroughly. A damp sponge can help achieve a seamless blend.
2. Problem: Blush fades quickly.
- Solution: Set your blush with a light dusting of translucent powder. You can also try layering a powder blush on top of the Jelly Glow blush for added longevity.
3. Problem: Blush looks too intense.
- Solution: Use a damp sponge or a clean brush to blend out the blush. You can also apply a small amount of foundation or concealer over the blush to tone it down.
4. Problem: Blush feels sticky.
- Solution: You may be applying too much product. Start with a smaller amount and build up the color gradually. You can also try setting the blush with a light dusting of powder.
5. Problem: Blush emphasizes texture on the skin.
- Solution: Ensure your skin is well-exfoliated and hydrated. Avoid applying blush to areas with prominent texture or imperfections.
(Table: Troubleshooting Jelly Glow Blush)
| Problem | Solution |
|---|---|
| Patchy/Uneven Application | Hydrate skin, blend thoroughly with damp sponge. |
| Blush Fades Quickly | Set with translucent powder, layer with powder blush. |
| Blush Too Intense | Blend out with damp sponge/clean brush, apply foundation/concealer on top. |
| Sticky Feeling | Apply less product, build gradually, set with powder. |
| Emphasizes Skin Texture | Exfoliate and hydrate skin, avoid applying on textured areas. |
(Slide: Title "Jelly Glow Blush: Beyond the Cheeks!")
Guess what? Jelly Glow blushes aren’t just for your cheeks! Their versatile formula can be used in a variety of creative ways:
- Lip Tint: Dab a small amount of blush onto your lips for a natural, stained effect.
- Eye Shadow: Use a Jelly Glow blush as a cream eyeshadow for a monochromatic look.
- Highlight: Choose a shade with a subtle shimmer and apply it to the high points of your face for a dewy glow.
(Slide: Images showing Jelly Glow blush being used on lips, eyes, and as a highlighter.)
(Slide: Title "Conclusion: Embrace the Jelly Glow!")
So there you have it! The wonderful world of Jelly Glow Liquid Blush, demystified! We’ve explored its unique texture, its buildable pigmentation, its dewy finish, and its endless possibilities.
The Jelly Glow Liquid Blush isn’t just a makeup product; it’s a game-changer. It’s a way to achieve a natural, radiant, and customized flush that enhances your natural beauty. It’s a tool for self-expression, allowing you to experiment with different levels of intensity and create a look that is uniquely you.
So, go forth and embrace the jelly glow! Experiment, have fun, and discover the magic of this versatile and amazing product. Your cheekbones will thank you! 🙏
(Final slide: A picture of a smiling face with perfectly applied Jelly Glow blush, followed by a list of recommended products and brands.)
(Music fades out. Class dismissed! Don’t forget to subscribe and hit that like button! 😉)
For detailed product specifications and purchases, please go to :https://zenamakeup.com/products/jelly-liquid-blush-stick
Leave a Reply