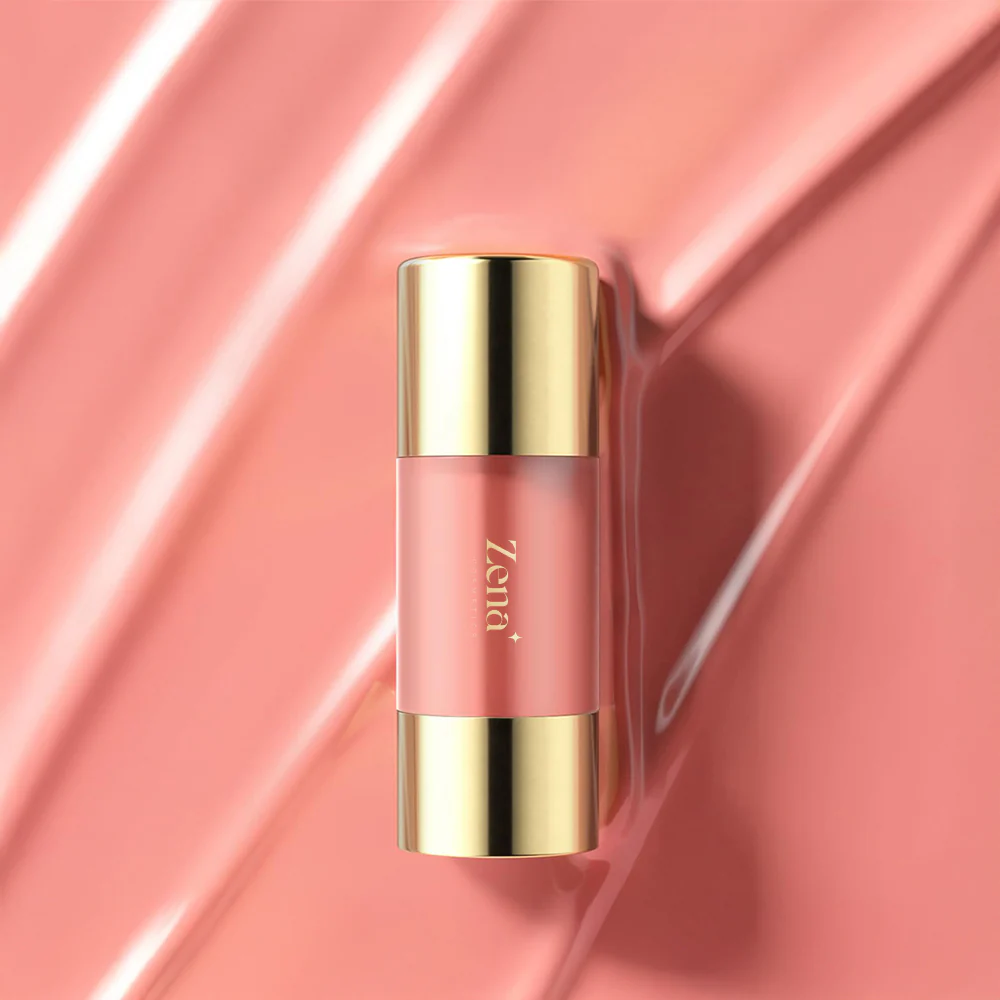
Experience the Difference: High-Performance Jelly Glow Liquid Blush for a Long-Lasting, Radiant Cheek Color
(Lecture Hall Door Swings Open with a Flourish, Revealing a Slightly Over-Enthusiastic Professor with a Glittering Blush Brush)
Professor (Professor Glimmer, PhD in Radiance): Welcome, welcome, future face fanatics and cheek connoisseurs! Settle in, grab your notepads, and prepare to have your blush beliefs… challenged! Today, we’re diving deep, and I mean deeper than a mermaid’s treasure chest, into the dazzling world of High-Performance Jelly Glow Liquid Blush. Forget everything you thought you knew about a rosy glow because we’re about to embark on a journey to radiant cheek perfection! ✨
(Professor Glimmer beams, adjusts her glasses, and clicks to the first slide: a picture of a sad, pale face with the caption "Pre-Jelly Glow Drama")
I. The Age-Old Question: Why Blush, Though? (And Why Not Just, Like, Eat Beets?)
Alright, let’s address the elephant in the room, or rather, the pallor on the face. Why do we even bother with blush? Can’t we just…you know…pinch our cheeks really hard? Or maybe develop a deep love for beet juice? 🥬
(The audience chuckles. Professor Glimmer winks.)
The answer, my friends, is a resounding NO! While beet juice might give you internal radiance (and questionable bathroom trips), blush provides something far more profound:
- Revitalization: Think of it as your face’s personal cup of coffee. It wakes up dull skin, making you look more alive and, dare I say, approachable.
- Definition: Strategically placed blush can sculpt your cheekbones, making them look sharper and more defined than a perfectly sharpened eyeliner. 🔪
- Youthful Glow: A natural flush mimics the healthy glow of youth. It’s like a time machine… in a bottle! (Disclaimer: Does not actually reverse aging, please don’t sue me).
- Balanced Complexion: Blush can even out your skin tone, neutralizing sallowness or fatigue. Consider it your skin’s personal color corrector.
- Emotional Connection: A touch of blush can evoke feelings of happiness, health, and even… intrigue. 😉
(Professor Glimmer clicks to the next slide: A collage of faces with varying blush placements, all looking stunning. The caption reads: "Blush: It’s Not Just a Color, It’s a Statement!")
II. The Blush Landscape: Powders, Creams, Sticks, Oh My! (And Why Jelly is the New Queen 👑)
The world of blush is a vast and sometimes confusing place. Let’s quickly navigate the major players:
| Blush Type | Pros | Cons | Best For |
|---|---|---|---|
| Powder Blush | Easy to apply, buildable, matte finish, long-lasting (usually), wide range of colors. | Can look powdery, can emphasize texture, can be drying, prone to fallout. | Beginners, oily skin, those who prefer a matte finish, controlled application. |
| Cream Blush | Dewy finish, hydrating, blendable, natural look, often multi-use (lips, eyes). | Can be tricky to apply evenly, can be less long-lasting than powder, can be too emollient for oily skin. | Dry skin, mature skin, those who prefer a dewy finish, those who want a natural, lit-from-within glow. |
| Stick Blush | Convenient, portable, easy to apply on the go, often creamy and hydrating. | Can be difficult to blend seamlessly, can be less pigmented than other formulas, can sometimes pull on the skin. | On-the-go application, travel, those who want a quick and easy application. |
| Liquid Blush | Highly pigmented, long-lasting, blendable, buildable, can have a dewy or natural finish. | Can be intimidating to apply (a little goes a LONG way!), can sometimes be drying (depending on the formula), requires a good blending technique. | Those who want intense pigment, long-lasting color, a natural or dewy finish, and are comfortable with a slightly more advanced application. |
| Jelly Blush | Hydrating, lightweight, buildable, gives a "glass skin" effect, long-lasting, often sheer and natural, melts into the skin seamlessly. | Can be less pigmented than traditional liquid blushes (though buildable!), requires a bit of experimenting to find the perfect application method. | All skin types (especially dry and sensitive!), those who want a natural, dewy, "glass skin" finish, those who are looking for a hydrating and comfortable blush experience. |
(Professor Glimmer points to the Jelly Blush row with a dramatic flair.)
And there you have it! Jelly blush – the underdog turned superstar! It’s the cool kid on the block, the one everyone’s trying to hang out with. Why? Because it’s…
- Effortless: It blends like a dream, even if you’re applying it in the back of a taxi while juggling a latte. 🚕☕
- Hydrating: Many jelly blushes are packed with skin-loving ingredients, so you’re getting a dose of moisture with your flush.
- Forgiving: Unlike some blushes that can instantly transform you into a clown 🤡, jelly blush is buildable, allowing you to control the intensity.
- Radiant: It imparts a "glass skin" effect, making you look like you just stepped out of a Korean beauty ad.
(Professor Glimmer clicks to the next slide: A close-up shot of jelly blush being applied to the cheek, creating a dewy, radiant glow.)
III. The Science of the Swirl: Understanding the Jelly Glow Formula
So, what makes jelly blush so special? It’s all in the formulation, baby! Let’s break it down:
- Water-Based Gel: This is the foundation of the jelly texture. It’s lightweight, refreshing, and allows the pigment to glide smoothly onto the skin.
- Humectants (Glycerin, Hyaluronic Acid): These ingredients attract moisture to the skin, keeping it hydrated and plump. Think of them as tiny sponges drawing water from the air. 💧
- Film-Forming Polymers: These create a thin, flexible layer on the skin, locking in the pigment and preventing it from fading or smudging. They’re like the invisible shield protecting your radiant glow.🛡️
- Pigments: Of course, we can’t forget the color! High-quality pigments are crucial for a vibrant and long-lasting flush.
- Emollients (Oils, Butters): These ingredients soften and smooth the skin, creating a seamless blend and a dewy finish.
(Professor Glimmer presents a simple diagram of a jelly blush formula, highlighting each ingredient.)
IV. Application 101: Mastering the Jelly Glow Technique
Okay, class, listen up! This is where things get really exciting. Applying jelly blush is an art form, but fear not, I’m here to guide you through it.
A. Tools of the Trade:
- Fingertips: For a natural, diffused look. Use your ring finger for the gentlest touch.
- Damp Sponge: For a seamless, blended finish. Dampening the sponge prevents it from absorbing too much product.
- Stippling Brush: For targeted application and buildable coverage.
- Dense Blush Brush: For more intense color payoff.
B. The Application Process:
- Prep Your Skin: Start with a clean, moisturized face. Primer is optional but recommended for extra longevity.
- Dispense Sparingly: Jelly blush is highly pigmented, so start with a tiny amount – think pea-sized. You can always add more, but taking away is… messy. 😬
-
Placement is Key:
- Prep Your Skin: Start with a clean, moisturized face. Primer is optional but recommended for extra longevity.
- Dispense Sparingly: Jelly blush is highly pigmented, so start with a tiny amount – think pea-sized. You can always add more, but taking away is… messy. 😬
-
Placement is Key:
- Apples of the Cheeks: For a youthful, healthy flush. Smile and apply to the fullest part of your cheeks.
- Cheekbones: For a sculpted, defined look. Apply along the cheekbones, blending upwards towards the temples.
- Across the Bridge of the Nose: For a sun-kissed, natural look. Apply a small amount and blend well.
- Temples: For a lifted effect. Apply a small amount to the temples, blending upwards towards the hairline.
- Blend, Blend, Blend! This is the most important step. Use your chosen tool to blend the blush seamlessly into your skin.
- Build as Needed: If you want more color, add another tiny amount and blend again.
- Set (Optional): If you have oily skin or want extra longevity, set your blush with a light dusting of translucent powder.
(Professor Glimmer demonstrates each application technique on a volunteer student, providing clear and concise instructions.)
C. Pro Tips & Tricks:
- Mix with Moisturizer: For an even more sheer and dewy finish, mix a tiny amount of jelly blush with your moisturizer.
- Layer with Powder Blush: For extra dimension and longevity, layer a powder blush over your jelly blush.
- Use as a Lip Tint: Many jelly blushes can also be used as a lip tint for a monochromatic look.
- Experiment with Colors: Don’t be afraid to try different shades to find what works best for your skin tone.
- Don’t Panic!: If you apply too much, simply use a damp sponge to blend it out.
(Professor Glimmer displays a table summarizing the application techniques based on desired look.)
Desired Look Application Area Tools Recommended Youthful Flush Apples of the Cheeks Fingertips, Damp Sponge Sculpted Cheekbones Cheekbones, Blending Upwards towards Temples Stippling Brush, Dense Blush Brush Sun-Kissed Glow Across the Bridge of the Nose Fingertips, Damp Sponge Lifted Appearance Temples, Blending Upwards towards the Hairline Fingertips, Stippling Brush Dewy and Subtle Mixed with Moisturizer, Applied to Entire Face Fingertips, Damp Sponge V. The Color Spectrum: Finding Your Perfect Jelly Glow Shade
Choosing the right blush shade is crucial for achieving a natural and flattering look. Here’s a general guide:
- Fair Skin: Light pinks, peaches, and mauves will brighten your complexion without looking overpowering.
- Light to Medium Skin: Rosy pinks, corals, and apricots will add warmth and vibrancy.
- Medium to Olive Skin: Peaches, berries, and bronzes will enhance your natural glow.
- Dark Skin: Deep berries, plums, and oranges will create a stunning and vibrant flush.
(Professor Glimmer shows swatches of different jelly blush shades on various skin tones, explaining which shades complement each skin tone best.)
VI. The Longevity Factor: Making Your Jelly Glow Last All Day (and Night!)
We all want our blush to last, right? No one wants to spend hours perfecting their cheek color only to have it disappear by lunchtime. Here’s how to ensure your jelly glow stays put:
- Proper Skin Prep: Start with a clean, moisturized face.
- Primer is Your Friend: A good primer will create a smooth base for your blush and help it adhere to your skin.
- Set with Powder (Optional): If you have oily skin or want extra longevity, set your blush with a light dusting of translucent powder.
- Setting Spray: A setting spray will lock in your makeup and prevent it from fading or smudging.
- Avoid Touching Your Face: This is a general rule for all makeup, but it’s especially important with blush. Touching your face can transfer oils and break down the pigment.
(Professor Glimmer shares a humorous anecdote about her own experience with blush fading before a big event, emphasizing the importance of longevity.)
VII. The Jelly Glow Revolution: Beyond the Blush
The versatility of jelly blush extends far beyond just cheeks. Get creative!
- Lip Tint: Dab a small amount onto your lips for a natural, stained effect.
- Eye Shadow: Use a sheer shade of jelly blush as a cream eye shadow for a monochromatic look.
- Highlight: Mix a small amount of shimmering jelly blush with your highlighter for an extra dewy glow.
(Professor Glimmer showcases examples of jelly blush being used in unconventional ways, inspiring the students to experiment and explore its potential.)
VIII. The Grand Finale: Embrace the Glow!
(Professor Glimmer takes a deep breath and smiles warmly.)
So, there you have it, my radiant revolutionaries! You’re now equipped with the knowledge and skills to master the art of jelly glow liquid blush. Remember, makeup is all about self-expression and having fun. Don’t be afraid to experiment, try new things, and embrace your inner glow! ✨
(Professor Glimmer claps her hands together enthusiastically.)
Now, go forth and conquer the world, one radiant cheek at a time! Class dismissed!
(The students applaud as Professor Glimmer bows dramatically and exits the lecture hall, leaving behind a faint scent of glitter and a room full of inspired beauty enthusiasts.)
(End of Lecture)
For detailed product specifications and purchases, please go to :https://zenamakeup.com/products/jelly-liquid-blush-stick
Leave a Reply