Experience the Instant Difference: This Under Eye Brightener Wakes Up Your Look and Reduces Shadowing – A Deep Dive (Lecture Style!)
(Professor Anya Starlight, PhD in Cosmetic Alchemy, adjusts her oversized spectacles and beams at the audience. A slight dusting of glitter sparkles in her hair.)
Alright, class, settle down, settle down! Welcome to "Under Eye Illumination 101"! Today, we’re tackling a subject near and dear to all our hearts (and faces): the dreaded under eye shadow. 😴
(Professor Starlight clicks a remote, and a slide appears. It shows a photo of someone looking incredibly tired with prominent under eye circles. A dramatic "DUN DUN DUN!" sound effect plays.)
Yes, my friends, the bane of our existence! That dark, shadowy abyss that makes us look like we haven’t slept since Y2K. But fear not! Today, we’re arming ourselves with the ultimate weapon: the Under Eye Brightener! ✨
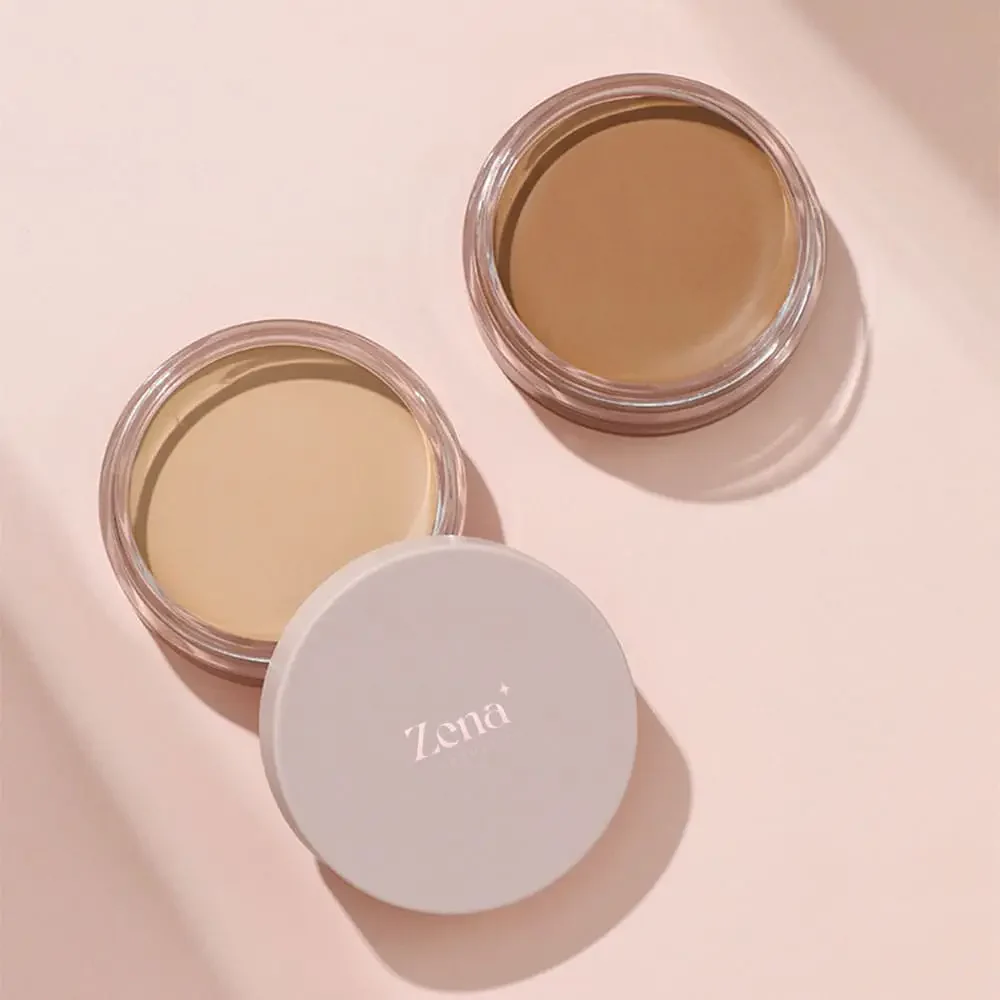
(Professor Starlight holds up a small, shimmering tube with reverence.)
This isn’t just makeup, darling. It’s magic. Well, technically, it’s carefully formulated ingredients and light-reflecting pigments, but let’s not split hairs. It’s magic!
What We’ll Cover Today:
- The Anatomy of the Under Eye Area (aka Why We Get Those Shadows) 🔬
- Understanding Under Eye Brighteners: What They Are and How They Work 🧪
- Brightener vs. Concealer: The Great Debate (and When to Use Which!) 🥊
- Choosing the Right Brightener for YOU! (Skin Tone, Concerns, and More!) 🤔
- Application Techniques: From Noob to Pro! 🎨
- Ingredients to Love (and Ingredients to Avoid!) ❤️ 🚫
- Brightener Hacks and Tips: Unleash the Inner Radiance! 💡
- Troubleshooting Common Brightener Problems (and How to Fix Them!) 🛠️
- The Future of Under Eye Brightening: What’s Next? 🔮
So, grab your notebooks (or your iPads, I’m not judging!), and let’s dive in!
1. The Anatomy of the Under Eye Area (aka Why We Get Those Shadows) 🔬
(Slide changes to a simplified diagram of the eye socket.)
Okay, let’s get anatomical! The skin under your eyes is the thinnest on your entire body. We’re talking delicate, like butterfly wings. 🦋 This thinness makes the blood vessels underneath more visible, leading to that bluish-purple tint we affectionately call "under eye circles."
But wait, there’s more!
- Genetics: Thanks, Mom and Dad! Sometimes, dark circles are just in your DNA. 🧬
- Age: As we age, we lose collagen and fat, making the skin even thinner and more transparent. Gravity also plays a role, causing a slight hollowing under the eye. Think of it as the Grand Canyon…of your face. ⛰️
- Lack of Sleep: This one’s a no-brainer. Sleep deprivation dilates blood vessels, making them more prominent. Plus, your body produces more cortisol (the stress hormone), which can thin the skin. So, get some shut-eye! 😴
- Sun Exposure: UV rays break down collagen and elastin, accelerating the aging process and making dark circles worse. Sunscreen is your best friend! ☀️
- Allergies: Allergies can cause inflammation and congestion, leading to dark circles and puffiness. Achoo! 🤧
- Dehydration: When you’re dehydrated, your body pulls water from your skin, making it look dull and accentuating dark circles. Drink your water, people! 💧
Think of it like this: Imagine a delicate piece of parchment paper (your skin) stretched over a network of tiny blue pipes (blood vessels). Now shine a light on it. What do you see? Shadows! 😩
(Professor Starlight sighs dramatically.)
It’s a cruel world, I know. But knowledge is power! Understanding why we get dark circles is the first step to conquering them.
2. Understanding Under Eye Brighteners: What They Are and How They Work 🧪
(Slide changes to a close-up of various under eye brighteners.)
Alright, now for the good stuff! Under eye brighteners are specially formulated products designed to counteract the appearance of dark circles by reflecting light and neutralizing discoloration. They’re not just covering up; they’re illuminating! ✨
How do they work their magic?
- Light-Reflecting Pigments: These tiny particles act like miniature mirrors, bouncing light away from the skin and creating a brighter, more awake appearance. Common ingredients include mica, silica, and titanium dioxide. Think of them as tiny disco balls for your face! 🕺
- Color Correcting: Many brighteners contain subtle tints of peach, pink, or yellow to neutralize the blue or purple tones of dark circles. This is based on the principle of color theory. Remember that color wheel from art class? It’s finally useful! 🌈
- Hydration: Hydrated skin looks plumper and more radiant, which can help to minimize the appearance of dark circles. Many brighteners contain hydrating ingredients like hyaluronic acid and glycerin. Think of it as a drink of water for your under eyes! 💧
- Blurring Effect: Some brighteners contain ingredients that help to blur fine lines and imperfections, creating a smoother, more youthful appearance. Think of it as Photoshop for your face! 📸
In a nutshell, under eye brighteners work by:
(Table appears on the slide.)
| Feature | Benefit |
|---|---|
| Light Reflection | Makes the under eye area appear brighter and more awake. |
| Color Correction | Neutralizes discoloration and reduces the appearance of dark circles. |
| Hydration | Plumps the skin and minimizes the appearance of fine lines. |
| Blurring | Creates a smoother, more even-toned appearance. |
(Professor Starlight winks.)
Pretty impressive, right? It’s like a mini-facial in a tube!
3. Brightener vs. Concealer: The Great Debate (and When to Use Which!) 🥊
(Slide changes to a boxing ring with a brightener and a concealer facing off.)
Ah, the age-old question! Brightener vs. Concealer: Who will win? Well, the answer is…it depends! They both have their strengths and weaknesses.
Concealer:
- Purpose: To cover imperfections, blemishes, and discoloration. Provides heavier coverage.
- Texture: Typically thicker and more opaque than brighteners.
- Finish: Can be matte, satin, or dewy.
- Best For: Covering acne, scars, hyperpigmentation, and significant discoloration.
Under Eye Brightener:
- Purpose: To illuminate the under eye area and reduce the appearance of shadows. Provides lighter coverage.
- Texture: Typically lighter and more luminous than concealers.
- Finish: Usually radiant or shimmery.
- Best For: Brightening dark circles, reducing shadows, and creating a more awake appearance.
(Professor Starlight clears her throat.)
Think of it like this: Concealer is like painting a wall to cover up a stain. Brightener is like adding a lamp to illuminate the room.
When to use which?
- Mild Dark Circles: Brightener alone may be sufficient.
- Moderate Dark Circles: Use a brightener after applying a thin layer of concealer to correct discoloration.
- Severe Dark Circles: Use a color-correcting concealer first, followed by a regular concealer, and then a brightener to add luminosity.
The Key is Layering! Think of it as building a foundation for your flawless face. Start with the heaviest coverage (color correction, concealer) and finish with the lightest (brightener).
(Professor Starlight gives a thumbs up.)
Teamwork makes the dream work! These two are best friends, not enemies!
4. Choosing the Right Brightener for YOU! (Skin Tone, Concerns, and More!) 🤔
(Slide changes to a diverse range of faces with different skin tones and under eye concerns.)
Okay, class, time to get personal! Choosing the right brightener is crucial for achieving that perfect, natural-looking glow. You wouldn’t wear a dress that doesn’t fit, would you? (Okay, maybe you would, but that’s a story for another lecture!)
Factors to Consider:
-
Skin Tone:
- Fair Skin: Opt for peach or light pink tones to counteract blue undertones. Avoid anything too shimmery, as it can look ashy.
- Light to Medium Skin: Peach, salmon, or light yellow tones work well. Experiment with different levels of shimmer.
- Medium to Tan Skin: Golden, orange, or deep peach tones are ideal. Look for brighteners with warm undertones.
- Dark Skin: Orange, red, or bronze tones will help to neutralize dark circles and add warmth. Avoid anything too light, as it can look chalky.
-
Under Eye Concerns:
- Dark Circles: Choose a brightener with color-correcting pigments.
- Fine Lines: Opt for a hydrating brightener with a blurring effect. Avoid anything too shimmery, as it can accentuate wrinkles.
- Puffiness: Look for a brightener with cooling ingredients like caffeine or cucumber extract.
-
Texture:
- Cream: Best for dry skin and mature skin. Provides a dewy finish.
- Liquid: Versatile and easy to blend. Suitable for most skin types.
- Stick: Convenient and portable. Good for on-the-go touch-ups.
(Professor Starlight points to a chart on the slide.)
(Table appears on the slide.)
| Skin Tone | Undertones | Recommended Brightener Tones | Concerns |
|---|---|---|---|
| Fair | Cool | Peach, Light Pink | Dark Circles, Fine Lines |
| Light/Medium | Warm/Neutral | Peach, Salmon, Light Yellow | Dark Circles |
| Medium/Tan | Warm | Golden, Orange, Deep Peach | Dark Circles |
| Dark | Warm/Neutral | Orange, Red, Bronze | Dark Circles |
(Professor Starlight emphasizes.)
Pro Tip: Always test the brightener on your jawline or the back of your hand before applying it to your under eye area. This will help you to determine if the color is a good match for your skin tone.
5. Application Techniques: From Noob to Pro! 🎨
(Slide changes to a step-by-step tutorial on applying under eye brightener.)
Alright, you’ve chosen your weapon. Now it’s time to learn how to wield it! Applying under eye brightener is an art form, but with a little practice, you’ll be a master in no time.
Tools You’ll Need:
- Your chosen under eye brightener
- A concealer brush (small, flat, and tapered) OR your ring finger (nature’s best applicator!)
- A blending sponge (optional)
- Setting powder (optional)
Steps:
- Prep Your Skin: Moisturize your under eye area to create a smooth canvas.
- Apply Concealer (If Needed): If you have significant discoloration, apply a thin layer of concealer to correct it.
- Apply Brightener: Dot the brightener under your eyes in an inverted triangle shape, starting from the inner corner of your eye and extending down towards your cheekbone.
- Blend, Blend, Blend!: Use your concealer brush or ring finger to gently blend the brightener into your skin. Use a patting motion rather than a rubbing motion to avoid tugging on the delicate skin under your eyes.
- Set (Optional): If desired, lightly dust your under eye area with setting powder to prevent creasing.
(Professor Starlight demonstrates the application technique on herself.)
Tips for Flawless Application:
- Less is More: Start with a small amount of brightener and build up the coverage as needed. You don’t want to look like you’ve been attacked by a glitter bomb! ✨💣
- Focus on the Inner Corner: The inner corner of your eye is where most of the darkness accumulates. Focus your application in this area.
- Blend Outwards: Blend the brightener outwards towards your cheekbone to create a seamless transition.
- Use a Light Touch: Avoid applying too much pressure when blending, as this can irritate the delicate skin under your eyes.
- Don’t Forget to Set: Setting powder will help to prevent creasing and keep your brightener in place all day long.
(Professor Starlight strikes a pose.)
And there you have it! Instant radiance!
6. Ingredients to Love (and Ingredients to Avoid!) ❤️ 🚫
(Slide changes to a list of beneficial and harmful ingredients.)
Just like with food, it’s important to be aware of what’s going into your under eye brightener. Some ingredients are your skin’s best friends, while others are…well, let’s just say they’re not invited to the party.
Ingredients to LOVE:
- Hyaluronic Acid: A powerful humectant that attracts and retains moisture. Keeps your skin hydrated and plump. 💧
- Glycerin: Another humectant that helps to draw moisture to the skin.
- Vitamin C: An antioxidant that brightens the skin and protects it from free radical damage. 🍊
- Vitamin E: Another antioxidant that helps to nourish and protect the skin.
- Peptides: Help to stimulate collagen production and reduce the appearance of fine lines.
- Caffeine: Helps to constrict blood vessels and reduce puffiness. ☕
- Cucumber Extract: Soothes and hydrates the skin. 🥒
Ingredients to AVOID:
- Parabens: Preservatives that have been linked to hormone disruption.
- Sulfates: Harsh cleansing agents that can strip the skin of its natural oils.
- Phthalates: Plasticizers that have been linked to hormone disruption.
- Fragrance: Can be irritating to sensitive skin. Look for fragrance-free formulas.
- Alcohol: Can dry out the skin and exacerbate dark circles.
- Mineral Oil: Can clog pores and prevent the skin from breathing.
(Professor Starlight shakes her head disapprovingly.)
Read those labels, people! Your skin will thank you.
7. Brightener Hacks and Tips: Unleash the Inner Radiance! 💡
(Slide changes to a collage of creative brightener hacks.)
Okay, class, let’s get creative! Here are some bonus tips and tricks to maximize the power of your under eye brightener:
- Mix with Your Moisturizer: Add a drop of brightener to your moisturizer for an all-over radiant glow.
- Highlight Your Brow Bone: Apply a tiny amount of brightener to your brow bone to lift your brows and open up your eyes.
- Spot Highlight: Use a small brush to apply brightener to the inner corners of your eyes, the bridge of your nose, and your cupid’s bow.
- Mix with Your Foundation: Add a drop of brightener to your foundation for a dewy, luminous finish.
- Use as an Eyeshadow Base: Apply brightener to your eyelids before applying eyeshadow to make the colors pop.
(Professor Starlight claps her hands together.)
The possibilities are endless! Experiment and find what works best for you.
8. Troubleshooting Common Brightener Problems (and How to Fix Them!) 🛠️
(Slide changes to a cartoon image of someone struggling with makeup.)
Even with the best techniques, sometimes things go wrong. Here are some common brightener problems and how to fix them:
- Creasing: Make sure your under eye area is well-moisturized. Use a lightweight brightener and set it with a thin layer of setting powder.
- Caking: You’re probably using too much product. Start with a small amount and build up the coverage as needed.
- Ashy Appearance: The brightener is too light for your skin tone. Choose a brightener with warmer undertones.
- Shimmer Overload: The brightener is too shimmery. Opt for a brightener with a more subtle luminosity.
- Irritation: You’re probably allergic to one of the ingredients. Discontinue use immediately and try a different formula.
(Professor Starlight offers a comforting smile.)
Don’t get discouraged! Practice makes perfect. And if all else fails, blame it on the lighting! 😉
9. The Future of Under Eye Brightening: What’s Next? 🔮
(Slide changes to a futuristic image of holographic makeup.)
And finally, let’s gaze into the crystal ball and see what the future holds for under eye brightening!
- Personalized Formulas: Expect to see more customizable brighteners that are tailored to your individual skin tone and concerns.
- Smart Technology: Brighteners that adapt to your skin’s needs throughout the day.
- Sustainable Ingredients: More eco-friendly and ethically sourced ingredients.
- Virtual Try-On: Augmented reality apps that allow you to virtually try on different brighteners before you buy them.
(Professor Starlight winks.)
The future is bright, my friends! And so will your under eyes!
(Professor Starlight gathers her notes.)
And that concludes our lecture on under eye brighteners! I hope you’ve learned a thing or two. Now go forth and conquer those dark circles! Remember, confidence is the best accessory. And maybe a little bit of under eye brightener. 😉
(The class applauds as Professor Starlight takes a bow. Glitter rains down from the ceiling. Class dismissed!)
For detailed product specifications and purchases, please go to :https://zenamakeup.com/products/instant-awaken-under-eye-brightener
Leave a Reply