Experience the Marker Magic: Easy Application for a Sexy Stained Lip Tint That Stays Put for Hours (A Lecture!)
(Cue enthusiastic jazz music and a spotlight on a single, dramatically lit lip gloss)
Alright, everyone, settle down, settle down! Welcome, welcome, to the Lip Stain Laboratory! I see some familiar faces, seasoned lipstick veterans, and some fresh-faced newbies. Doesn’t matter your experience level, because today, we’re diving deep into the mystical, magical, and sometimes downright maddening world of lip stains. Specifically, the unsung hero of the lip stain family: the Marker Lip Tint!
(Displays a slide with a picture of a classic marker lip tint)
Forget the complicated techniques, the endless blending, and the fear of feathering. We’re talking easy application, a sexy stained pout that lasts for hours, and a touch of marker magic that’ll have you saying, "Lipstick? Never heard of her!"
(Chuckles ripple through the imaginary audience)
Now, I know what you’re thinking. "Marker? On my lips? Sounds like a recipe for disaster!" But trust me, my friends, this ain’t your average Sharpie situation. We’re talking about specially formulated, pigment-packed, hydrating wonders that will revolutionize your lip game.
(Paces the imaginary stage with dramatic flair)
So grab your notebooks, your favorite beverage (mine’s a dirty martini, extra olives!), and let’s get started! Today’s curriculum includes:
I. The Lip Stain Lowdown: Why Bother? (And Why Markers are the Bomb!) 💣
II. The Marker Lip Tint: Deconstructed! (Ingredients, Applicators, and All That Jazz!) 🎶
III. Prep School for Pouts: Setting the Stage for Stain Success! 💋
IV. Marker Magic: Application Techniques for the Perfect Stain! ✨
V. Troubleshooting Stain Situations: From Patchy to Perfect! 🛠️
VI. Maintaining Your Masterpiece: Aftercare and Longevity! ⏳
VII. The Ultimate Marker Lip Tint Shopping Guide: Finding Your Soulmate Stain! 🛍️
VIII. The Future of Lip Stains: Beyond the Marker! 🚀
(Gestures grandly at the projected agenda)
Ready? Let’s roll!
I. The Lip Stain Lowdown: Why Bother? (And Why Markers are the Bomb!) 💣
Let’s face it: lipstick can be a high-maintenance relationship. Constant reapplications, transferring onto everything you own (coffee cups, significant others, innocent bystanders), and the dreaded "lipstick teeth" – it’s exhausting!
(Mimics wiping lipstick off teeth with a disgusted expression)
Enter the lip stain, the cool, low-key cousin of lipstick. Lip stains are designed to deposit pigment directly into the lips, creating a natural, "just-bitten" look that lasts. Think of it like giving your lips a temporary tattoo. (A very chic and non-permanent tattoo, mind you.)
Here’s why you should embrace the stain:
- Long-lasting: Stains cling to your lips like a lovesick koala. No constant touch-ups needed!
- Natural Look: Forget the heavy, cakey feel of some lipsticks. Stains provide a sheer, buildable color that enhances your natural lip tone.
- Transfer-Proof: Kiss goodbye to lipstick stains on your collar, your coffee mug, and your unsuspecting date.
- Low Maintenance: Apply and go! No need to constantly monitor your lip situation.
- Versatile: From subtle daytime looks to bold evening statements, lip stains can do it all.
(Displays a table comparing lipsticks and lip stains)
| Feature | Lipstick | Lip Stain |
|---|---|---|
| Longevity | Short-lived (requires reapplication) | Long-lasting (hours of wear) |
| Finish | Creamy, matte, glossy | Sheer, natural, buildable |
| Transfer | Transfers easily | Minimal to no transfer |
| Maintenance | High (requires monitoring) | Low (apply and go!) |
| Texture | Heavy, creamy, potentially cakey | Lightweight, comfortable, barely there |
| Color Intensity | High | Buildable, can be subtle or intense |
So, why markers specifically?
Markers offer unparalleled precision. The fine-tip applicator allows you to define your lip line with ease and control, creating a flawless, even stain. Plus, the liquid formula is typically lightweight and dries quickly, minimizing the chance of smudging. They’re also ridiculously easy to carry around in your purse – no bulky tubes or messy applicators!
(Pulls a marker lip tint dramatically from a purse)
Think of it as lip liner and lip stain having a beautiful, convenient baby.
II. The Marker Lip Tint: Deconstructed! (Ingredients, Applicators, and All That Jazz!) 🎶
Now, let’s peek under the hood of our marker lip tint and see what makes it tick. Understanding the components will help you choose the right product for your needs and apply it like a pro.
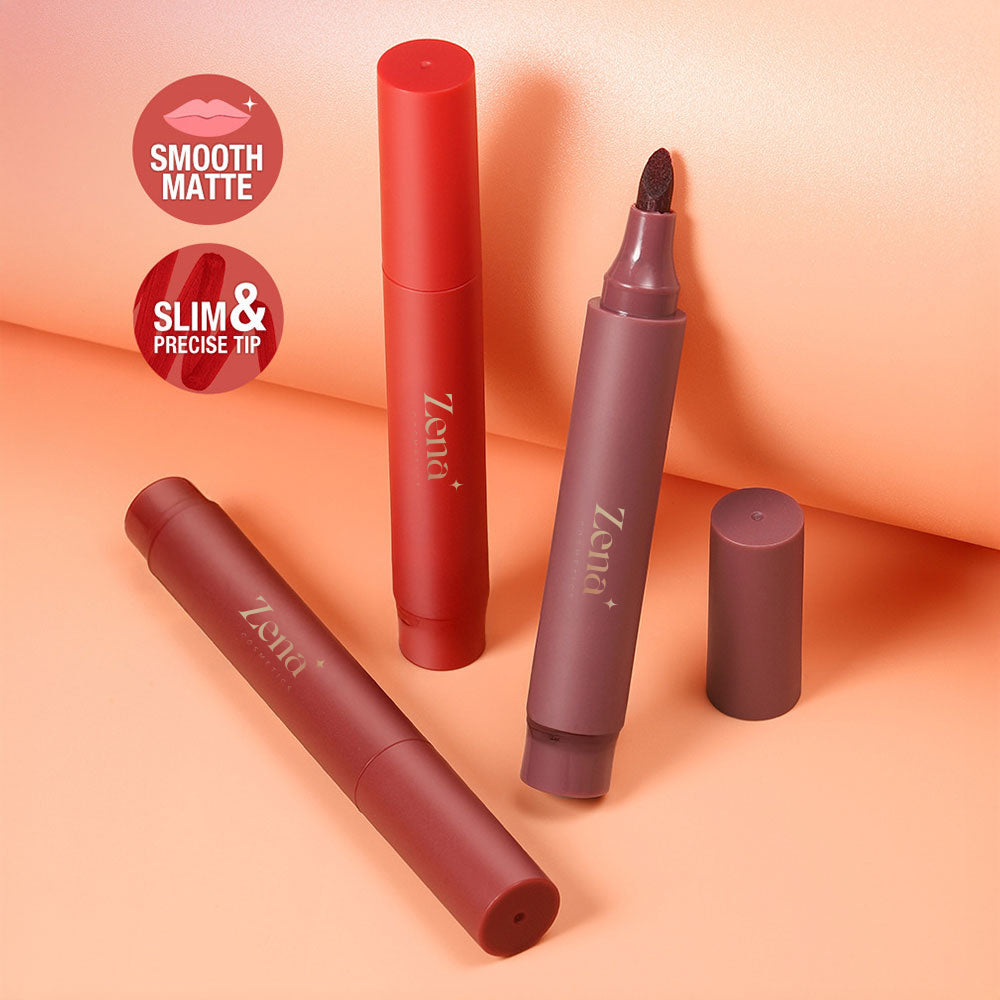
(Displays a diagram of a marker lip tint, labeling the components)
Key Components:
- The Tip: This is where the magic happens! You’ll find two main types:
- Felt Tip: Similar to a felt-tip pen. Offers good control and precision. Can sometimes dry out if not stored properly.
- Brush Tip: More flexible and allows for a slightly more diffused application. Can be trickier to master initially, but offers a more natural look.
- The Reservoir: This holds the pigmented liquid. It’s typically a sponge or a tube filled with the stain formula.
- The Formula: This is the heart of the operation! Common ingredients include:
- Water: Provides a lightweight texture and helps the stain adhere to the lips.
- Glycerin/Hyaluronic Acid: Hydrating ingredients that prevent the stain from drying out your lips. Look for these! 💧
- Pigments: The color source! Common pigments include various dyes and lakes.
- Polymers: Help the stain adhere to the lips and increase its longevity.
- Alcohol: Used to help the stain dry quickly. Can be drying in high concentrations, so be mindful if you have dry lips.
- Preservatives: Keep the formula fresh and prevent bacterial growth.
(Emphasizes the importance of hydrating ingredients with a concerned look)
Important Considerations:
- Ingredients List: Always check the ingredients list! Look for hydrating ingredients like hyaluronic acid, glycerin, and natural oils. Avoid formulas with high concentrations of alcohol if you have dry or sensitive lips.
- Pigment Intensity: Some markers offer a sheer, subtle stain, while others pack a powerful punch. Choose based on your desired level of color.
- Smell and Taste: Some lip stains have a noticeable scent or taste. If you’re sensitive to fragrances, opt for a fragrance-free formula.
III. Prep School for Pouts: Setting the Stage for Stain Success! 💋
Just like a painter preps their canvas, you need to prep your lips for optimal stain absorption and a flawless finish.
(Displays a slide with images of various lip prep products)
The Prep Steps:
-
Exfoliate: This is crucial! Remove any dead skin cells to create a smooth surface for the stain to adhere to evenly. You can use a lip scrub, a soft toothbrush, or even a damp washcloth.
(Mimics scrubbing lips vigorously with a toothbrush – then winces)
Pro Tip: DIY lip scrub! Mix a teaspoon of sugar with a few drops of honey or olive oil. Gently massage onto your lips, then rinse with warm water.
-
Hydrate: Apply a generous layer of lip balm or lip mask and let it soak in for a few minutes. This will plump up your lips and prevent the stain from clinging to dry patches.
(Applies an imaginary lip balm with a luxurious sigh)
Pro Tip: Apply lip balm overnight for maximum hydration!
-
Blot: Gently blot off any excess lip balm before applying the stain. You want your lips to be hydrated, but not slippery.
(Demonstrates a gentle blotting motion with a tissue)
Pro Tip: Use a tissue to blot, not your fingers!
-
Optional: Lip Liner: If you want extra definition or to prevent feathering (especially with darker shades), use a nude or matching lip liner to outline your lips.
(Expertly applies imaginary lip liner with a dramatic flick of the wrist)
Pro Tip: Choose a lip liner that matches your natural lip color or the shade of your stain.
IV. Marker Magic: Application Techniques for the Perfect Stain! ✨
Alright, class, it’s showtime! Grab your marker lip tint and let’s get staining!
IV. Marker Magic: Application Techniques for the Perfect Stain! ✨
Alright, class, it’s showtime! Grab your marker lip tint and let’s get staining!
(Displays a series of images demonstrating different application techniques)
The Techniques:
-
The Classic Stain:
- Start at the center of your upper lip and trace your lip line, following your natural shape.
- Repeat on your lower lip.
- Fill in the rest of your lips with the marker, using short, even strokes.
- Blot with a tissue to remove any excess product.
-
Add another layer for more intensity, if desired.
(Demonstrates each step with an imaginary marker lip tint)
Pro Tip: For a more natural look, focus the color on the center of your lips and fade it out towards the edges.
-
The Gradient Lip (Korean Beauty Inspired):
- Apply the stain to the inner part of your lips, leaving the outer edges bare.
- Use your finger or a lip brush to blend the stain outwards, creating a soft, diffused effect.
-
You can also use a concealer or foundation around the outer edges to further define the gradient.
(Demonstrates the gradient lip technique with delicate hand movements)
Pro Tip: This technique is perfect for creating a youthful, "just-kissed" look.
-
The Full Coverage Stain:
- Outline your lips with the marker, paying close attention to your Cupid’s bow and the corners of your mouth.
- Fill in your entire lip with the marker, using even strokes.
-
Apply multiple layers until you achieve your desired level of intensity.
(Demonstrates the full coverage technique with confident strokes)
Pro Tip: This technique is great for creating a bold, dramatic lip.
General Application Tips:
- Light Hand: Use a light touch to avoid applying too much product. You can always build up the color later.
- Even Strokes: Apply the stain in short, even strokes to ensure an even distribution of pigment.
- Work Quickly: Marker lip tints tend to dry quickly, so work efficiently to avoid patchiness.
- Don’t Overlap: Avoid overlapping the stain too much, as this can lead to uneven color.
- Mirror, Mirror: Apply in front of a well-lit mirror to ensure accuracy.
V. Troubleshooting Stain Situations: From Patchy to Perfect! 🛠️
Even the most skilled stain artists encounter challenges from time to time. Here’s how to handle common lip stain mishaps:
(Displays a slide with common lip stain problems and solutions)
Problem: Patchy Application
Solution:
- Exfoliate Thoroughly: Uneven skin texture is the primary culprit.
- Hydrate Lips: Dry patches will absorb more pigment, leading to patchiness.
- Apply in Thin Layers: Avoid applying too much product at once.
- Use a Lip Brush: A lip brush can help blend the stain evenly.
Problem: Stain Feathering Beyond Lip Line
Solution:
- Use Lip Liner: A lip liner will create a barrier and prevent feathering.
- Apply Foundation or Concealer: Apply a small amount of foundation or concealer around your lip line to create a crisp edge.
- Blot Immediately: Blotting excess product will prevent it from migrating beyond your lip line.
Problem: Color Too Intense
Solution:
- Blot with a Tissue: Blotting will remove excess pigment and soften the color.
- Apply Lip Balm: Applying a clear lip balm will sheer out the color.
- Use a Cotton Swab: Use a cotton swab dipped in makeup remover to gently remove some of the stain.
Problem: Color Too Light
Solution:
- Apply More Layers: Apply additional layers of stain until you achieve your desired intensity.
- Use a Darker Shade: Layer a darker shade of lip stain on top to deepen the color.
- Use Lip Liner: Use a darker lip liner to add definition and intensity.
Problem: Stain Drying Out Lips
Solution:
- Choose a Hydrating Formula: Look for stains with hydrating ingredients like hyaluronic acid and glycerin.
- Apply Lip Balm Frequently: Apply lip balm throughout the day to keep your lips hydrated.
- Avoid Alcohol-Based Formulas: Alcohol can be drying, so opt for alcohol-free formulas if possible.
VI. Maintaining Your Masterpiece: Aftercare and Longevity! ⏳
You’ve achieved the perfect stained pout! Now, let’s keep it looking fresh for as long as possible.
(Displays a slide with aftercare tips)
Aftercare Tips:
- Avoid Oily Foods: Oily foods can break down the stain and cause it to fade.
- Avoid Excessive Lip Licking: Licking your lips can also cause the stain to fade.
- Apply Lip Balm Regularly: Keeping your lips hydrated will help the stain last longer.
- Reapply as Needed: If the stain starts to fade, reapply a thin layer to refresh the color.
- Proper Storage: Store your marker lip tint in a cool, dry place with the cap tightly closed to prevent it from drying out.
VII. The Ultimate Marker Lip Tint Shopping Guide: Finding Your Soulmate Stain! 🛍️
With so many marker lip tints on the market, choosing the right one can be overwhelming. Here’s a guide to help you find your perfect match:
(Displays a table with popular marker lip tint brands and their key features)
| Brand | Key Features | Price Range | Best For |
|---|---|---|---|
| Peripera | Vibrant colors, long-lasting, affordable | $ | Bold, playful looks, budget-conscious buyers |
| Clio | High pigmentation, smooth application, comfortable wear | $$ | Long-lasting color, comfortable feel |
| Benefit | Sheer, natural-looking stains, buildable color, iconic packaging | $$$ | Subtle, everyday looks, classic beauty lovers |
| YSL Beauty | Luxurious formulas, sophisticated shades, hydrating, high-end packaging | $$$$ | High-end beauty, sophisticated looks |
| TonyMoly | Fun, fruity scents, affordable, good for beginners | $ | Beginners, playful scents, budget-friendly |
Factors to Consider:
- Skin Tone: Choose shades that complement your skin tone. Generally, warmer skin tones look great with warm-toned stains, while cooler skin tones look great with cool-toned stains.
- Desired Finish: Do you want a sheer, natural stain or a bold, full-coverage look?
- Hydration Level: If you have dry lips, prioritize hydrating formulas.
- Price: Marker lip tints range in price from affordable to luxury.
- Reviews: Read online reviews to get an idea of other people’s experiences with the product.
VIII. The Future of Lip Stains: Beyond the Marker! 🚀
The world of lip stains is constantly evolving. While marker lip tints are a current favorite, there are exciting innovations on the horizon!
(Displays a slide with images of future lip stain trends)
Emerging Trends:
- Lip Stain Serums: Combining the long-lasting power of lip stains with the nourishing benefits of lip serums.
- Customizable Lip Stains: Allowing you to create your own unique shade by mixing different pigments.
- Sustainable Lip Stain Packaging: Eco-friendly packaging options to reduce waste.
- Smart Lip Stains: Incorporating technology to adjust the color based on your mood or outfit. (Okay, maybe that’s a little far-fetched… for now!)
(Winks at the imaginary audience)
The future is bright, my friends! The future is stained!
(Bows dramatically as the enthusiastic jazz music swells again)
Thank you, thank you! Don’t forget to exfoliate! And remember, the perfect lip stain is out there waiting for you. Go forth and conquer! Class dismissed!
For detailed product specifications and purchases, please go to :https://zenamakeup.com/products/sexy-stained-lip-marker-tint
Leave a Reply