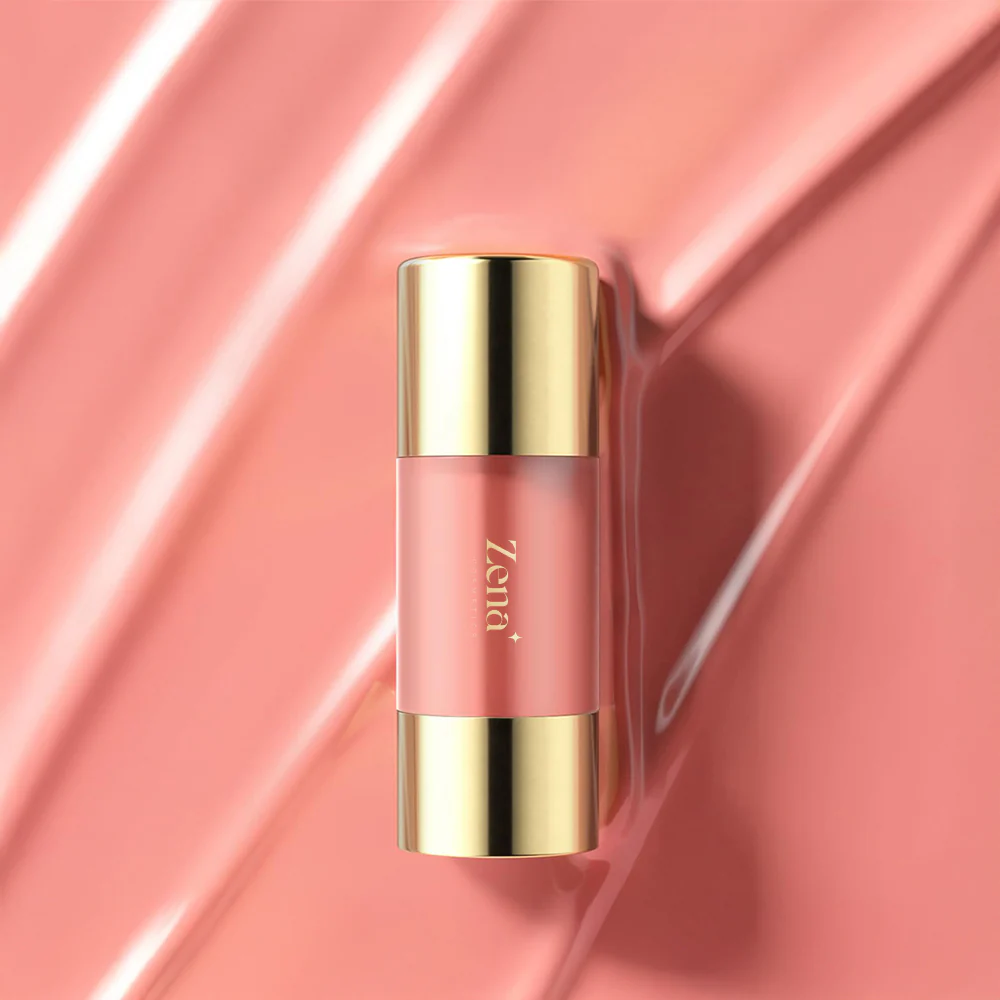
The Quest for the Holy Grail: A Long-Wearing, Glow-Giving Jelly Liquid Blush
Alright, blush enthusiasts! 🎨👋 Welcome to "Blush 101: The Jelly Edition," where we’ll be diving headfirst into the shimmering, bouncy world of jelly liquid blush. Specifically, we’re embarking on a mission most crucial: to find the elusive unicorn – a jelly glow liquid blush that is long-wearing and maintains its radiant glow throughout the day! ✨
Think of this lecture as a treasure hunt. Our map is the collective knowledge of beauty aficionados, our compass is scientific understanding, and our treasure? That perfect flush of color that lasts from your morning coffee to your evening cocktails. ☕🍹
Why Jelly, You Ask? The Allure of the Wobble
Before we delve into the nitty-gritty of longevity and luminosity, let’s appreciate why jelly blush has captured our hearts (and cheekbones).
- Texture Tango: Jelly blush boasts a unique, bouncy texture that’s just plain fun to apply. It’s not quite a gel, not quite a cream, but a delightful hybrid that feels refreshing and lightweight on the skin. 💧
- Sheer & Buildable: Typically, jelly blushes offer a beautiful sheer wash of color, making them ideal for achieving that natural, "lit-from-within" glow. You can build the intensity as desired, avoiding the dreaded clown-cheek situation. 🤡🚫
- Glow Factor: Many jelly blushes are formulated with light-reflecting particles, lending a dewy, radiant finish that makes your skin look healthy and vibrant. 🌟
But here’s the rub: Many jelly blushes, while gorgeous upon application, tend to fade or disappear faster than you can say "selfie." 😩 That’s where our quest for long-lasting glow comes in!
The Enemies of Longevity: Why Blush Bites the Dust
To conquer the challenge, we must understand our foes. Several factors contribute to a blush’s premature demise:
- Skin Type Sabotage: Oily skin is a blush’s arch-nemesis. Excess sebum can break down the blush pigments, causing them to fade or slide off. Dry skin, on the other hand, can absorb the blush, making it appear patchy or disappear altogether. 🌵
- Formula Fickleness: Some formulas are simply less tenacious than others. Water-based formulas, while refreshing, may evaporate quickly, taking the color with them. 💦
- Application Annoyances: Incorrect application techniques can significantly impact wear time. Applying blush over unprimed skin or using the wrong tools can lead to uneven distribution and rapid fading. 🖌️
- Environmental Evils: Humidity, sweat, and pollution can all contribute to the breakdown of your blush. 🥵
- Touching Trauma: Unconscious face-touching is a major culprit! We touch our faces countless times a day, inadvertently smearing our makeup. 🤦♀️
The Anatomy of a Long-Wearing, Glow-Giving Jelly Blush: Key Ingredients & Technologies
Now that we know the enemies, let’s equip ourselves with the knowledge to identify a winning formula. Here are some key ingredients and technologies to look for:
- Film-Forming Polymers: These create a lightweight, flexible film on the skin, locking in the color and preventing it from fading or transferring. Think of them as invisible nets that hold your blush in place. 🕸️
- Pigment Power: Highly pigmented formulas require less product to achieve the desired color intensity, which can contribute to longer wear time. Look for blushes with finely milled pigments that blend seamlessly into the skin. 🎨
- Emollients & Humectants: These ingredients hydrate the skin and create a smooth canvas for the blush to adhere to. Examples include glycerin, hyaluronic acid, and squalane. 💧
- Light-Reflecting Particles (But Not Too Much!): Mica, silica, and other light-reflecting particles add that coveted glow. However, too much shimmer can accentuate texture and make the blush look unnatural. Opt for finely milled, subtle shimmer. ✨
- Oil-Absorbing Ingredients (For Oily Skin): Ingredients like silica or modified starches can help control oil production and prevent the blush from breaking down. 🧽
- Waterproof or Water-Resistant Formulas: These are designed to withstand sweat and humidity, ensuring your blush stays put even on the hottest days. ☔
Ingredient Deep Dive: A Table of Goodies
| Ingredient Category | Examples | Benefits |
|---|---|---|
| Film-Forming Polymers | PVP, VP/VA Copolymer, Acrylates Copolymer | Creates a long-wearing, transfer-resistant film. |
| Pigments | Iron Oxides, Titanium Dioxide, Mica | Provides color and opacity. Finely milled pigments ensure smooth blending. |
| Emollients | Squalane, Jojoba Oil, Caprylic/Capric Triglyceride | Softens and smooths the skin, creating a hydrated base for the blush. |
| Humectants | Glycerin, Hyaluronic Acid, Sodium PCA | Attracts moisture to the skin, keeping it hydrated and plump. |
| Light-Reflecting | Mica, Silica, Synthetic Fluorphlogopite | Adds a subtle, healthy-looking glow. |
| Oil-Absorbing | Silica, Tapioca Starch, Modified Starch | Helps control oil production and prevent the blush from breaking down (especially beneficial for oily skin). |
Application Alchemy: The Secret Sauce to Long-Lasting Glow
Even the best formula can fail if applied incorrectly. Here’s a step-by-step guide to blush application success:
- Prep Your Canvas: Start with a clean, moisturized face. If you have oily skin, use an oil-free moisturizer.
- Prime Time: Apply a makeup primer to create a smooth, even surface for the blush to adhere to. A primer can also help control oil production and extend the wear time of your makeup. 🪄
- Foundation First: Apply your foundation and concealer as usual. This creates a base for the blush and helps it blend seamlessly into the skin.
- The Blush Brush Bonanza: Use a blush brush with soft, fluffy bristles for a natural-looking application. A denser brush will deposit more color, which can be useful for building intensity. 🖌️
- Dot & Blend: Dot the jelly blush onto the apples of your cheeks, blending outwards towards your temples. Use a stippling motion for a seamless finish. You can use your fingers or a damp sponge for blending too.
- Build the Glow: Apply a second layer of blush if you desire more intensity. Remember, it’s always easier to add more than to take away! 🧱
- Set It & Forget It: Set your blush with a light dusting of translucent powder. This will help lock in the color and prevent it from fading. 🔒
- Hydrate (Optional): If you have dry skin, you can spritz your face with a hydrating setting spray to prevent the powder from looking cakey. 💦
Tools of the Trade: A Visual Guide
| Tool | Description | Best For | Image (Imagine a stock photo of each) |
|---|---|---|---|
| Blush Brush | Soft, fluffy bristles, typically angled or tapered. | Natural-looking application, blending. | |
| Stippling Brush | Dense bristles with a flat top. | Building intensity, creating a seamless finish. | |
| Damp Sponge | A makeup sponge dampened with water or setting spray. | Blending, creating a dewy finish. | |
| Fingers | Your own digits! Warmth helps blend the product into the skin. | Sheer application, quick touch-ups. |
The Holy Grail Checklist: Evaluating Jelly Blush Candidates
Now that we’re armed with knowledge, let’s create a checklist for evaluating potential holy grail jelly blushes:
- Long-Wearing Claims: Does the product claim to be long-wearing or transfer-resistant? Read reviews to see if others have had success. 🔍
- Ingredient Inspection: Does the formula contain film-forming polymers, high-quality pigments, emollients, and humectants? 🧐
- Texture & Finish: Does the blush have a smooth, lightweight texture and a subtle, natural-looking glow? 💫
- Shade Range: Does the blush come in a variety of shades to suit different skin tones? 🌈
- Packaging: Is the packaging airtight and hygienic? 📦
- Price Point: Is the blush affordable and accessible? 💰
- Reviews, Reviews, Reviews: Read online reviews from other users to get a sense of the product’s performance. 📰
The Great Jelly Blush Bake-Off: Testing & Tribulations
Okay, class, time for some hands-on learning! Let’s outline a testing protocol to determine which jelly blushes truly stand the test of time (and sweat):
- The Control Group: Apply your usual blush (the one you know and love, even if it’s not jelly) to one cheek as a control.
- The Jelly Joust: Apply the jelly blush candidate to the other cheek.
- The Baseline Photo: Take a photo of your cheeks immediately after application. 📸
- The Day in the Life: Go about your normal daily activities, paying attention to how the blush feels and looks throughout the day.
- The Check-Ins: Take photos of your cheeks every 2-3 hours to track the blush’s wear time. ⏰
- The Final Verdict: At the end of the day, compare the wear time and appearance of the jelly blush to your control blush. Did it fade, transfer, or maintain its glow? 🤔
Factors to Consider During Testing:
- Weather Conditions: Test the blush in different weather conditions to see how it performs in humidity, heat, and cold. ☀️❄️
- Activity Level: Test the blush during different activities, such as working out, running errands, or attending a social event. 🏋️♀️💃
- Skin Type: Consider your skin type when evaluating the blush. What works well for someone with dry skin may not work as well for someone with oily skin. 🌵💧
Addressing Common Jelly Blush Quandaries
Let’s tackle some frequently asked questions about jelly blush:
- Q: Jelly blush looks patchy on my skin. What am I doing wrong?
- A: You may not be exfoliating regularly. Dead skin cells can create a rough surface that prevents the blush from blending smoothly. Also, ensure your skin is well-moisturized before applying the blush.
- Q: My jelly blush is too sheer. How can I make it more pigmented?
- A: Try applying the blush over a cream blush or tinted moisturizer. This will create a more opaque base for the jelly blush to adhere to. You can also build up the intensity by applying multiple layers of the jelly blush.
- Q: My jelly blush is too shiny. How can I tone down the glow?
- A: Dust a light layer of translucent powder over the blush to mattify the finish. You can also use a blotting paper to absorb excess shine.
- Q: My jelly blush is drying out in the pot. What can I do?
- A: Ensure the lid is tightly closed after each use. You can also try storing the blush in a cool, dark place to prevent it from drying out. If the blush is already dried out, you can try adding a drop or two of facial oil to revive it.
Beyond the Blush: Lifestyle Choices for a Lasting Glow
While the right blush is essential, don’t underestimate the power of lifestyle choices in achieving a healthy, radiant complexion:
- Hydration Hero: Drink plenty of water to keep your skin hydrated from the inside out. 💧
- Sunscreen Savior: Protect your skin from the sun’s harmful rays with a broad-spectrum sunscreen. ☀️
- Sleep Sanctuary: Get enough sleep to allow your skin to repair and regenerate. 😴
- Diet Delights: Eat a healthy diet rich in fruits, vegetables, and antioxidants. 🍎🥦
- Stress Management: Practice stress-reducing activities like yoga or meditation. 🧘♀️
In Conclusion: The Quest Continues!
Finding the perfect long-wearing, glow-giving jelly liquid blush is a journey, not a destination. New products are constantly being released, so keep experimenting and exploring! Remember to consider your skin type, application techniques, and the ingredients that work best for you.
Armed with the knowledge from this lecture, you’re now well-equipped to navigate the world of jelly blush and find your own personal holy grail! Happy blushing! 😊💖
For detailed product specifications and purchases, please go to :https://zenamakeup.com/products/jelly-liquid-blush-stick
Leave a Reply