Lecture: Operation Undereye Illumination: Cracking the Cake-Free Code to Instant Awake-ness! ☕️✨
Alright, class, settle down, settle down! Today, we’re embarking on a mission of vital importance: the quest for the holy grail of under-eye brightening. We’re talking about achieving that wide-awake, "I definitely got eight hours of sleep and didn’t binge-watch true crime documentaries until 3 AM" look. But, and this is a big but, we’re doing it without looking like we dipped our faces in a vat of powdered sugar. 🙅♀️🍰
Yes, my friends, we’re going to conquer the dreaded Cakey Under-Eye Monster! Fear not, for I, your humble professor, have spent countless hours (and dollars) testing, experimenting, and agonizing over formulas, application techniques, and color theory. I’ve endured the humiliation of looking like a reverse raccoon (dark circles surrounded by glaring white patches) and the despair of creasing so profound, they could rival the Grand Canyon. But from the ashes of those cosmetic failures, knowledge has risen!
So grab your notebooks (or your favorite note-taking app), because this is going to be epic.
Course Outline:
- The Anatomy of the Undereye (and Why It’s So Darn Tricky): Understanding the enemy.
- The Culprits Behind the Cake: Identifying the factors that lead to a cakey finish.
- The Brightening Arsenal: Exploring Product Types: Concealers, correctors, illuminators, oh my!
- Formula Frenzy: Decoding Ingredients & Textures: What to look for (and what to avoid).
- Color Correction 101: Banishing the Blues (and Purples, and Greens…): A color wheel is your best friend.
- Application Alchemy: Mastering the Techniques: Patting, blending, and setting like a pro.
- The Setting Game: Powders and Sprays to Lock It In: Preventing the dreaded crease migration.
- Lifestyle Hacks for Brighter Eyes (Because Makeup is Just a Band-Aid Sometimes): Sleep, hydration, and other non-makeup miracles.
- Product Recommendations & Honorable Mentions: My personal favorites (and why!).
- Troubleshooting: Common Problems & Quick Fixes: Cake-free CPR!
1. The Anatomy of the Undereye (and Why It’s So Darn Tricky): 🕵️♀️
Think of your undereye area as a delicate ecosystem, a fragile landscape prone to dryness, thin skin, visible blood vessels, and a general tendency to betray your sleep schedule.
- Thin Skin: The skin under your eyes is incredibly thin, making it more susceptible to showing dark circles, fine lines, and wrinkles. This also means that heavy products tend to sink into those lines and exacerbate their appearance. 😱
- Blood Vessels: Often, the bluish or purplish tint under your eyes is due to visible blood vessels. This isn’t necessarily a sign of illness; it’s just genetics!
- Lack of Subcutaneous Fat: Unlike other areas of your face, the undereye has very little fat. This can contribute to a hollowed or sunken appearance.
- Lymphatic Drainage: Poor lymphatic drainage can lead to fluid retention, causing puffiness and bags under the eyes. Think of it as a tiny traffic jam under your skin. 🚗 🛑
Understanding these factors is crucial to choosing the right products and application techniques. We’re not just slapping makeup on; we’re strategically addressing the unique challenges of this sensitive area.
2. The Culprits Behind the Cake: 🎂🚫
So, what exactly transforms our dreams of a radiant undereye into a cakey nightmare? Let’s unmask the villains:
| Culprit | Explanation | Solution |
|---|---|---|
| Dry Skin | Dehydrated skin acts like a sponge, soaking up moisture from your makeup and causing it to cling to dry patches and fine lines. | Exfoliate gently, hydrate religiously with a good eye cream (more on that later!), and avoid drying cleansers. Consider a humidifier, especially in winter. |
| Heavy Products | Thick, full-coverage concealers are often the biggest offenders. They can settle into lines and wrinkles, emphasizing texture rather than concealing it. | Opt for lightweight, buildable formulas. Less is more! Think of layering sheer coverage instead of one thick layer. |
| Over-Application | Applying too much product, even with a lightweight formula, can lead to caking. It’s like trying to paint a masterpiece with a fire hose. | Start with a tiny amount and build up coverage as needed. Remember, you can always add more, but it’s much harder to remove excess product without messing up your entire base. |
| Incorrect Shade | Using a concealer that’s too light can create a stark contrast with your skin tone, making it look unnatural and cakey. Conversely, a shade that’s too dark won’t brighten effectively. | Choose a shade that’s only one or two shades lighter than your skin tone. Color correction (more on that in section 5!) can also help neutralize darkness. |
| Improper Blending | Poorly blended concealer can sit on top of the skin, creating a visible layer and emphasizing texture. | Invest in a good blending brush or sponge and take your time. Use gentle, patting motions to press the product into the skin, rather than dragging it across. |
| Setting Powder Overload | Applying too much setting powder, especially a heavy or drying formula, can suck the moisture out of your skin and create a cakey finish. | Use a very light hand and a fluffy brush. Consider a hydrating setting spray instead of powder, or opt for a finely milled, translucent powder. Baking is NOT recommended for everyday wear unless you have very oily skin. |
3. The Brightening Arsenal: Exploring Product Types: ⚔️
Let’s examine the tools of our trade:
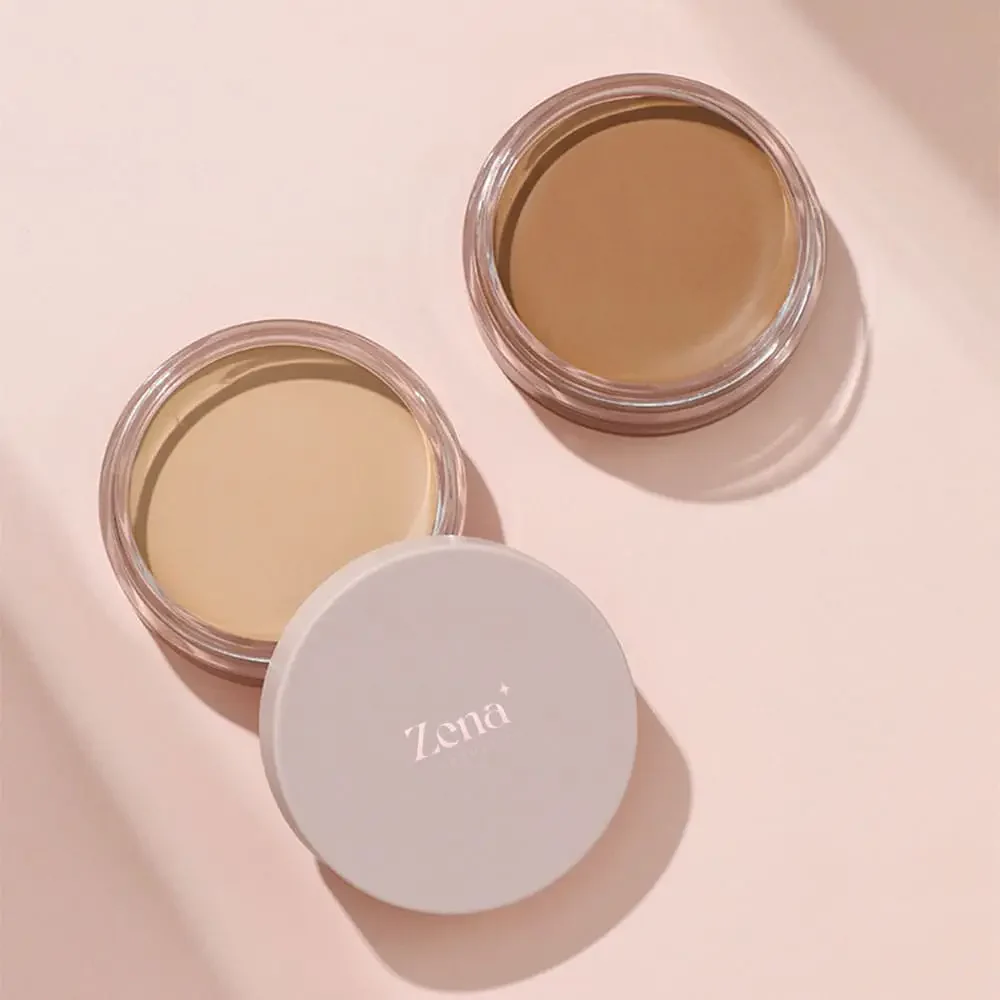
- Concealers: The workhorse of under-eye brightening. Available in various formulas (liquid, cream, stick) and coverage levels (sheer, medium, full). Look for hydrating formulas with light-reflecting properties.
- Color Correctors: These heroes neutralize discoloration before concealer application. Peach or salmon tones counteract blue or purple circles, while yellow tones can brighten dullness.
- Illuminators: Add a subtle glow to the undereye area. Can be liquid, cream, or powder. Use sparingly and strategically to avoid looking like a disco ball. 🪩🚫
- Eye Creams: The foundation for a smooth, hydrated undereye. Apply regularly, morning and night. Look for ingredients like hyaluronic acid, peptides, and caffeine.
- Primers: While not strictly for brightening, an eye primer can create a smooth canvas for concealer, preventing it from settling into lines.
4. Formula Frenzy: Decoding Ingredients & Textures: 🧪
The formula of your under-eye brightener is paramount. Here’s what to look for (and what to avoid):
Ingredients to Embrace:
- Hyaluronic Acid: A humectant that attracts and retains moisture.
- Glycerin: Another humectant that helps to hydrate the skin.
- Peptides: Help to stimulate collagen production, reducing fine lines and wrinkles.
- Caffeine: Can help to reduce puffiness and dark circles by constricting blood vessels.
- Vitamin C: A powerful antioxidant that brightens and protects the skin.
- Light-Reflecting Pigments: Create a subtle glow and help to diffuse light, minimizing the appearance of imperfections.
Ingredients to Avoid (or Use with Caution):
- Alcohol: Can be drying and irritating, especially for sensitive skin.
- Fragrance: Can also be irritating for sensitive skin.
- Talc: Can be drying and may emphasize fine lines. Look for finely milled alternatives like silica or mica.
- Heavy Oils: Can clog pores and cause milia (tiny white bumps).
Texture is Key!
- Liquid Concealers: Generally lightweight and blendable, ideal for dry skin. Look for hydrating formulas.
- Cream Concealers: Offer more coverage than liquid concealers, but can be heavier. Best suited for normal to oily skin.
- Stick Concealers: Convenient for on-the-go touch-ups, but can be drying.
5. Color Correction 101: Banishing the Blues (and Purples, and Greens…): 🎨
Remember that color wheel from art class? It’s time to dust it off! Color correction is all about neutralizing discoloration by using colors that are opposite each other on the color wheel.
| Discoloration | Corrector Color | Why It Works |
|---|---|---|
| Blue/Purple | Peach/Salmon | Peach and salmon tones contain orange, which is opposite blue on the color wheel. This neutralizes the blue tones, creating a more even base for concealer. |
| Green | Red | Red neutralizes green. This is less common for under-eye discoloration, but may be helpful if you have redness around the nose or mouth that you want to conceal. |
| Dullness | Yellow | Yellow brightens the skin and counteracts dullness. This can be particularly helpful for olive or tan skin tones. |
Pro Tip: Apply color corrector before concealer. Use a thin layer and blend well.
6. Application Alchemy: Mastering the Techniques: ✨
The way you apply your under-eye brightener is just as important as the product itself.
- Prep is Key: Start with a clean, hydrated undereye. Apply your eye cream and allow it to absorb completely before applying any makeup.
- Dot, Don’t Swipe: Apply small dots of concealer under your eyes, focusing on the darkest areas. Avoid applying concealer all the way up to your lash line, as this can emphasize fine lines.
- Blend, Blend, Blend: Use a damp blending sponge or a small, fluffy brush to gently pat the concealer into the skin. Avoid dragging or rubbing, as this can irritate the delicate skin and create a cakey finish.
- Layer Strategically: Start with a thin layer of concealer and build up coverage as needed. Focus on the areas where you need the most coverage and blend outwards.
- Look Up: When applying concealer, look upwards into a mirror. This will help you to see the areas that need the most coverage and prevent you from applying too much product.
7. The Setting Game: Powders and Sprays to Lock It In: 🔒
Setting your under-eye brightener is essential to prevent creasing and ensure that it lasts all day.
- Powder Power: Use a very light hand and a fluffy brush to apply a small amount of setting powder to the undereye area. Focus on the areas where you tend to crease the most.
- Translucent is Key: Opt for a finely milled, translucent powder that won’t add color or texture to the skin.
- Baking… Maybe Not: Baking (applying a thick layer of powder and letting it sit for several minutes) can be effective for oily skin, but it’s generally too drying for the delicate undereye area.
- Setting Spray Savior: A hydrating setting spray can help to lock in your makeup and prevent it from looking cakey. Choose a spray that contains ingredients like hyaluronic acid or glycerin.
8. Lifestyle Hacks for Brighter Eyes (Because Makeup is Just a Band-Aid Sometimes): 😴💧
While makeup can help to brighten your undereye area, it’s important to address the underlying causes of dark circles and puffiness.
- Sleep Like a Baby (or at Least Try To): Aim for 7-8 hours of quality sleep each night.
- Hydrate, Hydrate, Hydrate: Drink plenty of water throughout the day to keep your skin hydrated.
- Eat a Healthy Diet: A diet rich in fruits, vegetables, and antioxidants can help to improve your skin’s overall health.
- Reduce Salt Intake: Too much salt can lead to fluid retention, causing puffiness under the eyes.
- Elevate Your Head While Sleeping: This can help to prevent fluid from pooling under the eyes.
- Cold Compress: Apply a cold compress to your eyes for 10-15 minutes to reduce puffiness.
- Allergy Check: Allergies can contribute to dark circles and puffiness. Consider allergy testing if you suspect you have allergies.
9. Product Recommendations & Honorable Mentions: 🏆
Okay, time for the juicy part! These are some of my personal favorites (and why):
| Product | Type | Why I Love It |
|---|---|---|
| NARS Radiant Creamy Concealer | Liquid | Buildable coverage, creamy texture, doesn’t crease easily, available in a wide range of shades. A classic for a reason! |
| Kosas Revealer Concealer | Liquid | Hydrating formula with skincare benefits, medium coverage, natural finish. Great for dry skin. |
| Rare Beauty Positive Light Under Eye Brightener | Liquid | Lightweight, brightening formula that diffuses light and minimizes the appearance of dark circles. Great for a subtle, natural look. |
| Bobbi Brown Corrector | Cream | Excellent for neutralizing dark circles before concealer application. Long-lasting and doesn’t crease. |
| Charlotte Tilbury Airbrush Flawless Finish Powder | Powder | Finely milled, translucent powder that blurs imperfections and sets makeup without looking cakey. |
| Urban Decay All Nighter Setting Spray | Setting Spray | Locks in makeup for up to 16 hours, prevents creasing, and keeps skin hydrated. |
Honorable Mentions:
- IT Cosmetics Bye Bye Under Eye Concealer: (Full coverage, use sparingly!)
- Tarte Shape Tape Concealer: (Full coverage, use sparingly!)
- Maybelline Instant Age Rewind Eraser Dark Circles Treatment Concealer: (Budget-friendly and effective!)
10. Troubleshooting: Common Problems & Quick Fixes: 🚑
Uh oh, cake alert! Here’s how to handle common problems:
| Problem | Solution |
|---|---|
| Cakey Appearance | Gently blot the area with a damp sponge to remove excess product. Apply a hydrating setting spray to rehydrate the skin. |
| Creasing | Use your finger or a damp sponge to gently smooth out the creases. Apply a small amount of setting powder to set the concealer. |
| Concealer Looking Too Light | Apply a bronzer or contour powder to the surrounding areas to blend the concealer into your skin tone. |
| Concealer Looking Too Dark | Apply a small amount of a lighter concealer to the center of the undereye area to brighten it. |
| Concealer Emphasizing Dry Patches | Exfoliate gently and apply a hydrating eye cream before applying concealer. Use a lightweight, hydrating concealer formula. |
Final Thoughts:
Finding the perfect under-eye brightener is a journey, not a destination. Don’t be afraid to experiment with different products and techniques to find what works best for you. Remember to prioritize hydration, choose lightweight formulas, and blend, blend, blend!
Now go forth and conquer those dark circles! And remember, a smile is the best concealer of all! 😉
For detailed product specifications and purchases, please go to :https://zenamakeup.com/products/instant-awaken-under-eye-brightener
Leave a Reply