Lecture: Achieving Dewy Blush Nirvana: Mastering the Art of the Liquid Blush
(Welcome Music: A jazzy, upbeat tune fades as we begin)
Hello, beautiful souls! 🙋♀️ Welcome, welcome! Grab your coffee (or mimosa, no judgement here 🥂), settle in, and prepare to embark on a journey to the land of luminous, dewy, and oh-so-kissable cheeks! Today, we’re diving deep into the mesmerizing world of liquid blush. Specifically, we’re cracking the code to achieving a consistent and beautiful dewy finish with every single application.
Forget the patchy, clown-like blush days of yore! 🤡 We’re aiming for that "lit-from-within" glow, the kind that makes people wonder if you’ve just returned from a romantic getaway or stumbled upon the fountain of youth. ⛲️ (Spoiler alert: it’s just really good liquid blush, applied correctly.)
So, buckle up, buttercups! This is going to be a comprehensive exploration, filled with tips, tricks, and a healthy dose of humor to keep things interesting. We’ll cover everything from product selection to application techniques, and even troubleshoot common liquid blush woes. Let’s get glowing! ✨
I. The Allure of the Liquid Blush: Why Ditch the Powder (Sometimes!)
First, let’s understand why liquid blush has become such a darling in the beauty world. What makes it so special? Why should you even consider adding it to your makeup arsenal?
| Feature | Liquid Blush | Powder Blush |
|---|---|---|
| Finish | Often dewy, radiant, natural | Matte, satin, shimmer (can be drying) |
| Texture | Lightweight, blendable, hydrating | Can be powdery, cakey, emphasize texture |
| Longevity | Can be long-lasting with proper application | Can fade throughout the day |
| Skin Type | Ideal for dry, mature, or normal skin | Good for oily, combination, or normal skin |
| Application | Requires a bit of finesse and practice | Generally easier for beginners |
| Overall Look | More natural, "second skin" appearance | Can provide a more sculpted or defined look |
As you can see, liquid blush offers several advantages, particularly for those seeking a youthful, dewy complexion.
- Hydration Station: Many liquid blushes contain hydrating ingredients, making them a blessing for dry or mature skin. They won’t cling to dry patches or emphasize fine lines like some powder blushes can.
- Blendability Bliss: The creamy texture of liquid blush allows for seamless blending, creating a natural flush that looks like it’s coming from within. No harsh lines or obvious makeup here!
- The "Lit-From-Within" Factor: The dewy finish of most liquid blushes mimics the natural radiance of healthy skin, giving you that coveted "I woke up like this" glow. (Even if you definitely didn’t.) 😉
- Customizable Intensity: You can build the color of liquid blush from a subtle hint of color to a more dramatic pop, depending on your desired look.
II. The Liquid Blush Lineup: Choosing Your Perfect Partner in Crime
Not all liquid blushes are created equal! Navigating the vast selection can be overwhelming, so let’s break down the different types and what to look for:
-
Water-Based Tints: These are the lightest, most sheer option. They’re perfect for a subtle, natural flush and work beautifully on all skin types. Think of them as watercolors for your cheeks! 🎨
- Pros: Super blendable, buildable, long-lasting, often stain the skin for a natural flush even after wear.
- Cons: Can be tricky to blend if you let them dry too much, may not be pigmented enough for deeper skin tones.
-
Cream-Based Blushes: These offer more pigmentation and a slightly thicker consistency than water-based tints. They’re great for dry or mature skin, as they provide hydration and a luminous finish.
- Pros: Hydrating, creamy, blendable, buildable, often contain skincare ingredients.
- Cons: Can feel heavy on oily skin, may require setting with powder in humid climates.
-
Gel-Based Blushes: A happy medium between water-based and cream-based, gel blushes offer a good balance of pigmentation, blendability, and longevity.
- Pros: Lightweight, blendable, buildable, long-lasting, suitable for most skin types.
- Cons: Can be slightly drying for very dry skin, may not be as hydrating as cream blushes.
Key Considerations When Choosing Your Liquid Blush:
- Skin Type: As mentioned above, consider your skin type when selecting a formula. Oily skin might prefer a water-based or gel-based blush, while dry skin will benefit from a cream-based option.
- Desired Finish: Do you want a super dewy, glossy look? Or a more subtle, natural sheen? Look for blushes that explicitly mention "dewy," "luminous," or "radiant" in their description.
- Pigmentation: How much color do you want to achieve? If you prefer a subtle flush, opt for a sheerer formula. If you want a bolder look, choose a more pigmented blush.
- Shade: Consider your skin tone and undertones when selecting a shade.
- Fair Skin: Light pinks, peaches, and corals.
- Medium Skin: Rosy pinks, mauves, and warm corals.
- Olive Skin: Peaches, bronzes, and berry shades.
- Deep Skin: Berries, reds, and oranges.
Pro Tip: Don’t be afraid to experiment! Swatch different shades and formulas on your hand or inner arm to see how they look and feel.
III. The Application Arsenal: Tools and Techniques for Dewy Blush Success
Now for the fun part! Let’s talk about how to actually apply liquid blush for a flawless, dewy finish.
Tools of the Trade:
- Fingertips: Your own digits are surprisingly effective for applying and blending liquid blush. The warmth of your fingers helps to melt the product into the skin.
- Damp Beauty Sponge: A damp beauty sponge (like a Beautyblender) is a fantastic tool for creating a seamless, airbrushed finish.
- Stippling Brush: A stippling brush has soft, dual-fiber bristles that are perfect for applying and blending liquid blush without disturbing the foundation underneath.
- Small, Dense Brush: A small, dense brush can be used to apply liquid blush with precision, especially if you want to concentrate the color in a specific area.
Application Techniques: The Step-by-Step Guide to Dewy Blush Nirvana
-
Prep Your Skin: Start with a clean, moisturized face. Apply your foundation, concealer, and any other base makeup you normally use.
-
Prime Time (Optional): If you have oily skin, consider using a mattifying primer on your cheeks to help control shine and prevent the blush from sliding around.
-
The Dot Method: This is crucial! Avoid applying liquid blush directly from the applicator onto your face. Instead, dispense a small amount (usually just a dot or two) onto the back of your hand. Less is more! You can always add more, but it’s much harder to remove excess blush.
-
The Dot Method: This is crucial! Avoid applying liquid blush directly from the applicator onto your face. Instead, dispense a small amount (usually just a dot or two) onto the back of your hand. Less is more! You can always add more, but it’s much harder to remove excess blush.
(Emoji: A single dot)
-
Application Zone: The ideal placement for blush depends on your face shape and desired look. Generally, you want to apply blush to the apples of your cheeks, blending upwards and outwards towards your temples.
- Round Face: Apply blush along the cheekbones, blending upwards towards the temples, to create definition and lift.
- Oval Face: Apply blush to the apples of your cheeks, blending outwards towards the temples.
- Square Face: Apply blush to the apples of your cheeks, blending in a circular motion, to soften the angles of your face.
- Heart-Shaped Face: Apply blush to the apples of your cheeks, blending outwards towards the temples, but avoid bringing the blush too close to your nose.
-
Blending is Key: Now, using your chosen tool (fingertips, sponge, or brush), gently tap, dab, or stipple the blush onto your cheeks. Blend, blend, blend! The goal is to create a seamless transition between the blush and your foundation.
(Emoji: Two arrows swirling in a circle)
-
Build the Color: If you want a more intense color, add another dot of blush to the back of your hand and repeat the application process. Remember to blend well between each layer.
-
Setting (Optional): If you have oily skin or want to ensure your blush lasts all day, you can lightly set it with a translucent powder. Use a large, fluffy brush to gently dust the powder over your cheeks.
(Warning!): Be careful not to over-powder, as this can dull the dewy finish you’re trying to achieve.
-
Highlight (Optional): To enhance the dewy effect, apply a cream or liquid highlighter to the high points of your cheekbones, blending it seamlessly with the blush.
(Emoji: A sparkling star)
IV. Troubleshooting Dewy Blush Dilemmas: Common Issues and How to Fix Them
Even with the best products and techniques, liquid blush can sometimes be a bit tricky. Here are some common problems and how to solve them:
| Problem | Solution |
|---|---|
| Blush Looks Patchy | 1. Ensure your skin is well-moisturized. 2. Use a damp beauty sponge or stippling brush to blend the blush seamlessly. 3. Exfoliate regularly to remove dead skin cells. |
| Blush Fades Quickly | 1. Prime your skin before applying blush. 2. Set the blush with a translucent powder. 3. Use a long-lasting liquid blush formula. |
| Blush Looks Too Intense | 1. Start with a very small amount of blush. 2. Use a damp beauty sponge to sheer out the color. 3. Apply foundation over the edges of the blush to soften the color. |
| Blush Looks Muddy | 1. Choose a blush shade that complements your skin tone. 2. Avoid applying blush over heavily textured skin. 3. Don’t use too much product. |
| Blush Makes Skin Look Oily | 1. Use a mattifying primer on your cheeks. 2. Choose a water-based or gel-based blush formula. 3. Set the blush with a translucent powder. |
| Blush Emphasizes Pores | 1. Use a pore-filling primer on your cheeks. 2. Avoid applying blush directly to areas with large pores. 3. Use a damp beauty sponge to gently press the blush into the skin. |
| Blush Slides Around | 1. Make sure your skincare products have fully absorbed before applying makeup. 2. Use a primer designed to grip makeup. 3. Apply in thin layers and set with a light dusting of powder. |
V. Advanced Dewy Blush Techniques: Taking Your Glow to the Next Level
Ready to go beyond the basics? Here are some advanced techniques to elevate your dewy blush game:
- Blush Draping: This technique involves using blush to sculpt and contour the face. Apply blush along the cheekbones, blending upwards towards the temples and then down towards the jawline. This creates a lifted, sculpted effect.
- Monochromatic Makeup: Create a cohesive, harmonious look by using the same shade of blush on your cheeks, lips, and eyelids. This is a great way to achieve a natural, effortless glow.
- Mix and Match: Don’t be afraid to mix different liquid blush shades to create your own custom color. For example, you can mix a pink blush with a peach blush for a warm, rosy glow.
- Layering Textures: Experiment with layering different textures of blush. For example, you can apply a cream blush followed by a powder blush for added dimension and longevity.
VI. The Grand Finale: Embrace the Dewy Goddess Within!
Congratulations, my radiant friends! You’ve officially completed the Liquid Blush Masterclass. You now possess the knowledge and skills to achieve a consistent and beautiful dewy finish with every application.
Remember, practice makes perfect. Don’t be afraid to experiment with different products, techniques, and shades to find what works best for you. And most importantly, have fun! Makeup should be a creative outlet, a way to express yourself and enhance your natural beauty.
So go forth and glow! Embrace your inner dewy goddess and let your radiance shine! ✨
(Outro Music: The same jazzy, upbeat tune fades in and plays as the lecture concludes.)
(Final Thought): And if all else fails, remember that a little bit of confidence is the best blush of all! 😉
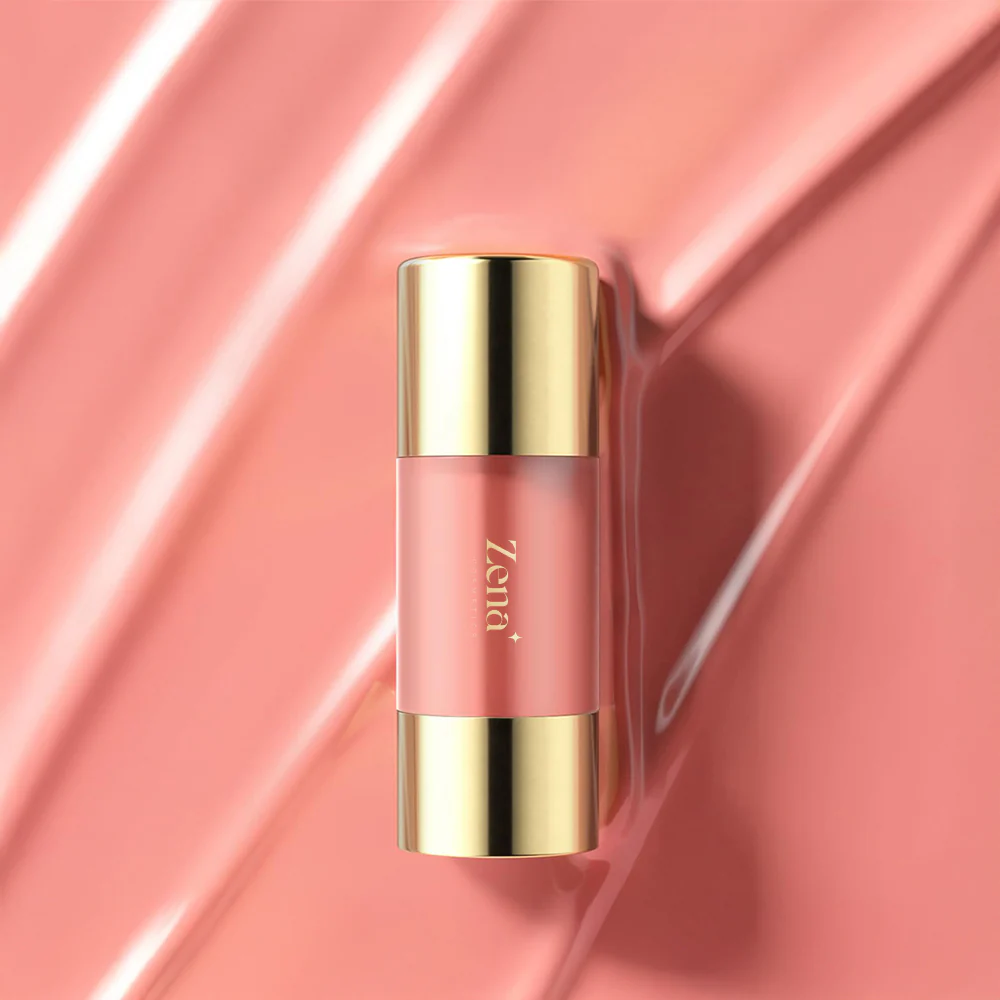
For detailed product specifications and purchases, please go to :https://zenamakeup.com/products/jelly-liquid-blush-stick
Leave a Reply