Lecture: Getting a Consistent, Even Stain and a Sexy, Effortless Look with Every Use of This Marker Tint
(Professor Penelope Plumtree, D.A.C. – Doctor of Applied Cosmetics – adjusts her oversized glasses and smiles enigmatically.)
Alright, darlings! Settle in, settle in! Today, we’re diving deep into the seductive science of… marker tints. Yes, you heard me right. Those unassuming little wands of pigmented glory can be the key to unlocking a look so effortless, so subtly alluring, it’ll leave them wondering if you were born with a perfectly flushed complexion. 🤫
But let’s be honest. We’ve all been there. The dreaded streaky application, the patchy pigment, the utter horror of looking like a clown escaped from a particularly unfortunate circus. 🤡 No one wants to look like they’ve been attacked by a magenta marker. Fear not! Professor Plumtree is here to guide you through the perilous path to marker tint mastery!
(Professor Plumtree gestures dramatically with a sparkly pointer.)
I. Why Marker Tints? The Allure of Effortless Chic
Before we delve into the "how," let’s appreciate the "why." Why bother with marker tints in the first place? Why not just slather on a cream blush and call it a day? Well, my dears, marker tints offer a unique set of advantages that can elevate your makeup game from "blah" to "va-va-voom!"
- Lightweight & Natural: Marker tints are inherently lightweight. They’re designed to stain the skin, not sit on top of it like a cakey foundation. This creates a truly natural, "lit-from-within" glow. Think "I woke up like this…flawless" (even if it took you an hour and a half). 💁♀️
- Long-Lasting Power: Unlike powder blushes that can fade throughout the day (especially if you’re prone to touching your face – guilty!), marker tints penetrate the skin, resulting in a stain that lasts for hours. Perfect for those all-day adventures or spontaneous late-night escapades. 💃
- Buildable Intensity: You control the destiny of your flush! One light swipe for a subtle hint of color, or layer for a more dramatic pop. The power is in your hands! 💪
- Travel-Friendly: Compact and mess-free, marker tints are the ultimate travel companion. No more worrying about shattered compacts or leaky tubes in your luggage. ✈️
- Versatile Applications: Beyond cheeks, marker tints can be used on lips, eyelids, and even as a subtle brow tint. Talk about multitasking! 🤸♀️
(Professor Plumtree taps the board with her pointer.)
II. Understanding Your Marker Tint: A Deep Dive into the Ingredients
Like any good scientist, we need to understand the composition of our subject. Not all marker tints are created equal. Knowing your ingredients is key to predicting performance and avoiding potential disasters.
| Ingredient Category | Common Examples | Function | Considerations |
|---|---|---|---|
| Dyes/Pigments | Red 7 Lake, Yellow 5 Lake, Iron Oxides, Carmine | Provide the color and stain. | Check for color payoff and potential staining. Some dyes can be more prone to uneven application. Carmine is not vegan/cruelty-free. |
| Solvents | Water, Alcohol Denat., Glycerin, Butylene Glycol | Dissolve the dyes and pigments and help them penetrate the skin. | Alcohol can be drying for some skin types. Humectants like glycerin help counterbalance this effect. |
| Film Formers | PVP, VP/VA Copolymer | Create a thin film on the skin that helps the stain adhere and last. | Can sometimes feel slightly sticky or tight, especially at higher concentrations. |
| Humectants | Glycerin, Hyaluronic Acid, Sodium PCA | Attract and retain moisture in the skin, preventing dryness. | Essential for preventing the tint from drying out and clinging to dry patches. |
| Emollients | Dimethicone, Caprylic/Capric Triglyceride | Soften and smooth the skin, improving the overall texture. | Can be comedogenic (pore-clogging) for some skin types. |
| Preservatives | Phenoxyethanol, Potassium Sorbate, Sodium Benzoate | Prevent microbial growth and extend the shelf life of the product. | Necessary for safety but can be irritating for sensitive skin in high concentrations. |
(Professor Plumtree winks.)
Pro-Tip: Pay close attention to the order of ingredients. The higher up an ingredient is on the list, the higher its concentration in the formula.
III. Prepping Your Canvas: The Foundation for Flawless Application
Even Michelangelo needed a properly prepared canvas before creating the Sistine Chapel. Similarly, you need to prep your skin for optimal marker tint application.
- Cleanse Thoroughly: Start with a clean slate. Remove all traces of makeup, dirt, and oil. A gentle cleanser will do the trick. We don’t want any unwanted interlopers interfering with our stain! 🧼
- Exfoliate (Gently): Exfoliating removes dead skin cells, creating a smoother surface for the tint to adhere to. This prevents patchiness and ensures an even distribution of color. Be gentle! We’re not trying to sandblast our faces here. 🧽
- Hydrate, Hydrate, Hydrate! Hydrated skin is happy skin, and happy skin holds pigment better. Apply a lightweight moisturizer to plump up your skin and create a smooth, even base. 💧
- Consider Primer: A good primer can create a barrier between your skin and the tint, preventing it from sinking into pores and causing uneven staining. Opt for a hydrating or blurring primer for best results. 🌟
(Professor Plumtree strikes a pose.)
IV. The Art of Application: Mastering the Marker Tint Technique
Now for the main event! This is where the magic happens (or, potentially, the clown-face disaster). Follow these steps carefully, and you’ll be sporting a perfectly flushed complexion in no time.
Now for the main event! This is where the magic happens (or, potentially, the clown-face disaster). Follow these steps carefully, and you’ll be sporting a perfectly flushed complexion in no time.
- Start Small: Remember, you can always add more, but you can’t take it away (easily). Begin with a light swipe of the marker tint on the apples of your cheeks. Think "barely there" at first.
- Blend, Blend, Blend! This is the key to avoiding harsh lines and patchy pigment. Use your fingertips, a damp beauty sponge, or a stippling brush to blend the tint seamlessly into your skin. Work quickly, as marker tints tend to set fast. ⏱️
- Fingertips: Offer the most control and warmth, helping to melt the tint into the skin.
- Beauty Sponge: Creates a diffused, airbrushed effect.
- Stippling Brush: Provides a more precise application and is ideal for building intensity.
- Layer Strategically: If you desire a more intense color, apply another light layer of tint and blend again. Repeat until you achieve your desired level of flush. Remember, patience is a virtue! 😇
- Placement Matters: Where you apply the tint can drastically alter your face shape.
- Apples of the Cheeks: Creates a youthful, rounded look.
- Along the Cheekbones: Defines and sculpts the face.
- Higher on the Temples: Lifts and brightens the face.
- Don’t Forget Your Lips! A dab of marker tint on the lips can create a beautiful, natural-looking stain. Just be sure to moisturize your lips beforehand to prevent dryness. 💋
- Correcting Mistakes: Oops! Did you apply too much? Don’t panic! A damp beauty sponge or a touch of foundation can help to soften the color. Act quickly before the tint sets completely. 🚑
- Setting the Stage: Once you’re happy with your flush, set your makeup with a light dusting of translucent powder. This will help to lock in the color and prevent it from fading throughout the day. ✨
(Professor Plumtree unveils a handy chart.)
V. Troubleshooting Common Marker Tint Mishaps: Avoiding the Clown Face
Let’s face it. Even the most skilled artists encounter occasional hiccups. Here are some common marker tint problems and how to solve them:
| Problem | Solution | Prevention |
|---|---|---|
| Streaky Application | Blend, blend, blend! Use a damp beauty sponge or your fingertips to soften the lines. | Ensure your skin is properly moisturized and exfoliated. Apply in thin layers. |
| Patchy Pigment | Exfoliate your skin and apply a hydrating primer. Use a stippling brush to build color gradually. | Ensure your skin is smooth and hydrated. Avoid applying over dry patches or textured areas. |
| Color Too Intense | Use a damp beauty sponge or a touch of foundation to dilute the color. | Start with a small amount of product and build gradually. Choose a lighter shade of tint. |
| Tint Dries Too Quickly | Work quickly and blend immediately after application. Use a damp beauty sponge to help keep the tint moving. | Choose a marker tint with a more hydrating formula. Apply over a moisturizing primer. |
| Irritation/Redness | Discontinue use immediately and consult a dermatologist. | Perform a patch test on a small area of skin before applying to your entire face. Choose a fragrance-free and alcohol-free formula. |
(Professor Plumtree raises an eyebrow.)
VI. Marker Tint Maintenance: Keeping Your Wand of Wonder Working
Like any good tool, your marker tint requires a little TLC to keep it performing at its best.
- Store Properly: Store your marker tint in a cool, dry place away from direct sunlight. This will prevent the formula from drying out or changing color. ☀️➡️☁️
- Clean the Tip: Occasionally, the tip of your marker tint can become clogged with makeup or debris. Gently wipe it clean with a damp cloth or makeup wipe. Be careful not to damage the tip. 🧽
- Replace Regularly: Like all makeup products, marker tints have an expiration date. Pay attention to the expiration date on the packaging and replace your tint accordingly. Using expired makeup can lead to irritation or infection. 🗓️
(Professor Plumtree beams.)
VII. Beyond the Basics: Advanced Marker Tint Techniques
Ready to take your marker tint game to the next level? Here are some advanced techniques to experiment with:
- Contouring with Tint: Use a cool-toned brown or taupe marker tint to create subtle contour. Apply along the hollows of your cheeks, temples, and jawline, and blend well.
- Highlighting with Tint: Use a shimmery or iridescent marker tint to add a touch of radiance to your cheekbones, brow bone, and Cupid’s bow.
- Creating a Gradient Blush: Use two different shades of marker tint to create a gradient blush effect. Apply the darker shade along the cheekbones and the lighter shade on the apples of the cheeks, and blend together.
- Customizing Your Shade: Mix different shades of marker tint to create your own custom color. Experiment with different combinations to find the perfect shade for your skin tone.
(Professor Plumtree winks again.)
VIII. Final Thoughts: Embrace the Effortless Glow
Marker tints are a fantastic tool for achieving a natural, long-lasting flush. With a little practice and patience, you can master the art of marker tint application and unlock a look that is both effortless and alluring. So go forth, my dears, and embrace the power of the marker tint! Just remember: practice makes perfect, and blending is your best friend!
(Professor Plumtree gathers her notes and gives a final, knowing smile.)
Class dismissed! Now go forth and conquer the world, one perfectly flushed cheek at a time! 💋
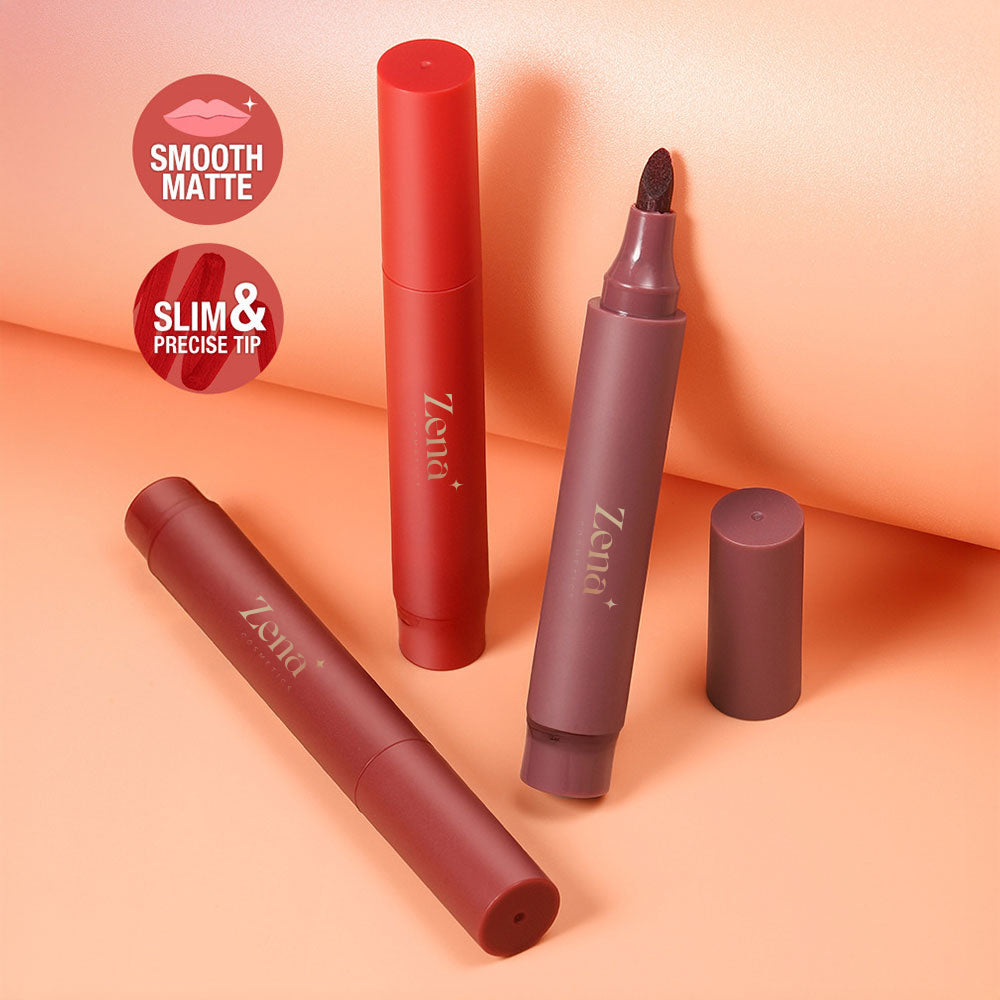
For detailed product specifications and purchases, please go to :https://zenamakeup.com/products/sexy-stained-lip-marker-tint
Leave a Reply