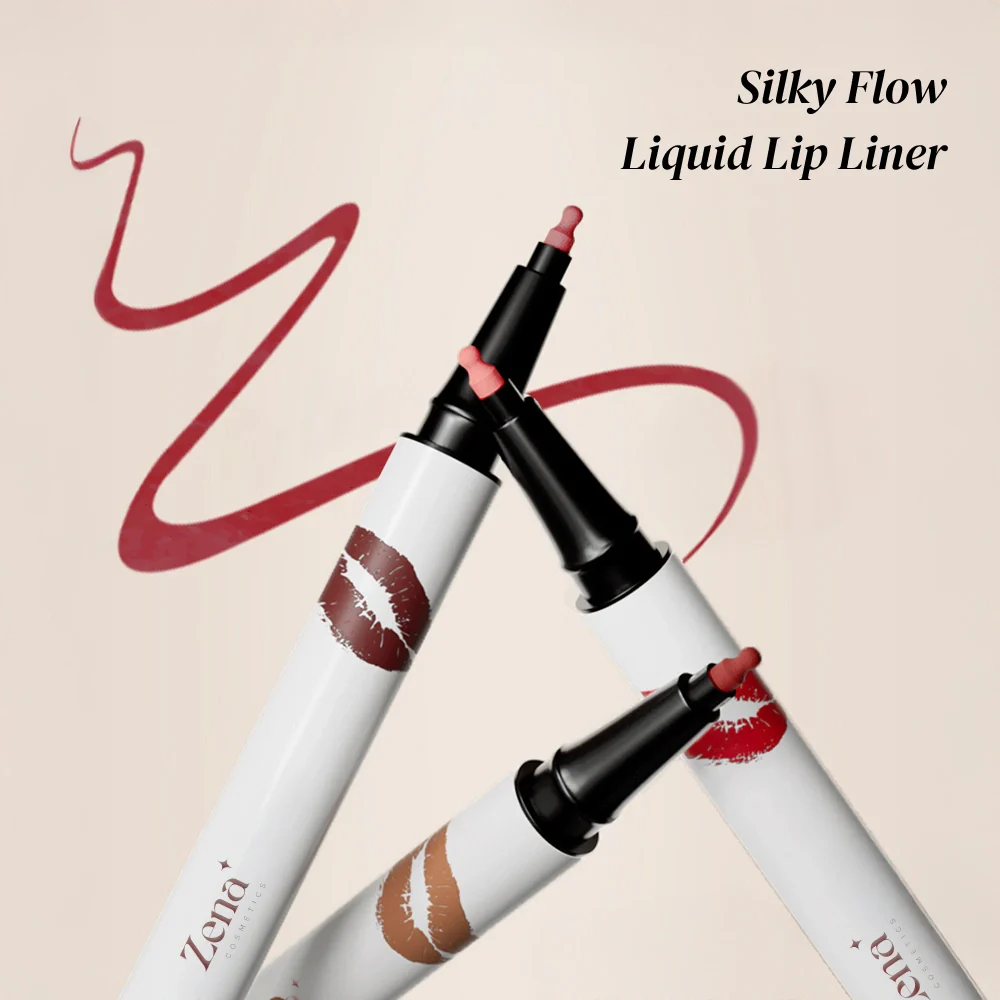
Getting a Consistent, Precise Line and a Silky Smooth Application Every Time with This Liquid Lip Liner: A Lip Liner Lecture for the Discerning Lip Aficionado 💋
(Professor Penelope Pout, Head of the Department of Luscious Lips, takes the stage, adjusting her spectacles and brandishing a rather intimidatingly sharp-looking lip liner.)
Alright, settle down, settle down, my darlings! Welcome to Lip Liner 101, the most crucial course in your journey to becoming a true lip artistry master. Today, we’re diving deep into the magical, sometimes mystifying, world of liquid lip liner. Forget those crumbly crayons of your youth. We’re talking sleek, sophisticated, and utterly sensational lip definition.
And not just any liquid lip liner. We’re focusing on this liquid lip liner (gestures dramatically), the one that promises, and delivers, a consistent, precise line and a silky smooth application, every single time. We’re talking about a lip liner so good, it should probably be illegal. But it’s not, so let’s get to work!
(Professor Pout taps the podium with her lip liner.)
I. Why Liquid Lip Liner? (Or, Why Your Grandmother’s Lip Liner Needs to Retire)
Let’s face it, the world of lip liners is a crowded one. From pencils to gels, crayons to… well, whatever they’re inventing these days, the options can be overwhelming. So, why choose liquid?
(Professor Pout clicks to a slide showing a sad, broken lip pencil.)
- Precision Perfection: Liquid lip liners are the undisputed champions of precision. The fine tip allows for incredibly detailed application, ideal for creating sharp lines, defining a Cupid’s bow, or even correcting asymmetrical lip shapes. Think of it as the architect of your pout, laying the foundation for lip perfection. 📐
- Long-Lasting Power: Many liquid lip liners boast impressive staying power. They often contain formulas that are resistant to smudging, feathering, and even the dreaded coffee ring. You can confidently sip, snack, and schmooze without fear of your lip line disappearing into the ether. ☕
- Intense Pigment Payoff: Liquid formulas typically deliver a richer, more saturated color than traditional lip liners. This means you can achieve a bold, dramatic lip look with minimal effort. Think of it as instant lip drama, bottled and ready to go. 🎭
- Smooth Sailing: The liquid consistency, especially with this specific formula, glides effortlessly across the lips. No tugging, no skipping, just pure, unadulterated lip-lining bliss. It’s like silk pajamas for your lips. 😴
(Table 1: Liquid Lip Liner vs. Traditional Lip Liner)
| Feature | Liquid Lip Liner | Traditional Lip Liner |
|---|---|---|
| Precision | High, allows for detailed application | Moderate, can be difficult for fine lines |
| Longevity | Long-lasting, often smudge-proof | Variable, may require frequent reapplication |
| Pigment | Intense, highly saturated color | Can be less vibrant, may require multiple layers |
| Application | Smooth, glides easily | Can be tuggy or skip, requires sharpening |
| Texture | Liquid, dries to a matte or satin finish | Waxy or creamy, can feel heavy |
| Versatility | Can be used for lining, filling in, and creating ombre effects | Primarily for lining |
| Potential Drawbacks | Steeper learning curve, can be drying if not formulated well | Requires sharpening, can break easily |
(Professor Pout clears her throat.)
II. Understanding This Liquid Lip Liner: The Secret Sauce
Now, let’s get specific. We’re not talking about any liquid lip liner; we’re talking about this one. What makes it so special? What makes it the holy grail of lip definition?
(Professor Pout points to a diagram of the liquid lip liner’s components.)
- The Fine-Tipped Applicator: The star of the show! The ultra-fine tip allows for unparalleled precision. It’s like using a calligraphy pen for your lips. The shape and flexibility of the tip are crucial for achieving that perfect line. Think of it as the conductor of your lip symphony. 🎶
- The Pigment-Rich Formula: The carefully crafted formula is packed with intense pigments that deliver vibrant color with a single swipe. The color payoff is so impressive, you might just hear angels singing. 😇
- The Long-Wearing Magic: This formula is designed to stay put. It’s resistant to smudging, feathering, and fading, ensuring your lip line remains flawless for hours. It’s like a bodyguard for your lip color. 🛡️
- The Silky Smooth Texture: The secret ingredient! The formula glides on effortlessly, creating a smooth, even line without any tugging or skipping. It’s like a spa day for your lips. 🧖♀️
- The Non-Drying Formula: This is where many liquid lip liners fail. But not this one! It’s formulated with moisturizing ingredients to keep your lips feeling comfortable and hydrated all day long. It’s like a moisturizing mask disguised as a lip liner. 🎭
(Professor Pout winks.)
III. The Art of Application: From Lip Liner Novice to Lip Liner Ninja 🥷
Alright, class, it’s time to get practical. Let’s break down the application process step-by-step, transforming you from a lip liner novice into a true lip liner ninja.
(Professor Pout pulls out a mirror and a tube of this liquid lip liner.)
Step 1: Prep Your Pout:
Just like a painter needs a clean canvas, you need to prep your lips for optimal lip liner application.
- Exfoliate: Gently exfoliate your lips to remove any dry, flaky skin. A lip scrub or even a damp toothbrush will do the trick. This will ensure a smooth, even application. Think of it as sanding down a rough surface for a flawless paint job. 🎨
- Moisturize: Apply a thin layer of lip balm to hydrate your lips. Allow the balm to absorb completely before applying the lip liner. This will prevent the liner from drying out your lips. It’s like giving your lips a drink of water before a marathon. 💧
(Icon: Exfoliating brush and lip balm)
Step 2: The Basic Outline:
This is where the magic begins!
- Start at the Cupid’s Bow: Using the fine tip of the liquid lip liner, create an "X" shape at your Cupid’s bow. This will help define your upper lip and create a symmetrical shape. Think of it as marking the center of your masterpiece. 🎯
- Connect the Dots: Starting from the corners of your mouth, draw a line along the natural line of your upper lip, connecting it to the "X" you created at the Cupid’s bow. Repeat on the other side. It’s like connecting the stars to create a constellation. ✨
- Lower Lip Line: Draw a line along the natural line of your lower lip, starting from one corner and moving to the other. Try to keep the line consistent and even. It’s like building a bridge across your lower lip. 🌉
(Professor Pout demonstrates each step on her own lips.)
Step 3: Refining and Defining:
Now it’s time to finesse your work.
- Symmetry Check: Step back and assess your lip line. Are both sides even? Is the Cupid’s bow defined? Make any necessary adjustments to ensure symmetry and balance. It’s like a sculptor refining their masterpiece. 🗿
- Adjusting the Shape: If you want to slightly overdraw your lips to make them appear fuller, do so with caution. Overdrawing too much can look unnatural. Focus on slightly exaggerating the Cupid’s bow and the center of your lower lip. It’s like adding a touch of magic to your lips. ✨
- Clean Up: Use a cotton swab dipped in makeup remover to clean up any smudges or mistakes. This will create a crisp, clean line. It’s like erasing any errors from your drawing. ✏️
(Professor Pout uses a cotton swab to clean up a tiny smudge.)
Step 4: Filling In (Optional):
Step 4: Filling In (Optional):
If you want your lip color to last even longer, you can fill in your lips with the liquid lip liner.
- Color Coordination: Choose a lip liner shade that matches your lipstick shade. This will create a seamless transition and prevent any harsh lines from showing through. It’s like creating a harmonious color palette. 🎨
- Layering Technique: Apply the lip liner in thin, even layers, allowing each layer to dry completely before applying the next. This will prevent the liner from becoming clumpy or uneven. It’s like building a strong foundation for your lip color. 🧱
(Professor Pout demonstrates filling in her lips with the lip liner.)
Step 5: Lipstick Application:
Now for the grand finale!
- Choose Your Weapon: Select your favorite lipstick shade and formula. Whether you prefer a matte, satin, or gloss finish, the choice is yours. It’s like choosing the perfect outfit to complete your look. 👗
- Apply with Precision: Use a lip brush to apply the lipstick, following the line of the lip liner. This will create a clean, defined edge and prevent the lipstick from bleeding. It’s like painting within the lines. 🖍️
- Blot and Reapply: Blot your lips with a tissue to remove any excess lipstick. Then, reapply a thin layer of lipstick for added color and longevity. It’s like setting your makeup for a flawless finish. 🎬
(Professor Pout applies a vibrant red lipstick over her perfectly lined lips.)
IV. Troubleshooting Common Liquid Lip Liner Woes (and How to Conquer Them!)
Even with the best liquid lip liner in the world, you might encounter some hiccups along the way. Don’t fret, my dears! Professor Pout is here to help you troubleshoot those pesky problems.
(Professor Pout clicks to a slide titled "Liquid Lip Liner Fails: And How to Fix Them!")
-
Problem: Feathering/Bleeding
- Solution: Feathering and bleeding occur when the lip liner seeps into the fine lines around your mouth. To prevent this, exfoliate and moisturize your lips regularly. You can also use a lip primer to create a barrier between your skin and the lip liner. Additionally, avoid overdrawing your lips too much.
-
Problem: Uneven Application
- Solution: Uneven application can be caused by dry lips or a shaky hand. Exfoliate and moisturize your lips to create a smooth surface. Practice applying the lip liner in front of a mirror, using small, controlled strokes. You can also rest your elbow on a table for added stability.
-
Problem: Lip Liner Drying Out Lips
- Solution: Some liquid lip liners can be drying, especially if they contain alcohol or other harsh ingredients. Choose a formula that is hydrating and moisturizing. Apply a lip balm before and after applying the lip liner. And drink plenty of water! 💧
-
Problem: Difficulty Creating a Symmetrical Shape
- Solution: Creating a symmetrical lip shape can be challenging, especially if your lips are naturally asymmetrical. Use a lip liner brush to refine the lines and create a more balanced shape. You can also use a cotton swab dipped in makeup remover to clean up any mistakes. Practice makes perfect!
-
Problem: Color Not Matching Lipstick
- Solution: Choosing the right lip liner shade is crucial for creating a cohesive lip look. Opt for a lip liner that is the same color as your lipstick, or slightly darker. You can also use a clear lip liner to prevent your lipstick from bleeding.
(Table 2: Troubleshooting Liquid Lip Liner Problems)
| Problem | Solution |
|---|---|
| Feathering/Bleeding | Exfoliate, moisturize, use lip primer, avoid overdrawing excessively. |
| Uneven Application | Exfoliate, moisturize, practice with steady strokes, rest elbow for stability. |
| Drying Out Lips | Choose hydrating formula, apply lip balm before and after, drink plenty of water. |
| Asymmetrical Shape | Use a lip liner brush to refine, use cotton swab to clean up mistakes, practice regularly. |
| Color Mismatch | Choose a liner that matches lipstick or is slightly darker, use a clear lip liner. |
(Professor Pout sighs dramatically.)
V. The Importance of Practice (and a Little Patience!)
My dears, mastering the art of liquid lip liner application takes time, practice, and a whole lot of patience. Don’t be discouraged if you don’t get it right away. Rome wasn’t built in a day, and neither was the perfect pout.
(Professor Pout pulls out a practice sheet with various lip shapes.)
- Practice Makes Perfect: Dedicate some time each day to practice applying liquid lip liner. Experiment with different techniques and styles. The more you practice, the more comfortable and confident you will become. It’s like learning to play a musical instrument. 🎻
- Be Patient: Don’t get frustrated if you make mistakes. Everyone does! Just remember to breathe, relax, and try again. It’s like learning to ride a bicycle. 🚲
- Experiment with Different Looks: Don’t be afraid to experiment with different lip liner shades and lipstick formulas. Try creating a bold, dramatic lip look, or a subtle, natural lip look. The possibilities are endless! It’s like exploring a new world of lip artistry. 🌎
(Professor Pout smiles encouragingly.)
VI. Conclusion: Go Forth and Conquer Your Pout!
And there you have it, my darlings! Everything you need to know to achieve a consistent, precise line and a silky smooth application with this liquid lip liner. Remember the tips, practice diligently, and most importantly, have fun!
(Professor Pout raises her tube of liquid lip liner in triumph.)
Now go forth and conquer your pout! The world is waiting for your perfectly defined lips. Class dismissed! 💋
(Professor Pout exits the stage to thunderous applause.)
For detailed product specifications and purchases, please go to :https://zenamakeup.com/products/silky-flow-liquid-lip-liner
Leave a Reply