Lecture Hall: Airbrushing Reality with Flawless Finish Translucent Loose Setting Powder – A Powderpuff Pilgrimage 🌸
Alright, settle down, settle down! Class is in session! Today, we’re not dissecting frogs, but something far more fascinating: achieving the elusive, coveted, and Instagram-filter-esque "airbrushed" look using the seemingly humble, yet secretly powerful, Flawless Finish Translucent Loose Setting Powder.
Yes, I know what you’re thinking: “Powder? That’s so… last century!” But hold your horses (or your holographic highlighting brushes!) because this ain’t your grandma’s talc-filled face dust. We’re talking about a modern marvel, a makeup magician, a… well, you get the picture.
Think of me as your makeup guru, guiding you through the powder-puff pilgrimage to complexion perfection. Prepare for enlightenment! 🧘♀️
Lecture Outline:
- Introduction: The Airbrushed Aspiration 💭
- The Anatomy of the Airbrushed Look: What Are We Chasing? 🔍
- The Star of the Show: Flawless Finish Translucent Loose Setting Powder – A Deep Dive 🌟
- The Tools of the Trade: Brushes, Sponges, and the Quest for Application Nirvana 🖌️
- The Application Process: A Step-by-Step Guide to Powdering Like a Pro 🎬
- Technique is King (and Queen!): Mastering Baking, Setting, and Buffing 👑
- Troubleshooting: Powder Problems and How to Solve Them 🛠️
- Beyond the Basics: Advanced Powder Prowess 🚀
- The Verdict: Is Airbrushed Perfection Achievable? ✅
1. Introduction: The Airbrushed Aspiration 💭
Let’s be honest, we all crave that flawlessly smooth, poreless, and almost ethereal complexion we see plastered across magazine covers and social media. It’s the "airbrushed" look – a seemingly unattainable ideal.
But what if I told you that achieving this dream isn’t just for the professionally photoshopped? With the right techniques, the right product (that’s our Flawless Finish friend!), and a healthy dose of patience, you can absolutely create a stunning, airbrushed effect in real life.
Think of it as turning your face into a digital canvas, but instead of pixels and Photoshop, we’re using powder and precision. Sounds exciting, right? 🤩
2. The Anatomy of the Airbrushed Look: What Are We Chasing? 🔍
Before we dive into the nitty-gritty of powdering, let’s deconstruct the "airbrushed" look. What are we actually trying to achieve? It boils down to a few key elements:
- Smooth Texture: Minimizing the appearance of pores, fine lines, and any other surface imperfections.
- Even Tone: Correcting discoloration, redness, and unevenness in skin tone.
- Soft-Focus Effect: Creating a diffused, almost blurred appearance, blurring those imperfections and making the skin look naturally radiant.
- Long-Lasting Makeup: Setting foundation and concealer to prevent creasing, fading, and oil breakthrough.
- Matte (But Not Flat!) Finish: Controlling shine and oil without sacrificing dimension and radiance.
Essentially, we want to look like we’ve been kissed by the airbrush gods, but without actually needing a professional makeup artist following us around 24/7. 😇
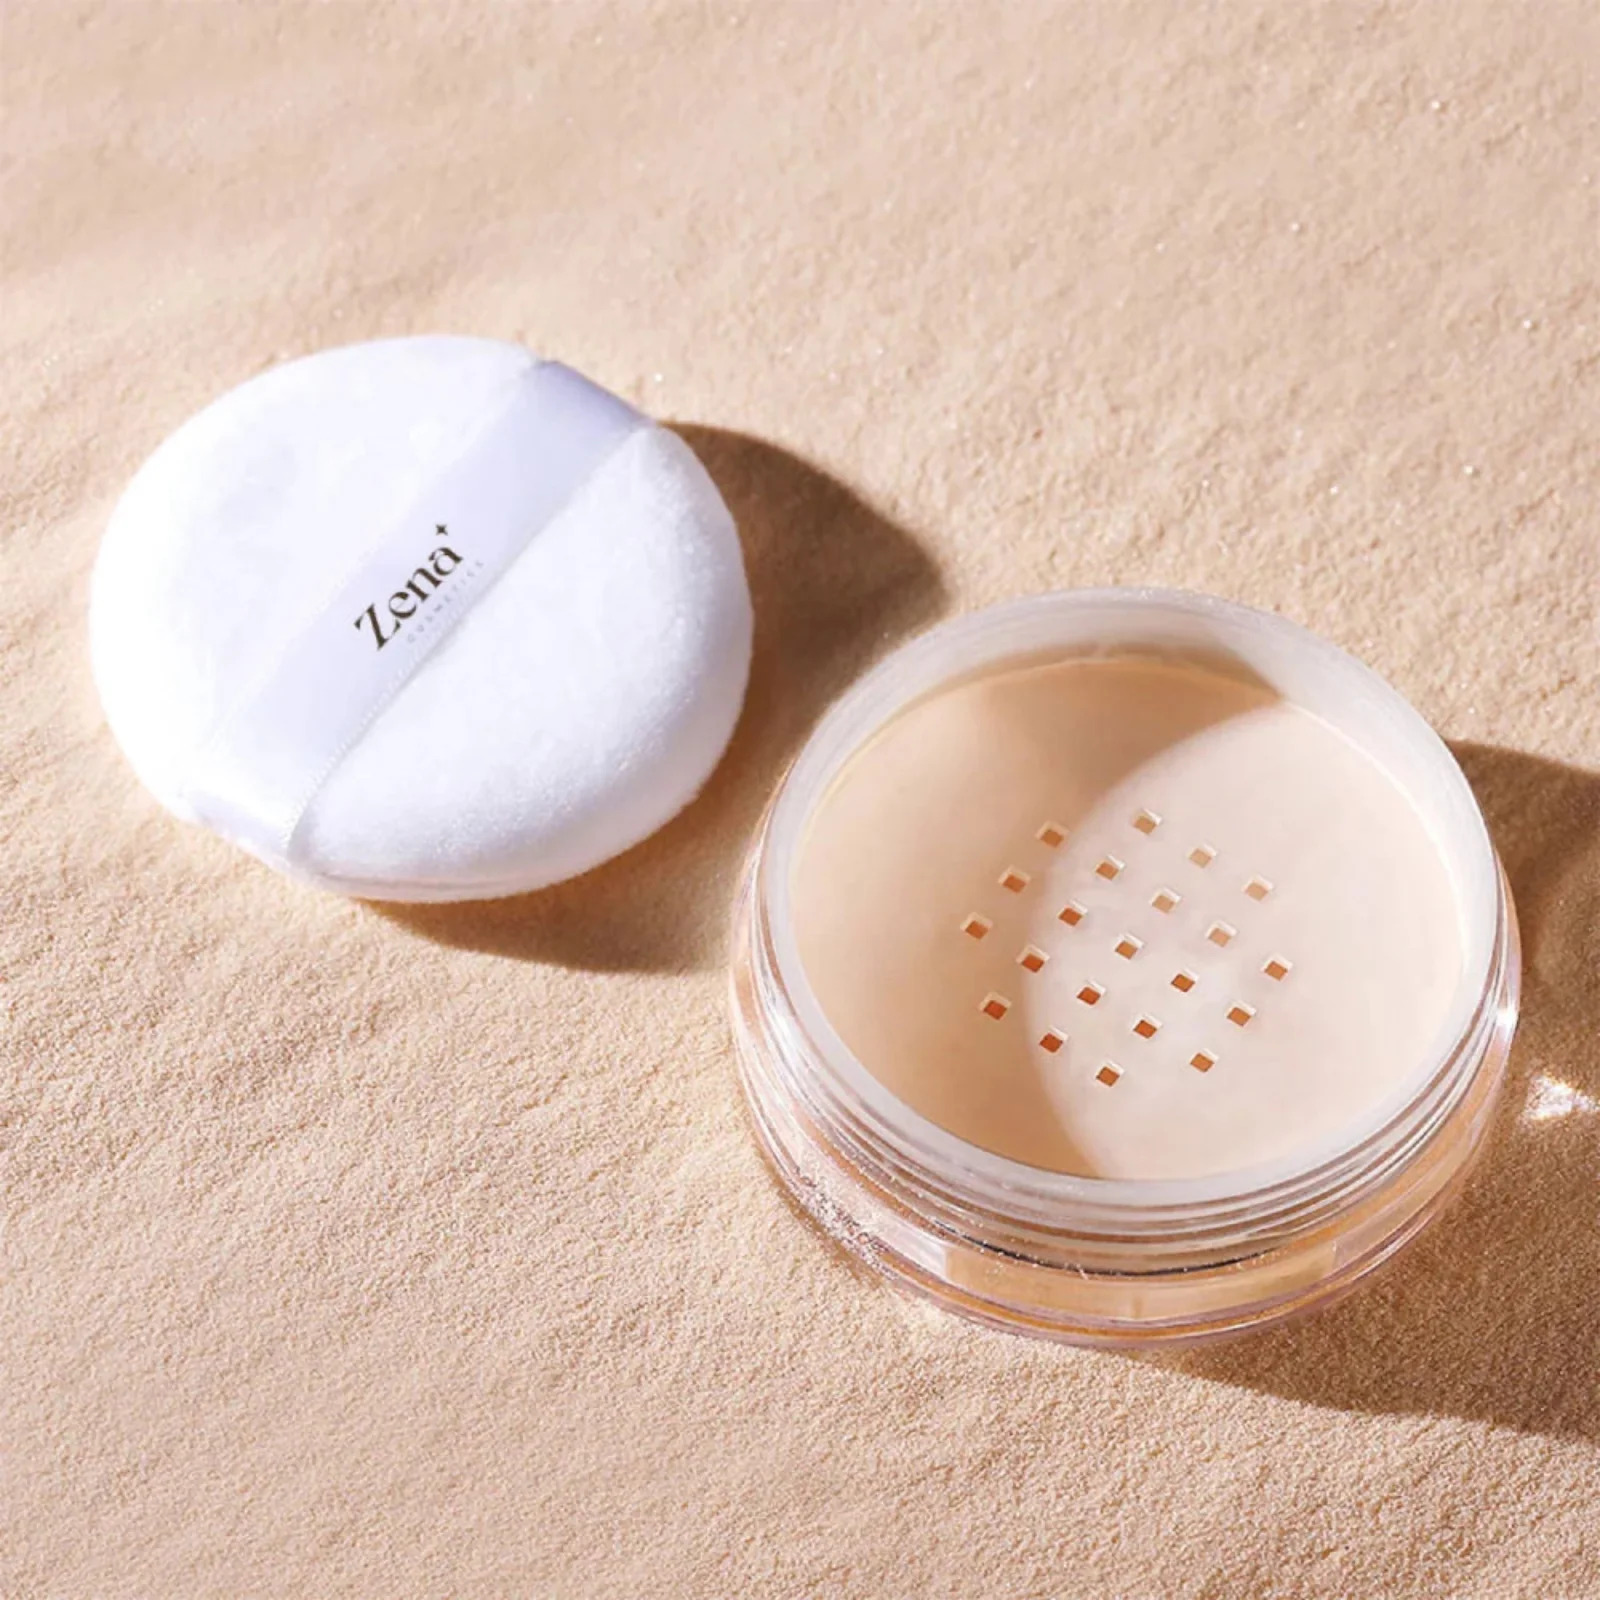
3. The Star of the Show: Flawless Finish Translucent Loose Setting Powder – A Deep Dive 🌟
Okay, let’s give a warm welcome to our headliner: Flawless Finish Translucent Loose Setting Powder! 🎤 This powder isn’t just any powder; it’s a carefully formulated blend of ingredients designed to deliver that airbrushed finish we crave.
Key Features & Benefits:
| Feature | Benefit | Why It Matters |
|---|---|---|
| Ultra-Fine Texture: | Blurs pores and fine lines without looking cakey. | Allows for seamless blending and a natural-looking finish. Think of it as silk, not sandpaper! 🧻 |
| Translucent Formula: | Works on a wide range of skin tones without adding color. | Eliminates the risk of looking ashy or changing your foundation shade. No more ghost face! 👻 |
| Oil-Absorbing Properties: | Controls shine and keeps makeup looking fresh for hours. | Prevents makeup from sliding off your face by lunchtime. Say goodbye to midday meltdowns! 😥 |
| Light-Reflecting Pigments: | Creates a soft-focus effect and adds a subtle radiance. | Makes the skin look naturally luminous and healthy. Hello, inner glow! ✨ |
| Sets Makeup: | Extends the wear time of foundation and concealer. | Prevents creasing, fading, and transfer. Your makeup will stay put! 🔒 |
Ingredient Spotlight (Without Getting Too Science-y):
While I won’t bore you with a chemistry lecture, understanding a few key ingredients can help you appreciate the magic of this powder:
- Silica: A mineral that absorbs oil and provides a smooth, matte finish. Think of it as a tiny oil-blotting sheet. 🧻
- Mica: A mineral that reflects light and creates a soft-focus effect. The secret to that subtle glow! ✨
- Dimethicone: A silicone-based polymer that helps to smooth the skin and create a silky texture. The smoothing agent! 🧈
Why Loose Powder, Not Pressed?
Loose powder generally provides a lighter, more even application than pressed powder. It’s less likely to look cakey or settle into fine lines. Think of it as a delicate veil, rather than a heavy blanket. 🛌
4. The Tools of the Trade: Brushes, Sponges, and the Quest for Application Nirvana 🖌️
Using the right tools is just as important as using the right product. You wouldn’t paint the Mona Lisa with a toothbrush, would you? (Okay, maybe some artists would, but you get the point.)
Here’s a breakdown of the essential tools for achieving an airbrushed finish with loose powder:
Here’s a breakdown of the essential tools for achieving an airbrushed finish with loose powder:
| Tool | Description | Best For | How to Use |
|---|---|---|---|
| Large, Fluffy Powder Brush: | A soft, dome-shaped brush with long, flexible bristles. | Applying powder all over the face. | Gently swirl the brush in the powder, tap off excess, and apply in light, circular motions. |
| Tapered Powder Brush: | A smaller, more precise version of the fluffy powder brush. | Setting specific areas, such as under the eyes or around the nose. | Use the tapered tip to apply powder precisely to the desired areas. |
| Beauty Sponge (Damp): | A teardrop-shaped sponge used for blending makeup. | Baking and pressing powder into the skin. | Dip the damp sponge into the powder, press it onto the skin, and let it "bake" for a few minutes before dusting off the excess. |
| Small, Pointed Brush: | A tiny brush with a pointed tip. | Spot-correcting shine or setting small areas. | Gently dab the brush into the powder and apply it to the specific area. |
Brush Care is Key!
Clean your brushes regularly! Dirty brushes can harbor bacteria and lead to breakouts. Wash them with a gentle soap and water, or use a brush cleaner. Think of it as giving your brushes a spa day! 🧖♀️
5. The Application Process: A Step-by-Step Guide to Powdering Like a Pro 🎬
Alright, time to get our hands dirty (or rather, powdery!) Let’s walk through the application process step-by-step:
- Prep Your Skin: Start with a clean, moisturized face. Apply your foundation and concealer as usual. Ensure everything is blended seamlessly.
- Set Your Under-Eyes (Optional): If you’re prone to creasing under the eyes, apply a thin layer of powder with a tapered brush or a damp beauty sponge. This will prevent your concealer from settling into fine lines.
- Apply Powder All Over Your Face: Dip your large, fluffy powder brush into the powder, tap off the excess (seriously, TAP IT OFF!), and apply in light, circular motions, starting from the center of your face and working outwards.
- Focus on the T-Zone: The T-zone (forehead, nose, and chin) is typically the oiliest area, so pay extra attention to these areas.
- Dust Off Excess: After a few minutes, use a clean, fluffy brush to gently dust off any excess powder.
- Blend, Blend, Blend! Make sure everything is blended seamlessly for a natural, airbrushed finish.
- Consider Baking (Optional): For extra staying power and a more matte finish, try baking (more on this later!).
Pro Tip: Apply powder in thin layers. It’s always easier to add more than to remove too much. Think of it as seasoning a dish – start with a little and add more as needed. 🧂
6. Technique is King (and Queen!): Mastering Baking, Setting, and Buffing 👑
Now, let’s delve into some advanced techniques that can take your powder game to the next level:
- Setting: This is the basic application we just covered. It involves applying a thin layer of powder all over the face to set your makeup and control shine. Think of it as applying a protective layer. 🛡️
- Baking: This involves applying a thick layer of powder to specific areas (usually under the eyes, the T-zone, and along the jawline), letting it "bake" for 5-10 minutes, and then dusting off the excess. The heat from your skin helps the powder to melt into your foundation and create a super-smooth, matte finish. Think of it as cooking your makeup to perfection. 🍳
- Buffing: This involves using a brush to gently buff the powder into the skin after applying it. This helps to blend the powder seamlessly and create a more natural-looking finish. Think of it as polishing your complexion. 💎
When to Bake:
Baking is great for oily skin, special occasions, or when you want your makeup to last all day. However, it can be drying for dry skin, so use it sparingly.
How to Bake (Step-by-Step):
- Apply a generous amount of powder to the desired areas using a damp beauty sponge.
- Let it "bake" for 5-10 minutes.
- Dust off the excess with a clean, fluffy brush.
- Blend, blend, blend!
7. Troubleshooting: Powder Problems and How to Solve Them 🛠️
Even with the best techniques and products, you might encounter some powder problems. Here’s how to troubleshoot common issues:
| Problem | Cause | Solution |
|---|---|---|
| Cakey Finish: | Applying too much powder, using the wrong brush, or not prepping your skin properly. | Use less powder, use a fluffy brush, and make sure your skin is well-moisturized. Exfoliate regularly! 🧖♀️ |
| Dryness: | Using too much powder, having dry skin, or using a drying foundation. | Use a hydrating moisturizer and foundation, use less powder, and consider using a hydrating setting spray. 💦 |
| Flashback: | Using a powder with high levels of silica or titanium dioxide, or applying too much powder. | Use a powder with lower levels of these ingredients, apply less powder, and test your makeup under flash photography before going out. 📸 |
| Ashy Appearance: | Using a powder that’s too light for your skin tone. | Use a translucent powder or a powder that matches your skin tone. 🎨 |
| Powder Settling Into Fine Lines: | Not setting your makeup properly, having dry skin, or using a powder that’s too heavy. | Set your makeup with a damp beauty sponge, use a hydrating moisturizer, and use a lightweight powder. |
| Oily Breakthrough: | Not using enough powder, having oily skin, or using a powder that doesn’t control oil. | Use more powder, use an oil-absorbing primer, and carry blotting papers with you. 🧻 |
8. Beyond the Basics: Advanced Powder Prowess 🚀
Once you’ve mastered the basics, you can start experimenting with more advanced techniques:
- Using Colored Powders: While our focus is on translucent powder, you can also use colored powders to correct discoloration or add warmth to your complexion.
- Powder Before Foundation: Some makeup artists swear by applying a light layer of powder before foundation to create a smoother canvas and help the foundation adhere better.
- Setting Spray: After applying your powder, use a setting spray to melt the powder into your skin and create a more natural finish.
- Highlighting with Powder: Use a light-reflecting powder to highlight the high points of your face, such as your cheekbones, brow bone, and the bridge of your nose.
The possibilities are endless! Don’t be afraid to experiment and find what works best for you.
9. The Verdict: Is Airbrushed Perfection Achievable? ✅
So, can you truly achieve an airbrushed look with Flawless Finish Translucent Loose Setting Powder? The answer is a resounding YES!
While it might not be exactly the same as a professional airbrush job, you can definitely create a stunning, flawless complexion with the right techniques, the right tools, and a little bit of practice.
Remember, the key is to:
- Prep Your Skin: A smooth canvas is essential.
- Use the Right Tools: Choose brushes and sponges that are appropriate for the job.
- Apply in Thin Layers: Less is more!
- Blend, Blend, Blend! Seamless blending is key to a natural-looking finish.
- Experiment and Find What Works Best for You: Makeup is all about self-expression.
Now go forth and conquer the world, one perfectly powdered face at a time! 🌎
And with that, class dismissed! Don’t forget to read the textbook (aka watch YouTube tutorials) and practice your powdering skills. I expect to see some flawless faces next week! 😉
For detailed product specifications and purchases, please go to :https://zenamakeup.com/products/flawless-finish-translucent-loose-setting-powder
Leave a Reply