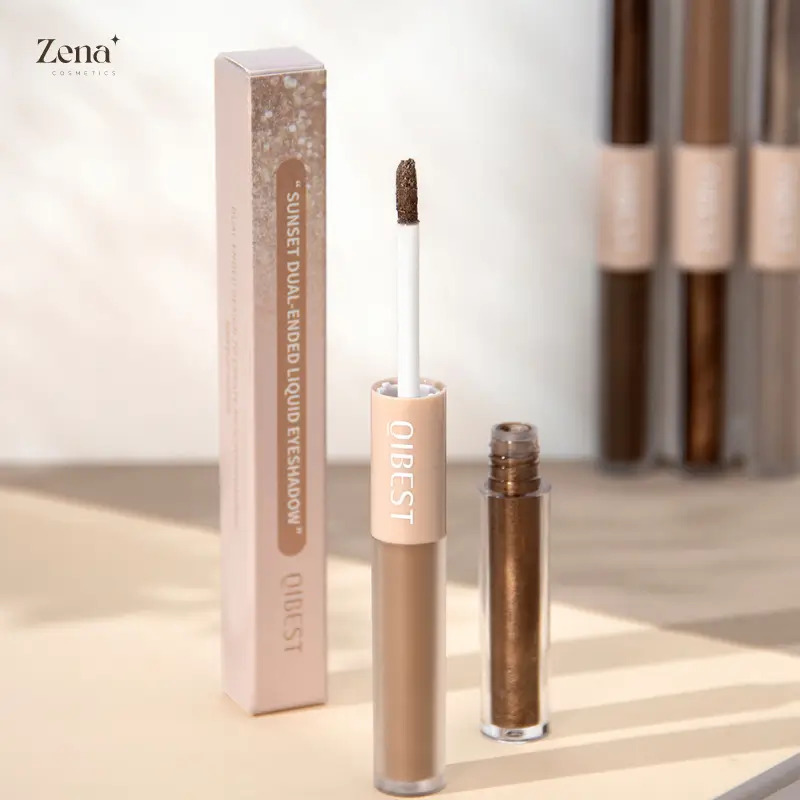
Mastering the Dual-End Eyeshadow: A Lecture on Symmetry and Sanity
(Welcome, esteemed makeup mavens and eyeshadow enthusiasts! Grab your palettes, settle in, and prepare to conquer the notorious nemesis of evenly applied dual-end eyeshadow. This isn’t just a tutorial; it’s a journey.)
(✨Disclaimer: May contain traces of frustration, self-deprecating humor, and the occasional plea to the makeup gods.✨)
Introduction: The Two-Headed Beast and the Siren Song of Symmetry
Ah, the dual-end eyeshadow stick. That sleek, seemingly simple tube promising effortless eye looks in a single swipe. A beacon of hope for the time-crunched beauty lover! 😇 But, let’s be honest, it often transforms into a two-headed beast, a source of asymmetry that can rival a Picasso painting gone wrong. 😱
Why? Because achieving even application with both ends of a dual-end eyeshadow – ensuring that your left eye isn’t rocking a vibrant cobalt while your right is sporting a timid teal (or worse, a patchy, uneven mess of both) – requires more than just a steady hand. It demands a strategy, a technique, and a healthy dose of patience.
This lecture is your survival guide. We’ll dissect the anatomy of the dual-end eyeshadow, explore common pitfalls, and arm you with the knowledge to wield this tool like a pro. Forget the uneven horror stories; we’re aiming for eyeshadow equilibrium! ⚖️
I. Anatomy of the Dual-End Eyeshadow (and Your Face!)
Before we dive into application, let’s understand our instruments. Think of this as a crash course in Eyeshadow Stick 101 and Face Mapping Fundamentals.
-
The Stick:
- The Colors: Typically, dual-end eyeshadows feature complementary or contrasting shades designed to be used together. Understanding the color relationship is key to creating a cohesive look. Are they warm and cool? Light and dark? Knowing this will inform your placement and blending.
- The Texture: Creamy, metallic, shimmer, matte – the texture affects application. Creamy formulas tend to be more forgiving and blendable, while metallic or shimmer formulas require more precision to avoid glitter fallout.
- The Shape: Some sticks are rounded, others are angled. The shape influences how much product is deposited and how easily you can reach certain areas of the eye.
-
Your Face (Specifically, Your Eyes):
- Eye Shape: Are you hooded, almond-shaped, round, or monolid? Understanding your eye shape is crucial for determining where to place the eyeshadow to maximize its impact.
- Eye Symmetry (or Lack Thereof): Be honest! No one has perfectly symmetrical eyes. One eye might be slightly more hooded, one might have a deeper crease. Acknowledging these differences is the first step to achieving balanced eyeshadow.
- Skin Texture: Is your eyelid smooth and taut, or does it have fine lines and wrinkles? This will affect how the eyeshadow blends and settles. Priming is your best friend! 🤝
II. The Pre-Game: Preparation is Paramount!
Like a surgeon preparing for surgery, meticulous preparation is essential for a successful eyeshadow application. Don’t skip these steps!
- Priming is Non-Negotiable: 🙅♀️Seriously. Eyeshadow primer creates a smooth canvas, prevents creasing, and intensifies the color of your eyeshadow. It’s the foundation upon which your masterpiece will be built. Choose a primer that suits your skin type (oily, dry, or combination).
- Application Tip: Apply a thin, even layer of primer to your entire eyelid, from lash line to brow bone. Let it set for a minute or two before moving on to the next step.
- Concealer (Optional): If you have dark circles or uneven skin tone on your eyelids, a light layer of concealer can help to create an even base for your eyeshadow.
- Application Tip: Use a concealer that is one shade lighter than your skin tone and blend it seamlessly into your skin.
- Tools of the Trade: While the dual-end eyeshadow stick is the star, having a few other tools on hand can make a world of difference.
- Blending Brush: A fluffy blending brush is essential for softening harsh lines and creating a seamless transition between colors.
- Small Detail Brush: A small, pointed brush is useful for applying eyeshadow to the inner corner of the eye or for defining the lower lash line.
- Cotton Swabs: For cleaning up mistakes and sharpening edges. Your best friend in times of need. 🚑
- Makeup Remover: Just in case things go really wrong. Don’t be afraid to start over! 🔄
III. The Application Process: A Step-by-Step Guide to Eyeshadow Harmony
Now for the main event! Follow these steps carefully, and remember, practice makes perfect (and a forgiving blending brush helps too!).
Step 1: Choose Your Colors Wisely
- Understanding the Color Combination: Before you even touch the stick to your eye, take a moment to analyze the colors. Are they designed to be used side-by-side, or are they meant to be blended together?
- Consider Your Skin Tone and Eye Color: Certain colors will complement your features more than others. Experiment to find what works best for you.
- Example Scenarios:
- Scenario 1: Light and Dark Colors: Use the lighter shade all over the lid and the darker shade in the crease and outer corner.
- Scenario 2: Complementary Colors (e.g., Gold and Bronze): Use one color on the lid and the other on the lower lash line or in the inner corner for a pop of contrast.
- Scenario 3: Similar Tones (e.g., Light Pink and Mauve): Blend the colors together on the lid for a subtle, monochromatic look.
Step 2: The "Dot and Dab" Technique
- Avoid the "Swipe and Pray" Approach: Resist the urge to swipe the eyeshadow stick directly across your eyelid. This will likely result in uneven application and a hard-to-blend mess.
- The Dot and Dab Method: Instead, apply small dots of eyeshadow to your eyelid, focusing on the areas where you want the most color. Then, gently dab the dots with your finger or a brush to blend them together.
- Application Tip: Start with a small amount of product and build up the color gradually. It’s always easier to add more eyeshadow than to remove too much.
Step 3: Achieving Symmetry: The Mirror, Mirror on the Wall Strategy
- The "Compare and Contrast" Method: After applying eyeshadow to one eye, take a step back and compare it to the other eye. Are the colors placed in the same areas? Are the shades blended evenly?
- The "Mirror Image" Technique: Use a mirror to help you create a mirror image on the other eye. Pay attention to the angle of your brush and the amount of pressure you’re applying.
- The "One Eye at a Time" Rule: Focus on getting one eye perfect before moving on to the other. This will help you to avoid getting overwhelmed and making mistakes.
- Humorous Aside: Think of your eyes as twins – not identical, but definitely related. They should complement each other, not compete! 👯♀️
Step 4: Blending is Your Best Friend (and a Lifesaver!)
- The Importance of Blending: Blending is crucial for creating a seamless, professional-looking eyeshadow application. It softens harsh lines, diffuses the colors, and creates a gradient effect.
- Choosing the Right Brush: Use a fluffy blending brush with soft bristles. Avoid brushes that are too stiff or dense, as they can make it difficult to blend the eyeshadow evenly.
- The "Windshield Wiper" Motion: Use a windshield wiper motion to blend the eyeshadow back and forth across your eyelid. Focus on blending the edges of the eyeshadow to create a smooth transition.
- The "Circular Motion" Technique: Use a circular motion to blend the eyeshadow in the crease of your eye. This will help to create depth and dimension.
- Blending Tip: Blend, blend, and blend some more! There’s no such thing as over-blending. When in doubt, blend it out! 💨
Step 5: Spot Correction and Fine-Tuning: The Art of Damage Control
- Addressing Asymmetry: If you notice that one eye looks different from the other, don’t panic! Use a small brush or cotton swab to make minor adjustments.
- Cleaning Up Mistakes: If you accidentally get eyeshadow on your face, use a cotton swab dipped in makeup remover to clean it up.
- Sharpening Edges: Use a small, angled brush dipped in eyeshadow or eyeliner to sharpen the edges of your eyeshadow.
- The "Final Check" in Natural Light: Step away from your makeup mirror and check your eyeshadow in natural light. This will help you to identify any areas that need to be touched up.
IV. Common Pitfalls and How to Avoid Them (The "Things I Wish I Knew Sooner" Section)
- Applying Too Much Product at Once: This leads to a messy, hard-to-blend application. Start with a small amount of product and build up the color gradually.
- Using the Wrong Brush: Using a brush that is too stiff or dense can make it difficult to blend the eyeshadow evenly. Choose a fluffy blending brush with soft bristles.
- Not Blending Enough: Blending is crucial for creating a seamless, professional-looking eyeshadow application. Don’t be afraid to blend, blend, and blend some more!
- Ignoring Your Eye Shape: Applying eyeshadow without considering your eye shape can lead to an unflattering look. Research different eyeshadow techniques for your eye shape.
- Forgetting to Prime: Eyeshadow primer is essential for creating a smooth canvas, preventing creasing, and intensifying the color of your eyeshadow. Don’t skip this step!
- Fear of Starting Over: Sometimes, the best thing you can do is to wipe off your eyeshadow and start over. Don’t be afraid to experiment and try new things! 🔄
V. Advanced Techniques: Taking Your Dual-End Eyeshadow Game to the Next Level
Once you’ve mastered the basics, you can explore more advanced techniques to create even more stunning eye looks.
- Using Multiple Dual-End Eyeshadows: Layer different colors and textures to create a multi-dimensional eye look.
- Combining Dual-End Eyeshadows with Powder Eyeshadows: Use a dual-end eyeshadow as a base and then add powder eyeshadows on top for added intensity and dimension.
- Creating Cut Creases and Halo Eyes: Use a dual-end eyeshadow to create a defined cut crease or a shimmering halo effect.
- Experimenting with Different Finishes: Mix and match matte, shimmer, and metallic finishes to create a unique and eye-catching look.
VI. Troubleshooting: When Things Go Wrong (and They Will!)
- Uneven Application: If one eye has more color than the other, use a cotton swab to remove some of the excess product.
- Patchy Application: If the eyeshadow looks patchy, use a blending brush to smooth out the color.
- Creasing: If your eyeshadow is creasing, apply a thin layer of primer to your eyelids before applying eyeshadow.
- Fallout: If you’re experiencing fallout, use a damp cotton swab to clean up the excess product.
- The "Panda Eyes" Effect: If your eyeshadow is smudging under your eyes, use a waterproof eyeliner and mascara.
VII. Conclusion: Embrace the Imperfection, Celebrate the Symmetry (Attempt!)
Mastering the dual-end eyeshadow is a journey, not a destination. There will be days when your eyeshadow looks flawless, and there will be days when it looks like a toddler got hold of your makeup bag. The key is to practice, experiment, and have fun!
Remember, makeup is a form of self-expression. Don’t be afraid to try new things and break the rules. And most importantly, embrace the imperfection. After all, it’s what makes you unique! ✨
(Thank you for attending this lecture! Now go forth and conquer those dual-end eyeshadow sticks! May your blending be seamless, your symmetry be satisfying, and your confidence be radiant! 💖)
Table: Dual-End Eyeshadow Application Cheat Sheet
| Step | Action | Tip |
|---|---|---|
| 1. Prep | Prime eyelids, conceal if needed. | Primer is your BFF! Choose one suited to your skin type. |
| 2. Color Choice | Understand your colors and their intended use. | Consider your skin tone and eye color. |
| 3. Application | Dot and dab technique. | Start small and build up! Avoid the "swipe and pray" method. |
| 4. Symmetry | Compare and contrast each eye in the mirror. | Treat your eyes like non-identical twins! |
| 5. Blending | Use a fluffy blending brush in windshield wiper or circular motions. | Blend, blend, blend! When in doubt, blend it out! |
| 6. Correction | Spot correct with cotton swabs and makeup remover. | Don’t be afraid to start over! It happens to the best of us. |
| 7. Final Check | Check your work in natural light. | Natural light reveals all! |
Font Choice Recommendation: A clean, readable font like Arial, Calibri, or Open Sans for the main text. Use a slightly more decorative font for headings and titles (but still legible!).
Emoji Placement: Use emojis sparingly to add humor and visual interest. Don’t overdo it! They should enhance the text, not distract from it.
Good luck, and happy eyeshadowing! 🎉
For detailed product specifications and purchases, please go to :https://zenamakeup.com/products/liquid-dual-end-matte-glitter-fusion-eyeshadow
Leave a Reply