Lip Tint 101: Cracking the Code to Even Stain & Glowing Payoff (No Clown Lips Allowed!) 🤡
Welcome, future Lip Tint Masters! Prepare to embark on a thrilling journey into the world of lip tints, where we’ll decode the secrets to achieving that coveted even stain and radiant glow. Forget patchy application and uneven color – we’re here to conquer those challenges and unleash your inner lip-tinting artist! 🎨
This isn’t just about slapping on some color; it’s about understanding the science and art of lip tints. So, grab your favorite beverage (preferably something that won’t stain your teeth – we’re trying to avoid disasters!), settle in, and let’s get started!
Lecture Outline:
- Lip Tint 101: Demystifying the Elusive Product (What is a lip tint anyway?)
- The Pre-Tint Prep: Laying the Foundation for Success (Exfoliation, hydration, and more!)
- Application Techniques: From Dab & Go to Gradient Glam (Strategies for even color distribution)
- Troubleshooting Tint Troubles: Common Issues & Clever Fixes (Patchiness, bleeding, dryness – we got you!)
- Longevity & Maintenance: Keeping Your Tint Fresh & Fabulous (Tips for maximizing wear time)
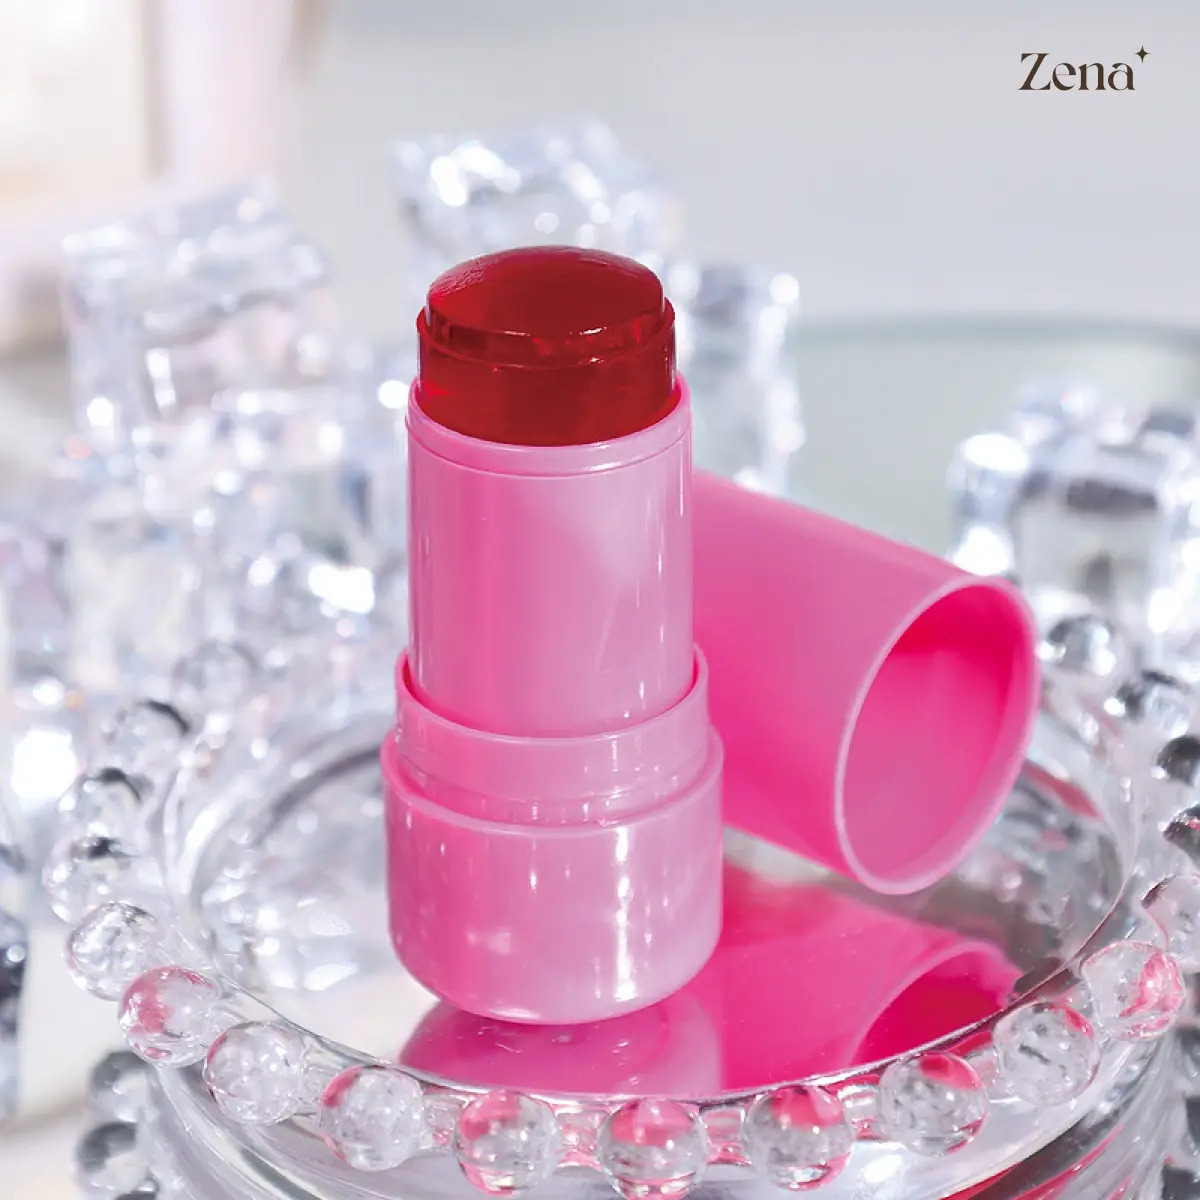
- Choosing Your Weapon: Selecting the Right Lip Tint Formula (Water-based, gel-based, balm-based – oh my!)
- The Color Conundrum: Picking the Perfect Shade for Your Skin Tone (Unlocking the secrets of undertones)
- Advanced Techniques: Level Up Your Lip Tint Game (Layering, mixing, and creating custom shades)
- The Tint Tool Kit: Essential Equipment for Lip Tinting Excellence (Brushes, applicators, and more!)
- Final Thoughts: Embracing the Lip Tint Lifestyle! (Confidence is the best accessory!)
1. Lip Tint 101: Demystifying the Elusive Product 🤔
So, what exactly are we dealing with here? Lip tints are essentially lightweight lip colors designed to stain the lips, providing a natural-looking flush of color that lasts longer than traditional lipsticks or glosses. Think of them as the chill cousin of lipstick – less commitment, more effortless chic. 😎
Key Characteristics of Lip Tints:
- Staining Power: They penetrate the outer layers of the lips, leaving behind a subtle stain that lasts for hours.
- Lightweight Texture: Unlike heavy lipsticks, tints are typically water-based, gel-based, or balm-based, offering a comfortable, non-sticky feel.
- Natural Look: They create a "your lips but better" effect, enhancing your natural lip color without looking overly made-up.
- Versatility: Lip tints can be used alone for a subtle stain or layered with other lip products for a more intense color payoff.
Why all the fuss?
- Long-lasting Color: Say goodbye to constant reapplication!
- Natural-looking: Perfect for everyday wear or a no-makeup makeup look.
- Low Maintenance: No need to worry about feathering or smudging.
- Buildable Color: Control the intensity of your lip color.
- Fun & Playful: Experiment with different shades and techniques!
2. The Pre-Tint Prep: Laying the Foundation for Success 🚧
Imagine trying to paint a masterpiece on a cracked and uneven canvas. Disaster, right? The same principle applies to lip tints. Dry, flaky lips are the enemy of an even stain. Prep is key, my friends!
Essential Lip Prep Steps:
| Step | Description | Why it Matters |
|---|---|---|
| Exfoliate | Gently scrub your lips with a lip scrub (DIY or store-bought) or a soft toothbrush. | Removes dead skin cells, creating a smooth surface for even tint application. Think of it as prepping a wall before painting – a smooth surface is key! |
| Hydrate | Apply a hydrating lip balm or mask and let it sit for a few minutes (or even overnight!). | Replenishes moisture, preventing the tint from clinging to dry patches and emphasizing fine lines. Hydrated lips = happy lips = even stain! |
| Prime | (Optional) Apply a thin layer of lip primer to create a smooth base and prevent the tint from bleeding. | Helps the tint adhere evenly and prevents it from migrating beyond your lip line. It’s like putting on a base coat before painting your nails – it helps the color last longer and look smoother. |
| Blot | Gently blot your lips with a tissue to remove any excess lip balm or primer. | Prevents the tint from sliding around and ensures even absorption of the pigment. No one wants a slippery tint situation! |
DIY Lip Scrub Recipes:
- Honey & Sugar Scrub: Mix 1 teaspoon of honey with 1 teaspoon of sugar. Gently massage onto lips in circular motions for 1 minute, then rinse with warm water. 🍯
- Coconut Oil & Brown Sugar Scrub: Mix 1 teaspoon of coconut oil with 1 teaspoon of brown sugar. Gently massage onto lips in circular motions for 1 minute, then rinse with warm water. 🥥
3. Application Techniques: From Dab & Go to Gradient Glam 🖌️
Now that your lips are prepped and primed, it’s time for the fun part: applying the lip tint! Mastering the application technique is crucial for achieving that even stain and glowing payoff.
Application Techniques:
- The "Dab & Go" Method: This is the simplest technique, perfect for beginners or those who prefer a subtle stain. Simply dab the tint onto the center of your lips and blend outwards with your finger or a lip brush.
- Pros: Quick, easy, and natural-looking.
- Cons: May not provide the most even color distribution.
- The "Dot & Blend" Method: Place small dots of tint evenly across your lips and then blend them together with your finger or a lip brush.
- Pros: Provides more even color distribution than the "Dab & Go" method.
- Cons: Requires a bit more precision.
- The "Gradient Lip" Method: Apply the tint to the inner portion of your lips and blend outwards, creating a gradient effect. This is a popular K-beauty technique!
- Pros: Creates a youthful and trendy look.
- Cons: Requires practice and a steady hand.
- The "Full Lip" Method: Apply the tint evenly across your entire lips, like you would with a lipstick.
- Pros: Provides the most intense color payoff.
- Cons: Can be more prone to patchiness if not applied carefully.
Tips for Even Application:
- Start with a small amount of product: You can always add more, but it’s difficult to remove excess tint.
- Work quickly: Tints tend to dry quickly, so blend them out immediately after application.
- Use a lip brush: A lip brush can help you achieve a more precise and even application.
- Blot your lips: After applying the tint, blot your lips with a tissue to remove any excess product and prevent bleeding.
- Layer for intensity: If you want a more intense color payoff, apply multiple thin layers of tint, allowing each layer to dry before applying the next.
4. Troubleshooting Tint Troubles: Common Issues & Clever Fixes 🛠️
Even with the best prep and application techniques, you might encounter some common lip tint challenges. Don’t panic! We’re here to help you troubleshoot those issues and achieve lip tint perfection.
| Problem | Solution | Explanation |
|---|---|---|
| Patchy Application | Exfoliate your lips more thoroughly, use a hydrating lip balm, and try a different application technique (e.g., "Dot & Blend"). | Patchiness is often caused by dry, uneven lips. Proper exfoliation and hydration will create a smoother surface for the tint to adhere to. |
| Bleeding | Use a lip liner to create a barrier around your lips, apply a lip primer, and avoid over-applying the tint. | Bleeding occurs when the tint migrates beyond your lip line. A lip liner will prevent the tint from spreading, while a lip primer will create a smoother base. |
| Dryness | Use a hydrating lip balm before and after applying the tint, and choose a lip tint formula that is specifically designed for dry lips (e.g., a balm-based tint). | Tints can be drying, especially if your lips are already dry. Hydrating lip balms and balm-based tints will help to keep your lips moisturized. |
| Uneven Color | Start with a small amount of product and blend it out thoroughly, use a lip brush for more precise application, and layer the tint for more even color payoff. | Uneven color is often caused by applying too much product in one area or not blending the tint out properly. Starting with a small amount and blending it out thoroughly will help to create a more even stain. |
| Color Fades Quickly | Choose a longer-lasting lip tint formula, avoid eating oily foods, and reapply the tint throughout the day. | The longevity of a lip tint can vary depending on the formula and your eating habits. Choosing a longer-lasting formula and avoiding oily foods will help to extend the wear time. |
| Too Bright/Intense | Apply a small amount of the tint and blend it out thoroughly, or blot your lips with a tissue to remove some of the color. Consider mixing it with a clear lip balm. | Sometimes a tint can be surprisingly vibrant! Less is more, and blotting can help tone it down. Mixing with balm dilutes the pigment. |
5. Longevity & Maintenance: Keeping Your Tint Fresh & Fabulous ⏳
You’ve achieved the perfect lip tint application, but how do you make it last? Here are some tips for maximizing the wear time and keeping your tint looking fresh all day long.
You’ve achieved the perfect lip tint application, but how do you make it last? Here are some tips for maximizing the wear time and keeping your tint looking fresh all day long.
Tips for Longevity:
- Choose a Long-Lasting Formula: Not all lip tints are created equal. Look for formulas that are specifically designed to be long-lasting.
- Avoid Oily Foods: Oily foods can break down the tint and cause it to fade more quickly. Try to avoid eating oily foods while wearing lip tint.
- Avoid Excessive Lip Licking: Constantly licking your lips can also cause the tint to fade.
- Reapply (Strategically): If you notice the color fading, reapply a thin layer of tint to maintain the stain.
Maintenance:
- Carry Your Tint: Keep your lip tint with you for touch-ups throughout the day.
- Lip Balm is Your Friend: Continue to use a hydrating lip balm to keep your lips moisturized and prevent the tint from drying them out.
6. Choosing Your Weapon: Selecting the Right Lip Tint Formula ⚔️
The world of lip tints is vast and varied, with different formulas catering to different preferences and needs. Understanding the different types of formulas is essential for choosing the right one for you.
Types of Lip Tint Formulas:
| Formula Type | Texture & Finish | Best For |
|---|---|---|
| Water-Based | Lightweight, watery texture that absorbs quickly into the lips. Provides a sheer, natural-looking stain with a matte finish. | Oily or combination skin, those who prefer a subtle stain, and those who want a long-lasting color payoff. |
| Gel-Based | Slightly thicker than water-based tints, with a gel-like consistency. Provides a more intense color payoff than water-based tints and can have a slightly glossy finish. | Normal skin, those who want a buildable color, and those who prefer a slightly more noticeable lip color. |
| Balm-Based | Creamy, hydrating texture that nourishes the lips while providing a subtle stain. Ideal for dry or sensitive lips. | Dry or sensitive skin, those who want a moisturizing lip color, and those who prefer a sheer, natural-looking stain. |
| Oil-Based | Luxurious, hydrating texture that provides a glossy finish and a subtle stain. Ideal for dry lips or those who want a plumping effect. | Dry skin, those who want a moisturizing lip color, and those who prefer a glossy finish. |
| Peel-Off Tints | Applied like a liquid lipstick, allowed to dry, and then peeled off to reveal a stained lip. Offers very long-lasting color. | Those seeking extreme longevity and are willing to deal with the application and removal process. Not recommended for very dry or sensitive lips. |
7. The Color Conundrum: Picking the Perfect Shade for Your Skin Tone 🌈
Choosing the right lip tint shade can be tricky. The key is to consider your skin tone and undertones.
Understanding Undertones:
- Warm Undertones: Skin with yellow, golden, or peachy undertones.
- Cool Undertones: Skin with pink, red, or blue undertones.
- Neutral Undertones: Skin with a balance of warm and cool undertones.
Matching Lip Tint to Skin Tone:
| Skin Tone | Recommended Shades |
|---|---|
| Fair | Light pinks, peaches, corals, and nudes. Avoid shades that are too dark or intense, as they can look overwhelming. |
| Light | Soft pinks, berries, roses, and mauves. Avoid shades that are too pale or washed out. |
| Medium | Roses, berries, reds, and corals. You can pull off a wider range of shades than those with fair or light skin. |
| Tan | Reds, berries, corals, and browns. Deep berry shades and rich reds look especially stunning. |
| Deep | Deep reds, berries, plums, and browns. Rich, saturated colors will complement your skin tone beautifully. |
Pro Tip: When in doubt, choose a shade that is close to your natural lip color.
8. Advanced Techniques: Level Up Your Lip Tint Game 🚀
Ready to take your lip tint skills to the next level? Here are some advanced techniques to experiment with.
- Layering: Layer different shades of lip tint to create custom colors.
- Mixing: Mix lip tint with lip balm or lip gloss to create a custom texture and finish.
- Ombre Lips: Create an ombre lip effect by applying a darker shade of lip tint to the outer corners of your lips and a lighter shade to the center.
- Tint as Blush: Use a small amount of lip tint as a cream blush for a natural, radiant glow.
9. The Tint Tool Kit: Essential Equipment for Lip Tinting Excellence 🛠️
While you can apply lip tint with your finger, certain tools can enhance your application and precision.
- Lip Brush: For precise application and blending.
- Cotton Swabs: For cleaning up mistakes.
- Lip Liner: To prevent bleeding.
- Lip Balm: For hydration.
- Lip Scrub: For exfoliation.
- Mirror: For accurate application!
10. Final Thoughts: Embracing the Lip Tint Lifestyle! 🎉
Congratulations, you’ve reached the end of Lip Tint 101! You’re now equipped with the knowledge and skills to achieve that coveted even stain and glowing payoff.
Remember, practice makes perfect. Don’t be afraid to experiment with different shades, formulas, and techniques to find what works best for you. And most importantly, have fun! Lip tint is all about enhancing your natural beauty and expressing your personal style. So, go out there and rock those perfectly tinted lips with confidence! 💋
Bonus Tip: Confidence is the best accessory. No matter what shade you choose or how you apply it, wear your lip tint with pride! You’ve got this! 💪
For detailed product specifications and purchases, please go to :https://zenamakeup.com/products/everglow-sculpting-cooling-jelly-tint-sheer-lip-face-stain
Leave a Reply