Lecture: Decoding the Glitterati: Achieving Intense Glitter Payoff and a Smooth Cream Texture with Eyeshadow Sticks
(Professor Sparkletoes, PhD in Shimmer & Shine, adjusts her oversized glitter-framed glasses and beams at the eager faces before her.)
Alright, darlings! Welcome, welcome to Glitterati 101! Today, we’re not just talking eyeshadow; we’re talking about transformative eyeshadow. We’re diving deep into the art and science of achieving intense glitter payoff and a smooth cream texture with eyeshadow sticks. Forget the flaky fallout and gritty textures of eyeshadow past. We are entering the age of effortless sparkle!
(Professor Sparkletoes gestures dramatically with a glitter-dusted pointer.)
This lecture will arm you with the knowledge to wield these magical sticks like the makeup mavens you were born to be. So, grab your notebooks (and maybe a lint roller – glitter happens!), and let’s unlock the secrets to dazzling eyes!
I. The Eyeshadow Stick: A Glittering Renaissance
(A slide appears on the screen: a glamorous vintage ad for a clunky, sad-looking powder eyeshadow next to a sleek, modern eyeshadow stick.)
Let’s be honest, eyeshadow has had its ups and downs. Remember those chalky powders that required a PhD in blending? Thankfully, we’ve entered a new era, the era of the eyeshadow stick!
(Professor Sparkletoes winks.)
These aren’t just crayons for your face; they’re meticulously engineered vehicles for pigment and shimmer, designed for ease of use and maximum impact.
A. Why Choose the Stick?
- Convenience is Queen: Imagine this: You’re running late, the Uber’s honking, and you need to look like you haven’t been battling sleep deprivation. Enter the eyeshadow stick! Swipe, blend (with a finger, a brush, heck, even a rogue cotton swab!), and BAM! Instantly elevated. No palettes, no brushes, minimal fuss.
- Creamy Dreaminess: Forget dry, powdery formulas that cling to fine lines. Eyeshadow sticks boast a creamy, emollient texture that glides on effortlessly, blurring imperfections and creating a smooth, even base.
- Intense Color Payoff: Many eyeshadow sticks are formulated with highly concentrated pigments, delivering vibrant color in a single swipe. This is especially true for glitter shades, where the creamy base helps to adhere the particles for maximum sparkle.
- Travel-Friendly Fabulousness: Say goodbye to shattered palettes and dusty messes in your makeup bag. Eyeshadow sticks are compact, durable, and perfect for on-the-go glam.
B. Anatomy of an Eyeshadow Stick:
Let’s dissect this beauty weapon to understand its power.
| Component | Function | Key Ingredients (Examples) |
|---|---|---|
| Pigments | Provide the color. | Iron Oxides, Titanium Dioxide, Mica, Ultramarines, Carmine (for red shades) |
| Binders | Hold the pigments together and give the stick its structure. | Waxes (Beeswax, Carnauba Wax, Candelilla Wax), Synthetic Waxes |
| Emollients | Soften and smooth the skin, allowing for easy application and blending. | Oils (Castor Oil, Coconut Oil, Jojoba Oil), Silicones (Dimethicone, Cyclopentasiloxane), Esters |
| Film Formers | Help the eyeshadow adhere to the skin and prevent creasing or smudging. | Silicones, Polymers |
| Glitter | Provides the sparkle! The size, shape, and material of the glitter particles significantly impact the intensity and texture. | Polyethylene Terephthalate (PET) Glitter, Synthetic Fluorphlogopite (Synthetic Mica), Glass Glitter (use with extreme caution!), Aluminum Powder (for metallic effects) |
| Preservatives | Prevent the growth of bacteria and fungi, ensuring the product’s safety and longevity. | Parabens (often avoided these days), Phenoxyethanol, Potassium Sorbate |
| Antioxidants | Protect the ingredients from oxidation, preventing them from degrading and losing their effectiveness. | Vitamin E (Tocopherol), Vitamin C (Ascorbic Acid) |
(Professor Sparkletoes points to the "Glitter" row with extra emphasis.)
See that? The glitter! This is where the magic happens! But not all glitter is created equal, my friends. We’ll delve into the nuances of glitter types and how they impact the overall effect later.
II. The Glitter Factor: Unlocking Maximum Sparkle
(A slide appears showing close-up images of different types of glitter: chunky, fine, iridescent, holographic.)
Now, let’s talk GLITTER! Achieving that intense glitter payoff we crave isn’t just about slapping on any old shimmery thing. It’s about understanding the science of sparkle.
A. Glitter Types: A Shimmering Spectrum
- Chunky Glitter: The boldest of the bunch. Chunky glitter makes a statement, but can be prone to fallout and irritation if not properly adhered. Think festival vibes and disco queens!
- Fine Glitter: More subtle and refined. Fine glitter provides a delicate shimmer that’s perfect for everyday wear or layering under bolder glitters.
- Iridescent Glitter: Shifts color depending on the angle of light. This gives a multi-dimensional, ethereal effect. Think unicorn tears and mermaid magic!
- Holographic Glitter: Contains microscopic prisms that diffract light, creating a dazzling rainbow effect. The ultimate showstopper!
- Micro-Glitter: Tiny particles that create a smooth, almost metallic shimmer. Ideal for adding subtle dimension and a hint of sparkle.
(Professor Sparkletoes dramatically holds up a vial filled with holographic glitter.)
Remember, darlings, the choice of glitter impacts the overall look and feel. Choose wisely!
B. Factors Influencing Glitter Payoff:
- Glitter Concentration: The higher the concentration of glitter in the formula, the more intense the sparkle. Look for eyeshadow sticks that are packed with shimmer.
- Base Formula: A creamy, slightly tacky base provides the perfect canvas for glitter to adhere to. Avoid dry or powdery formulas, as they can lead to fallout.
- Glitter Particle Size: Smaller glitter particles tend to adhere better and create a smoother finish, while larger particles offer more dramatic sparkle but may be more prone to fallout.
- Application Technique: We’ll get into the nitty-gritty of application techniques in the next section, but spoiler alert: patting is your friend!
C. Safety First! Glitter Etiquette:
(A slide appears with a picture of a sad eye with a rogue glitter particle lodged in it. The caption reads: "Glitter: Beautiful, but Potentially Perilous!")
Let’s talk safety. Glitter is gorgeous, but it can also be irritating if it gets into your eyes.
- Avoid loose glitter near the eyes. Stick to eyeshadow sticks or pressed glitter formulas.
- If glitter gets in your eye, flush it out immediately with water. Don’t rub!
- Consider using a glitter primer or adhesive to help the glitter adhere to the skin and prevent fallout.
- Remove glitter makeup gently with an oil-based cleanser.
(Professor Sparkletoes sighs dramatically.)
Safety first, sparkle second! We want dazzling eyes, not damaged ones!
III. Achieving the Creamy Dream: Texture and Application Techniques
(A slide appears with a split screen: one side shows a close-up of a dry, cakey eyeshadow application, the other shows a smooth, blended, creamy application.)
Now, let’s tackle the texture issue. We want that smooth, creamy, "I woke up like this (but with glitter)" look.
A. Key Ingredients for a Creamy Texture:
Refer back to the "Anatomy of an Eyeshadow Stick" table. Pay attention to those emollients! Ingredients like oils, silicones, and esters contribute to the smooth, glide-on texture we crave.
B. Priming for Perfection:
B. Priming for Perfection:
(Professor Sparkletoes shakes her head disapprovingly.)
Skipping primer? That’s like going to a party in your pajamas! (Unless, of course, it’s a pajama party… then, rock those PJs!)
A good eyeshadow primer creates a smooth, even base for your eyeshadow stick, preventing creasing, fading, and enhancing the color payoff.
- Choose a primer that suits your skin type. Oily skin benefits from a mattifying primer, while dry skin needs a hydrating one.
- Apply a thin layer of primer to your eyelids and blend well.
- Allow the primer to set for a few seconds before applying your eyeshadow stick.
C. Application Techniques: The Art of the Swipe and Blend
(Professor Sparkletoes demonstrates different application techniques on a volunteer – a student with exceptionally patient eyes.)
Alright, darlings, let’s get hands-on!
- The Direct Swipe: Apply the eyeshadow stick directly to your eyelid, starting at the lash line and working your way up to the crease. This is great for all-over color or creating a smoky eye.
- The Dot and Blend: Dot the eyeshadow stick onto your eyelid in several places, then blend with your finger or a brush. This allows for more controlled placement and blending.
- The Corner Highlight: Apply a small amount of eyeshadow stick to the inner corner of your eye to brighten and open up the eyes.
- The Lower Lash Line: Smudge a small amount of eyeshadow stick along your lower lash line to add depth and definition.
(Professor Sparkletoes hands out small mirrors and eyeshadow sticks for the students to practice.)
Now, practice! Don’t be afraid to experiment!
D. Blending is Your BFF:
(Professor Sparkletoes holds up a blending brush.)
This, my friends, is your best friend in the world of eyeshadow. A good blending brush can transform a harsh line into a seamless gradient.
- Use a soft, fluffy blending brush to blend the edges of your eyeshadow.
- Use small, circular motions to blend the product seamlessly.
- Work in layers to build up the color intensity gradually.
E. Setting for Staying Power:
(Professor Sparkletoes holds up a translucent setting powder.)
Even with a creamy formula, setting your eyeshadow can help to prevent creasing and fading, especially if you have oily eyelids.
- Use a light dusting of translucent setting powder over your eyeshadow.
- Use a small, fluffy brush to apply the powder.
- Avoid using too much powder, as this can make the eyeshadow look cakey.
IV. Troubleshooting Glitter Gripes and Creamy Conundrums
(A slide appears with common eyeshadow stick problems and their solutions.)
Let’s face it, even the best eyeshadow sticks can have their challenges. Here’s how to troubleshoot common issues:
| Problem | Solution |
|---|---|
| Glitter Fallout | Use a glitter primer or adhesive. Apply the eyeshadow stick with a patting motion instead of swiping. Set the eyeshadow with a glitter setting spray. Clean up fallout with a piece of tape or a lint roller. |
| Creasing | Use an eyeshadow primer. Apply a thin layer of eyeshadow. Set the eyeshadow with a translucent setting powder. Avoid applying too much product to the crease. * Choose a long-wearing eyeshadow stick formula. |
| Smudging | Use a waterproof or smudge-proof eyeshadow stick. Set the eyeshadow with a setting spray. Avoid touching your eyes throughout the day. Apply a thin layer of eyeshadow. * Use an eyeshadow primer. |
| Uneven Application | Apply the eyeshadow stick in thin layers. Blend the edges of the eyeshadow with a blending brush. Use a finger to gently blend the product. Practice! |
| Dry or Cakey Texture | Exfoliate your eyelids regularly. Use a hydrating eyeshadow primer. Choose a creamy, emollient eyeshadow stick formula. Apply a small amount of product and build up the color gradually. * Avoid using too much powder. |
| Glitter Irritation | Discontinue use immediately. Flush your eyes with water if glitter gets in them. Consult a doctor if irritation persists. Choose glitter made from PET plastic or synthetic fluorphlogopite, which is less likely to cause irritation. * Avoid using loose glitter near the eyes. |
(Professor Sparkletoes taps the table emphatically.)
Knowledge is power, darlings! And knowing how to fix these little hiccups will make you eyeshadow stick pros in no time!
V. The Final Flourish: Beyond the Basics
(A slide appears with inspirational eyeshadow looks using eyeshadow sticks.)
Now that you’ve mastered the basics, let’s explore some more advanced techniques!
- Layering: Combine different eyeshadow stick shades to create depth and dimension.
- Creating a Cut Crease: Use a concealer to carve out a crisp cut crease, then apply a contrasting eyeshadow stick shade to the lid.
- Using Eyeshadow Sticks as Eyeliner: Apply a thin line of eyeshadow stick along your upper lash line for a smoky eyeliner effect.
- Experimenting with Color: Don’t be afraid to try bold and unexpected color combinations!
(Professor Sparkletoes smiles encouragingly.)
The sky’s the limit, my darlings! Let your creativity shine!
VI. Conclusion: Go Forth and Sparkle!
(Professor Sparkletoes strikes a dramatic pose.)
And there you have it! You are now armed with the knowledge to conquer the world of eyeshadow sticks and achieve intense glitter payoff and a smooth cream texture. Remember the importance of quality ingredients, the power of blending, and the necessity of glitter safety.
(Professor Sparkletoes winks.)
Now, go forth and sparkle! Let your eyes be your canvas, and let your creativity run wild! Class dismissed!
(The students erupt in applause, grabbing their notebooks and eyeshadow sticks, ready to unleash their inner glitter goddesses.)
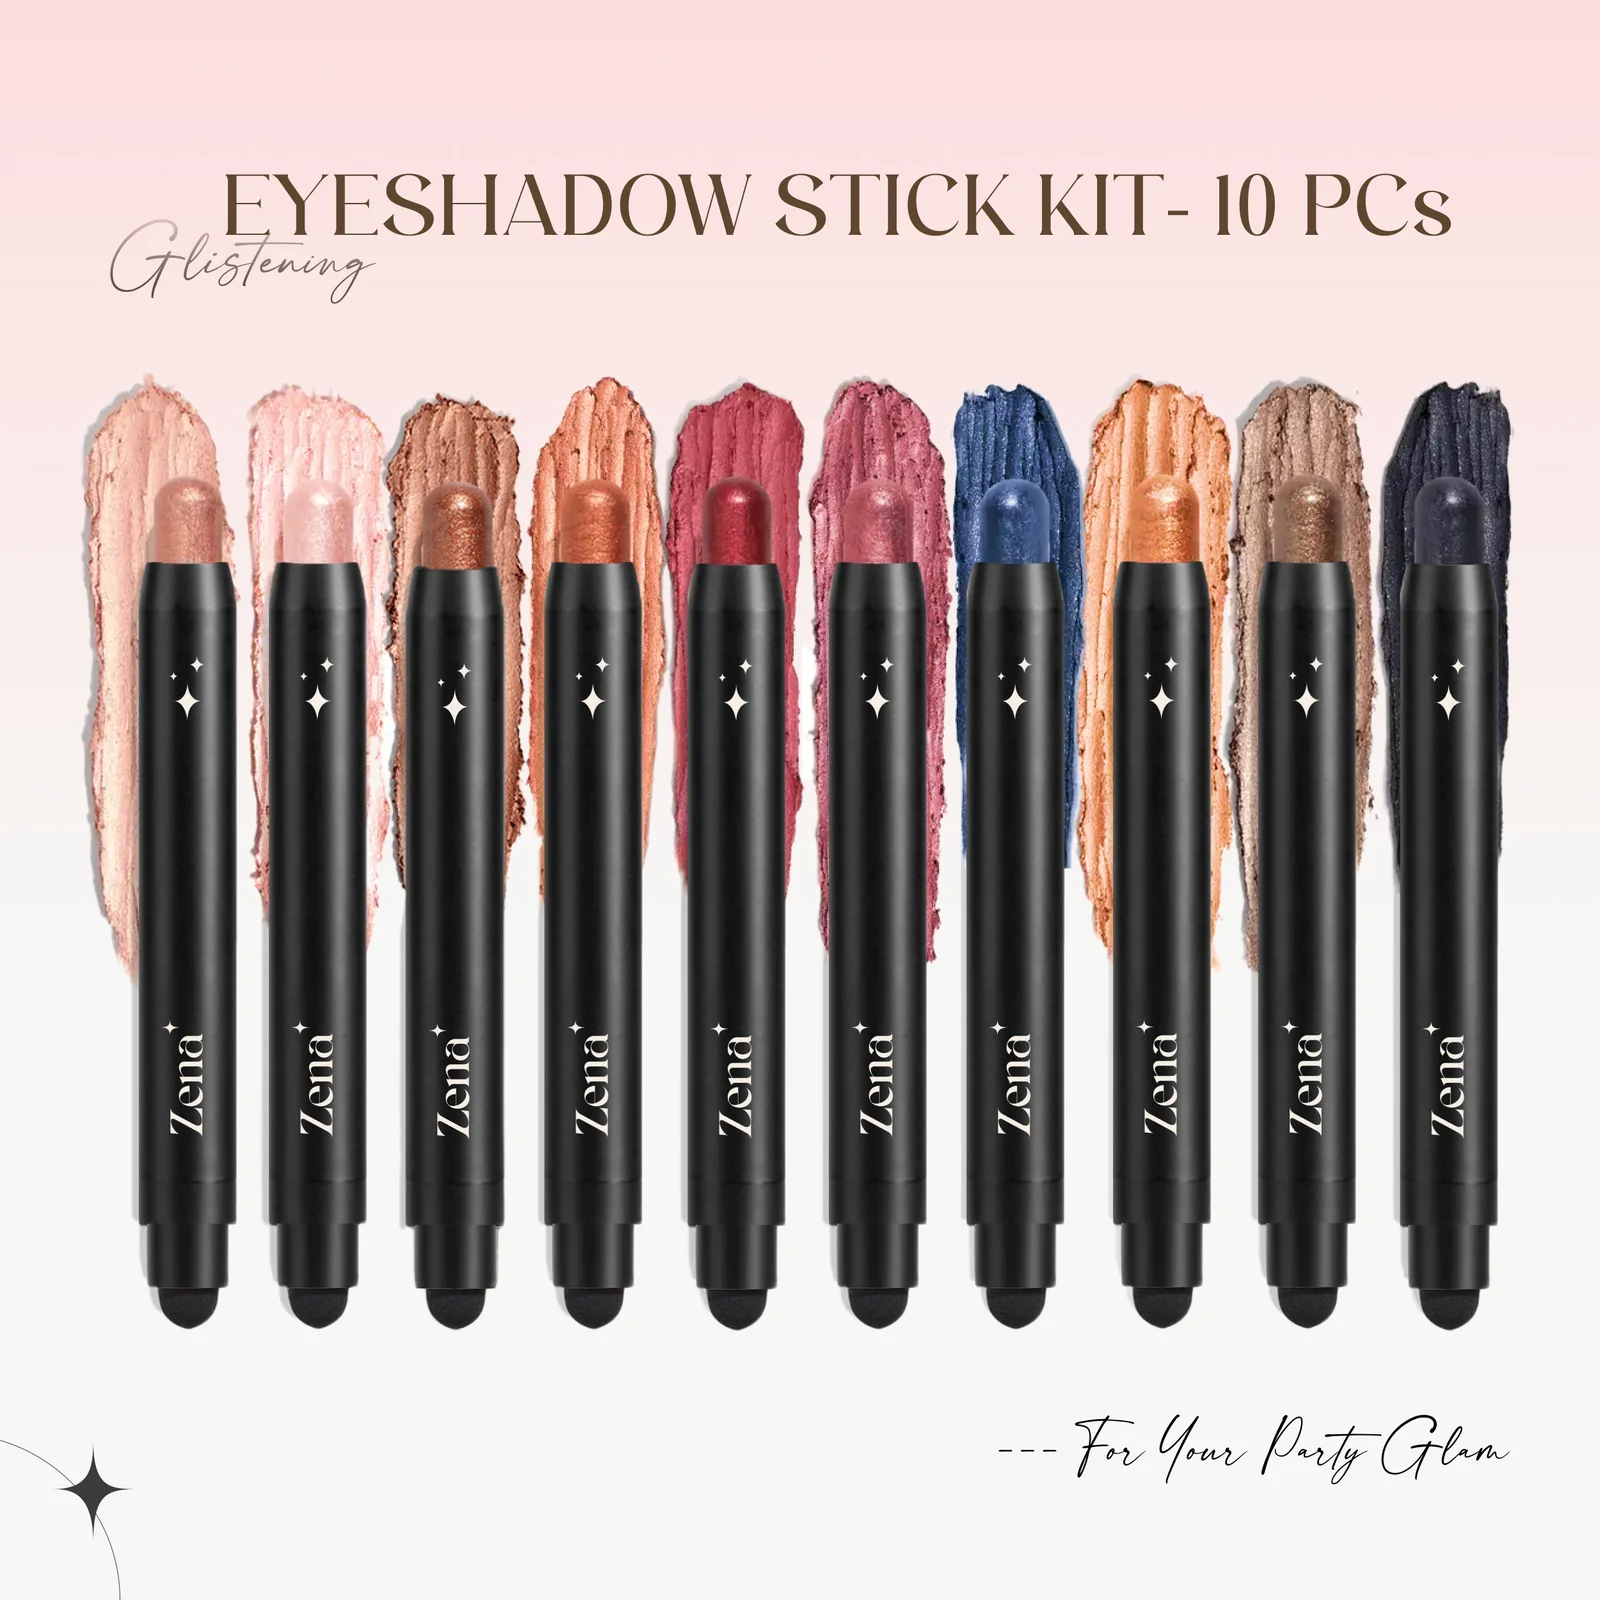
For detailed product specifications and purchases, please go to :https://zenamakeup.com/products/dazzle-collection-10-piece-glitter-cream-eyeshadow-stick-set
Leave a Reply