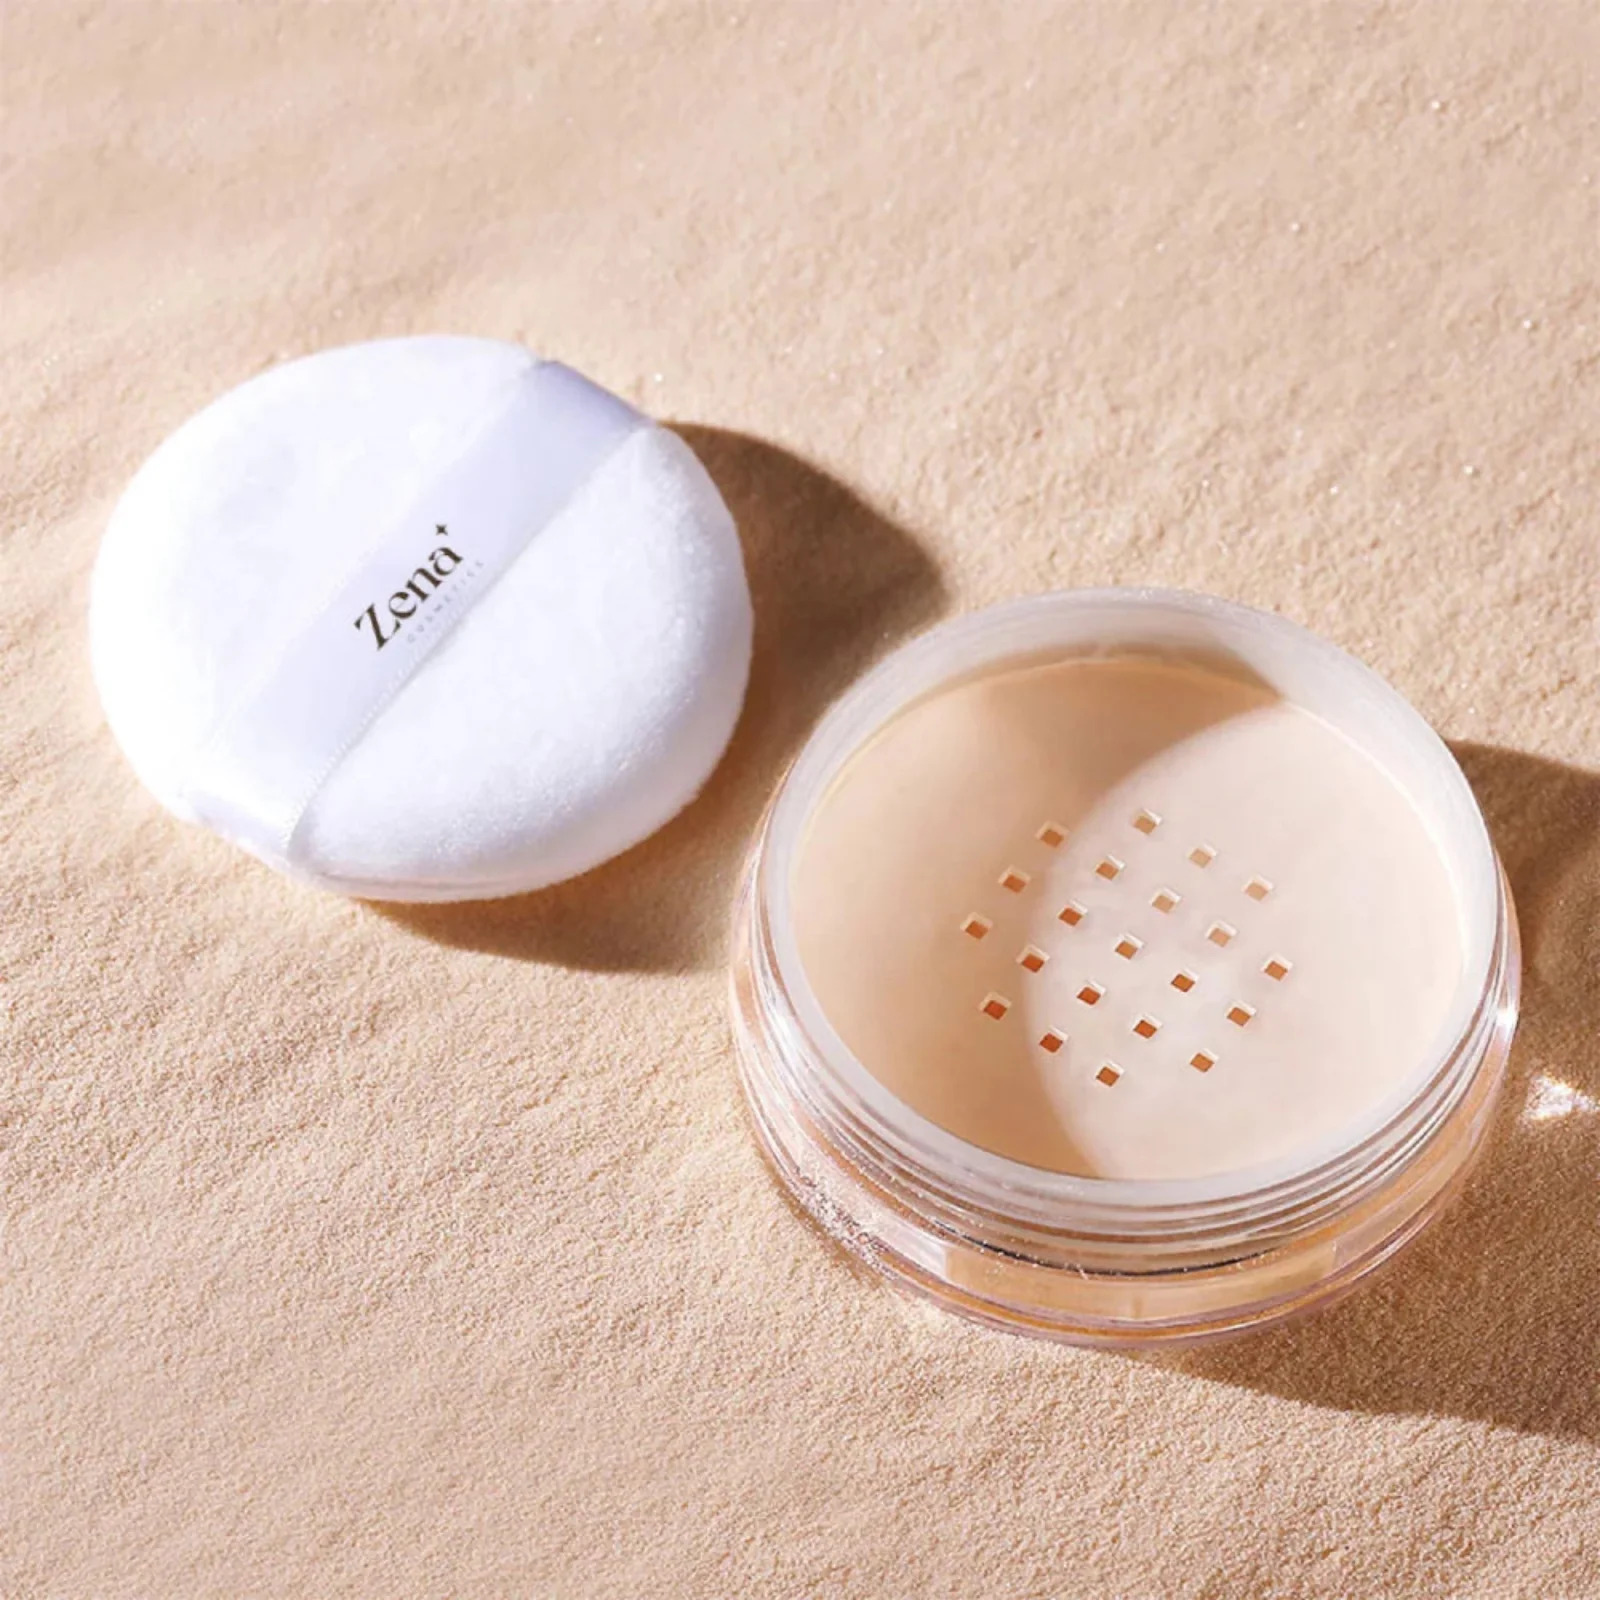
Lecture Hall: Operation Anti-Cake – Mastering Flawless Finish Translucent Loose Setting Powder 🎂🚫
Alright, settle down, settle down! Welcome, aspiring makeup mavens and contouring connoisseurs, to "Operation Anti-Cake"! Today, we’re tackling a topic that strikes fear into the heart of even the most seasoned beauty guru: the dreaded cake face. And our weapon of choice, or perhaps potential perpetrator, is the seemingly innocent Flawless Finish Translucent Loose Setting Powder.
Yes, that silky, whisper-light powder that promises a soft-focus finish can quickly turn against you if mishandled, leaving you looking less like a porcelain doll and more like a… well, a cake. 🍰
Fear not! I’m here to arm you with the knowledge and techniques to wield this powerful tool with precision, transforming it from cake-inducing culprit to the key to a truly flawless finish.
Professor’s Note: I’m not a real professor (obviously, look at my glittery eyeshadow!). But I am a makeup obsessive who has spent years experimenting (and occasionally failing spectacularly) with setting powders. So, consider this your crash course in achieving that airbrushed, cake-free complexion we all crave.
Course Outline:
- Understanding the Enemy: What Is Cakey Makeup? 🍰🔎
- Prepping for Perfection: The Foundation of Flawless 🏗️
- Powder Power: Application Techniques That Slay ⚔️
- Product Selection: Choosing the Right Powder for You 🛍️
- Tools of the Trade: Brushes, Sponges, and Beyond 🛠️
- Troubleshooting: Cakey Catastrophes and How to Fix Them 🚨
- Advanced Tactics: Going Beyond the Basics 🚀
- The Grand Finale: Mastering the Art of the Flawless Finish 🏆
1. Understanding the Enemy: What Is Cakey Makeup? 🍰🔎
Before we can defeat the cake, we must understand its nature. Cakey makeup is characterized by:
- Texture Overload: Visible powder sitting on the skin, accentuating fine lines, pores, and any existing texture.
- Uneven Coverage: Patchy application where the powder clings to dry areas or settles into creases.
- Dullness: A lack of radiance, resulting in a flat, lifeless complexion.
- Exaggerated Lines: Making wrinkles look deeper and more pronounced. (Nobody wants that!)
Think of it like this: Your makeup should be a smooth, delicious layer cake, not a dry, crumbly mess! 🧁➡️🙅♀️
Why does it happen? Cakey makeup is usually the result of one or more of the following:
- Too Much Product: Applying too much powder, foundation, or concealer.
- Dry Skin: Powder clinging to dry patches and emphasizing texture.
- Incompatible Products: Products that don’t play well together (e.g., a silicone-based foundation with a water-based primer).
- Poor Application Technique: Using the wrong tools or applying product incorrectly.
Table 1: The Culprits of Cakey Makeup
| Culprit | Explanation | Solution |
|---|---|---|
| Too Much Product | Applying excessive layers of foundation, concealer, or powder. | Use a light hand, build coverage gradually, and dust off excess powder. |
| Dry Skin | Dehydrated skin absorbs moisture from makeup, causing it to look dry and cakey. | Exfoliate regularly, hydrate with a good moisturizer, and use hydrating primers and setting sprays. |
| Incompatible Products | Using products with different bases (e.g., silicone and water) can cause separation and a patchy finish. | Use products with compatible bases (check ingredient lists) and test them together before full application. |
| Poor Application Technique | Applying powder heavily with the wrong brush or using dragging motions. | Use a fluffy brush, apply with gentle patting or rolling motions, and avoid dragging the product across the skin. |
2. Prepping for Perfection: The Foundation of Flawless 🏗️
As any good builder knows, a solid foundation is essential for a lasting structure. Similarly, proper skincare and makeup prep are crucial for a flawless, cake-free finish.
Step 1: Skincare is Key! 🔑
- Exfoliate Regularly: Remove dead skin cells to create a smooth canvas. Think of it as sanding down a rough surface before painting! 🧽
- Hydrate, Hydrate, Hydrate! Dry skin is the enemy of flawless makeup. Use a good moisturizer suited to your skin type. Think dewy, not dry! 💦
- Consider a Hydrating Mask: Treat yourself to a hydrating mask a few times a week for an extra boost of moisture. 🧖♀️
Step 2: Primer Power! 💪
- Choose the Right Primer: Primers create a smooth surface, fill in pores, and help your makeup last longer. Select a primer that addresses your specific skin concerns (e.g., hydrating for dry skin, mattifying for oily skin).
- Apply Sparingly: A pea-sized amount is usually sufficient. Over-priming can actually cause cakey makeup!
- Let it Set: Give your primer a few minutes to absorb into your skin before applying foundation.
Step 3: Foundation Fundamentals! 🎨
- Less is More: Start with a thin layer of foundation and build coverage as needed. Remember, you can always add more, but it’s difficult to take away!
- Blend, Blend, Blend! Thoroughly blend your foundation using a brush, sponge, or your fingers. No harsh lines allowed!
- Consider a Hydrating Foundation: If you have dry skin, opt for a hydrating or dewy foundation.
Professor’s Tip: Experiment with different combinations of skincare, primer, and foundation to find the perfect recipe for your skin. Keep a makeup journal to track what works and what doesn’t! 📝
3. Powder Power: Application Techniques That Slay ⚔️
This is where the magic (or mayhem) happens! Proper application is the key to transforming Flawless Finish Translucent Loose Setting Powder from a potential enemy into your best friend.
Technique 1: The "Baking" Method (Use with Caution!) ⚠️
- What it is: Applying a generous amount of powder to specific areas (usually under the eyes, on the forehead, and along the jawline) and letting it "bake" for several minutes before dusting off the excess.
- Why it works (sometimes): The heat from your skin helps the powder to absorb into the foundation and concealer, creating a bright, long-lasting finish.
- Why it can be disastrous: Easily leads to cake face if you use too much powder or don’t blend it properly. Best suited for oily skin and special occasions.
- How to do it right:
- Apply concealer as usual.
- Using a damp makeup sponge or a small brush, pick up a generous amount of powder.
- Press the powder firmly into the areas you want to bake.
- Let it sit for 5-10 minutes.
- Dust off the excess powder with a large, fluffy brush.
- Blend thoroughly!
Technique 2: The "Dusting" Method (The Safer Bet) ✅
- What it is: Applying a light layer of powder all over the face to set your makeup and reduce shine.
- Why it works: Provides a subtle, natural-looking finish without being too heavy.
- Why it’s less risky: Less prone to cake face, making it ideal for everyday wear and all skin types.
- How to do it right:
- Using a large, fluffy brush, swirl the brush into the powder.
- Tap off any excess powder.
- Gently dust the powder all over your face, focusing on areas that tend to get oily (e.g., the T-zone).
- Use light, sweeping motions.
Technique 3: The "Press and Roll" Method (For Targeted Setting) 🎯
- What it is: Using a damp makeup sponge to press and roll the powder into specific areas, like under the eyes or around the nose.
- Why it works: Provides targeted setting and helps to blur imperfections.
- Why it’s great for dry skin: The damp sponge helps to prevent the powder from clinging to dry patches.
- How to do it right:
- Lightly dampen a makeup sponge (squeeze out any excess water).
- Dip the sponge into the powder.
- Press and roll the sponge into the desired areas.
- Avoid dragging the sponge across your skin.
Table 2: Powder Application Techniques Compared
| Technique | Description | Best For | Pros | Cons |
|---|---|---|---|---|
| Baking | Applying a thick layer of powder and letting it sit before dusting off. | Oily Skin, Special Occasions | Long-lasting, brightens the under-eye area. | Can be cakey, drying, and accentuate fine lines if not done properly. |
| Dusting | Applying a light layer of powder all over the face. | All Skin Types | Natural-looking, sets makeup, reduces shine. | May not provide enough setting power for oily skin. |
| Press and Roll | Using a damp sponge to press and roll powder into specific areas. | All Skin Types, Dry Skin | Targeted setting, blurs imperfections, prevents powder from clinging to dry patches. | Requires a bit of practice, can be difficult to control the amount of powder. |
4. Product Selection: Choosing the Right Powder for *You*** 🛍️
Not all translucent powders are created equal! Factors like skin type, undertone, and desired finish should influence your choice.
Consider Your Skin Type:
Consider Your Skin Type:
- Oily Skin: Look for powders with oil-absorbing properties, such as silica or cornstarch.
- Dry Skin: Opt for finely milled powders with hydrating ingredients, such as hyaluronic acid or glycerin.
- Combination Skin: Choose a powder that can balance oil production without drying out the skin.
Think About Your Undertone:
- Warm Undertones: Powders with a slight yellow tint can help to brighten the complexion.
- Cool Undertones: Powders with a slight pink tint can help to counteract sallowness.
- Neutral Undertones: A truly translucent powder will work well for you.
Decide on Your Desired Finish:
- Matte Finish: Eliminates shine and creates a smooth, even complexion.
- Satin Finish: Provides a subtle glow without being too shiny.
- Radiant Finish: Adds luminosity and dimension to the skin.
Flawless Finish Translucent Loose Setting Powder: Is it Right for You?
This powder is generally considered a good all-around option, but it tends to lean towards a more matte finish. If you have very dry skin, you might find it a bit drying. If you have oily skin, you’ll likely love its oil-absorbing properties.
Professor’s Recommendation: Try a sample before committing to a full-size product. Sephora and other beauty retailers often offer samples of setting powders. 🧪
5. Tools of the Trade: Brushes, Sponges, and Beyond 🛠️
The right tools can make all the difference! Using the wrong brush can lead to uneven application and, you guessed it, cakey makeup.
Brushes:
- Large, Fluffy Brush: Ideal for dusting powder all over the face. Look for brushes with soft, natural bristles.
- Tapered Brush: Great for targeted application, such as under the eyes or around the nose.
- Small, Dense Brush: Can be used for baking or for applying powder to small areas.
Sponges:
- Makeup Sponge (Damp): Excellent for pressing and rolling powder into the skin. Choose a soft, non-latex sponge.
- Powder Puff: A classic tool for applying powder. Press the puff into the powder and then gently press it onto your skin.
Cleaning Your Tools:
- Wash your brushes and sponges regularly! Dirty tools can harbor bacteria and lead to breakouts.
- Use a gentle cleanser specifically designed for makeup brushes.
- Rinse thoroughly and allow your tools to air dry.
Table 3: Choosing the Right Tool for the Job
| Tool | Best For | Application Technique |
|---|---|---|
| Fluffy Brush | Dusting powder all over the face. | Swirl brush in powder, tap off excess, apply with light, sweeping motions. |
| Tapered Brush | Targeted application, under the eyes, around the nose. | Dip brush in powder, tap off excess, apply with gentle pressing or rolling motions. |
| Damp Sponge | Pressing and rolling powder into the skin, targeted setting. | Dampen sponge, dip in powder, press and roll into desired areas. |
| Powder Puff | Applying powder all over the face, especially for a more matte finish. | Press puff into powder, gently press onto skin, avoid dragging. |
6. Troubleshooting: Cakey Catastrophes and How to Fix Them 🚨
Uh oh! You’ve followed all the steps, but your makeup still looks cakey. Don’t panic! There’s still hope.
Common Cakey Makeup Problems and Solutions:
- Problem: Powder clinging to dry patches.
- Solution: Spritz your face with a hydrating setting spray or facial mist. This will help to melt the powder into your skin and add moisture. You can also gently buff the area with a clean, damp makeup sponge.
- Problem: Powder settling into fine lines and wrinkles.
- Solution: Use a damp makeup sponge to gently press the powder out of the lines. Avoid applying too much powder in these areas in the first place.
- Problem: Overall cakey appearance.
- Solution: Lightly mist your face with a setting spray. This will help to meld all of your makeup together and create a more natural finish. You can also gently buff your face with a clean, dry brush.
- Problem: Makeup looking dull and lifeless.
- Solution: Apply a highlighter to the high points of your face (e.g., cheekbones, brow bone, bridge of the nose). This will add luminosity and dimension to your complexion.
Professor’s Emergency Kit:
- Hydrating Setting Spray: A must-have for combating cake face.
- Facial Mist: Provides a quick boost of hydration.
- Clean Makeup Sponge: For gently buffing away excess powder.
- Highlighter: To add luminosity and dimension.
7. Advanced Tactics: Going Beyond the Basics 🚀
Once you’ve mastered the fundamentals, you can experiment with more advanced techniques.
Color Correcting Powders:
- Green: Neutralizes redness.
- Lavender: Brightens dullness.
- Yellow: Corrects purple tones.
- Peach/Orange: Corrects dark circles and hyperpigmentation.
Mix and Match:
- Combine different setting powders to create a custom blend that suits your skin type and needs. For example, you could mix a mattifying powder with a radiant powder to create a satin finish.
Baking on the Go:
- For touch-ups throughout the day, carry a small compact of translucent powder and a small brush. Gently blot away excess oil and apply a light dusting of powder to set your makeup.
8. The Grand Finale: Mastering the Art of the Flawless Finish 🏆
Congratulations! You’ve completed "Operation Anti-Cake"! Armed with this knowledge, you can now confidently wield Flawless Finish Translucent Loose Setting Powder and achieve a truly flawless, cake-free complexion.
Key Takeaways:
- Preparation is Paramount: Proper skincare and makeup prep are essential for a flawless finish.
- Less is More: Use a light hand when applying powder.
- Choose the Right Tools: Select brushes and sponges that are appropriate for your skin type and desired application technique.
- Practice Makes Perfect: Experiment with different techniques and products to find what works best for you.
- Don’t Be Afraid to Experiment: Makeup is all about having fun and expressing yourself!
Now go forth and conquer the world, one flawless face at a time! 👑
For detailed product specifications and purchases, please go to :https://zenamakeup.com/products/flawless-finish-translucent-loose-setting-powder
Leave a Reply