Lecture: Taming the Temptress – Preventing Juicy Glam Lip Oil Migration Beyond the Lip Line
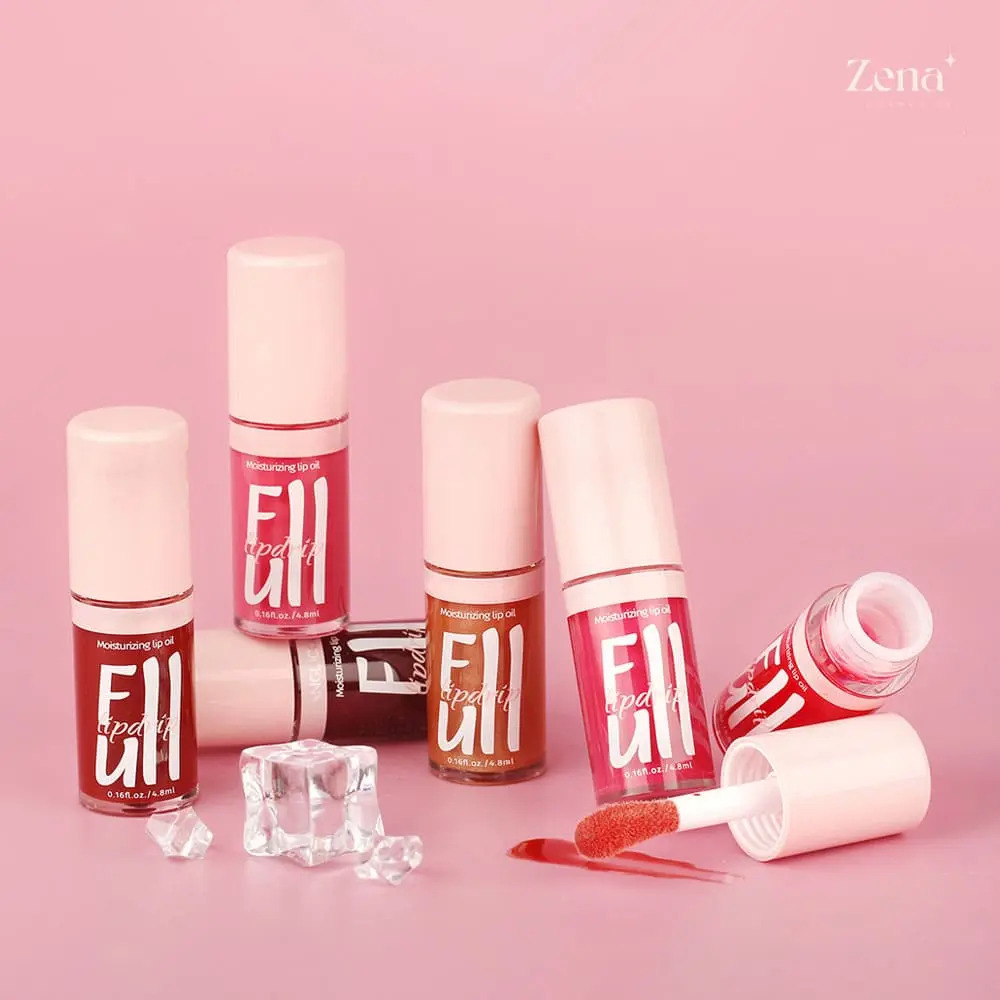
Ah, Juicy Glam Lip Oil. The siren song of luscious, hydrated lips. The promise of a pout so plump and radiant it could launch a thousand likes. But like all tantalizing temptations, it comes with a potential pitfall: the dreaded migration. That slow, inexorable creep of gloss beyond the carefully drawn borders of our lips, transforming a perfectly polished visage into…well, a slightly greasy-faced clown. 🤡
Fear not, my fellow beauty aficionados! Today, we embark on a quest to conquer this cosmetic conundrum. We will delve deep into the science (sort of), the techniques, and the tricks necessary to keep your Juicy Glam Lip Oil precisely where it belongs: on your lips, and ONLY your lips.
Our Agenda for Lip Oil Liberation:
- Understanding the Enemy: Why Lip Oil Migrates (The Science-ish Explanation)
- Prepping for Perfection: Building the Foundation for Lip Oil Success
- Application is Key: The Art of Precise Lip Oil Placement
- Fortifying the Fortress: Sealing the Deal with Lip Liner and Beyond
- Product Persona-lization: Choosing the Right Lip Oil for Your Lip Landscape
- The SOS Kit: Quick Fixes for Mid-Day Migration Mishaps
- Myth Busting: Debunking Common Lip Oil Legends
- Advanced Techniques: Level Up Your Lip Oil Game
So, grab your favorite beverage (preferably something that won’t stain your teeth – we’re trying to avoid cosmetic mishaps here!), settle in, and let’s get started!
1. Understanding the Enemy: Why Lip Oil Migrates (The Science-ish Explanation)
Okay, let’s be honest, we’re not going to dive into complex molecular structures and viscosity coefficients. But understanding the basic why behind lip oil migration is crucial to preventing it. Think of it like this:
- Oil’s Nature: Oil, by its very nature, is… well, oily! It tends to spread. It’s not sticky like a lip gloss; it’s more fluid, more prone to flowing like a rogue river. 🌊
- Gravity’s Grip: Gravity is a constant force, my friends. And gravity is not a fan of perfectly sculpted lip lines. It’s constantly pulling that beautiful oil downwards, towards your chin and beyond.
- Lip Lines and Wrinkles: The skin around our lips is often the first to show signs of aging. Fine lines and wrinkles act like tiny highways, providing pathways for the lip oil to escape its designated territory. Think of them as tiny escape tunnels for your precious pout product! 🕳️
- Overapplication: Sometimes, the problem is simply too much of a good thing. Applying a thick, generous layer of lip oil might seem like the key to ultimate hydration, but it actually increases the likelihood of migration. It’s like trying to cram too much luggage into an overhead bin – eventually, something’s going to spill out. 🧳
In short: Oil + Gravity + Skin Texture + Overapplication = Migration Mayhem!
2. Prepping for Perfection: Building the Foundation for Lip Oil Success
Before we even think about applying that luscious lip oil, we need to prepare the battlefield. Think of it as building a solid foundation for a skyscraper. You wouldn’t just slap a building on a patch of dirt, would you? (Unless you want it to collapse, which, let’s face it, is probably a terrible analogy for lipstick application. Unless… you’re going for a deconstructed look?)
Here’s your lip prep checklist:
- Exfoliation: Dead skin cells are the enemy of smooth, even application. Use a gentle lip scrub (sugar and honey works wonders!) or a soft toothbrush to buff away any flakes. Think of it as paving the road for your lip oil to travel smoothly. 🚗
- Hydration, Hydration, Hydration!: Dry, chapped lips are more likely to absorb lip oil unevenly, leading to patchy coverage and increased migration. Apply a hydrating lip balm before your lip oil and let it sink in for a few minutes. Consider a hyaluronic acid-based balm for maximum moisture. 💧
- Lip Primer (Optional, but Recommended): A lip primer creates a smooth, even surface, helping to prevent feathering and bleeding. It also acts as a barrier, preventing the lip oil from sinking into fine lines and wrinkles. Think of it as putting up a fence to keep the lip oil from wandering off! 🚧
- Blotting is Your Best Friend: After applying your lip balm or primer, gently blot your lips with a tissue to remove any excess product. This will create a slightly tacky surface for the lip oil to adhere to. It’s like giving the lip oil a little extra grip. 💪
Think of this prep stage as setting the stage for a flawless performance!
3. Application is Key: The Art of Precise Lip Oil Placement
Now for the main event! Applying lip oil isn’t just about swiping it on haphazardly. It requires precision, finesse, and a touch of artistry.
- Start Small: Resist the urge to slather on a thick layer. Start with a small amount of lip oil on the applicator and gradually build up the intensity. Remember, less is more when it comes to preventing migration. 🤏
- Focus on the Center: Apply the lip oil primarily to the center of your lips, both upper and lower. Then, gently press your lips together to distribute the product evenly. This technique helps to avoid overloading the edges of your lips, which are most prone to migration. 🎯
- Use a Lip Brush (Optional, but Highly Recommended): A lip brush provides greater control and precision than the standard applicator. Use it to carefully apply the lip oil along the lip line, creating a clean, defined edge. Think of it as a miniature paintbrush for your pout. 🖌️
- Blot, Blot, Blot (Again!): After applying the lip oil, blot your lips again with a tissue to remove any excess product. This will help to set the lip oil and prevent it from migrating. 🧻
Remember: Precision is paramount. Think of yourself as a surgeon, carefully crafting the perfect pout! 👩⚕️
4. Fortifying the Fortress: Sealing the Deal with Lip Liner and Beyond
Now that we’ve laid the foundation and applied the lip oil with precision, it’s time to build the walls! This is where lip liner and other techniques come into play to create a barrier against migration.
4. Fortifying the Fortress: Sealing the Deal with Lip Liner and Beyond
Now that we’ve laid the foundation and applied the lip oil with precision, it’s time to build the walls! This is where lip liner and other techniques come into play to create a barrier against migration.
- Lip Liner is Your Secret Weapon: A lip liner is your best friend when it comes to preventing lip oil migration. Choose a shade that closely matches your natural lip color or the lip oil you’re using.
- Technique is Key:
- Line just slightly outside the natural lip line for a plumper look (but be careful not to overdo it – we’re not going for clown territory here!).
- Fill in the entire lip with the liner before applying lip oil. This creates a base that helps to prevent the lip oil from bleeding.
- Use a clear lip liner: This is a great option if you want to prevent migration without adding any color.
- Technique is Key:
- Powder Power: Applying a light dusting of translucent powder around the lip line can help to absorb excess oil and create a barrier against migration. Use a small, fluffy brush for precise application. Think of it as building a powder-based moat around your lip castle! 🏰
- Concealer Correction: Apply a thin line of concealer around the lip line with a small brush to clean up any smudges or imperfections and create a crisp, defined edge. This technique is particularly effective for preventing feathering. 🪄
Think of these techniques as building a fortified fortress around your lips, protecting your lip oil from escaping!
5. Product Persona-lization: Choosing the Right Lip Oil for Your Lip Landscape
Not all lip oils are created equal. Some are thicker, some are thinner, some are more pigmented, some are less. Choosing the right lip oil for your individual lip landscape is crucial for preventing migration.
Consider these factors:
| Feature | Migration Risk | Recommendation |
|---|---|---|
| Thickness | Thinner = Higher | Opt for thicker, more viscous formulas. |
| Pigmentation | Higher = Higher | Choose sheer or lightly tinted formulas. |
| Ingredients | High Oil Content = Higher | Look for formulas with added polymers or waxes to help prevent spreading. |
| Applicator | Large Applicator = Higher | Choose a lip oil with a precise, small applicator, or use a lip brush. |
| Lip Condition | Dry/Chapped = Higher | Address dryness and chapping before applying lip oil. |
Remember: Understanding your lip type and choosing the right lip oil is half the battle!
6. The SOS Kit: Quick Fixes for Mid-Day Migration Mishaps
Even with the best preparation and application techniques, sometimes lip oil migration happens. Don’t panic! A quick fix is all you need.
- The Tissue Tidy: Gently blot your lips with a tissue to remove any excess oil that has migrated beyond the lip line.
- The Q-Tip Clean Up: Use a Q-tip dipped in makeup remover to carefully clean up any smudges or imperfections around the lip line.
- The Concealer Correction (Again!): Reapply a thin line of concealer around the lip line to create a crisp, defined edge.
- The Powder Power (Touch Up!): Reapply a light dusting of translucent powder around the lip line to absorb excess oil.
Think of this SOS kit as your emergency response team, ready to tackle any lip oil migration crisis! 🚨
7. Myth Busting: Debunking Common Lip Oil Legends
Let’s clear up some common misconceptions about lip oil and migration:
- Myth: All lip oils migrate.
- Reality: Not true! With the right preparation, application, and product choice, you can minimize or even eliminate migration.
- Myth: Lip liner is only for creating a bolder lip look.
- Reality: Lip liner is a versatile tool that can be used to prevent migration, even with sheer lip products.
- Myth: Lip oil is only for people with dry lips.
- Reality: While lip oil is great for hydration, it can also be used to add shine and plumpness to any lip type. Just adjust your application accordingly.
- Myth: You can’t wear lip oil with lipstick.
- Reality: You can! Apply a thin layer of lip oil underneath your lipstick to add hydration and prevent dryness. Just be sure to blot well to avoid slippage.
Don’t believe everything you hear! Experiment and find what works best for you. 👩🔬
8. Advanced Techniques: Level Up Your Lip Oil Game
Ready to take your lip oil game to the next level? Here are some advanced techniques to try:
- The "Lip Lift" Technique: Apply a highlighter to the Cupid’s bow and the center of your lower lip to create the illusion of fuller, more lifted lips. This draws attention to the center of the lips and away from the edges, minimizing the appearance of any potential migration. ✨
- The "Ombre Lip" Technique: Apply a darker shade of lip liner to the outer corners of your lips and a lighter shade of lip oil to the center. This creates a gradient effect that adds dimension and definition to your lips.
- The "Lip Contouring" Technique: Use a matte bronzer or contour powder to create subtle shadows beneath your lower lip and along the sides of your mouth. This helps to define your lips and prevent the lip oil from looking flat or one-dimensional.
Think of these techniques as adding the final touches to your masterpiece! 🎨
Congratulations! You’ve now completed your Lip Oil Liberation course. You are armed with the knowledge and skills necessary to tame the temptress and keep your Juicy Glam Lip Oil precisely where it belongs: on your lips, radiating beauty and hydration. Go forth and conquer, my friends! And remember, practice makes perfect (and blotting is your best friend). 💋🎉
For detailed product specifications and purchases, please go to :https://zenamakeup.com/products/juicy-glam-lip-oil-gloss
Leave a Reply